Description
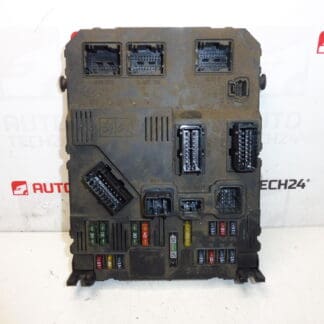
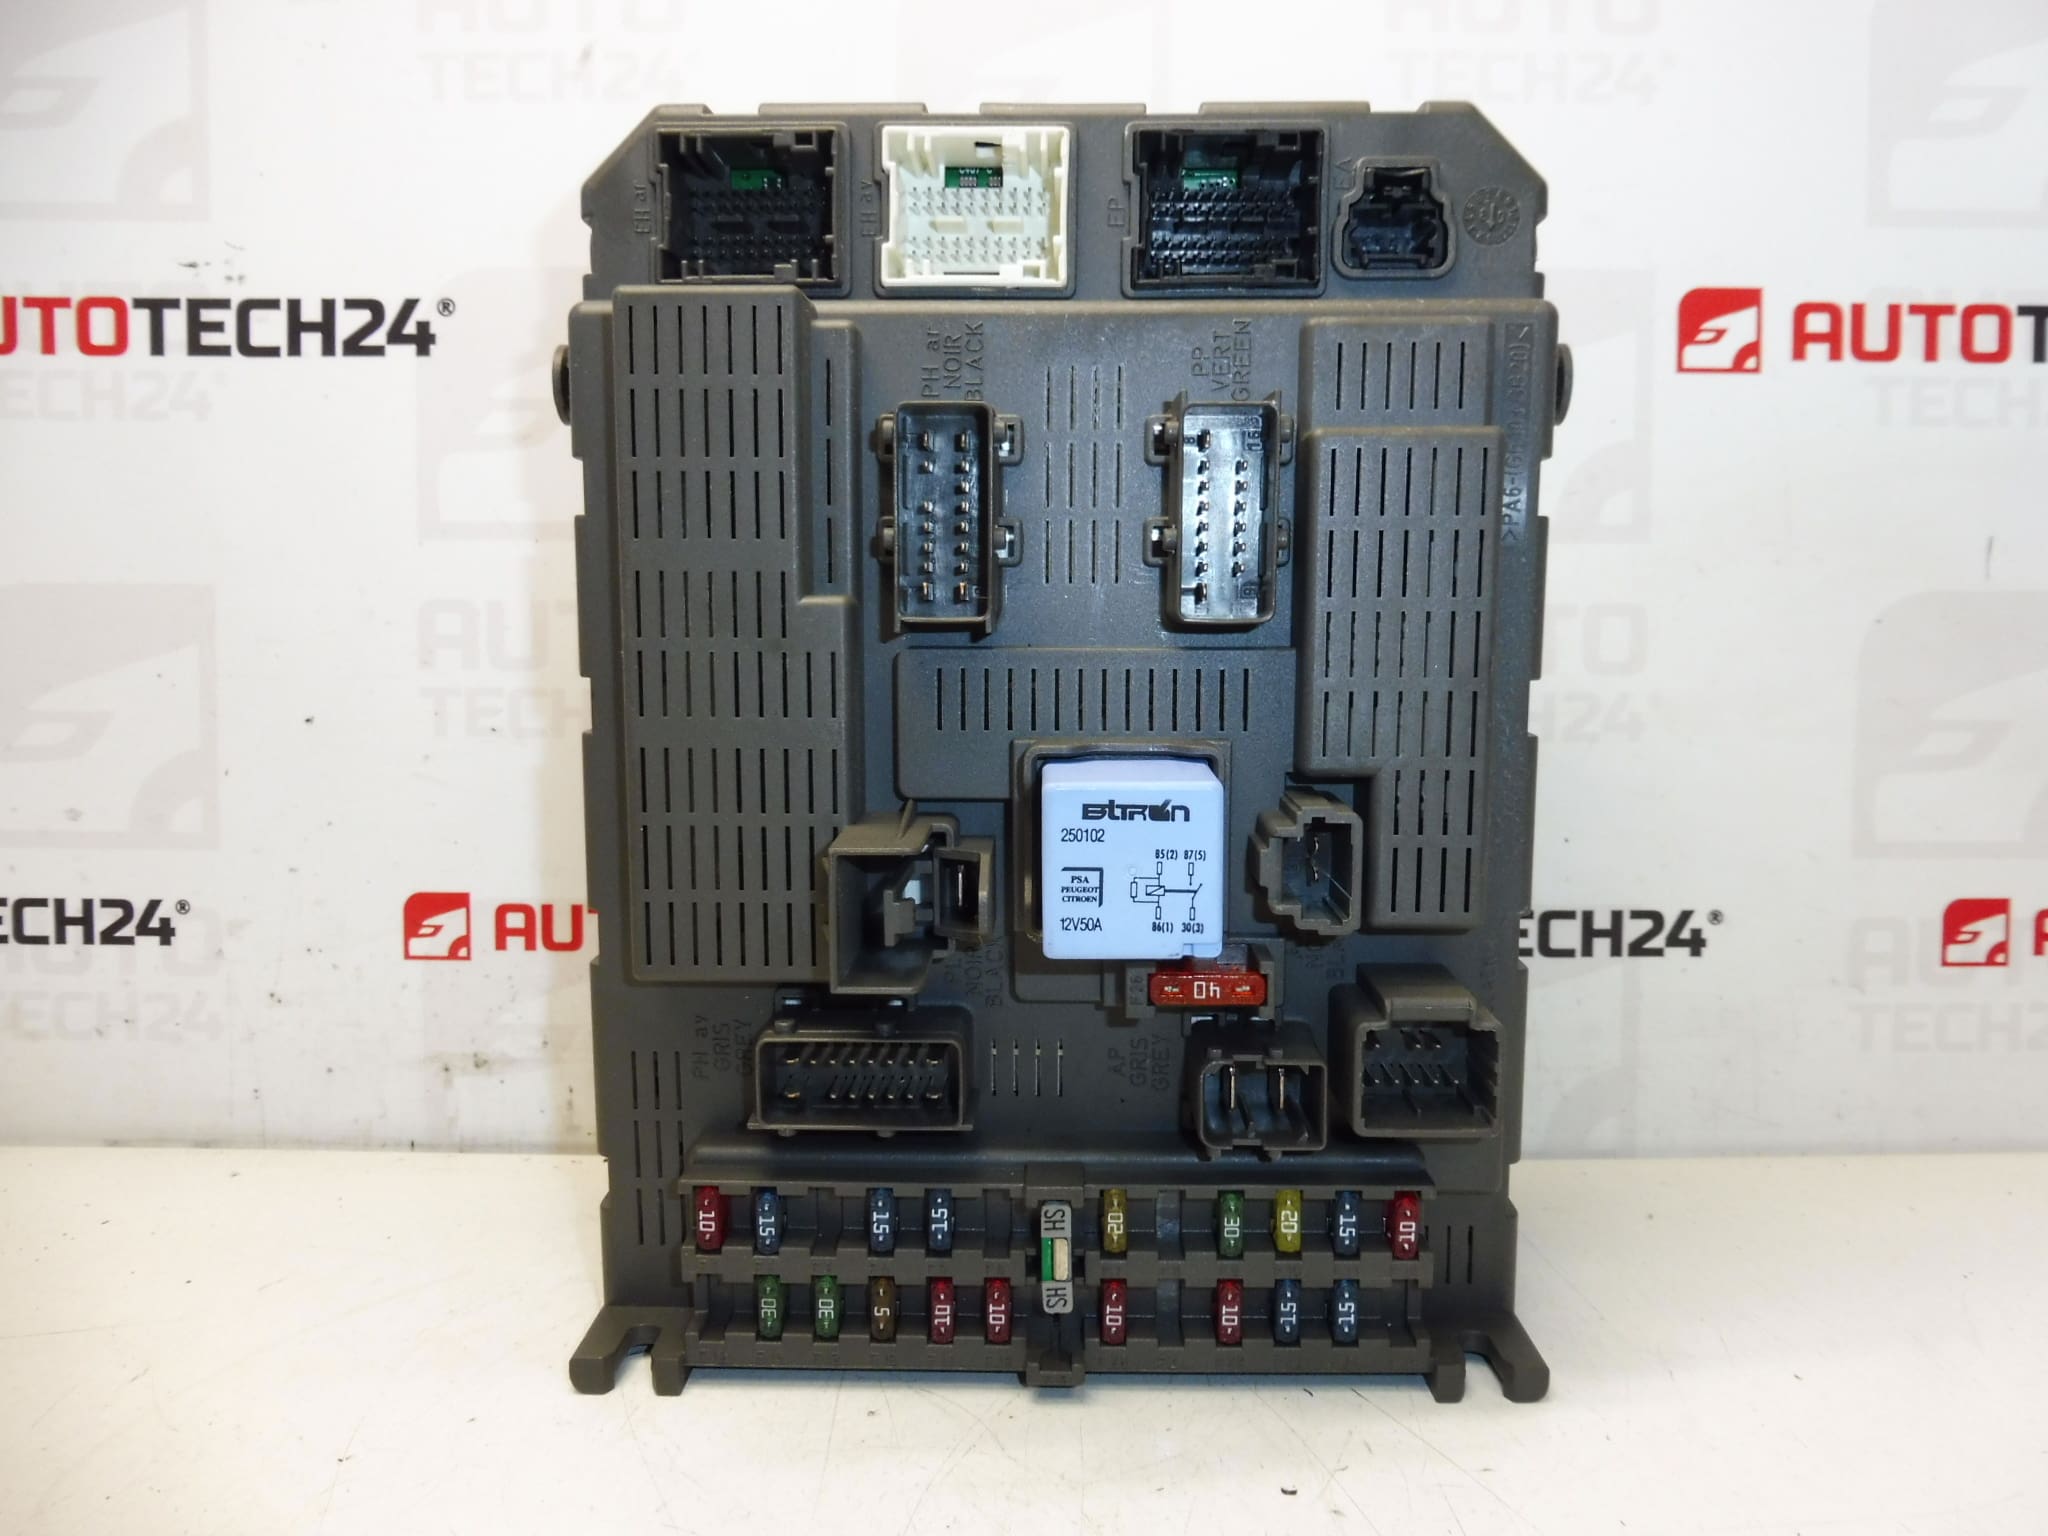
LEAR BSI V03-00 control unit for Citroën C8 and Peugeot 807 first series
Overview
This LEAR BSI V03-00 is the body control module (BSI) designed for the first-series Citroën C8 and Peugeot 807. The BSI is the central comfort and body electronics unit that manages lighting, central locking, interior electrics, wiper and washer logic, interior lighting, some instrument cluster messages and communication with other control units on the CAN network. This listing includes the product references commonly used when searching for a compatible unit.
Technical Information
- Manufacturer: LEAR (supplier for Stellantis)
- Model: Citroën C8; Peugeot 807 (first series)
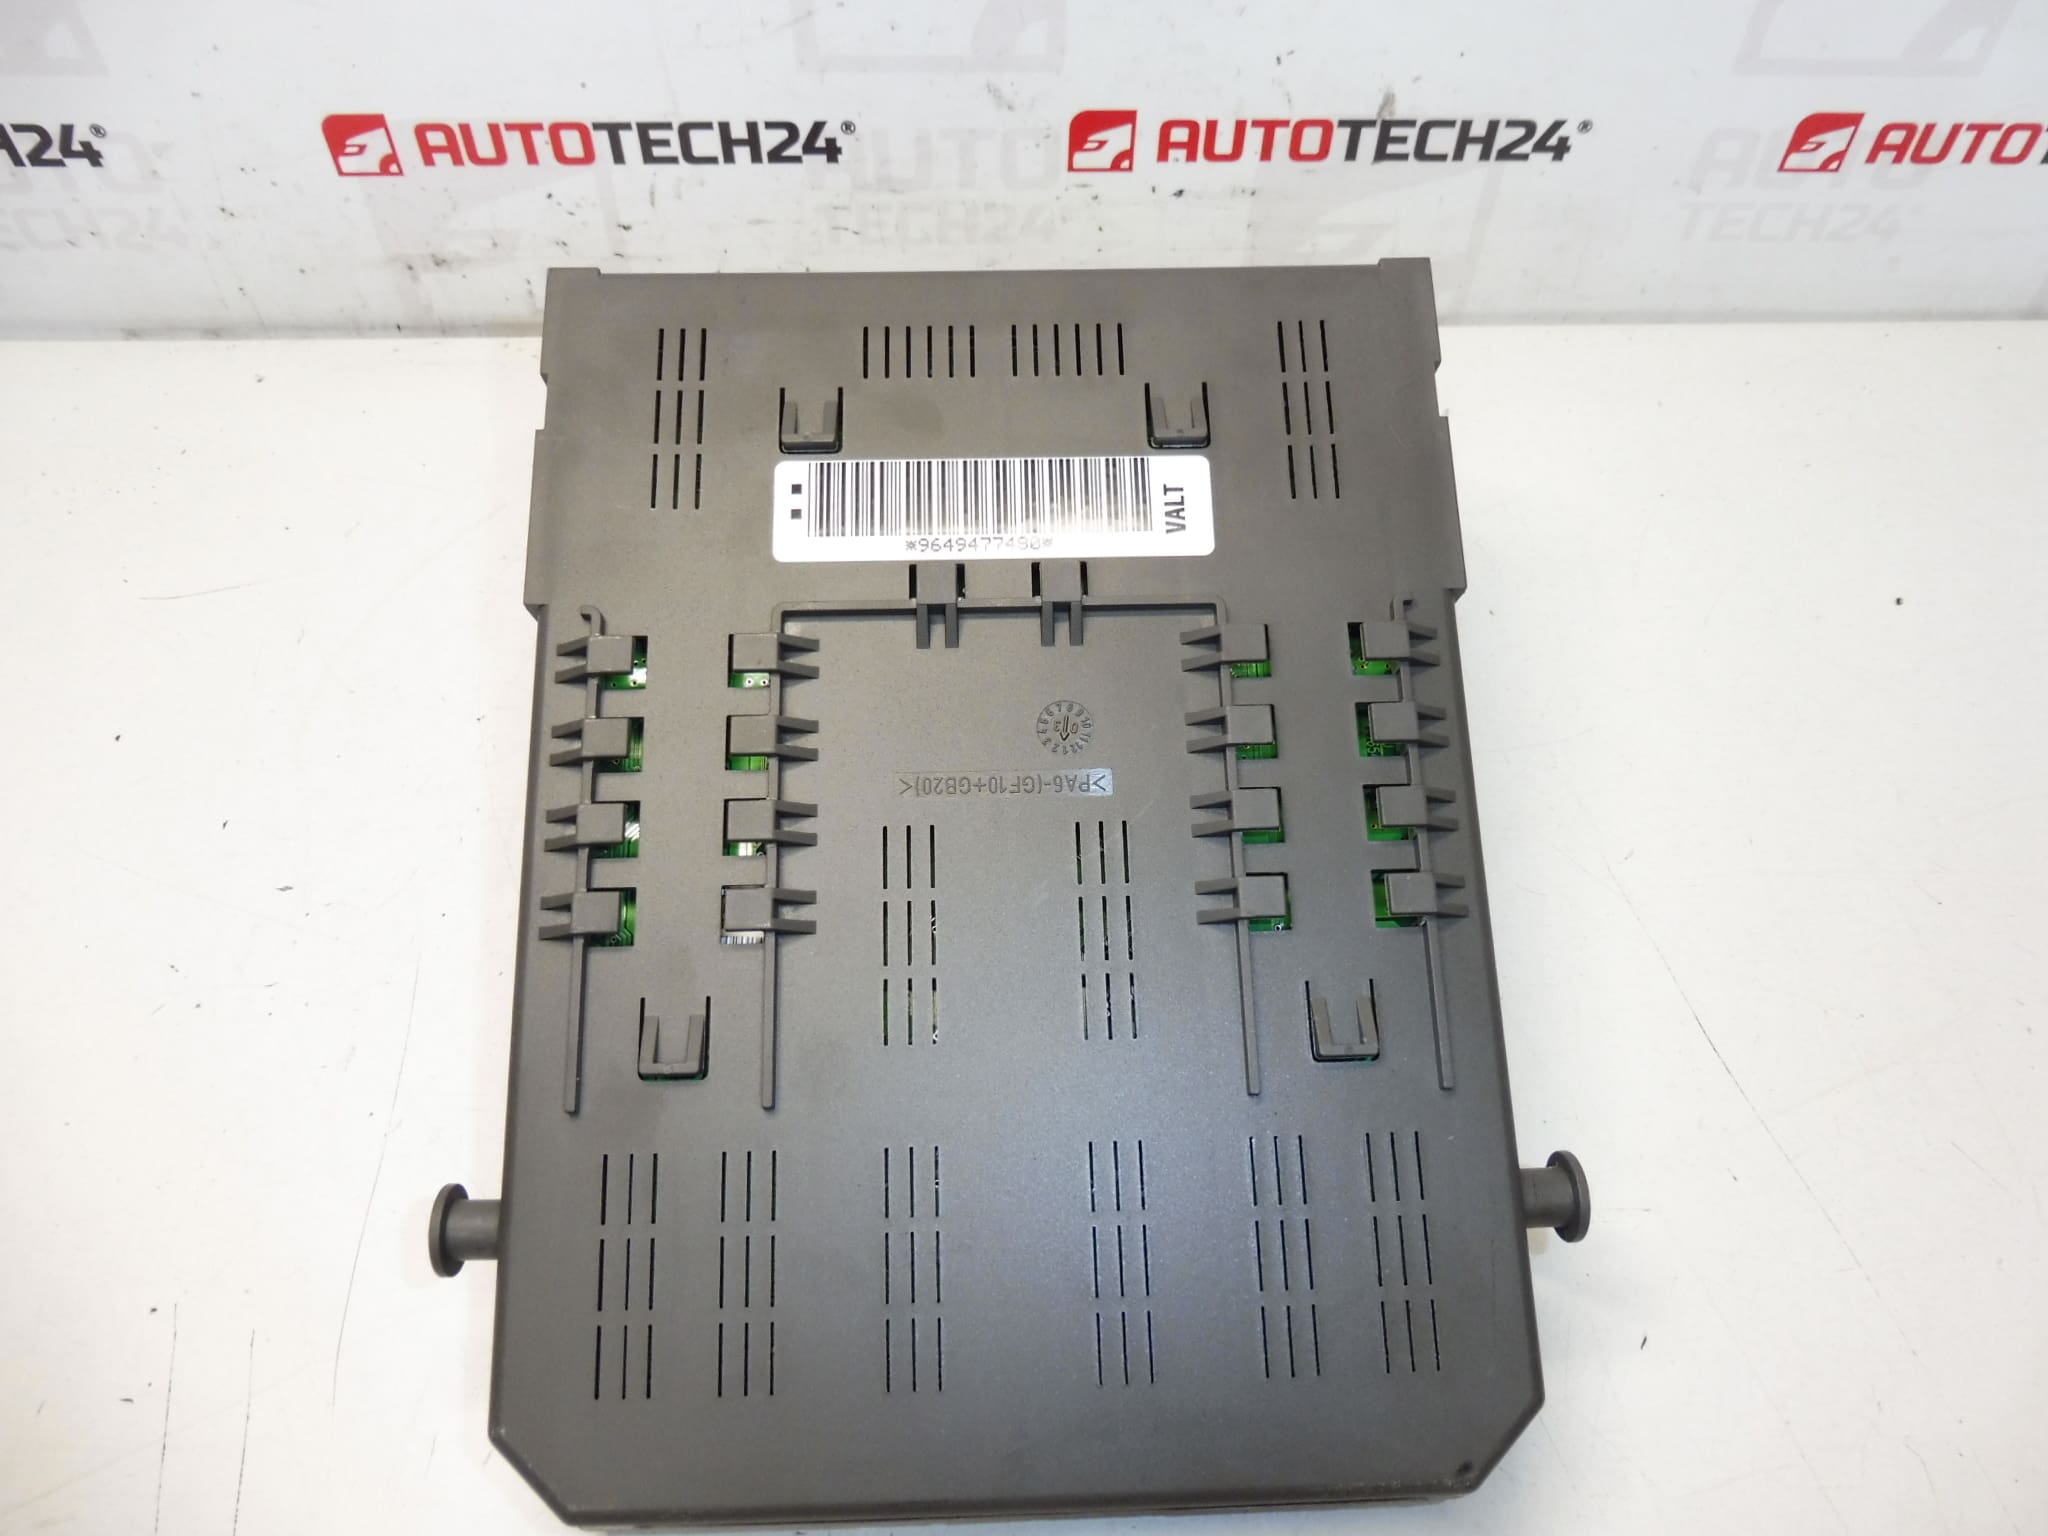
- Product Codes: 9649477480; 6580S4; V03-00
- Other Numbers: 6580S5; NFP
Compatibility And Fitment
Fits first-generation Citroën C8 and Peugeot 807 models using the LEAR BSI V03-00 variant. Always verify the product codes stamped on the original unit (for example 9649477480, 6580S4) to ensure correct fitment. This unit replaces the central comfort module that controls vehicle interior and convenience functions.
How The Unit Works
The BSI acts as the vehicle’s body computer. It processes inputs from switches and sensors, drives relays and actuators for lights, locks and wipers, and communicates with other control units (engine ECU, instrument cluster, airbags) over the vehicle network. It can also store immobilizer and key data, which is why correct commissioning is essential after replacement.
Installation Recommendations
Installation should be carried out by a qualified technician or by an experienced DIYer comfortable with vehicle electronics. Typical replacement steps:
- Disconnect the negative battery terminal before starting to avoid short circuits or damage to the electronics.
- Remove interior trim panels to access the BSI housing (often located under the dashboard or behind the glovebox depending on vehicle).
- Carefully disconnect all connectors and mounting screws, then remove the old unit.
- Install the replacement unit, secure connectors and fasteners, reconnect the battery and proceed with the required commissioning (see coding options below).
Installation And Coding – Important
- The unit is used and is “paired” with the original vehicle (VIN/PIN/keys).
- Options for commissioning:
- Cloning data from the old unit (EEPROM/Flash) – after cloning the unit is plug and play.
- Virginization and subsequent initialization/telecoding via DiagBox (or online) + key adaptation.
- Recommended to be performed by a specialist with PSA service equipment (DiagBox/Lexia/PP2000).
- Always disconnect the battery before removal/installation and follow the manufacturer’s procedure to avoid damaging the unit.
Why The Part Commonly Fails
Common failure causes for BSI units include water ingress and corrosion, connector oxidation, electrical surges or short circuits, failed solder joints or component degradation over time. Symptoms of a failing BSI may include intermittent or permanent loss of central locking, lighting malfunctions, inoperative wipers, communication errors on the dashboard or immobilizer/key recognition problems.
Practical Tips For Mechanics And DIYers
- Before removing the old BSI, document connector positions and any bracket orientation to simplify reassembly.
- Check for signs of moisture or corrosion in the connector area; repairing the vehicle wiring and connectors can prevent repeat failures.
- If cloning is chosen, ensure a reliable EEPROM/Flash transfer to preserve immobilizer and configuration data; if virginizing, plan for coding and key adaptation with appropriate diagnostic tools.
Keywords For Search
LEAR BSI V03-00, BSI unit Citroën C8, BSI unit Peugeot 807, 9649477480, 6580S4, comfort module, body control module, DiagBox, Lexia, PP2000, cloning, coding