Description
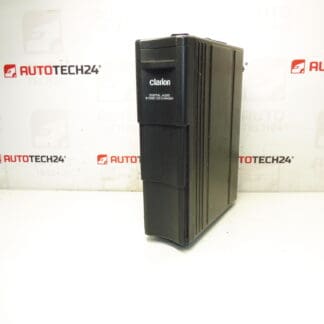
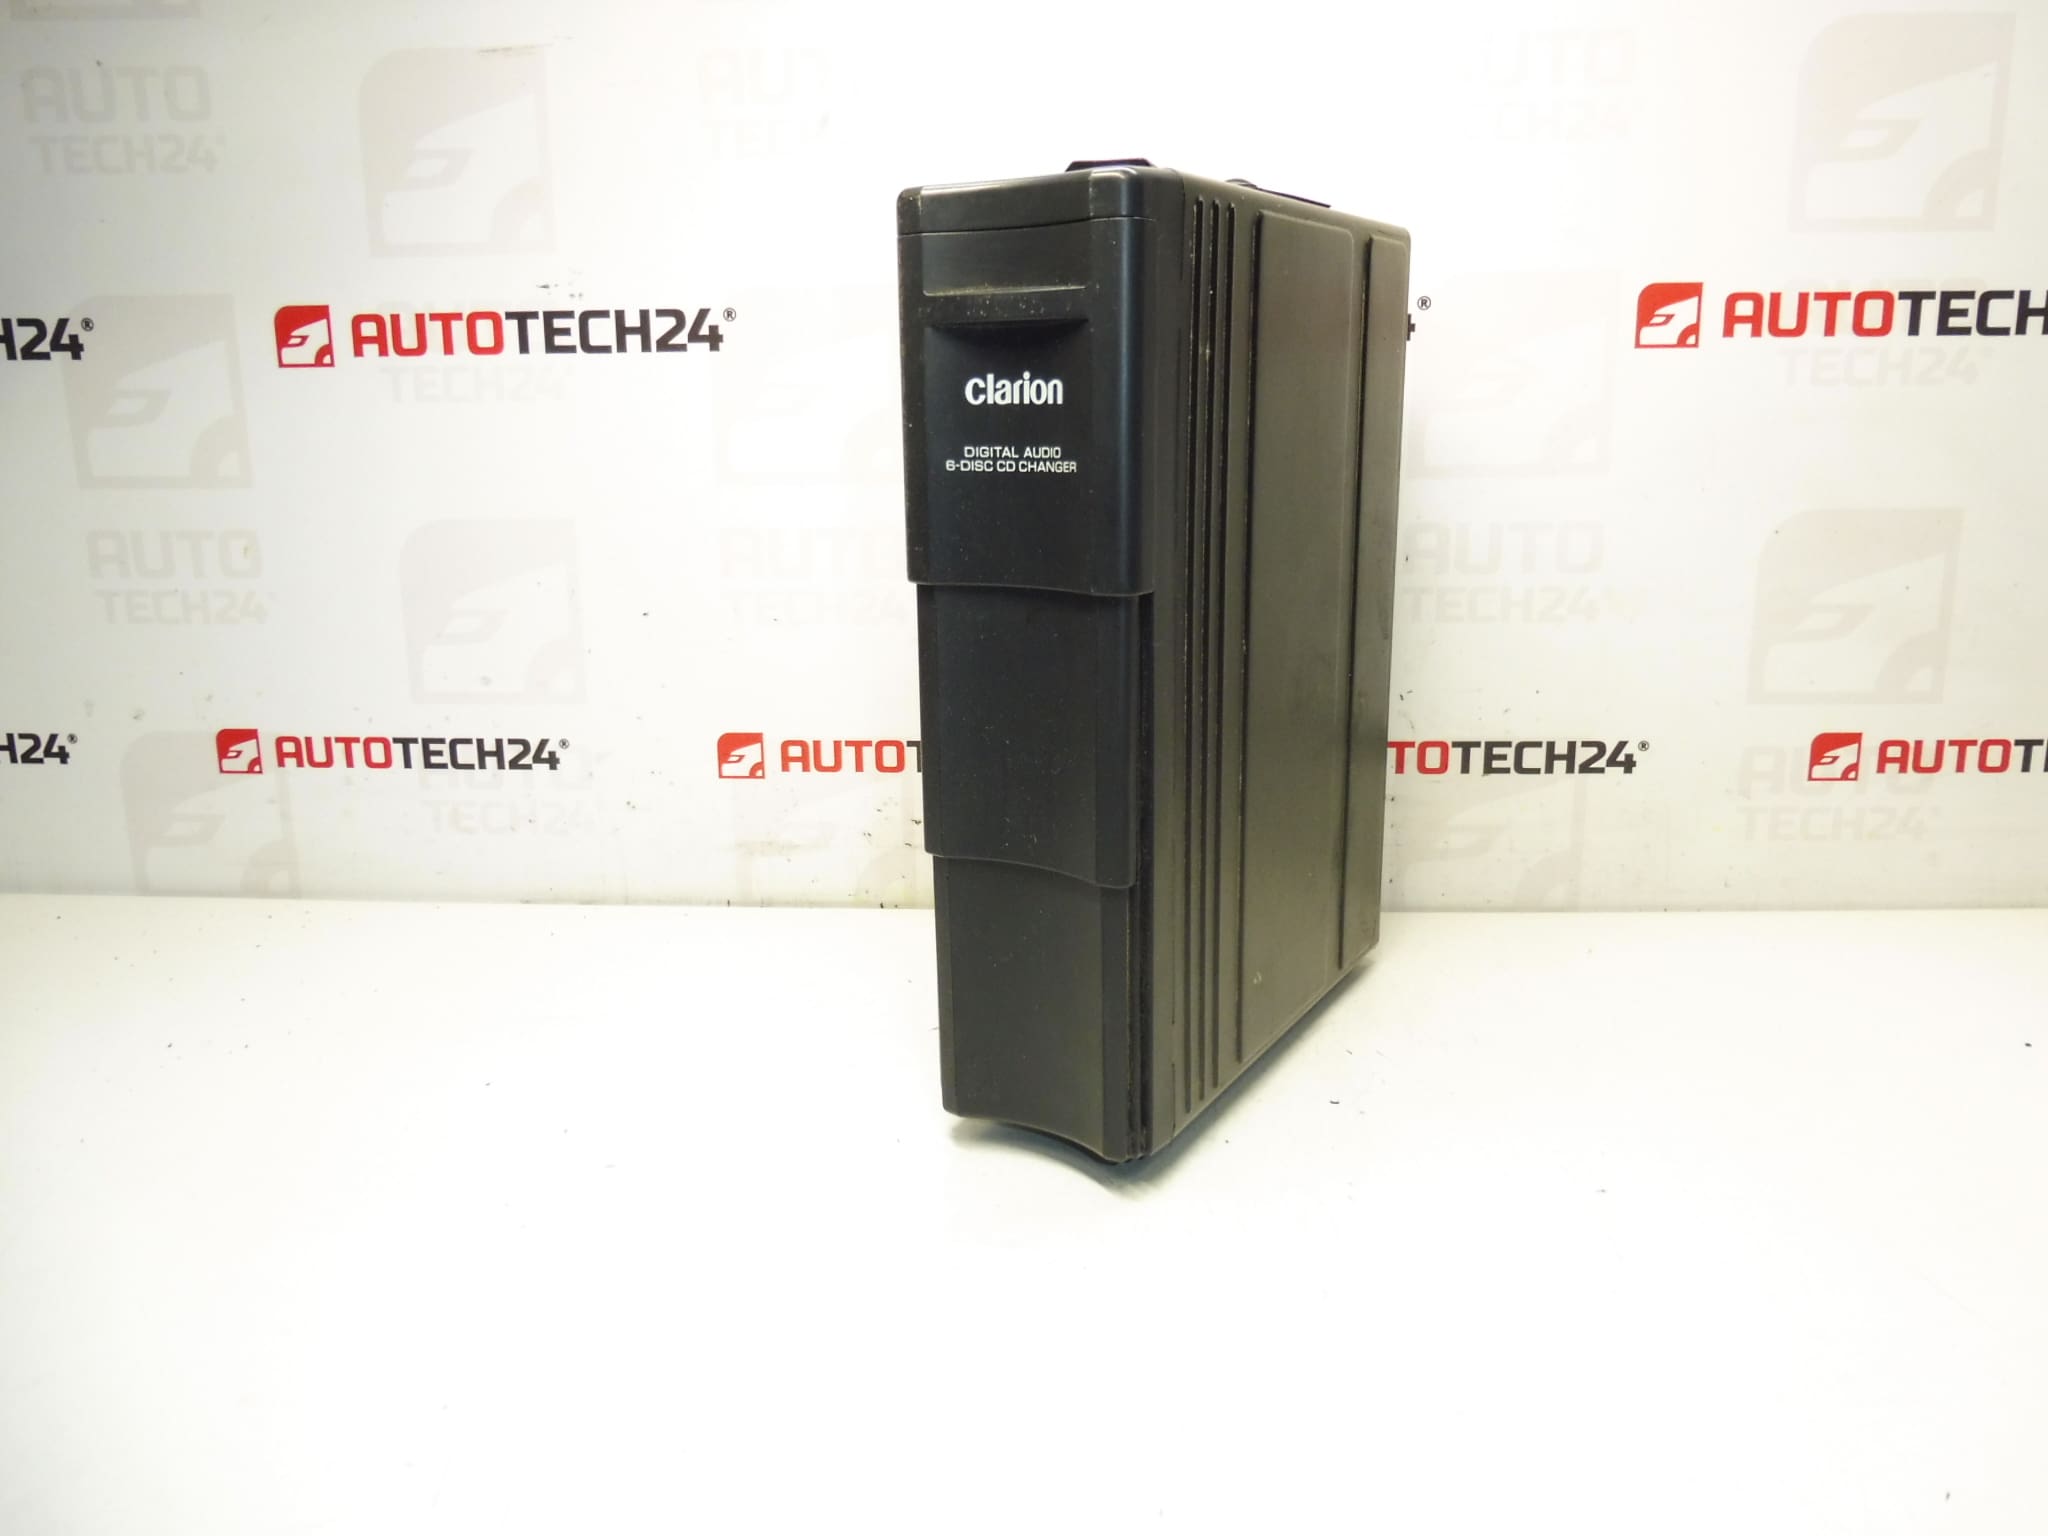
Clarion CD changer for CITROËN C5 vehicles from 2005. Tested, delivery includes CD magazine. Bracket can be purchased under code 6560Q4. Connecting cable can be purchased under code 6560XR.
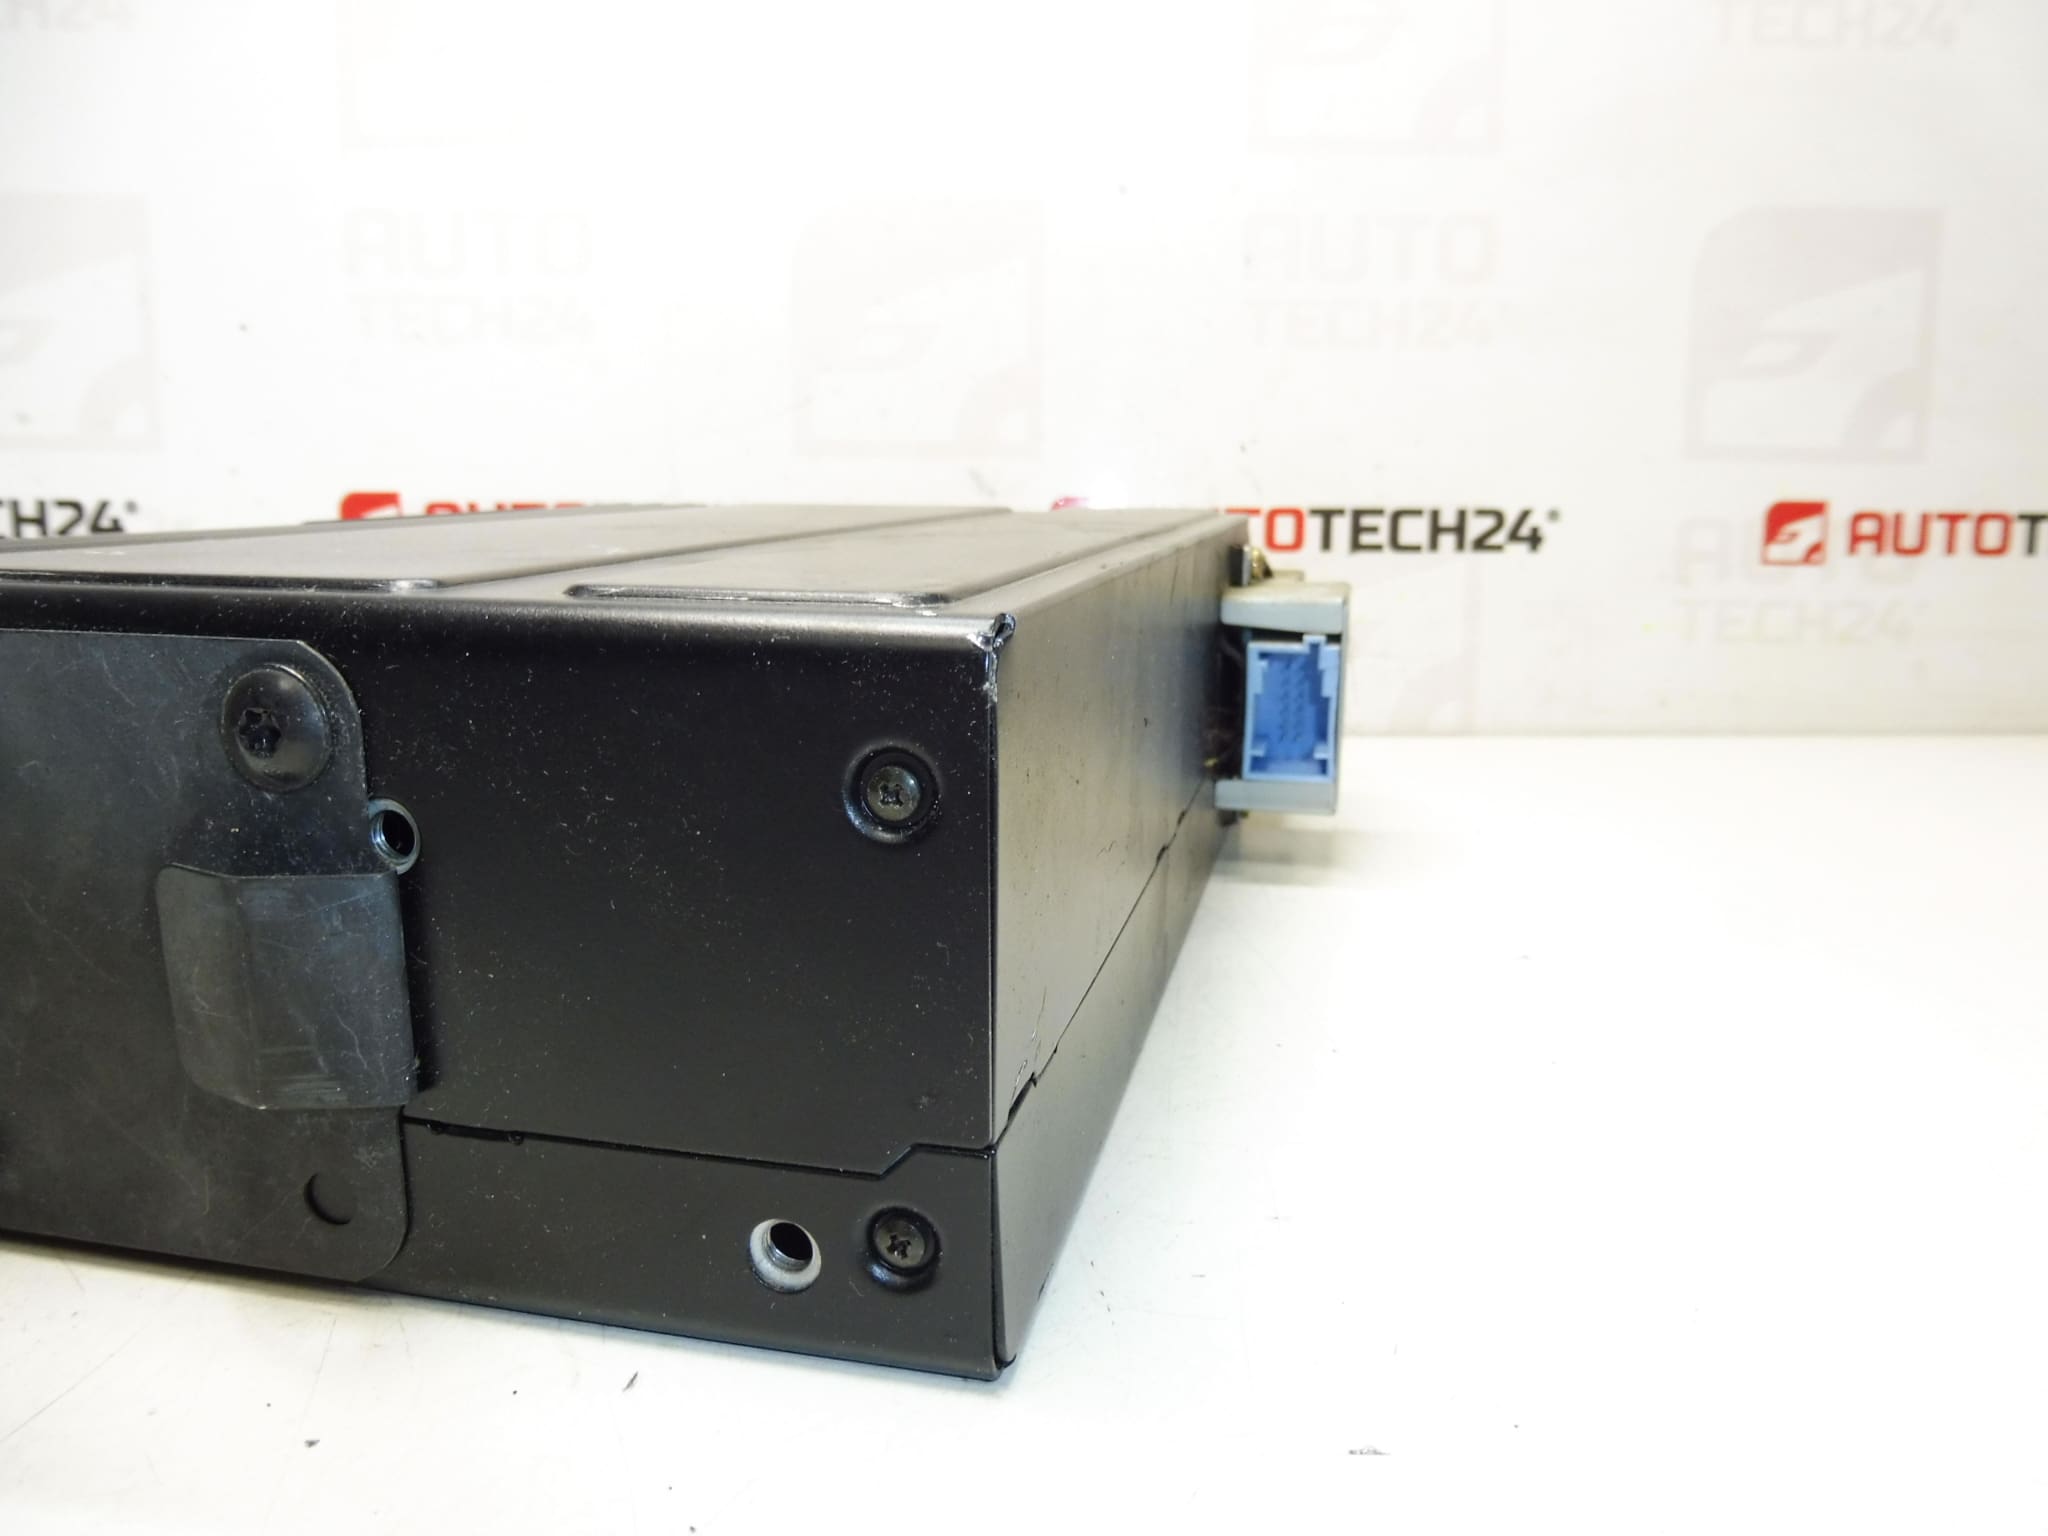
This Clarion multi-disc CD changer is a direct-fit audio accessory commonly found in Citroën C5 units from 2005 and compatible Stellantis radio systems. It offers reliable playback and magazine-style loading for multiple CDs, providing a simple OEM-style solution for garages and DIY enthusiasts who want factory-compatible sound without modifying the head unit. The unit is particularly useful where original in-dash CD playback is required or when replacing a worn or failing changer with the original specification part numbers 9647427980 / 6564E1.
Practical Advantages
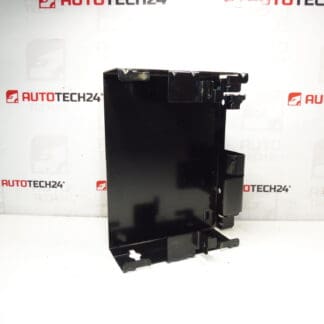
Mechanics and home repairers will appreciate the straightforward integration with factory radios, the included CD magazine, and the availability of mounting brackets and cabling as separate parts. The changer keeps the vehicle interior tidy by using the OEM mounting points and offers plug-and-play operation with supported head units.
Installation Recommendations
Before starting, ensure Ignition Is Off and Battery Negative Is Disconnected to avoid short circuits. Typical installation steps:
- Locate The Factory Changer Position (commonly in the glovebox, center console or trunk area depending on vehicle configuration).
- Remove Trim Or Glovebox Panels To Access The Unit — keep fasteners in a safe place.
- Disconnect The Factory Harness And Any Antenna Or Control Cables.
- Unscrew The Changer From Its Mounting Bracket And Remove The Old Unit.
- Install The New Changer Into The Bracket (Bracket Code 6560Q4 If Required) And Connect The Matching Cable (Cable Code 6560XR If Required).
- Reconnect The Battery, Test Playback And Magazine Loading Before Reassembling Trim.
If the original mounting plate or cable is missing, use the referenced accessory codes to source correct hardware. When routing cables, avoid sharp edges and secure loose wiring to prevent rattles or connector strain.
Why This Part Fails Most Often
- Mechanical Wear Of The Loading Mechanism And Gears From Years Of Use.
- Laser Diode Degradation Causing Read Errors On Older Discs.
- Contaminated Or Worn CD Magazine Rims Leading To Misfeeds Or Jams.
- Connector Corrosion Or Broken Wiring Affecting Power Or Data Signals.
- Moisture Or Temperature Cycling Causing Electronic Component Failure.
Technical Information
- Manufacturer: Clarion
- Model: Citroën C5 (from 2005)
- Product Codes: 9647427980, 6564E1
- Additional Numbers: Bracket 6560Q4, Connecting Cable 6560XR
This unit is supplied with the CD magazine included. Ideal for professional workshops and experienced DIYers replacing an original Clarion changer in compatible Citroën/Peugeot vehicles. When fitting, follow industry-standard ESD and safety procedures and verify connector seating and secure mounting to avoid vibration-related faults.