Description
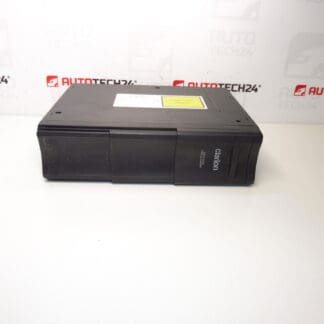
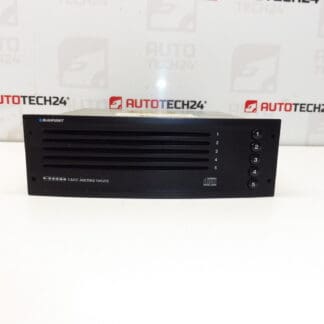
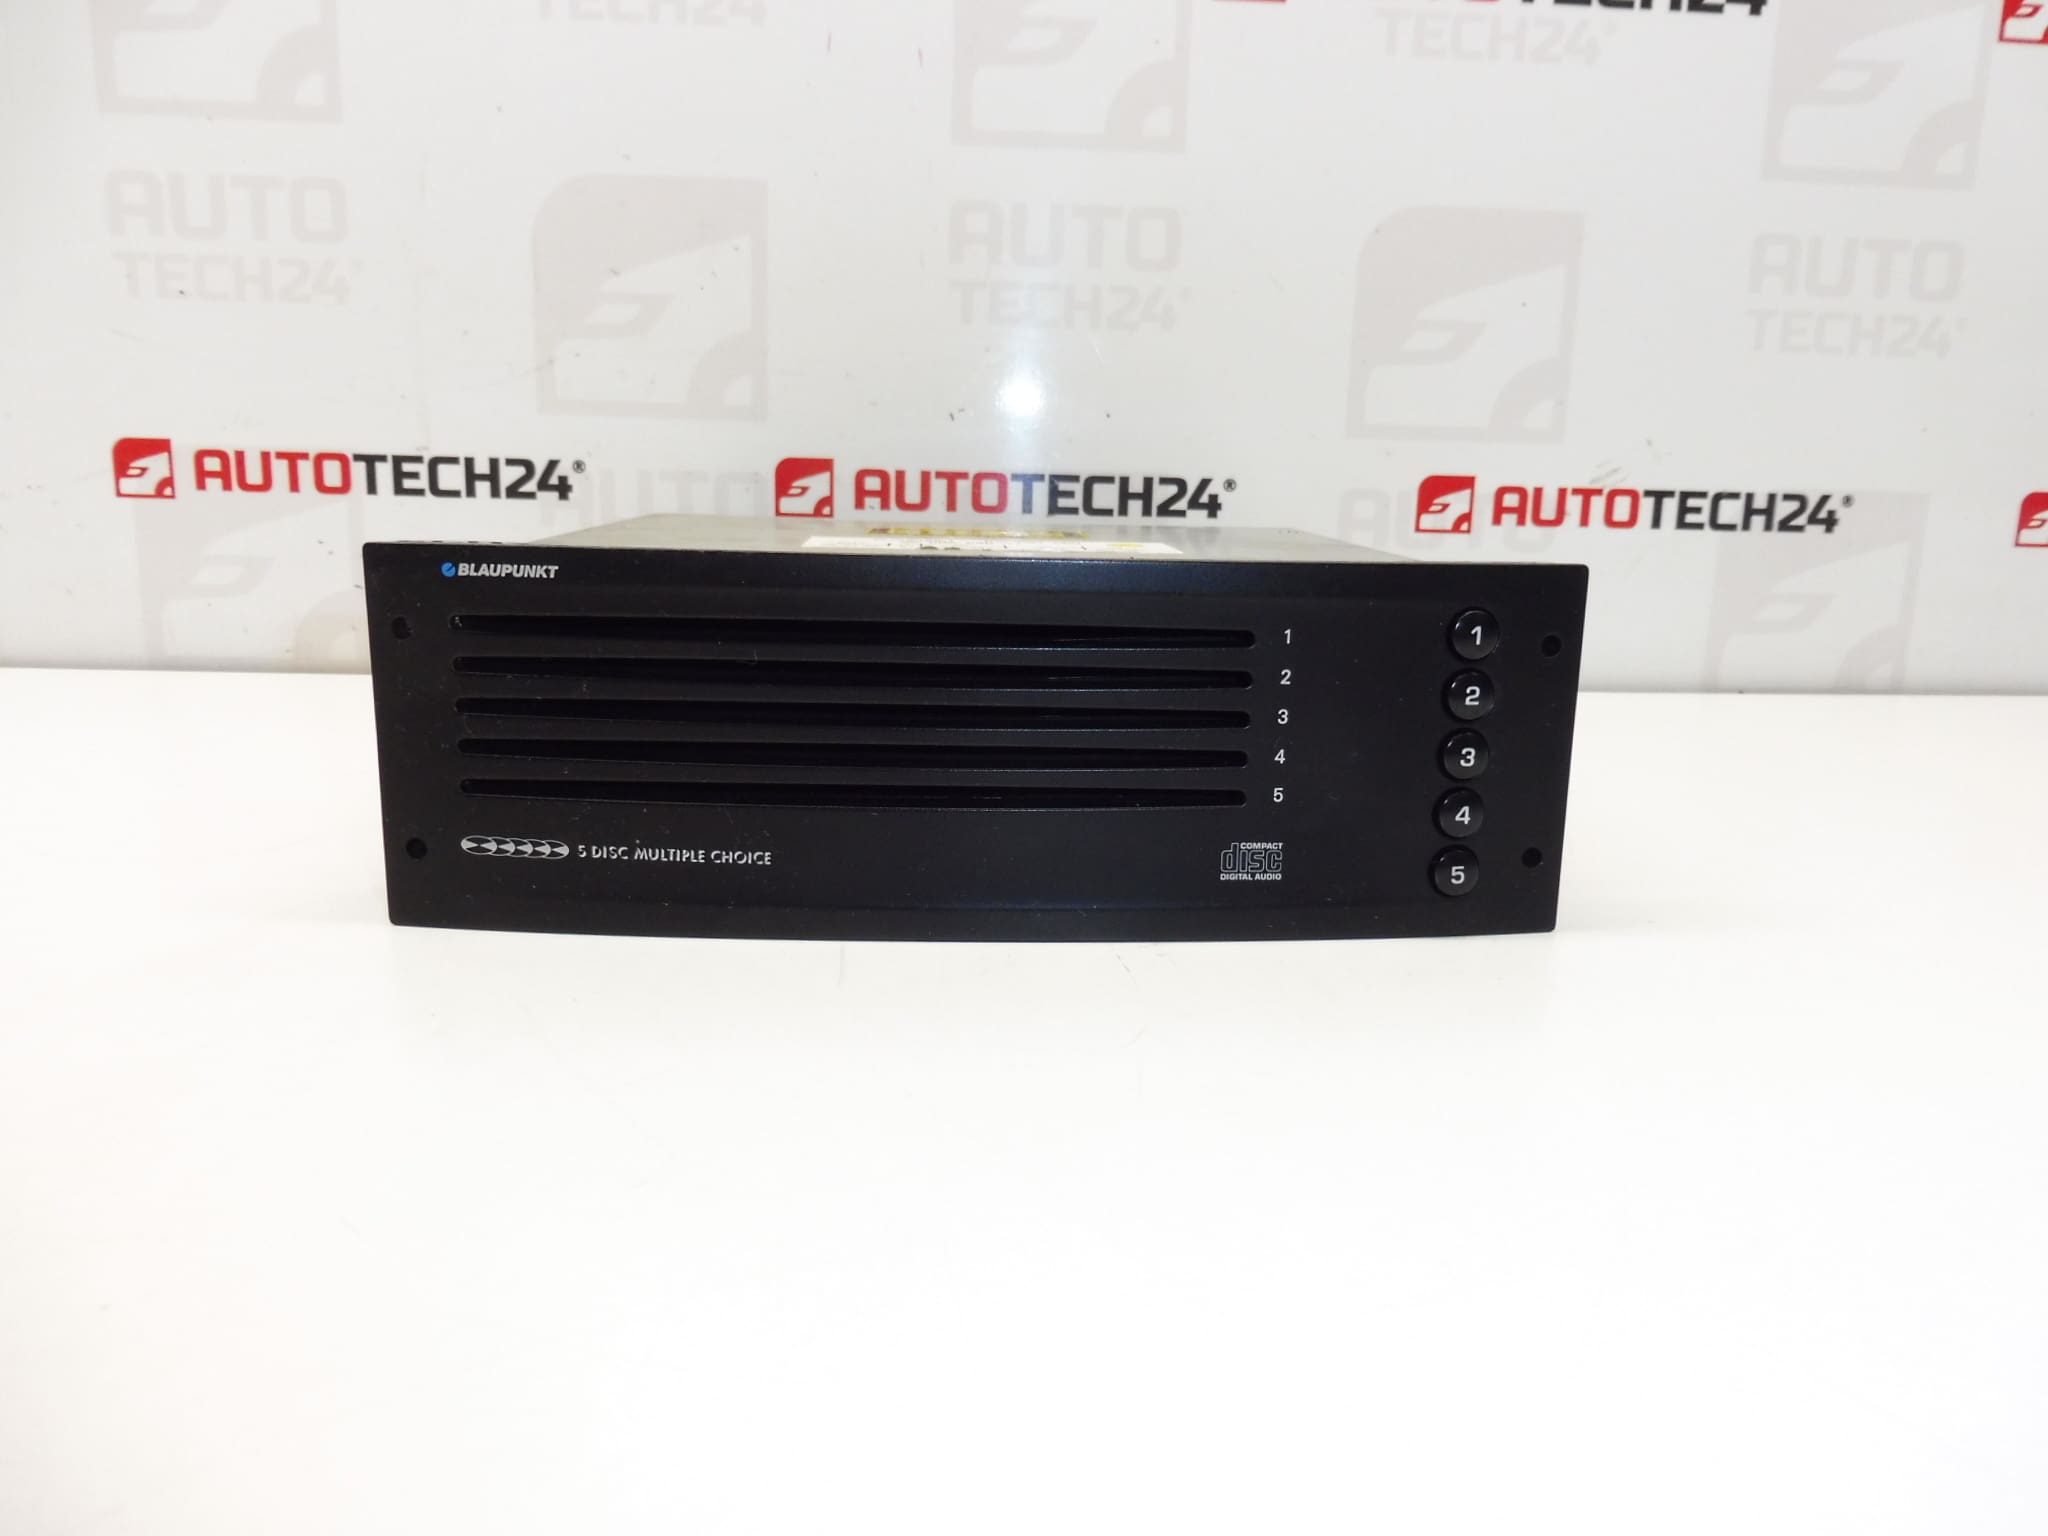
CD changer for Citroën and Peugeot vehicles. It is from a Peugeot 307 2006.
This used CD changer is a direct-fit unit originating from a Peugeot 307 (2006) and is compatible with various Citroën and Peugeot radios that accept the same interface and part numbers. Commonly searched by product codes 9660662677, 9662413277, 6564AH and 6564RL, this unit is ideal for professional workshops and experienced DIY mechanics looking to replace a faulty disc changer and restore multi-disc playback functionality. The description below contains practical technical data, installation guidance and typical failure modes to help you assess suitability and plan the repair.
Features and Function
- Multi-disc CD changer designed to work with compatible Citroën/Peugeot radio units.
- Provides in-car audio playback of standard audio CDs via the vehicle’s head unit.
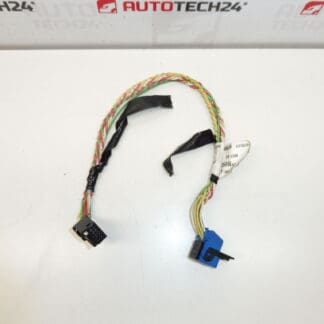
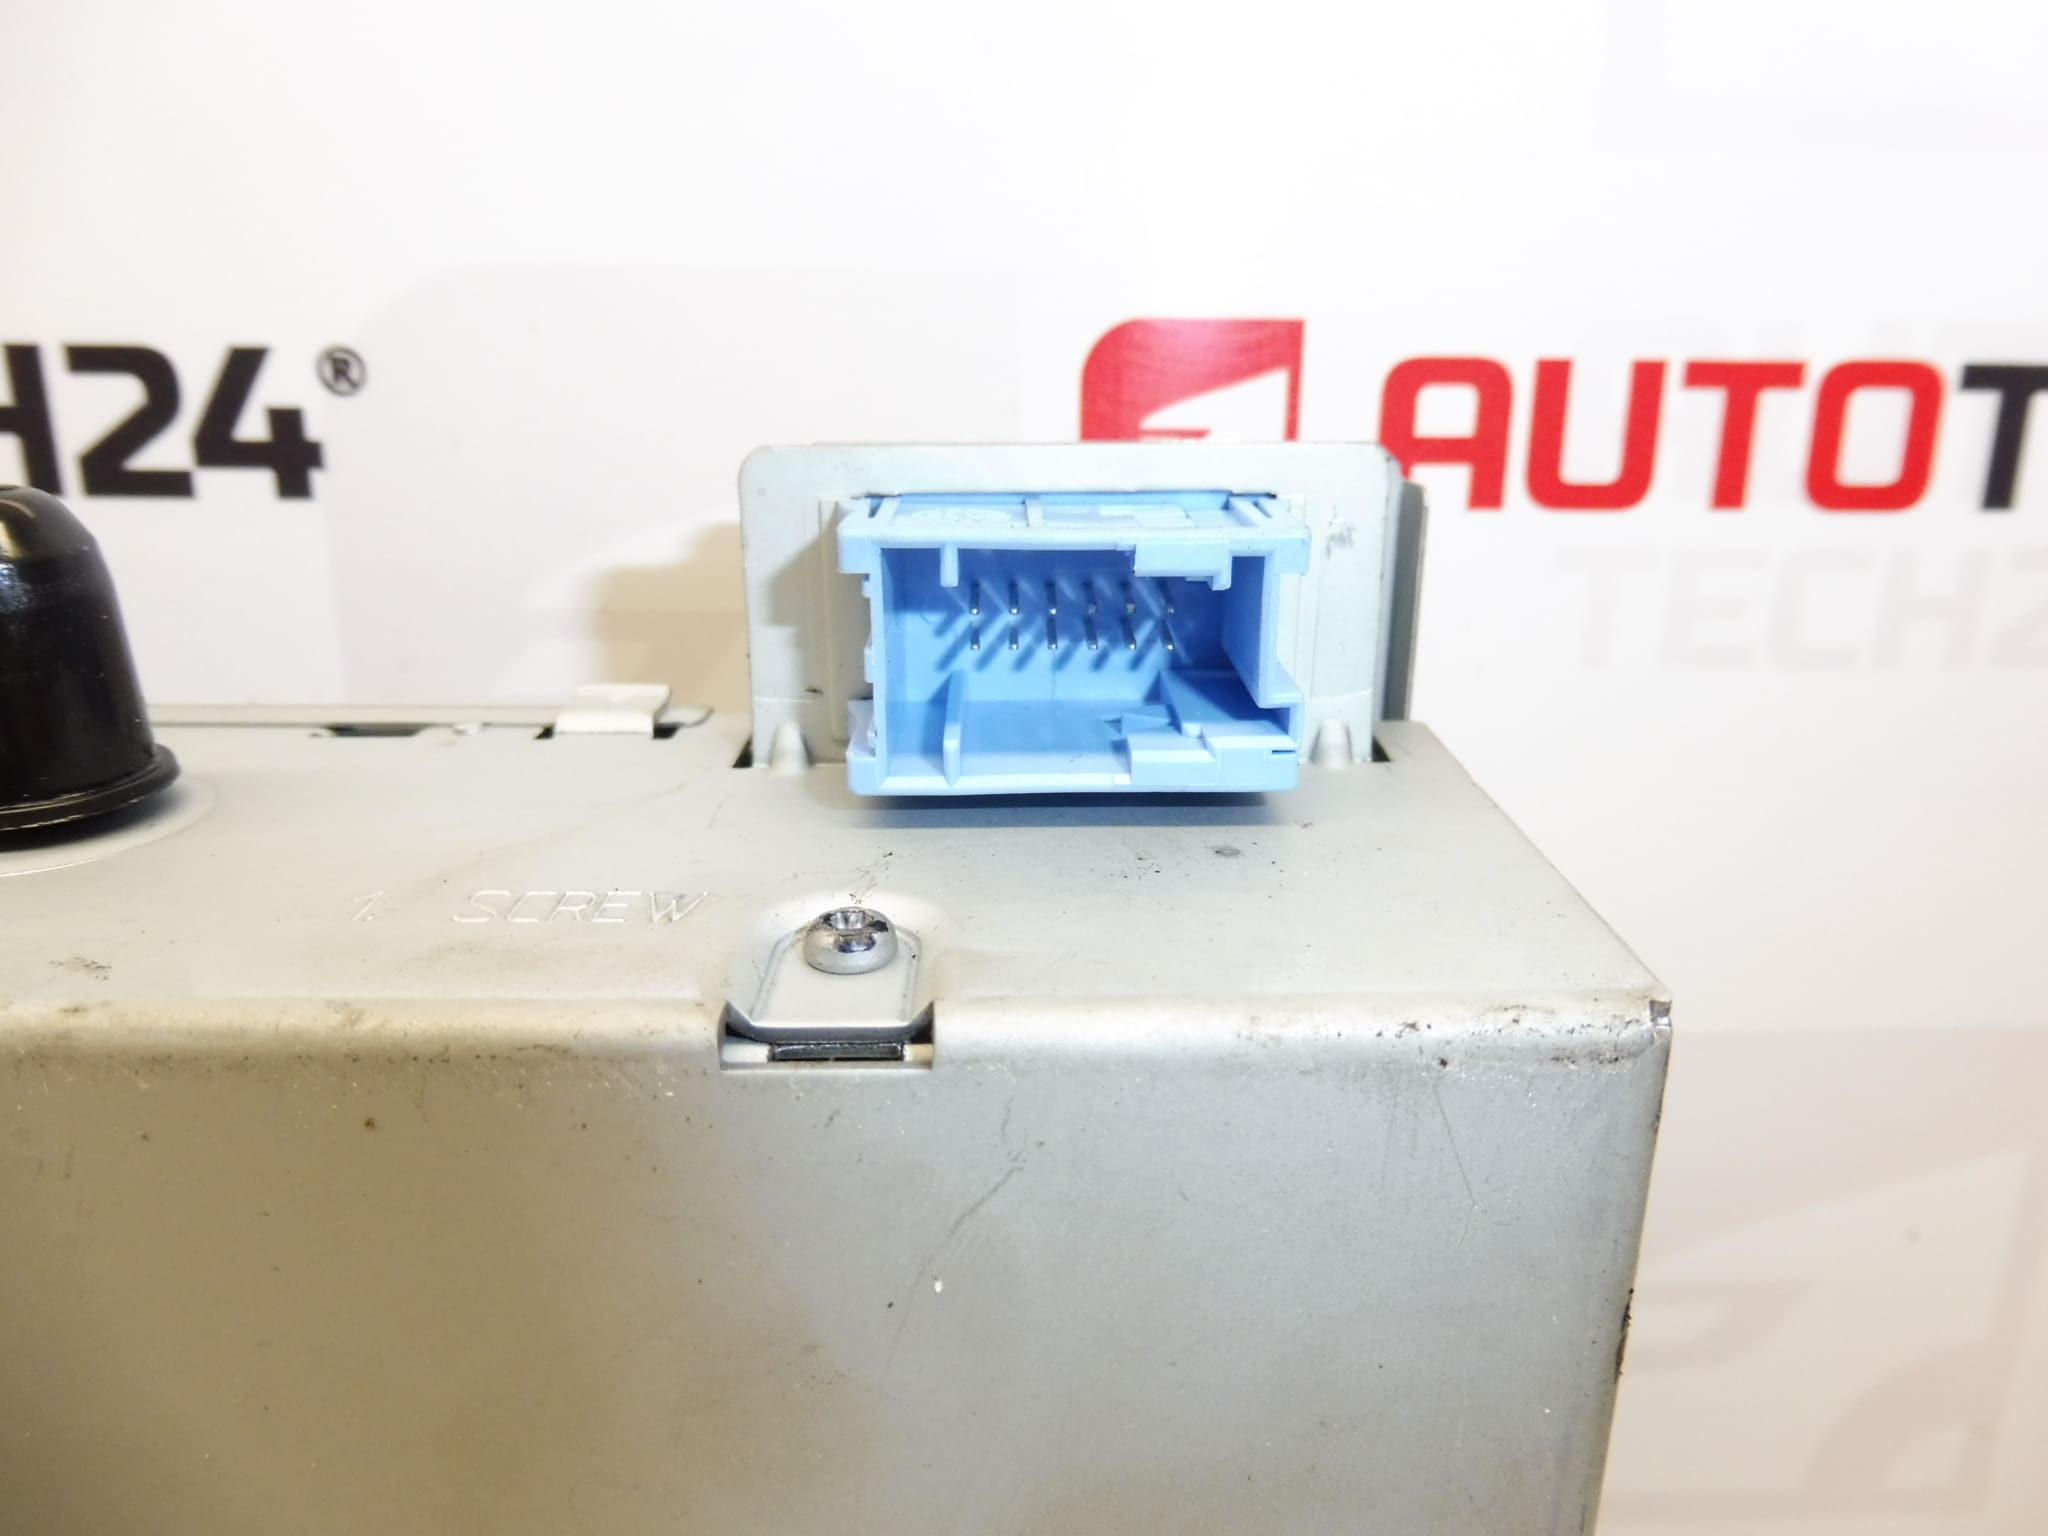
- Interfaces through the manufacturer’s proprietary connector and wiring harness.
- Often located in the glovebox, trunk or behind the radio depending on vehicle model and equipment.
Technical Information
- Manufacturer: Stellantis (Peugeot / Citroën)
- Model: Peugeot 307 (2006) — Original Fitment
- Product Codes: 9660662677, 9662413277, 6564AH, 6564RL
- Additional Numbers: 9662413277 (alternative reference listed by some suppliers)
Compatibility Notes
Compatibility is primarily determined by the radio/head unit and the vehicle wiring harness. Many customers search by the part number — use the product codes above to match the unit with your radio. The unit was removed from a Peugeot 307 (2006) but may fit other Citroën/Peugeot models using the same CD changer specification and connector.
How To Replace (General Guide)
- Disconnect the vehicle battery before starting any electrical work to avoid short circuits or data loss.
- Remove interior trim panels or the glovebox as required to access the CD changer location (varies by model).
- If the changer is mounted behind the radio, remove the radio following manufacturer instructions to reach the unit.
- Unplug the electrical connector and antenna/audio cable from the changer. Note connector orientation and locking tabs.
- Remove mounting screws or clips, extract the old unit and install the replacement in reverse order.
- Reconnect battery, test functionality (radio menu should recognise the changer and allow disc selection).
Installation Recommendation
Perform installation in a clean, dry environment. Inspect connectors and wiring for corrosion or damage and replace any brittle cables or broken clips. Ensure the unit is securely mounted to avoid vibration-related errors. After installation, cycle through all changer functions and test with several discs to confirm reliable operation. This job is suitable for an experienced DIYer with basic hand tools; for complex dashboard disassembly, consider a workshop with appropriate trim tools.
Why This Part Most Often Fails
- Mechanical Wear: Moving parts inside the changer (tray, disc magazine, transport mechanism) can wear out or seize after years of use.
- Optical Pickup Degradation: Laser diode or pickup alignment can fail, causing read errors or skipping.
- Contamination: Dust, dirt or damaged discs can contaminate the mechanism and optics.
- Corrosion and Moisture: Exposure to humidity or water ingress leads to connector corrosion and electronic faults.
- Electrical Faults: Faulty solder joints, blown components or connector problems can interrupt communication with the head unit.
Practical Tips
- Always test the changer with multiple known-good discs after installation to confirm read reliability.
- If the radio does not recognise the changer after fitting, re-check connectors, fuse(s) and compatibility by part number.
- When possible, keep original mounting hardware and note connector orientation during removal to speed reassembly.
Searching by the product codes (9660662677, 9662413277, 6564AH, 6564RL) will improve the chance of finding the correct replacement. This listing targets professionals and skilled DIY repairers who need clear technical details and practical installation guidance.