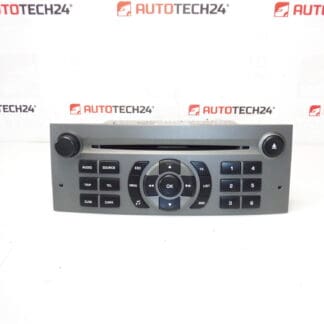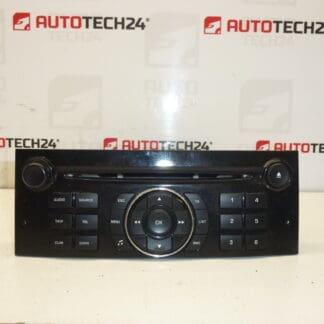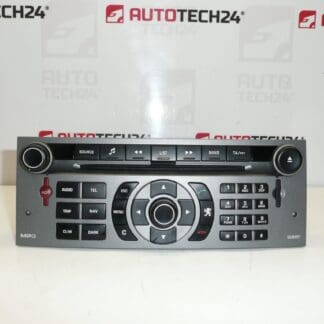
Description
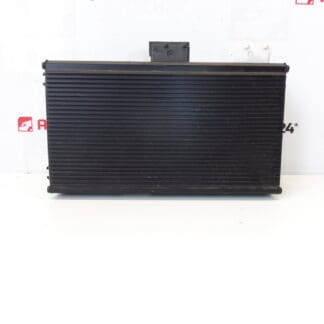
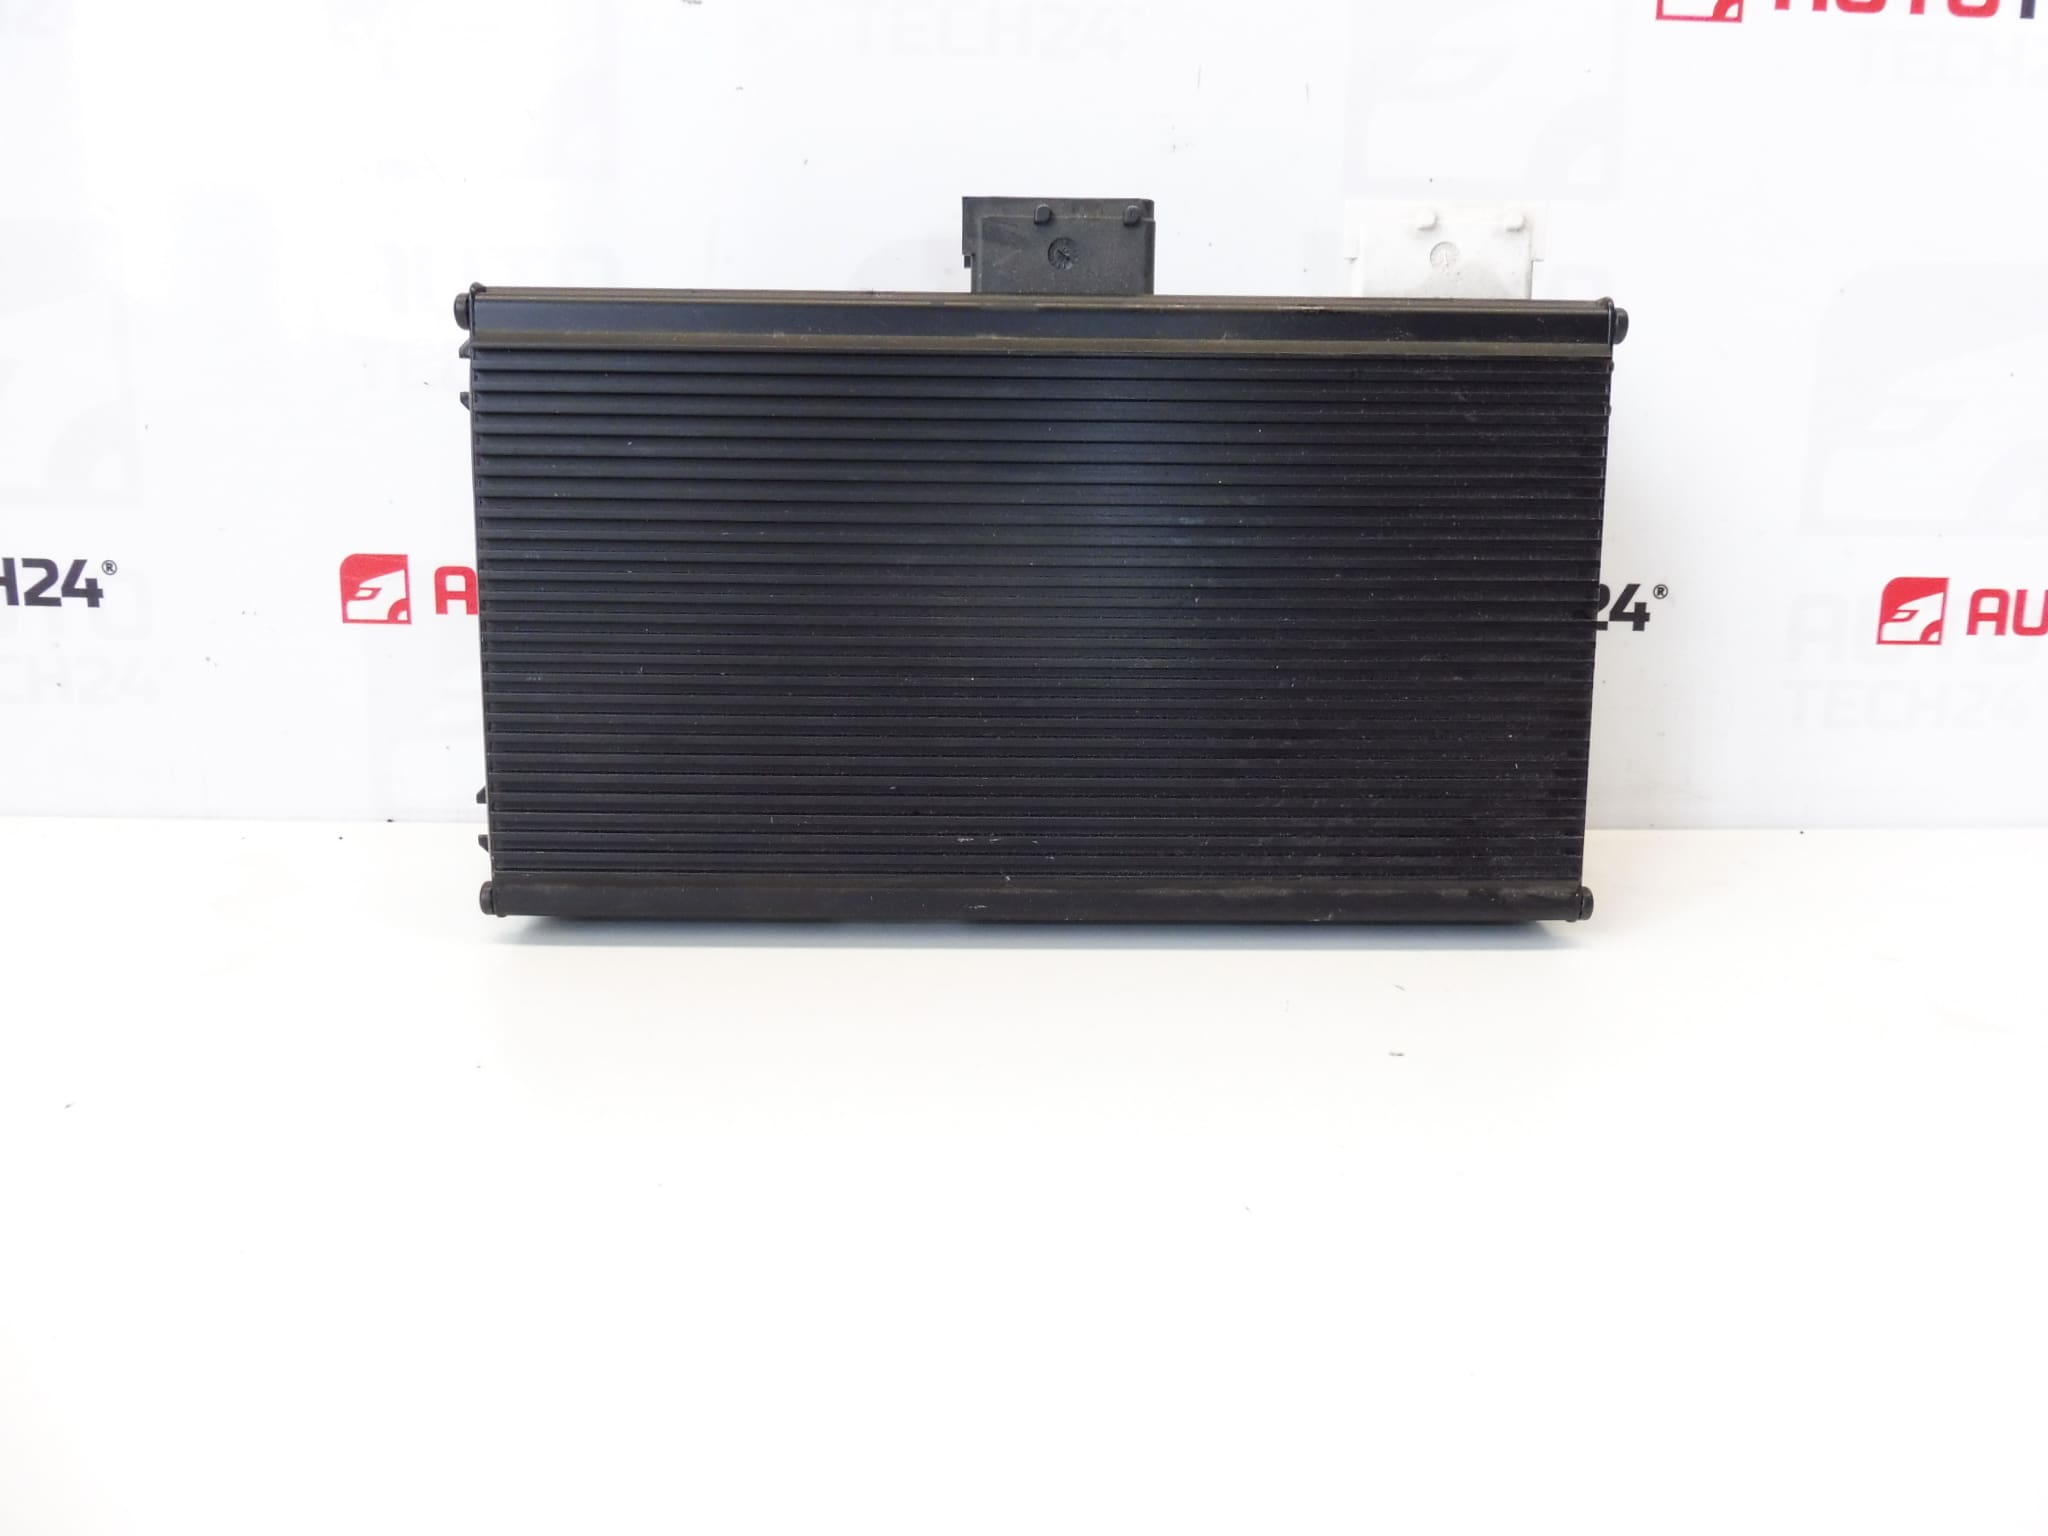
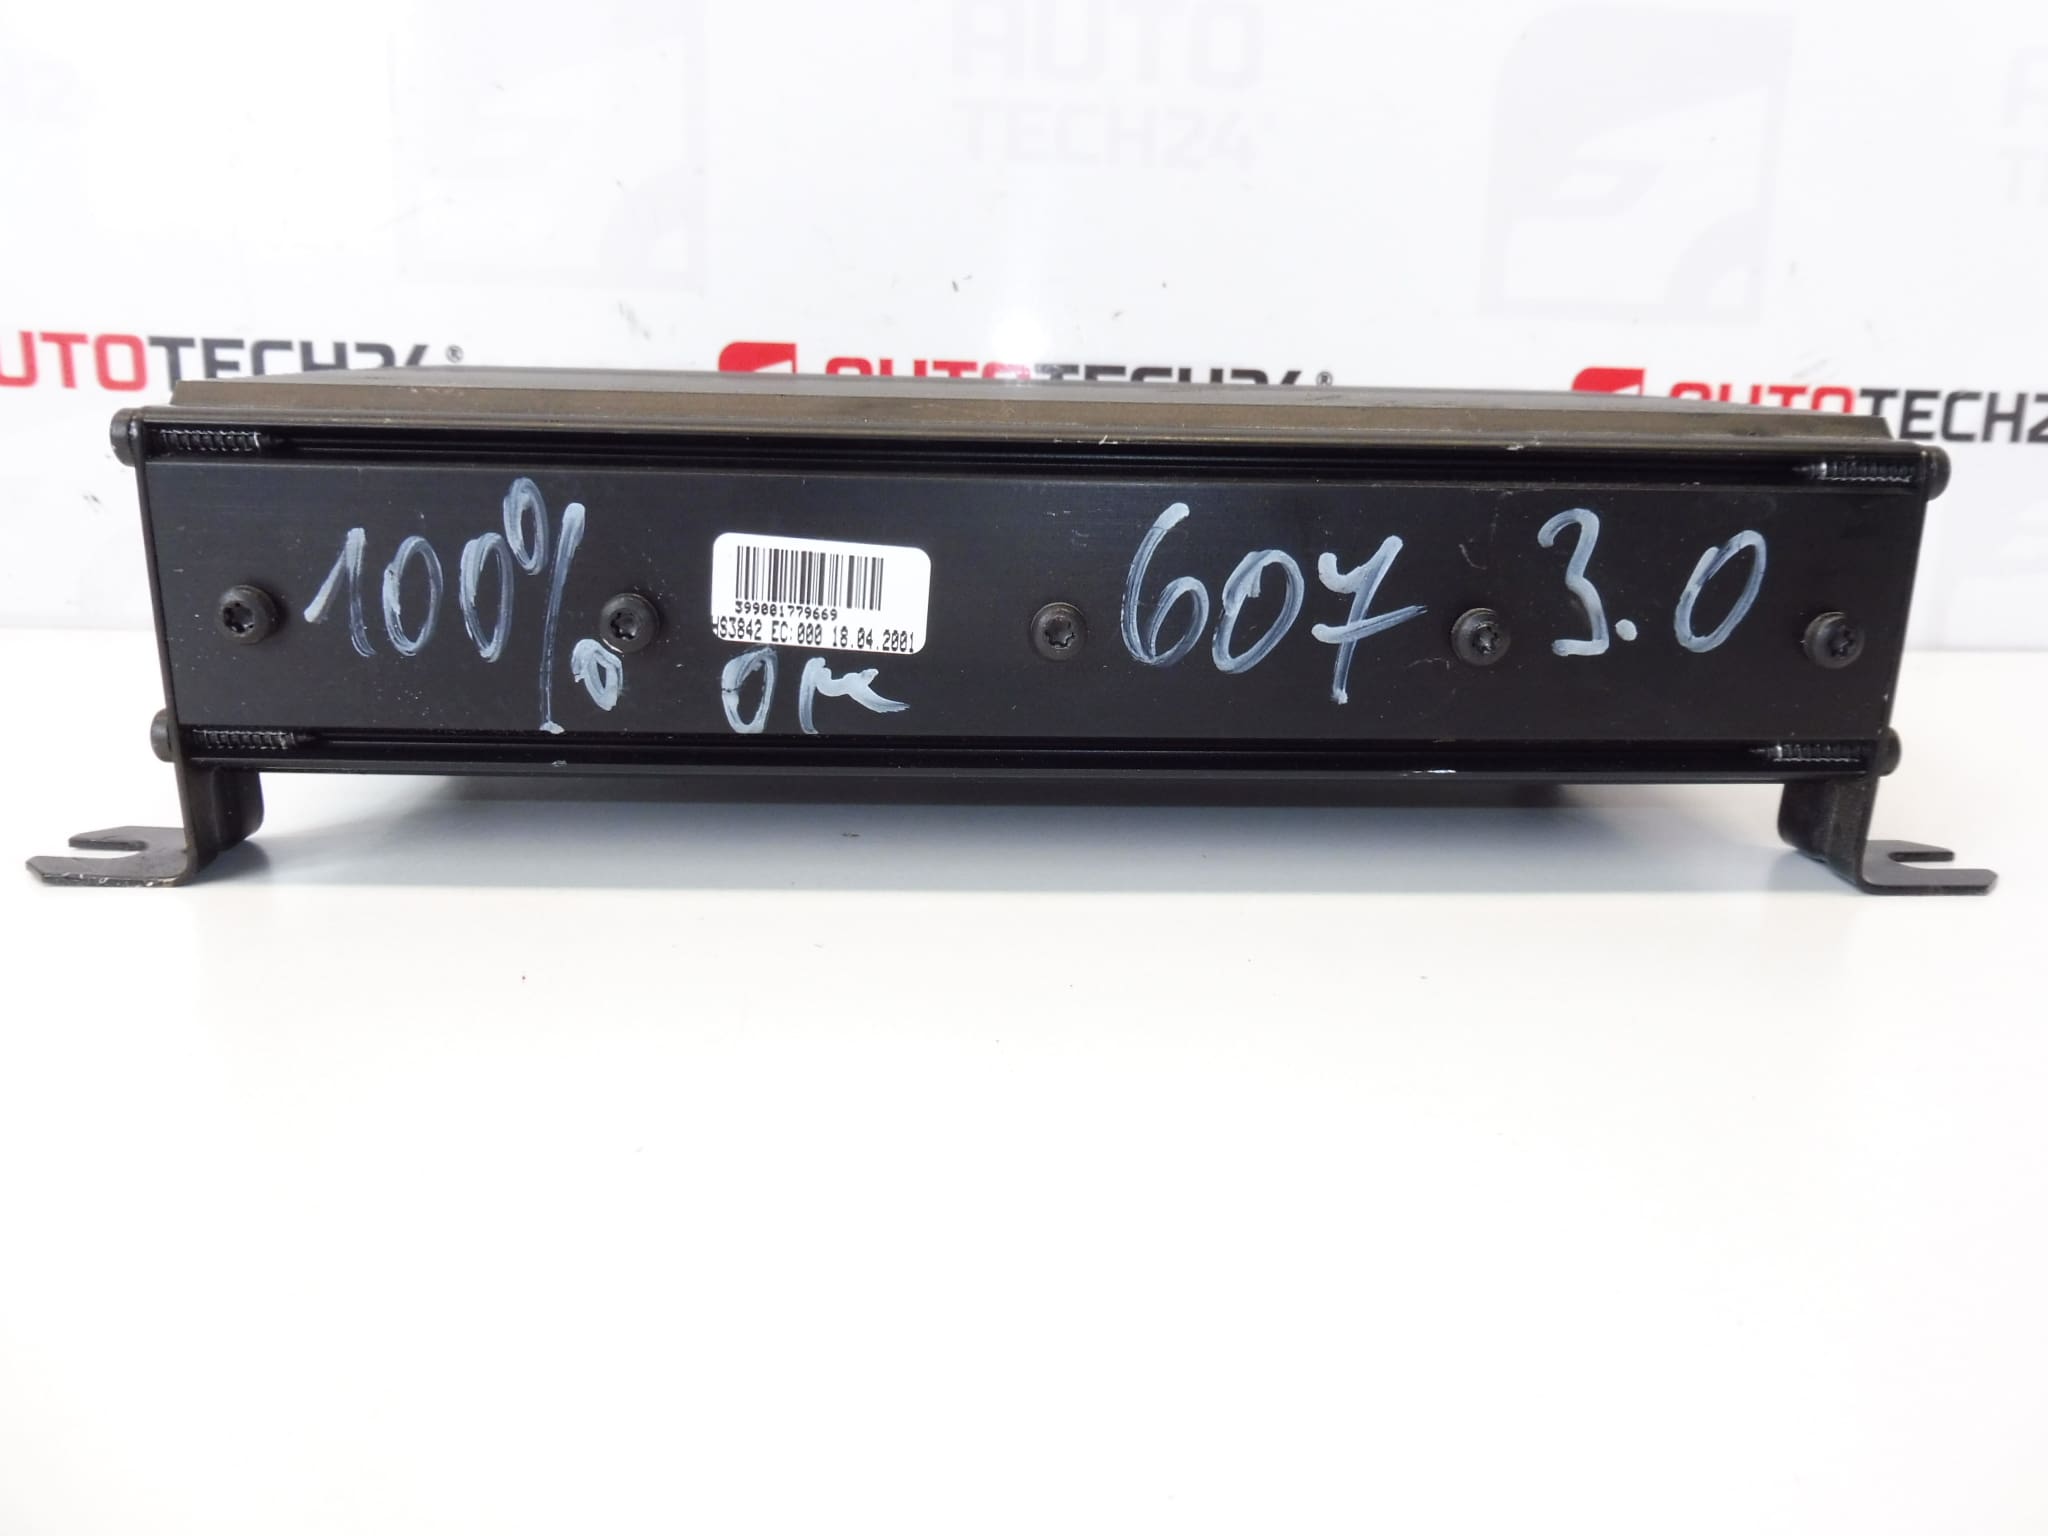
JBL amplifier from Citroën C5 II, suitable for Peugeot 607 and others.
This OEM JBL amplifier is designed for factory audio systems used on certain Stellantis vehicles. It restores and boosts the car stereo output, delivering clearer mids, tighter bass and higher available power to the loudspeakers compared with systems without an amplifier. The unit is commonly searched by part numbers 9631041580 and 6560LZ, so including these references in your order or search will speed up finding the correct fitment.
For Whom This Part Is Intended: Professional Auto Technicians And DIY Enthusiasts. Ideal When Replacing A Faulty Sound Module In Workshop Repairs Or Home Installations. The amplifier is frequently sought under OE codes, so the part numbers listed below are useful for fast identification.
Installation Recommendations
Before starting, disconnect the vehicle battery to avoid short circuits. The amplifier location varies by model – it can be mounted under a front seat, behind interior trim or in the boot area. Remove the appropriate trim panels, unplug the multi-pin audio harness and any antenna/remote leads, then undo the mounting fasteners. Fit the replacement in reverse order, ensuring all connectors seat fully and any ground points are clean and tight. After installation, reconnect the battery and verify speaker channels and head unit communication. If the vehicle has security coding for the audio system, follow the factory procedure to avoid lockouts.
Why This Part Commonly Fails
Common causes of amplifier failure include water ingress and moisture-induced corrosion at connectors, thermal stress from poor ventilation, electrical overloads caused by shorted speaker wires or aftermarket amplifiers, and voltage spikes from faulty alternators or charging systems. Intermittent sound, distorted channels, or complete loss of audio are typical symptoms indicating amplifier issues. Regular inspection of connectors and wiring integrity helps prevent many failures.
Technical Information
- Manufacturer: Stellantis
- Model: Citroën C5 II; Peugeot 607; Peugeot 407
- Product Codes: 9631041580
- Additional Numbers: 6560LZ; NFP
Notes: Use the listed product codes when searching inventory or ordering to ensure correct match. If replacing the amplifier due to electrical damage, also check speaker wiring and vehicle charging system to prevent recurring faults.
Buy with confidence if you require an OEM-style JBL amplifier for the listed Stellantis models — the correct part number is the quickest way to confirm compatibility and restore factory sound performance.