Description
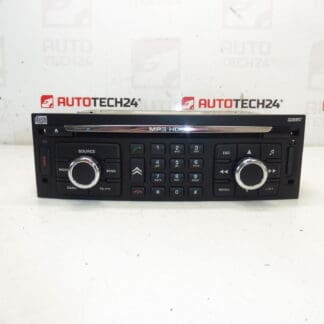
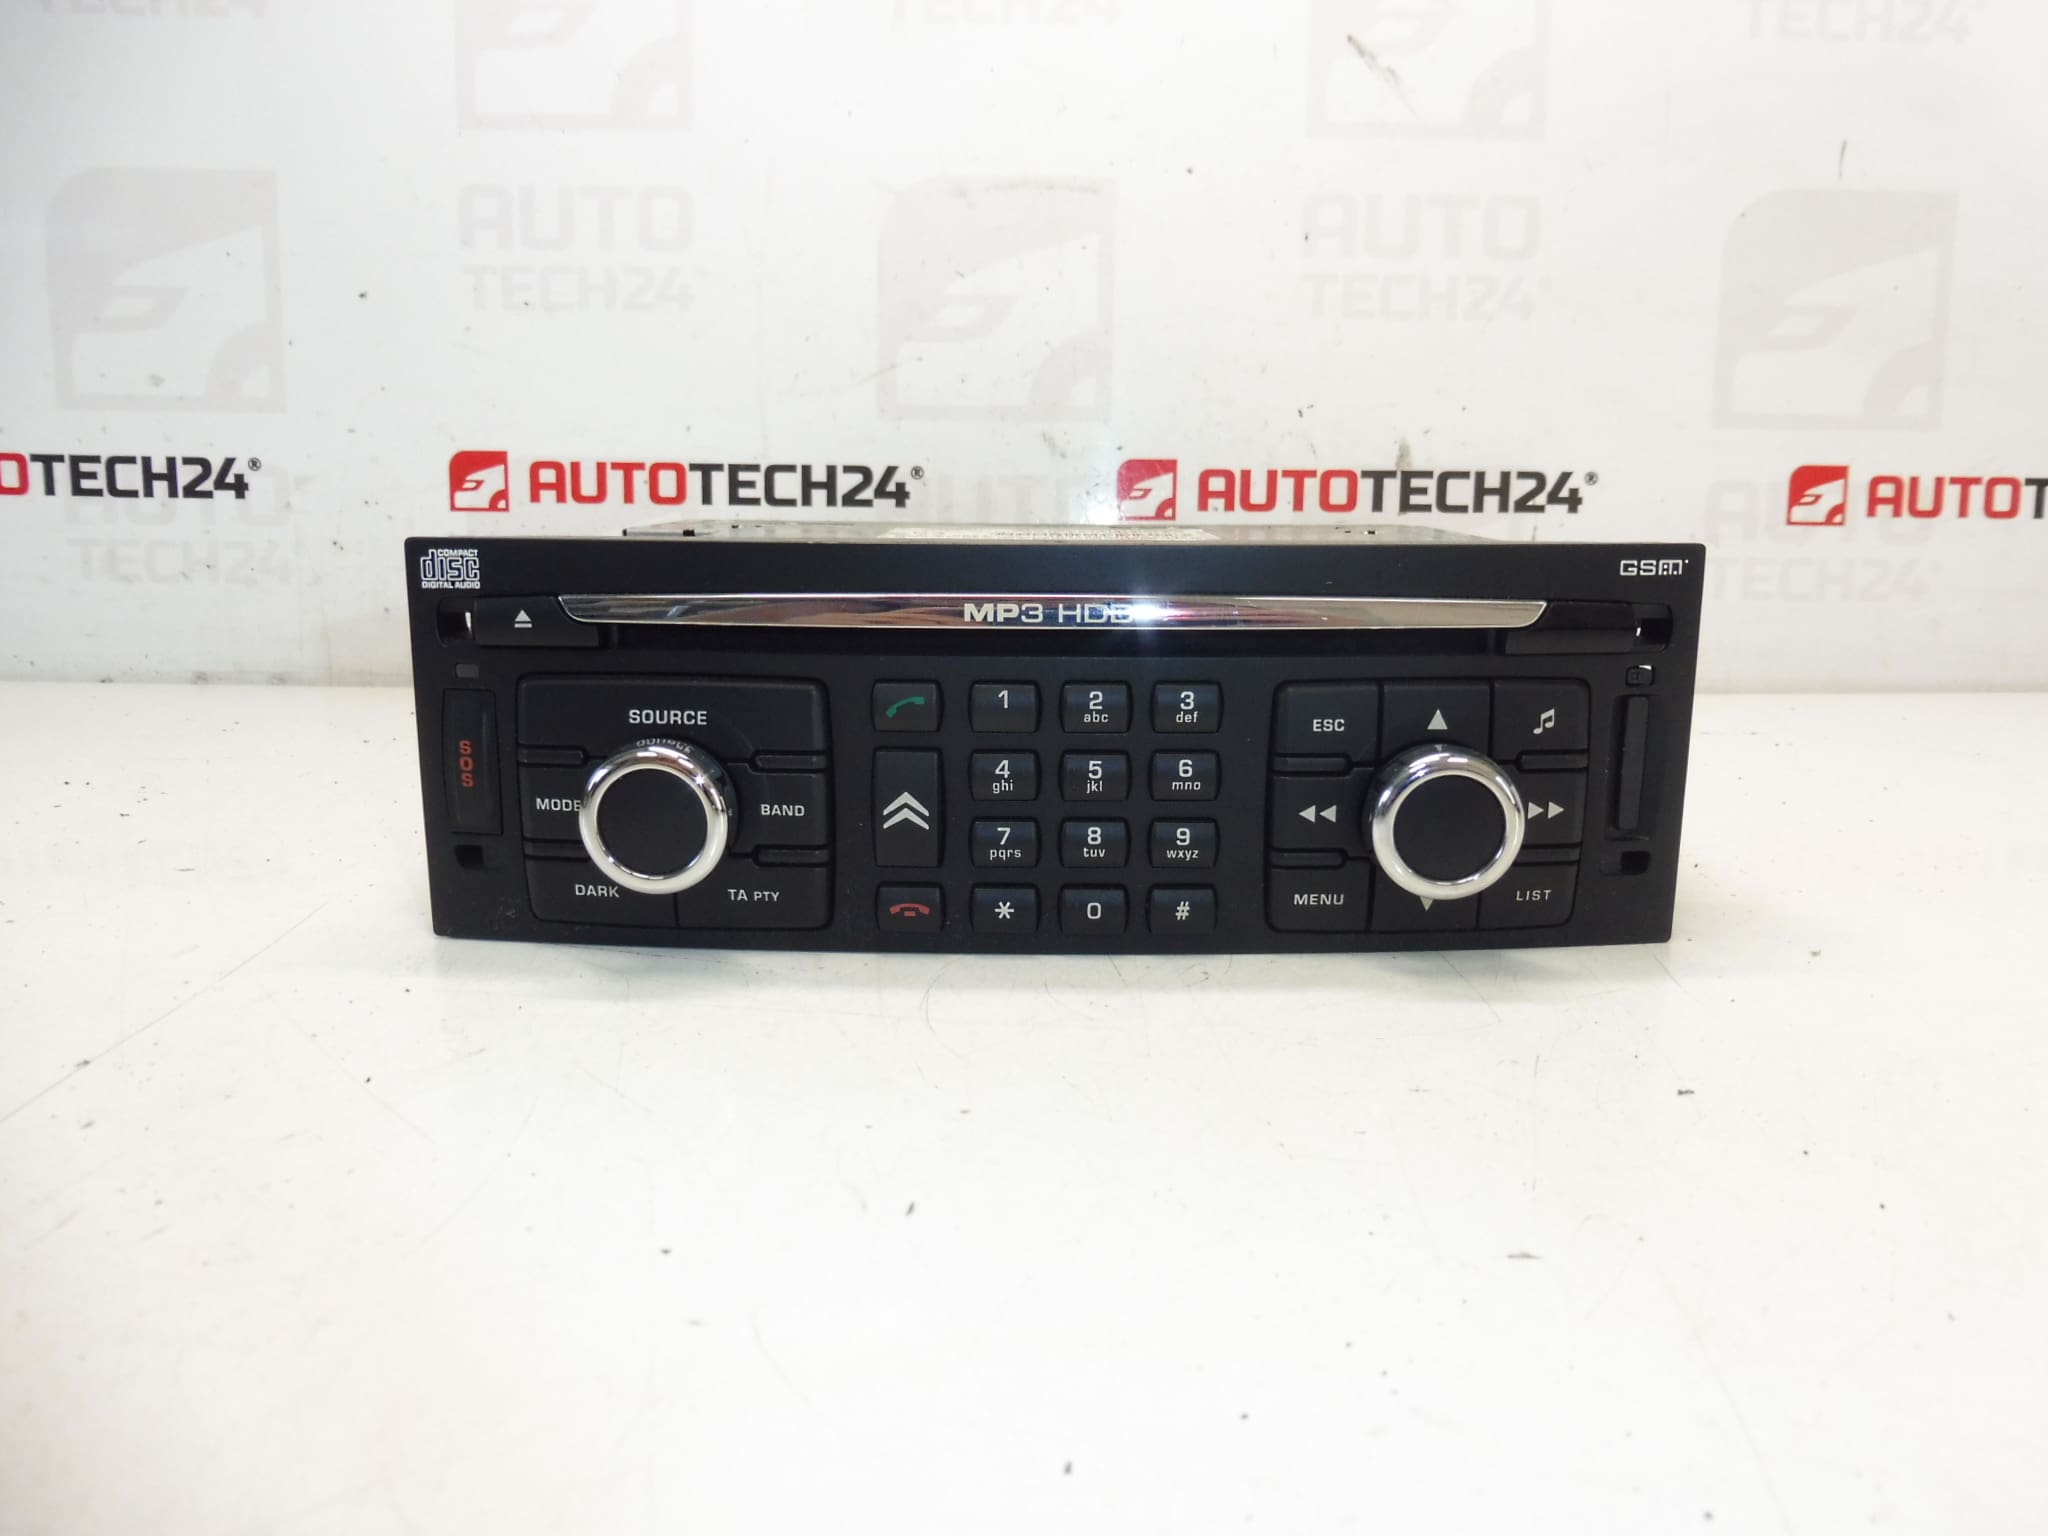
Magneti Marelli RT3eV-N3-Q1 car radio for Citroën C4 Picasso first generation. The radio must be programmed and configured to the vehicle using diagnostics. Tested, fully functional.
Overview
High-quality OEM Magneti Marelli RT3 multimedia unit designed for the first generation Citroën C4 Picasso. This unit provides the factory-style interface for radio, navigation (where equipped), and vehicle menus. Ideal for mechanics and DIY enthusiasts looking for a direct replacement that preserves original functionality and vehicle aesthetics.
Key Features And Benefits
- Direct fit for Citroën C4 Picasso (first generation) — preserves dash finish and factory controls.
- OEM Magneti Marelli hardware ensures compatibility with existing steering wheel controls and vehicle wiring when matched by part number.
- Commonly searched by product codes — helpful for fast identification: 96645900XT, 6574CW, 6574CX.
- Provides original user experience with factory menus, radio reception and (if equipped) navigation integration.
Technical Information
- Manufacturer: Magneti Marelli
- Model: RT3eV-N3-Q1
- Product Codes: 96645900XT, 6574CW
- Other Numbers: 6574CX, NFP
Compatibility
Intended For: Citroën C4 Picasso (First Generation). Compatibility is primarily determined by the product codes listed above; buyers commonly search using these numbers to find the correct unit.
Installation Recommendation
- Disconnect Battery: Always disconnect the vehicle battery before starting removal to avoid short circuits and electrical damage.
- Trim Removal: Carefully remove surrounding trim panels using appropriate plastic trim tools to avoid damaging clips and finish.
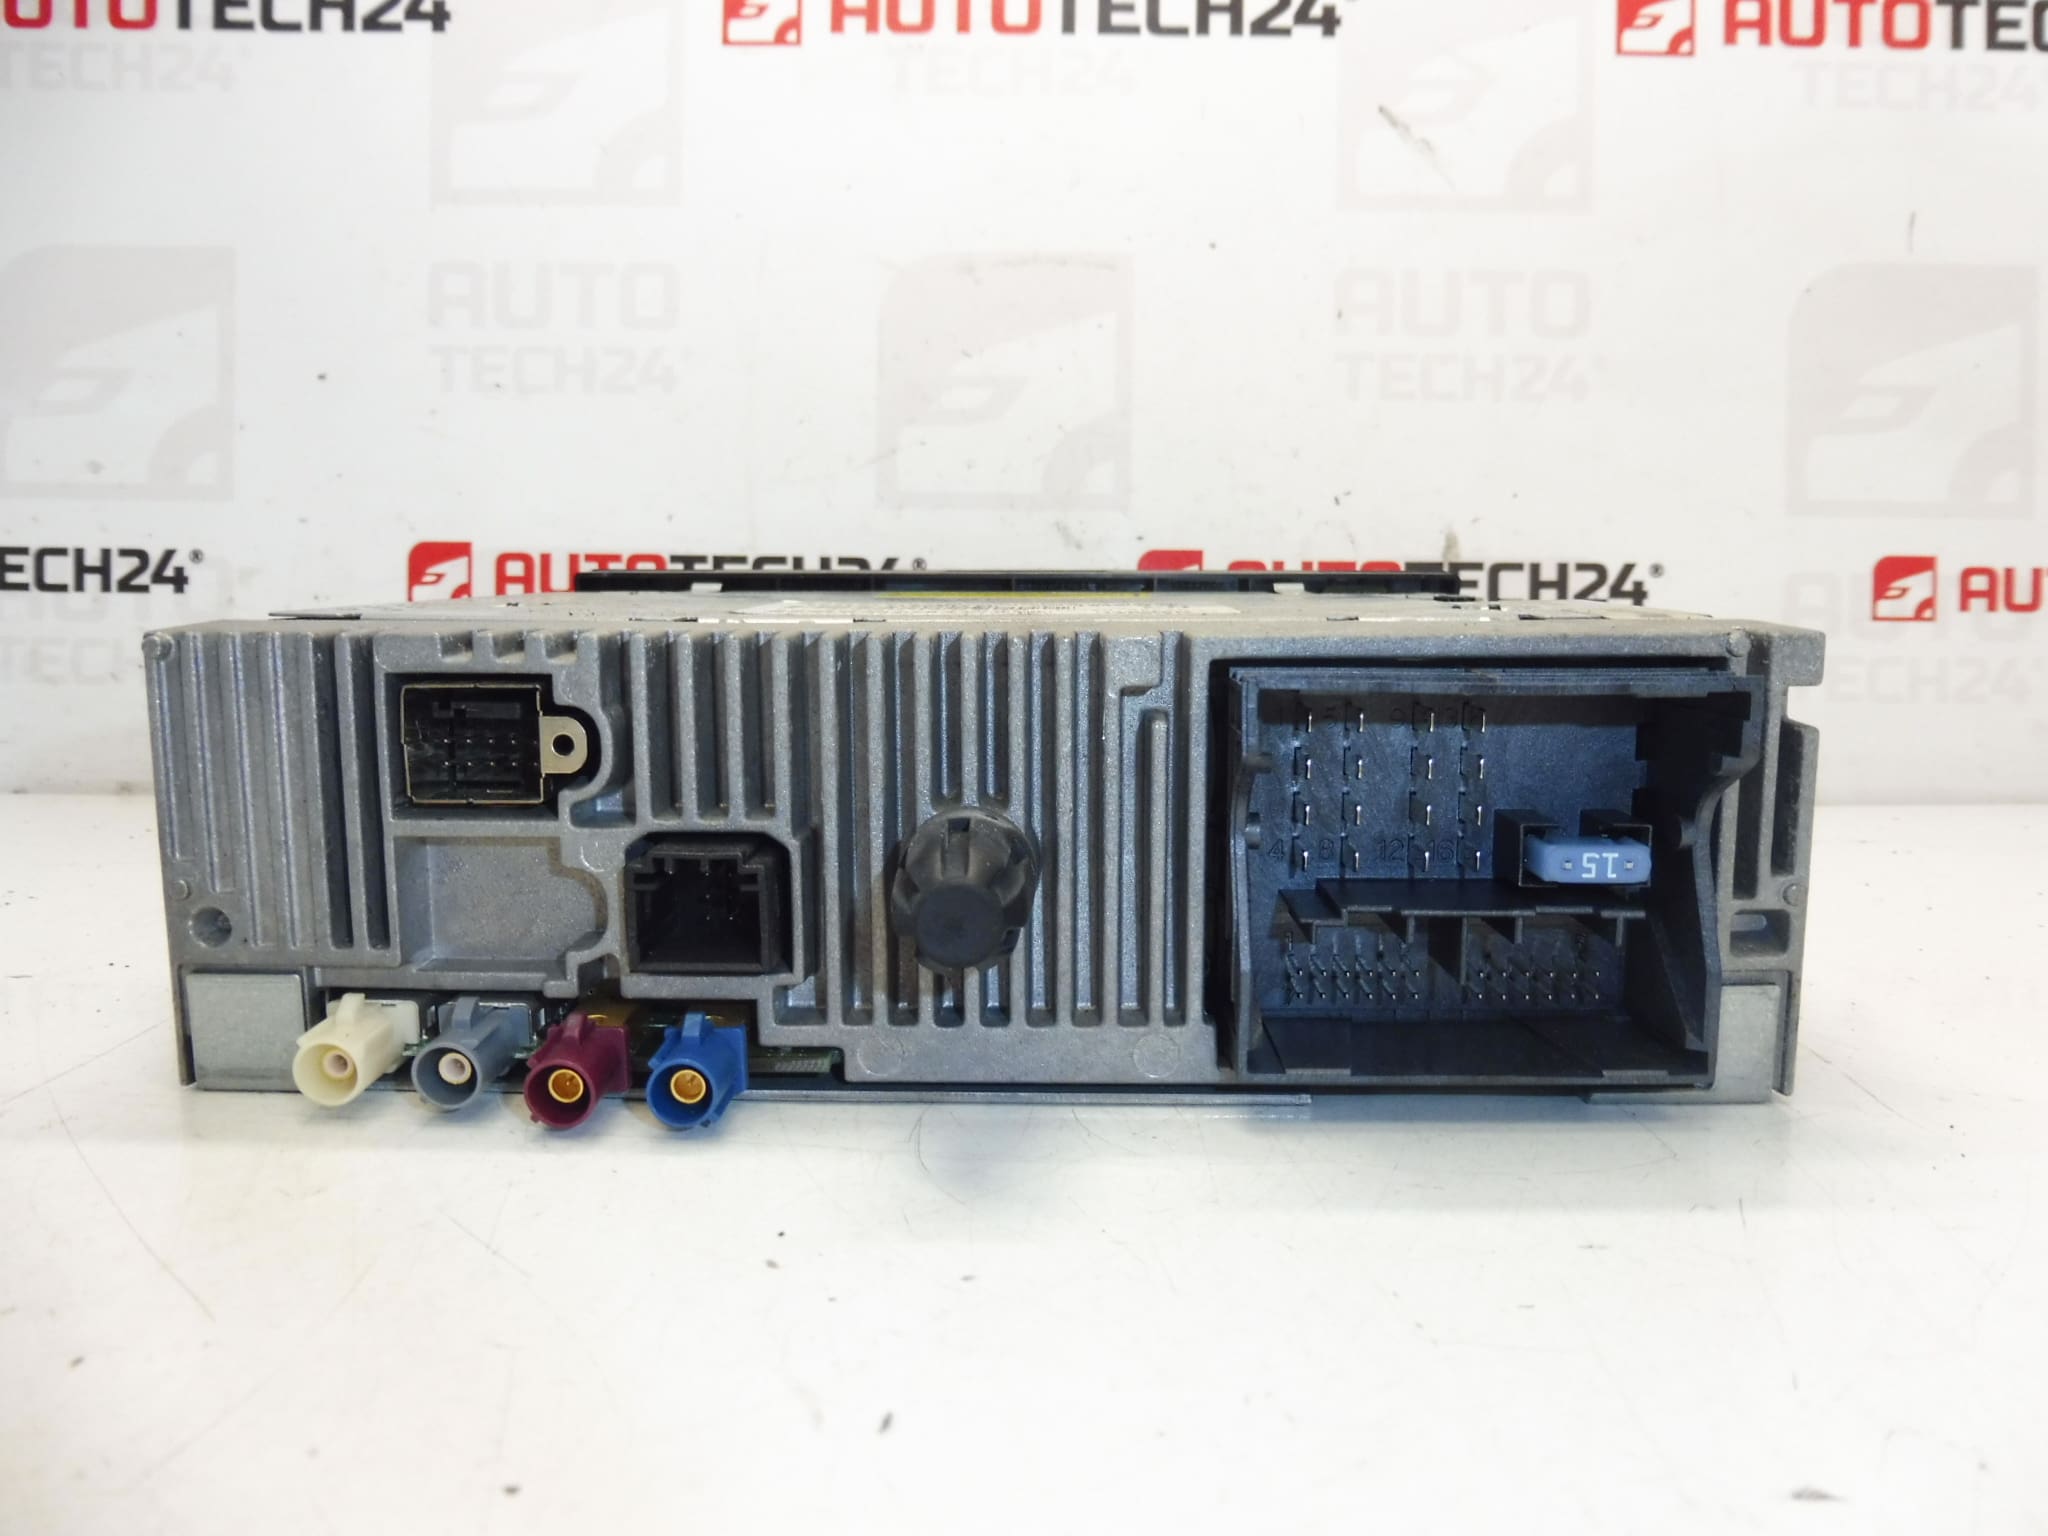
- Radio Extraction: Use radio removal keys or unscrew factory fasteners, slide unit out evenly and disconnect antenna, wiring harnesses and any CAN/aux connectors.
- Reinstallation: Reconnect all harnesses and antenna, test power and basic functions before reinstalling trim. Ensure connectors are fully seated and locking tabs engaged.
- Programming And Setup: This unit Must Be Programmed And Configured To The Vehicle Using Diagnostics. Programming typically requires PSA-compatible diagnostic tools to load vehicle-specific settings and enable full functionality.
- Professional Service Recommended For Coding: For correct initialization and integration with vehicle systems, coding by a qualified technician with PSA tools is advised.
How To Replace (Practical Steps)
- Park vehicle on level ground, set parking brake and disconnect negative battery terminal.
- Remove surrounding trim panels to access radio mounting screws or release clips.
- Release mounting brackets and slide the unit out; disconnect antenna cable and electrical connectors.
- Connect replacement unit, verify power and basic audio functions, then proceed with diagnostic programming to match vehicle settings.
- Reassemble trim and verify all steering wheel controls and vehicle integrations operate correctly.
Common Failure Reasons
Typical causes of radio faults in these units include:
- Software Corruption: Boot loops or frozen interfaces often require reprogramming or software repair.
- Connector Corrosion Or Poor Contacts: Moisture or wear can cause intermittent power and audio issues.
- Power Supply Component Wear: Aging capacitors or internal power regulators may fail after many years.
- Physical Damage Or Impact: Damage from removal/installation or intrusion of liquids can impair display or electronics.
- Integration/Pairing Loss: Used units commonly need diagnostic pairing/programming to restore full vehicle integration.
Why Choose This Unit
If you need an OEM-style replacement that keeps the factory look and retains original functionality, this Magneti Marelli RT3eV-N3-Q1 is a suitable choice for Citroën C4 Picasso first generation owners. The presence of known product codes makes identification straightforward for mechanics and DIYers searching by part number.
Notes
Search Tips: Customers often locate this part by product codes (96645900XT, 6574CW, 6574CX). Ensure code match before installation. No VIN-based checks are included in this description.