Description
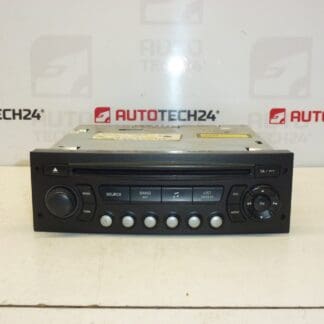
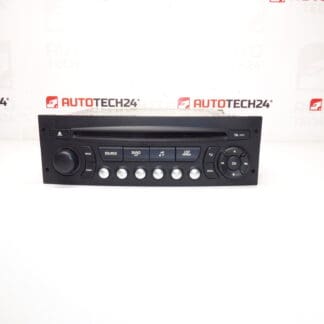
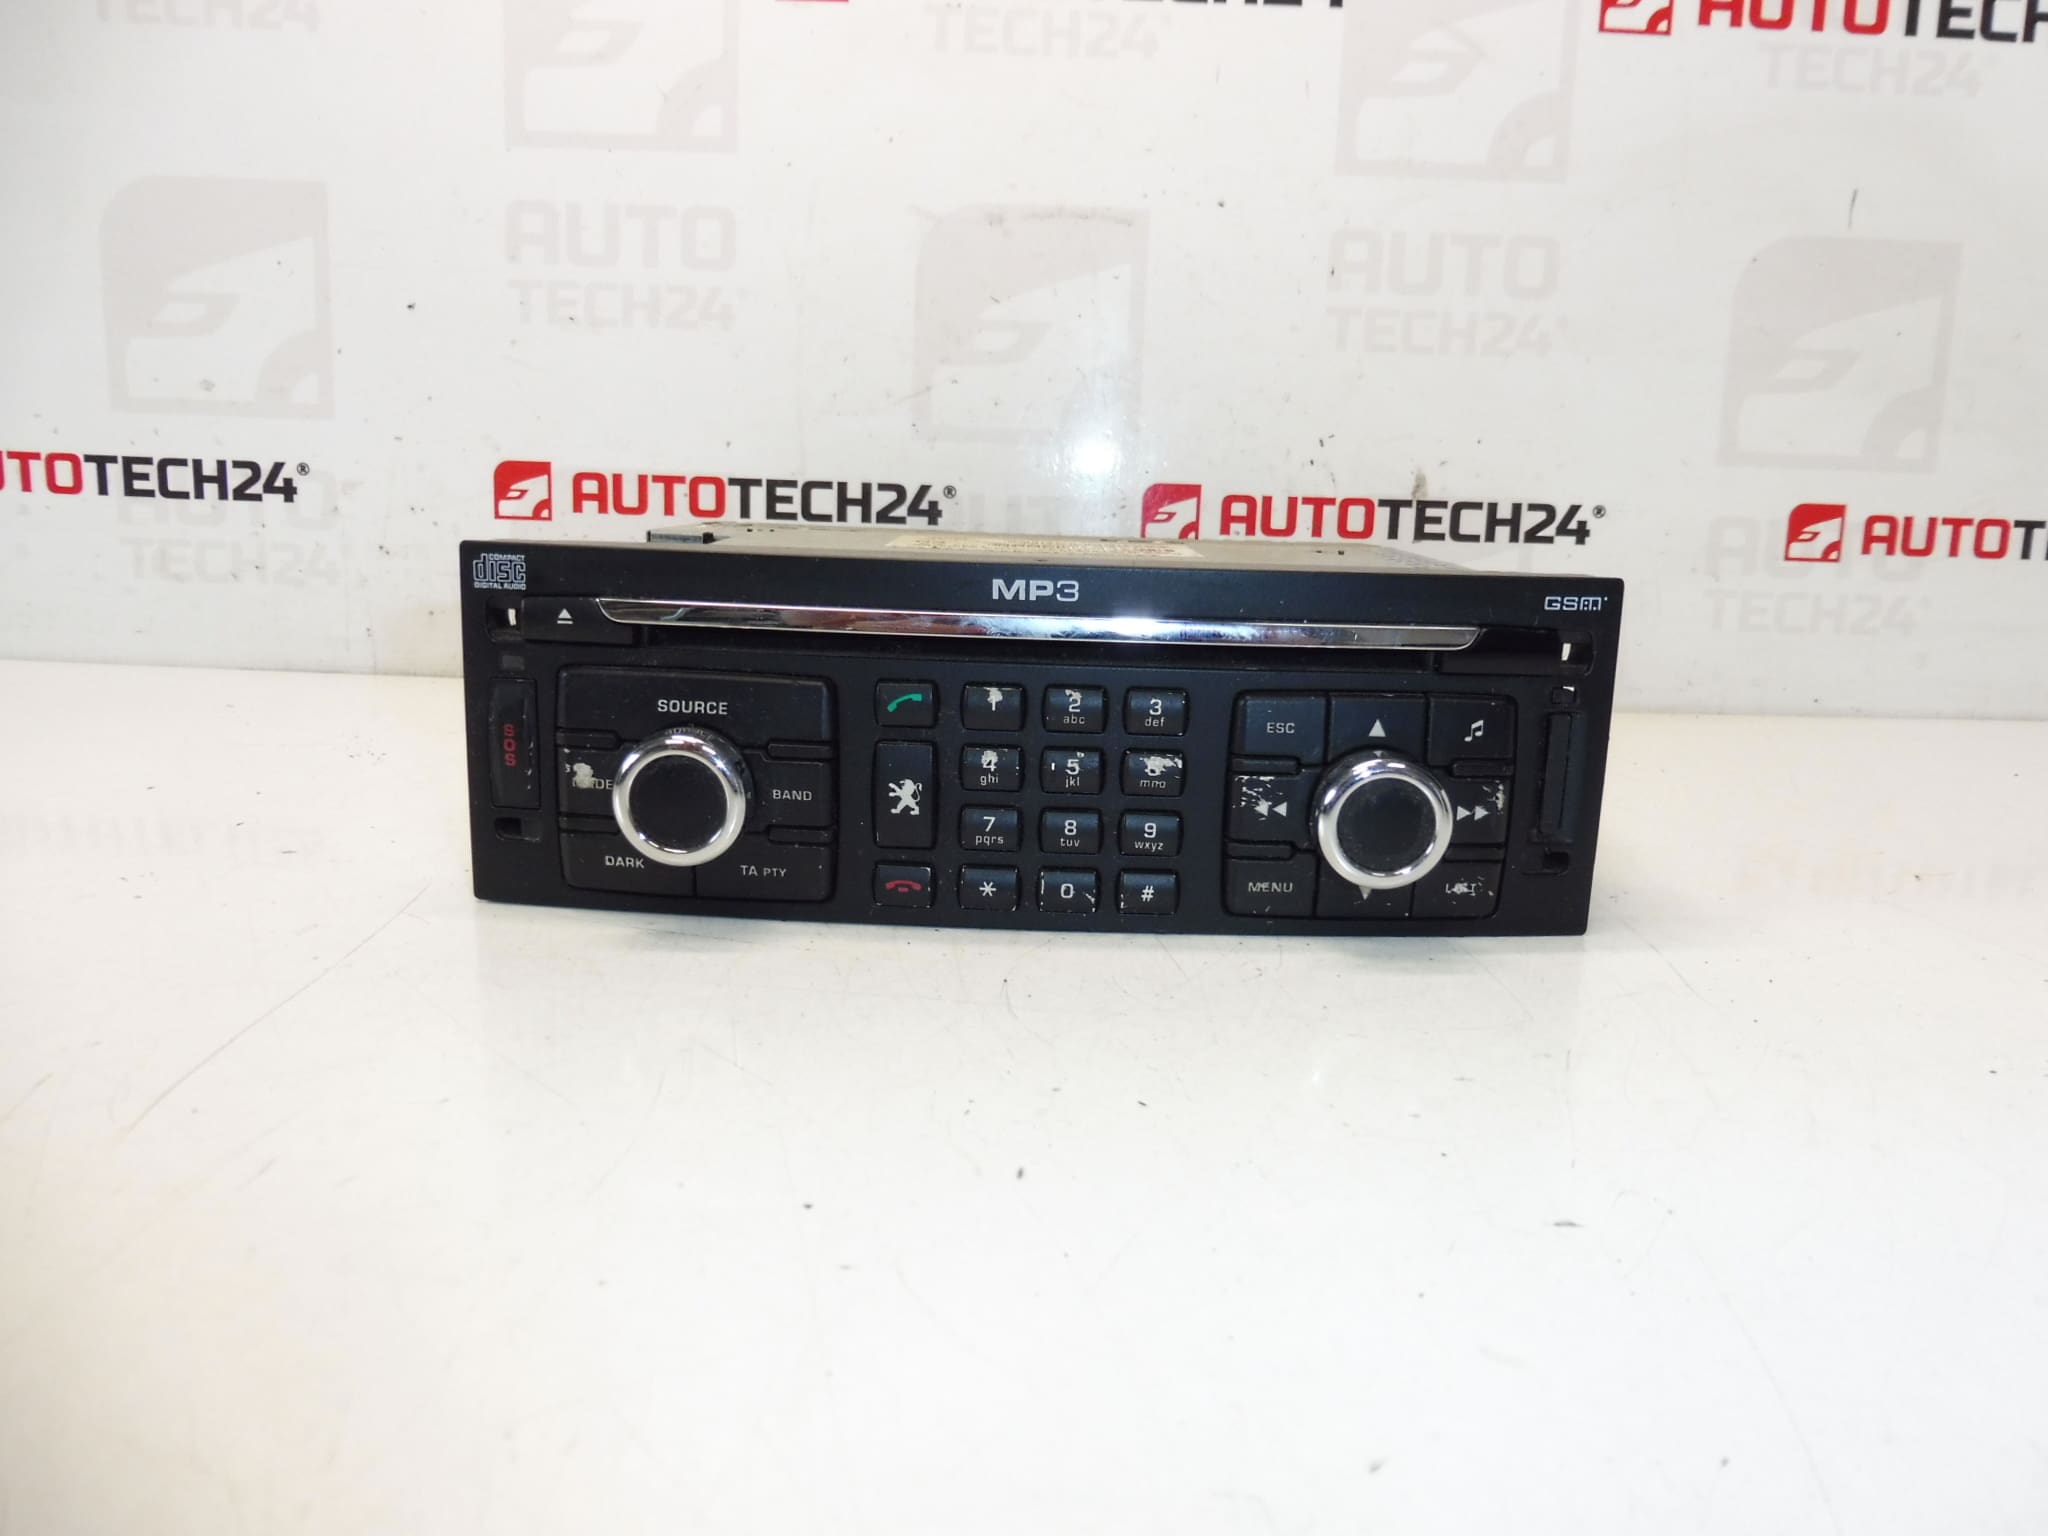
Car radio with CD player and HDD navigation, GSM RT3 T6-N3. The radio must be coded to the vehicle using diagnostic equipment. It is from a Peugeot 307 2006. Tested and fully functional.
This OEM RT3 T6-N3 head unit is a direct-fit factory radio/navigation system originally installed in the Peugeot 307. It combines a CD player, HDD-based navigation and GSM connectivity in a single unit, providing reliable in-dash navigation, audio playback and integrated vehicle controls. Designed for professional garages and experienced DIYers, this unit retains the original vehicle look and wiring harness compatibility when the correct product codes match. Commonly searched by reference numbers 96640238XT and 6574CK/6574CJ, it is a popular replacement for owners restoring original infotainment functionality.
Technical Information
- Manufacturer: Stellantis (Peugeot/Citroën)
- Model: Peugeot 307 (2006) – RT3 T6-N3 Head Unit
- Product Codes: 96640238XT
- Additional Numbers: 6574CK, 6574CJ, 6574CK NFP
Compatibility
Primarily fitted to Peugeot 307 vehicles equipped with the RT3 infotainment option. Ensure the unit product codes match the original part numbers in the vehicle to guarantee electrical and connector compatibility. This unit corresponds to factory RT3 installations and is intended for vehicles from the same model generation.
Installation Recommendations
- Disconnect the negative battery terminal before starting to prevent short circuits and to protect the unit’s memory.
- Remove surrounding trim panels carefully to avoid breaking plastic clips. Use appropriate trim tools.
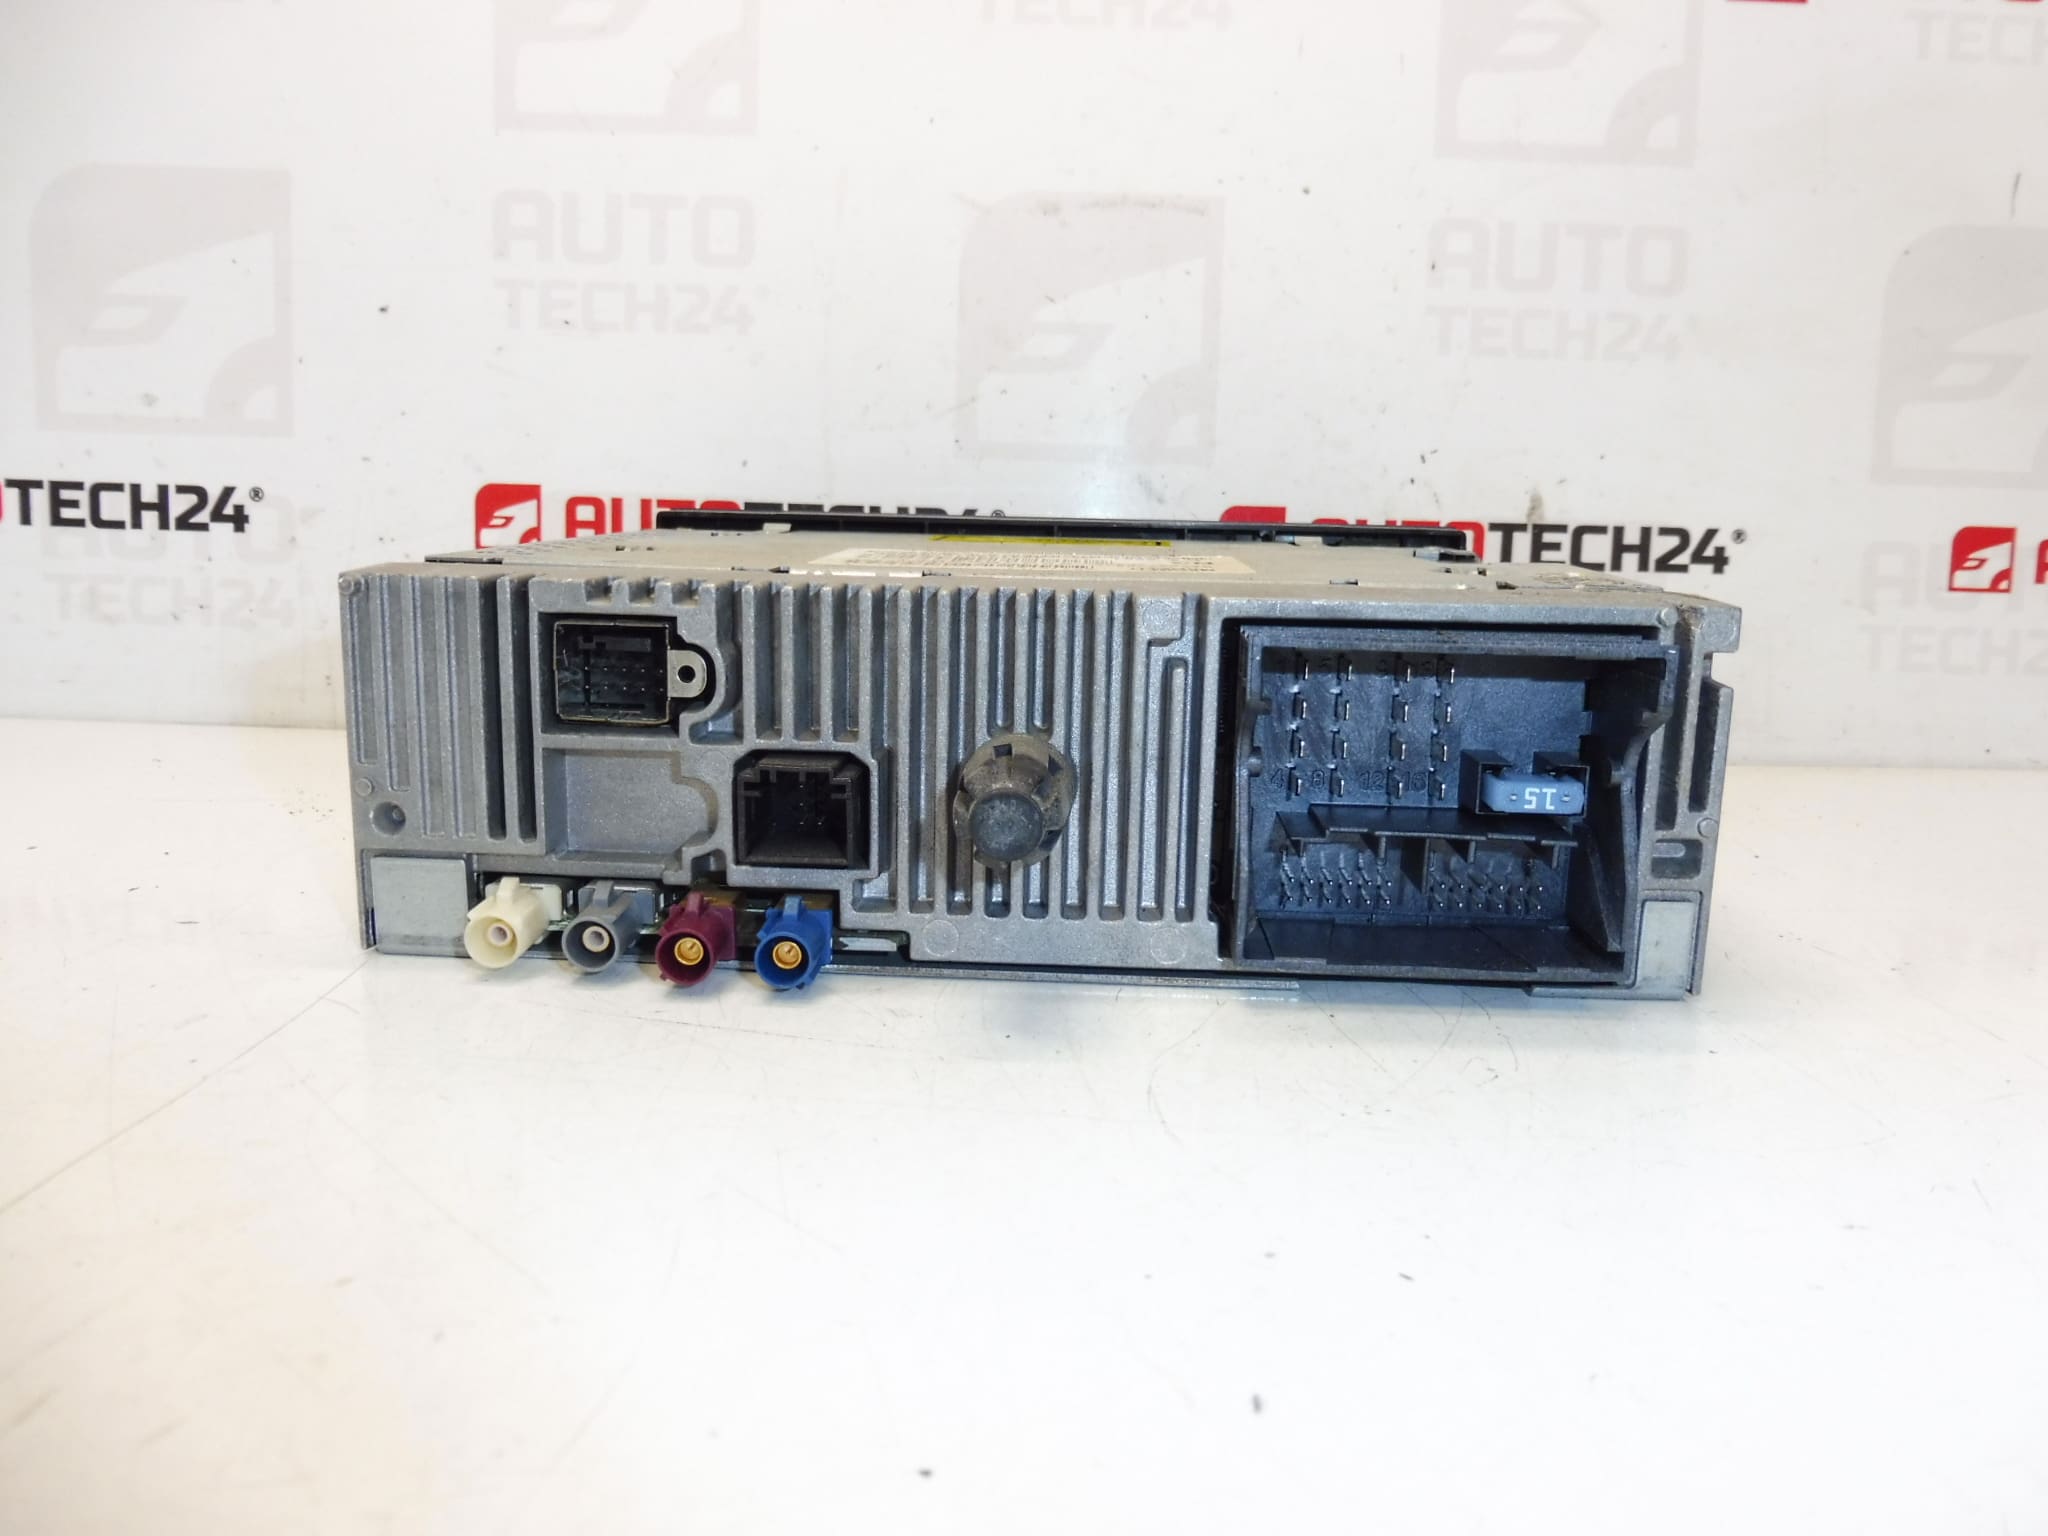
- Unscrew the head unit and disconnect all harnesses, antenna and any external modules (microphone, GPS antenna) before removal.
- Transfer any mounting brackets or carrier frames from the donor unit if required by the vehicle.
- After mechanical installation, coding/configuration is required: the radio must be coded to the vehicle using diagnostic equipment (DiagBox/PP2000 or equivalent) to enable full functionality and integration with vehicle systems.
- Avoid powering the unit while connectors are disconnected and prevent mechanical shocks to the HDD portion during handling.
How To Replace On Vehicle
- Turn ignition off and disconnect the negative battery terminal.
- Remove center console trim panels to expose the radio mounting bolts.
- Remove radio mounting screws and gently slide the unit out of the dash.
- Disconnect wiring harnesses, antenna cable and any external module plugs (GPS, microphone, etc.).
- Fit the replacement unit, reconnect all connectors and secure the unit in place.
- Reassemble trim, reconnect the battery and perform diagnostic coding to register the head unit with the vehicle’s systems.
Why The Part Fails Most Often
- HDD Failures: Mechanical hard drives in older RT3 units suffer from wear, vibration and eventual mechanical failure, causing navigation data loss or boot issues.
- CD Mechanism Wear: The CD drive can seize or fail due to worn belts/lasers after years of use.
- Firmware Corruption: Interrupted updates or power loss during flash operations can corrupt software, requiring reprogramming or firmware recovery.
- Connector Corrosion: Moisture and poor contacts at harness connectors lead to intermittent faults or loss of functions.
- Overheating And Aging Electronics: Long-term thermal stress can degrade capacitors and solder joints, causing display or audio failures.
Practical Tips
- When replacing an HDD-equipped unit, handle gently and consider imaging the drive if you need map or user data recovery.
- If the unit exhibits software faults, a full diagnostic session and software reflash with PSA tools often resolves issues that are not hardware-related.
- Professional coding with DiagBox/PP2000 is recommended to restore functions such as steering-wheel controls, vehicle settings and radio authorization.
This unit is suitable for professional fitters and competent DIY mechanics comfortable with dash disassembly and ECU-level coding. Check product codes above to confirm direct compatibility with your vehicle’s original unit.