Description
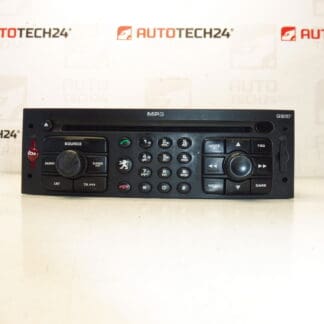
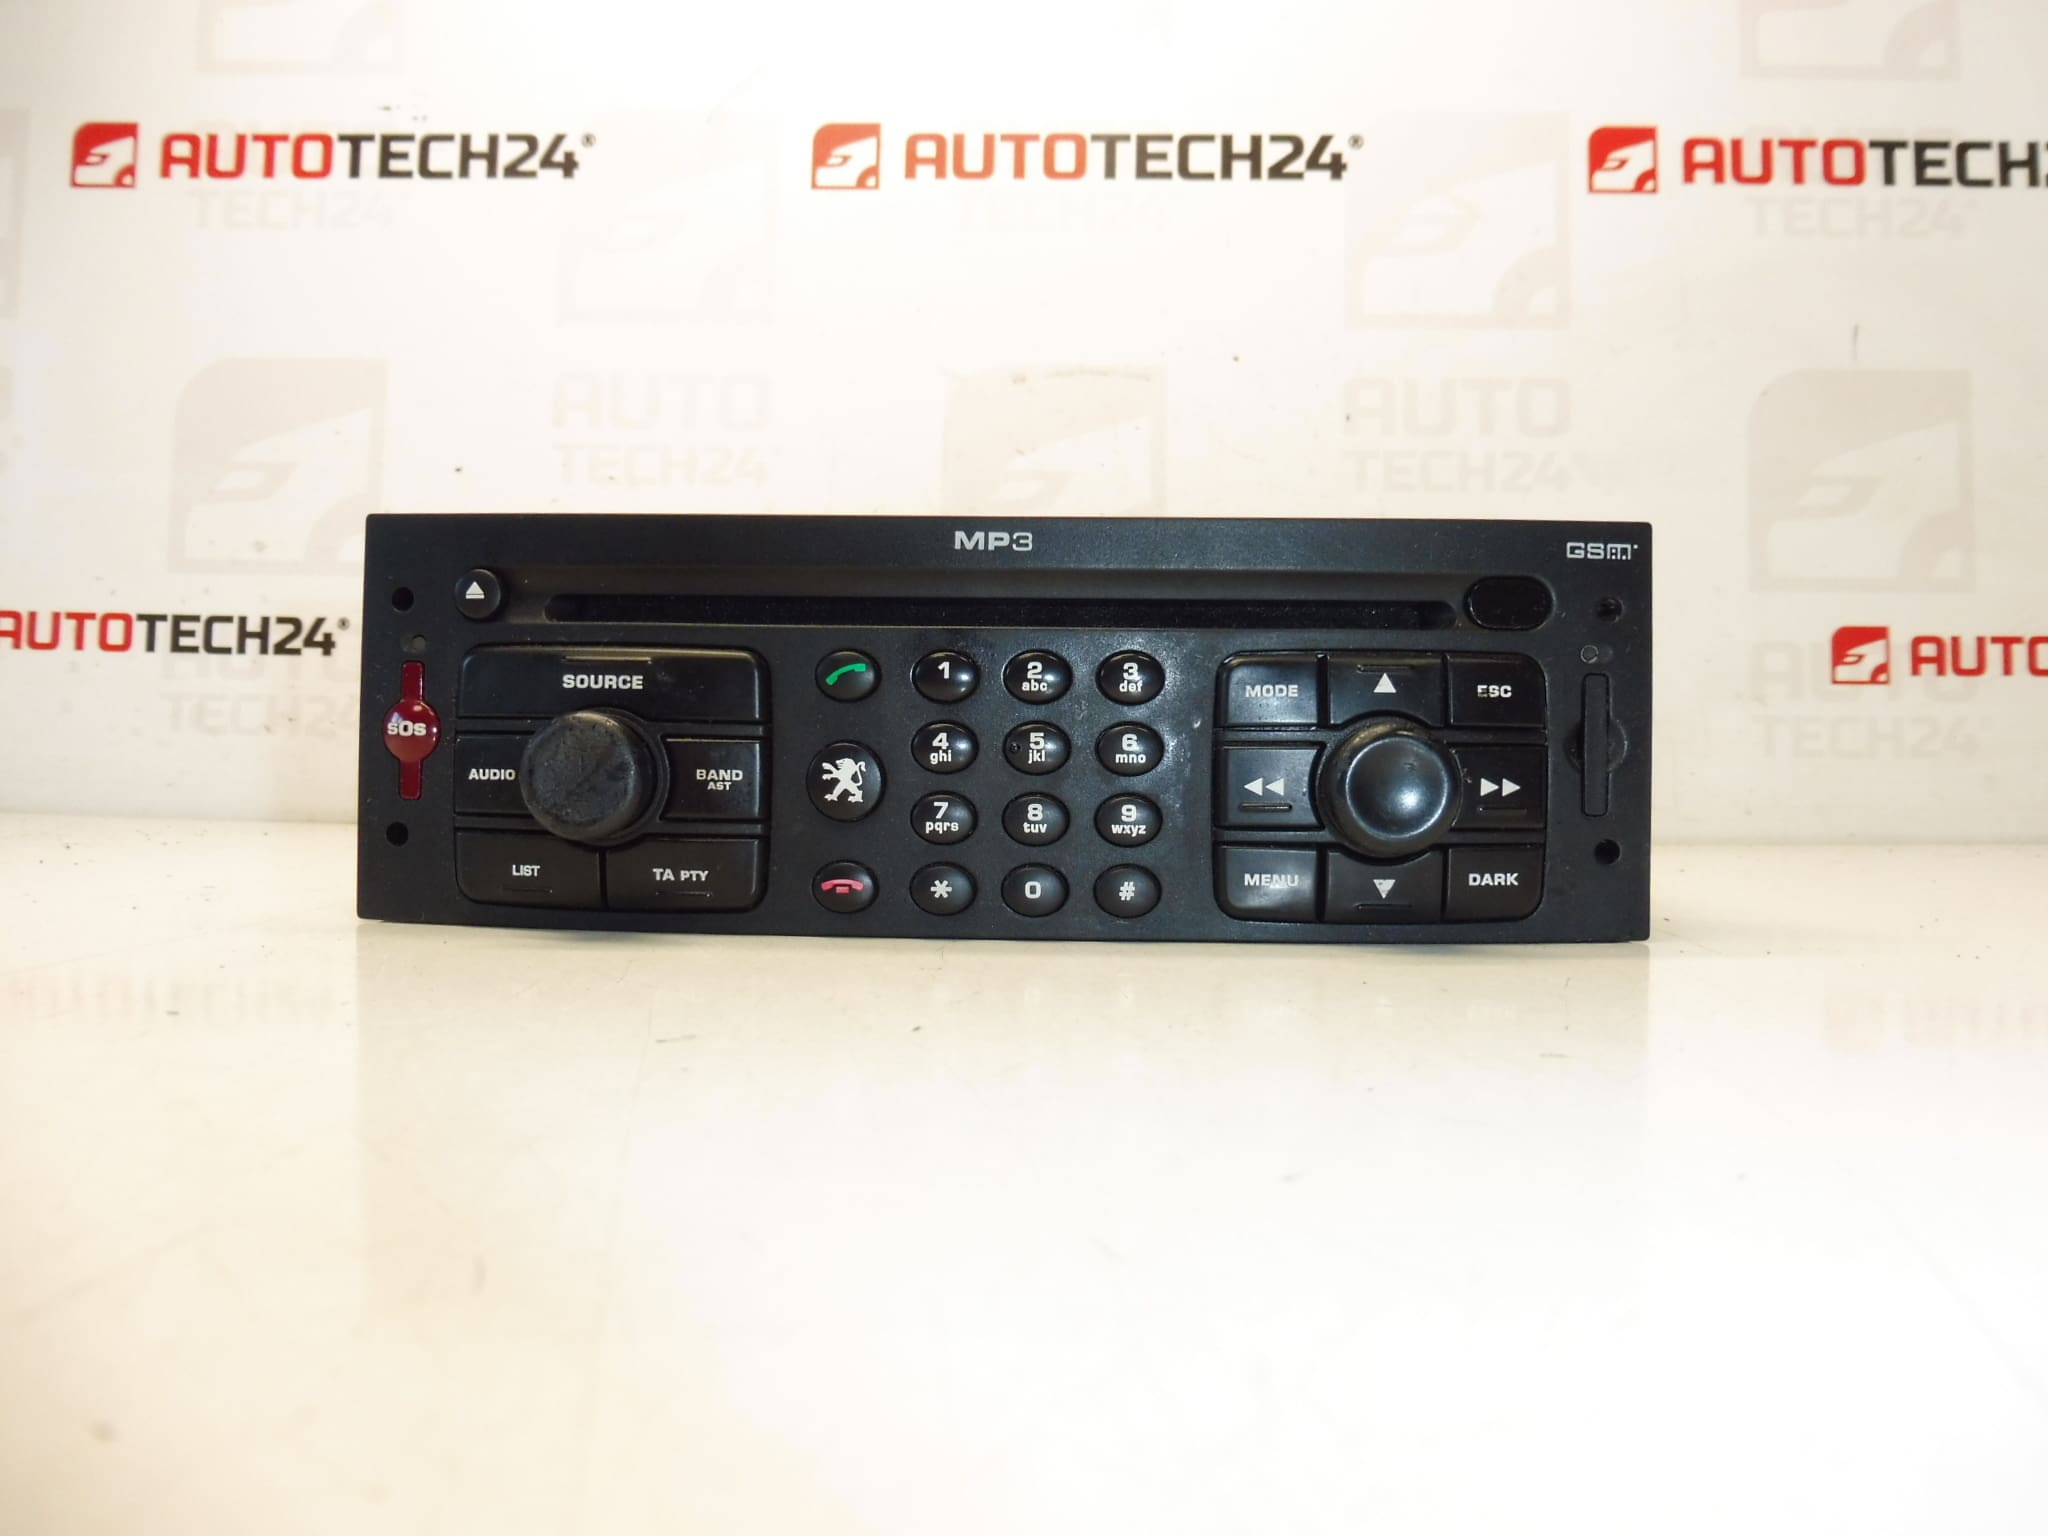
Car radio with CD, Navigation and GSM RT3-N3-09. The radio must be coded/programmed to the vehicle using diagnostic equipment. It is from a Peugeot 307 2006. Tested and fully functional.
This RT3-N3-09 multimedia head unit is an original factory radio from Stellantis (Peugeot/Citroën) designed for vehicles equipped with the RT3 system. It combines CD playback, integrated navigation and GSM connectivity in one OE housing. Ideal for mechanics and experienced DIY enthusiasts looking for a direct replacement unit that preserves original vehicle functions and maintains factory integration with the vehicle systems.
Key Features
- OE RT3-N3-09 head unit with CD player and integrated navigation.
- GSM-capable module for telematics/voice services where supported by vehicle.
- Designed to fit Peugeot 307 vehicles that originally came with the RT3 system.
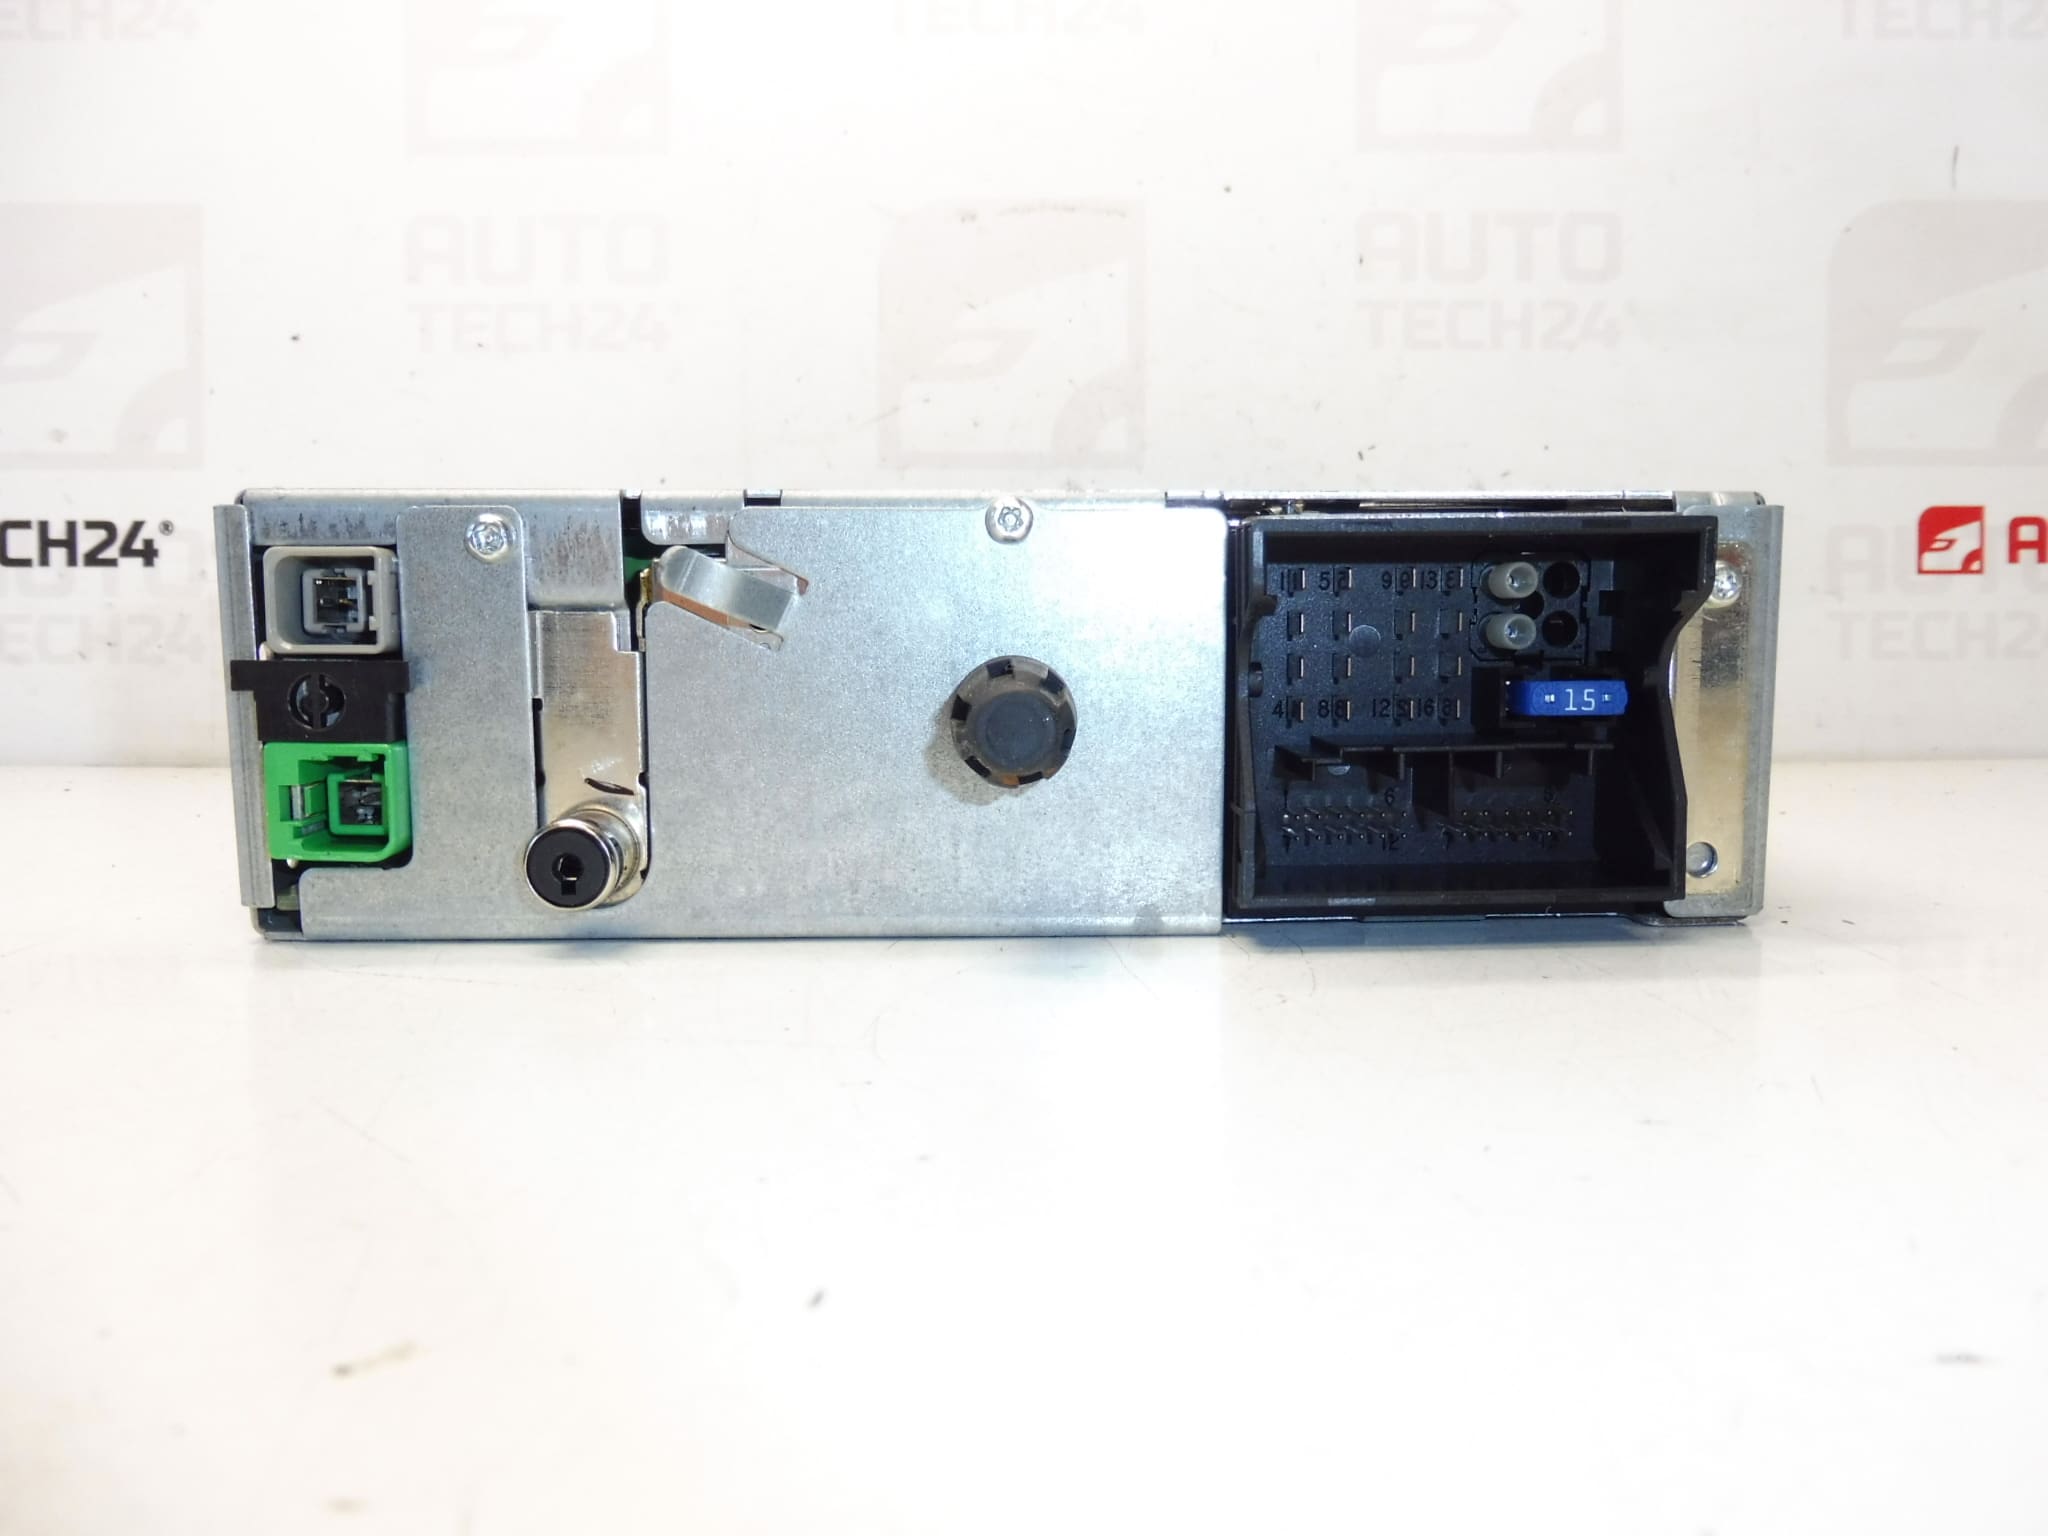
- Original part numbers and markings ensure direct physical compatibility with factory harnesses and mounting.
Technical Information
- Manufacturer: Stellantis / Peugeot / Citroën
- Model: RT3-N3-09 (from Peugeot 307, 2006)
- Product Codes: 96632917XT, 657465
- Other Numbers: NFP
Compatibility
Fits Peugeot 307 vehicles equipped originally with the RT3 RT3-N3-09 head unit (example: Peugeot 307 2006). Compatibility is typically identified by the head unit model code (RT3) and OE part numbers such as 96632917XT or 657465. Ensure the vehicle originally had the RT3 system to avoid wiring or CAN-bus mismatches.
Installation Recommendations
- Always disconnect the vehicle battery before removal or installation and follow the manufacturer’s safety procedures.
- Remove surrounding trim panels carefully to avoid breakage; use proper trim tools.
- Unplug antenna and all wiring harness connectors; note connector positions and retain all screws for reinstallation.
- Install the unit in reverse order. After mechanical installation, the radio must be coded/programmed to the vehicle using a diagnostic tool.
- Coding/initialization is usually required to restore full functionality (radio recognition, navigation, GSM, steering wheel controls). Use appropriate PSA diagnostic equipment or have the procedure performed by a qualified technician.
How Replacement Is Performed
1) Disconnect negative battery terminal and wait a short period to ensure systems are de-energized. 2) Remove dashboard trim and unscrew the original head unit. 3) Carefully unplug all connectors (power, speaker, antenna, CAN/communication plugs). 4) Fit the replacement unit, reconnect connectors and antenna, refit trim and screws. 5) Power up and perform required coding/programming so the vehicle recognizes the new unit.
Why This Part Fails
Head units commonly fail due to age-related wear, failing internal components (such as capacitors or CD mechanism), moisture ingress or corrosion on connectors, firmware issues, and power surges. Mechanical wear of the CD loader and exposure to heat or humidity are frequent causes. Proper handling during removal/installation and ensuring dry, vibration-controlled mounting can extend service life.
Service Life And Practical Notes
Longevity depends on usage and environment. Many factory head units remain serviceable for a decade or longer; however, moving parts (CD mechanism) and electronic components can degrade over time. When replacing, use original OE coded units where possible and perform required programming to avoid faults or limited functionality.
Recommended For
Automechanics and experienced DIYers replacing a faulty RT3 unit in a Peugeot 307 who require an OE-quality multimedia system with navigation and GSM capability. The unit is especially useful when matching OE part numbers (96632917XT / 657465) is important.