Description
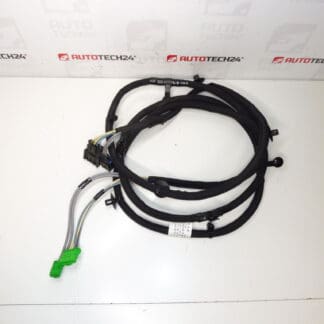
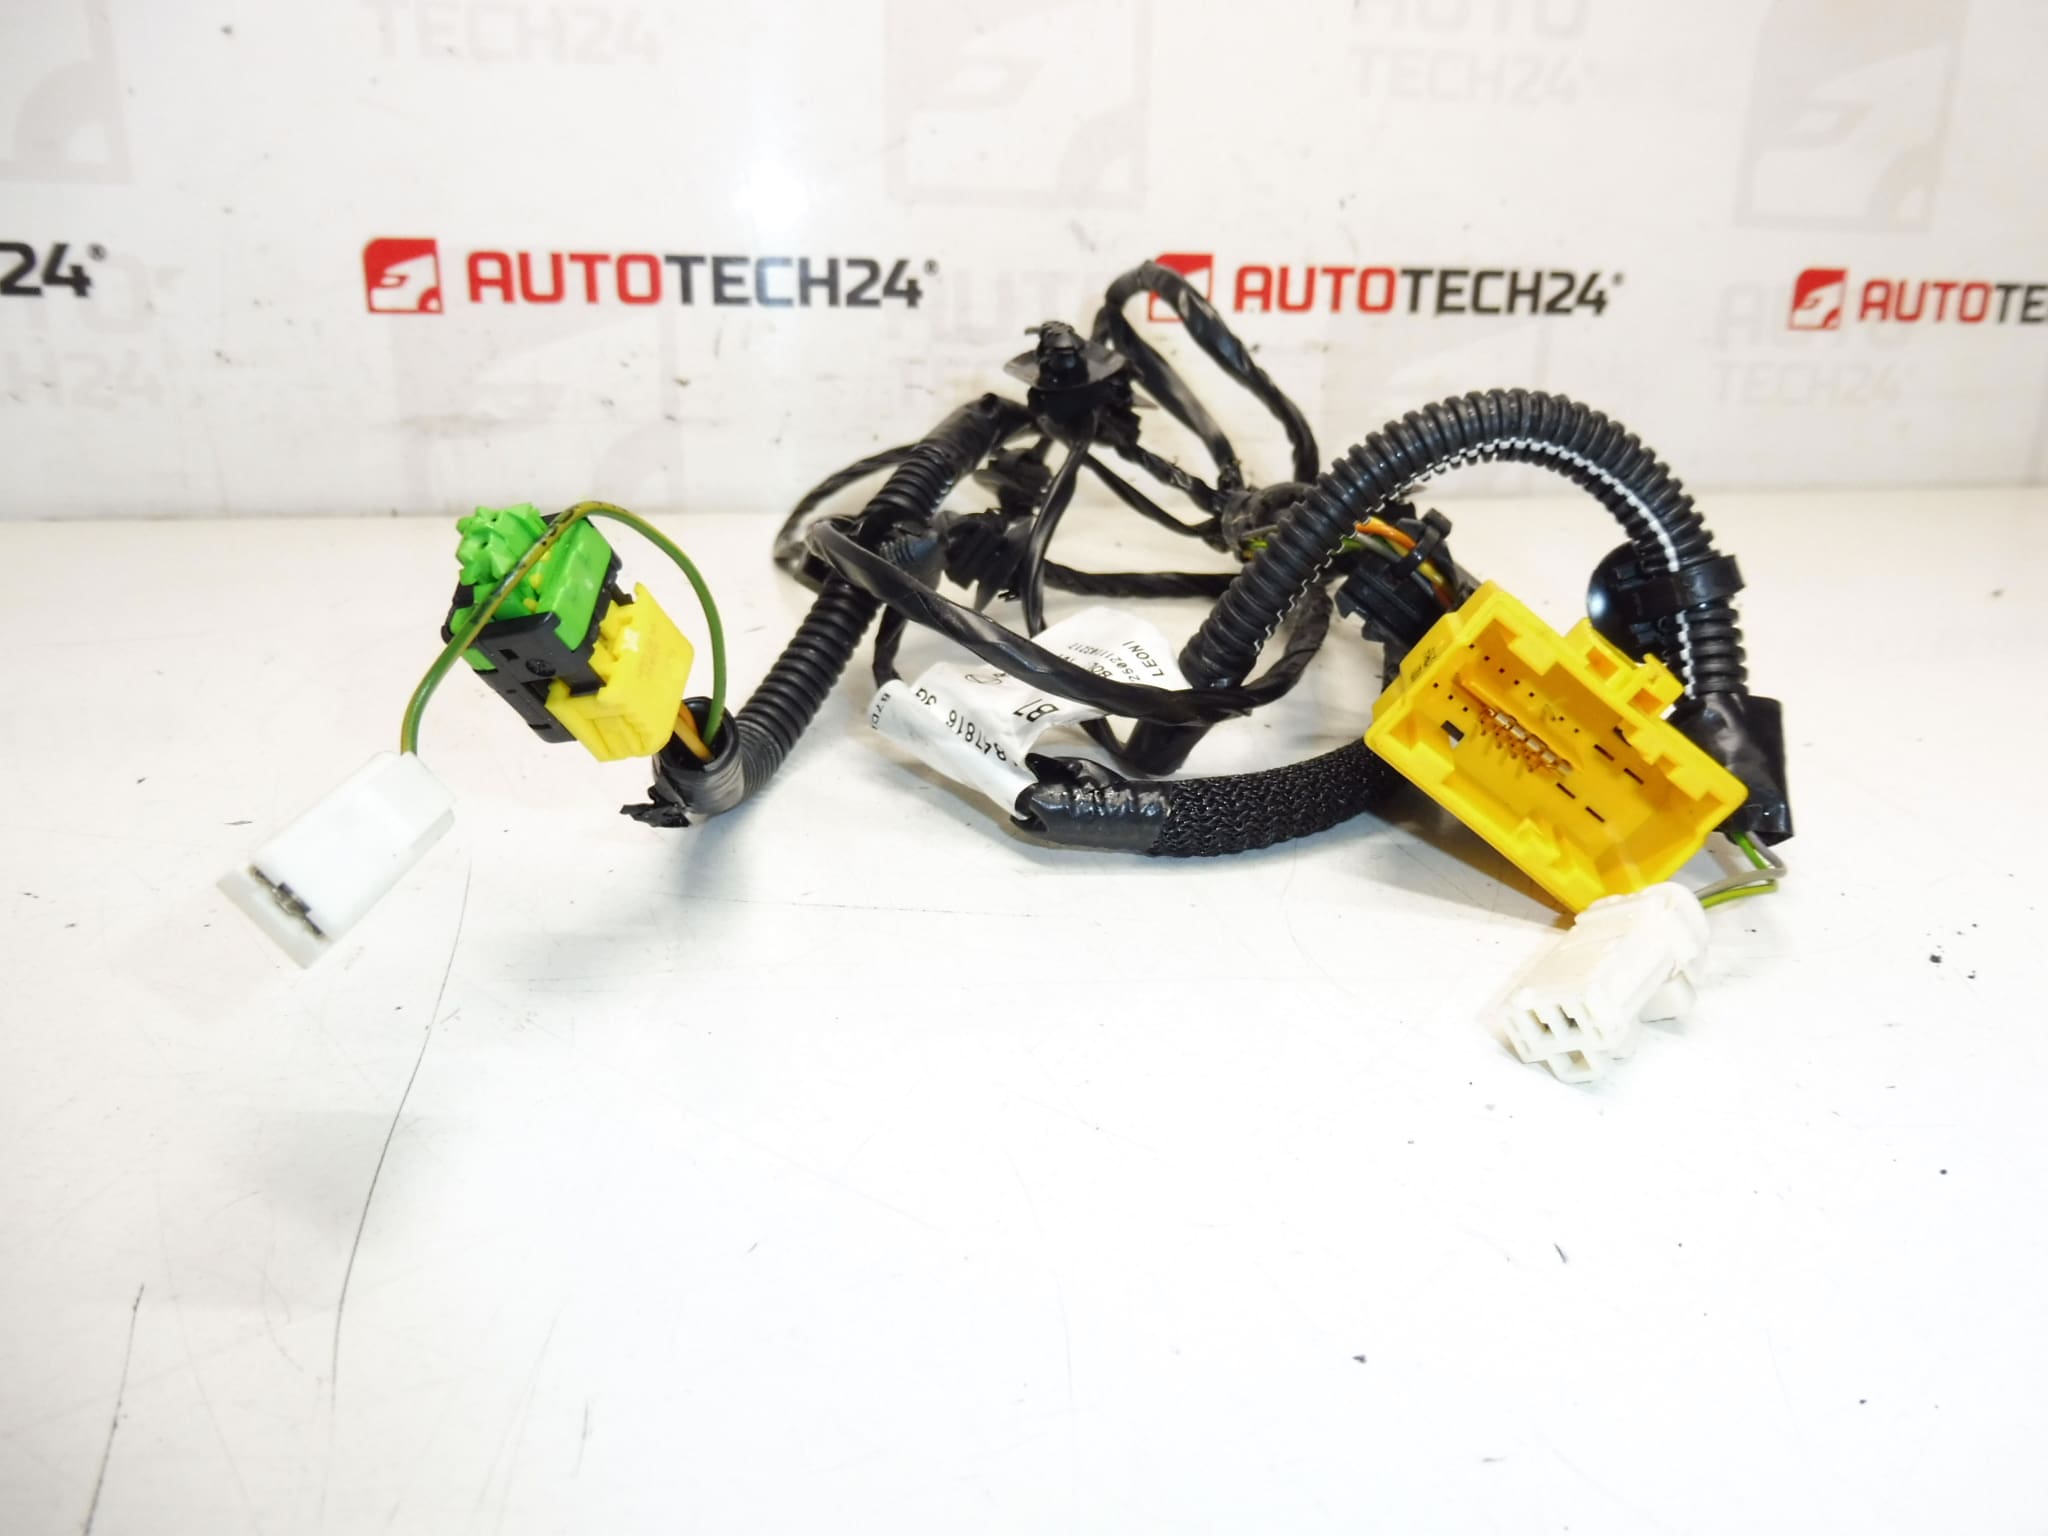
Complete front driver’s seat harness for CITROEN C4 B7 cars
Part description
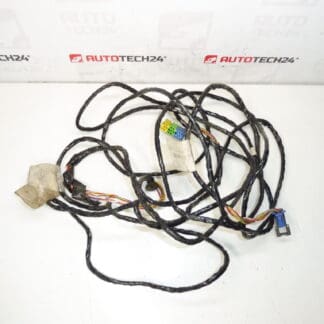
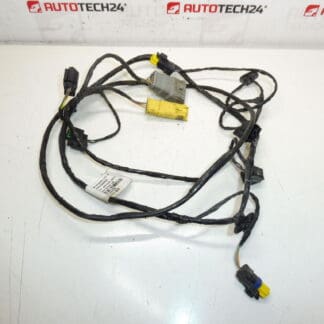
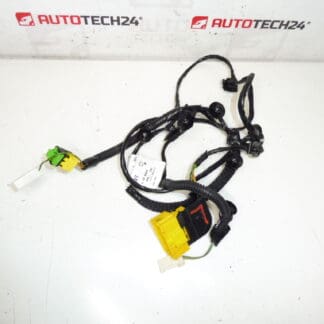
This used driver’s seat wiring harness is for Citroen C4 B7 cars. It is an important electrical component that ensures the connection of individual electrical elements of the seat and subsequent circuits according to the specific equipment of the car. When looking for a spare part, the product number 6505G0 is also often decisive.
The bundle is a suitable choice for repairing damaged original wiring, when there are function failures, intermittent contact or mechanical damage to wires and connectors. For car mechanics and DIYers alike, replacing this type of part is a practical solution if it is necessary to preserve the original cabling without unprofessional intervention in the electrical installation.
Technical information
- Manufacturer: Stellantis Citroen Peugeot
- Model: Citroen C4 B7
- Other numbers: 6505G0
Product codes
- Product codes: 6505G0
- Models: Citroen C4 II, Citroen C4 B7
Installation recommendations
Generally/typically, care must be taken when replacing the seat wiring harness, as it is an electrical component connected to connectors, wiring under the seat and, depending on the car design, to other equipment elements. The exact steps may vary depending on the specific model and make of the car.
1) Before assembly
- Check that the product number 6505G0 and the overall design of the harness match the old part.
- Compare the number of connectors, their shape, colors, the length of the cabling branches and the method of attachment.
- Inspect the used part for damaged wire insulation, cracked connectors or signs of overheating.
- Before working, disconnect the battery and wait for the car’s electrical system to come to rest.
2) Necessary tools and materials
- A common set of hand tools
- Tools for removing plastic covers and upholstery
- Flashlight
- Cleaning agent for electrical contacts
- Straps or fixation material corresponding to the original attachment
- Protective gloves
3) Step-by-step assembly procedure
- Turn off the ignition, disconnect the battery and prepare safe access to the seat and wiring.
- If necessary, remove covers or parts that prevent access to the volume.
- Document the routing of the original bundle, ideally with photos before disconnection.
- Carefully disconnect all connectors from the original harness without using brute force.
- Release the original bundle from the brackets, grips and guide points.
- Compare the old and new part side by side, especially connectors, branch lengths and routing.
- Place the new bundle in the same route as the original wiring.
- Secure the wiring in all original mounts so that it is not stretched, kinked or in contact with moving parts.
- Connect the individual connectors and check that they click properly.
- Perform a visual inspection for any loose wiring or pinched wire.
- Reinstall all removed covers and interior parts.
- Connect the battery and perform a basic function check.
-
4) Post-assembly checks and test drive/function verification
- Check if everything is responsive after connecting without dropouts and interruptions.
- Verify that there is no tension on the wiring when the seat is shifted or moved.
- Listen for the sound of the harness catching on the structure when handling the seat.
- After a short ride, visually check again that the harness remains properly seated and has not come loose anywhere.
5) The most common assembly mistakes + how to avoid them
- Swapping connectors – mark or take a picture of everything before disconnecting.
- Insufficient attachment – use all available brackets and attachments.
- Installing a damaged piece – always check the insulation, connectors and any signs of wear before installation.
- Work under voltage – always disconnect the battery before handling the wiring.
- Repeated movement of the seat, which over time stresses the wires and connectors
- Mechanical pinching or breaking of wiring
- Loose or oxidized electrical contacts
- Unprofessional intervention in the electrical installation of the vehicle
- Moisture, dirt and long-term wear and tear