Description
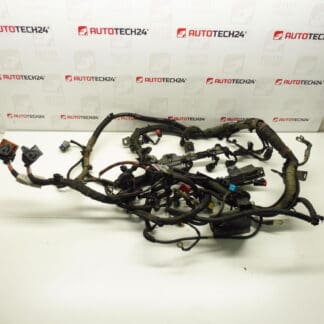
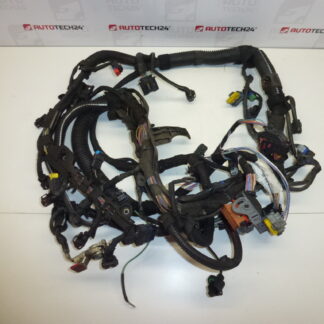
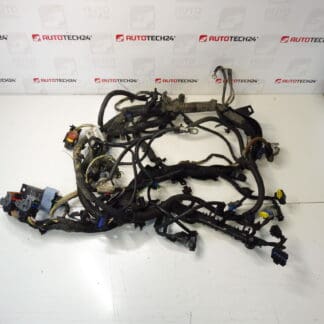
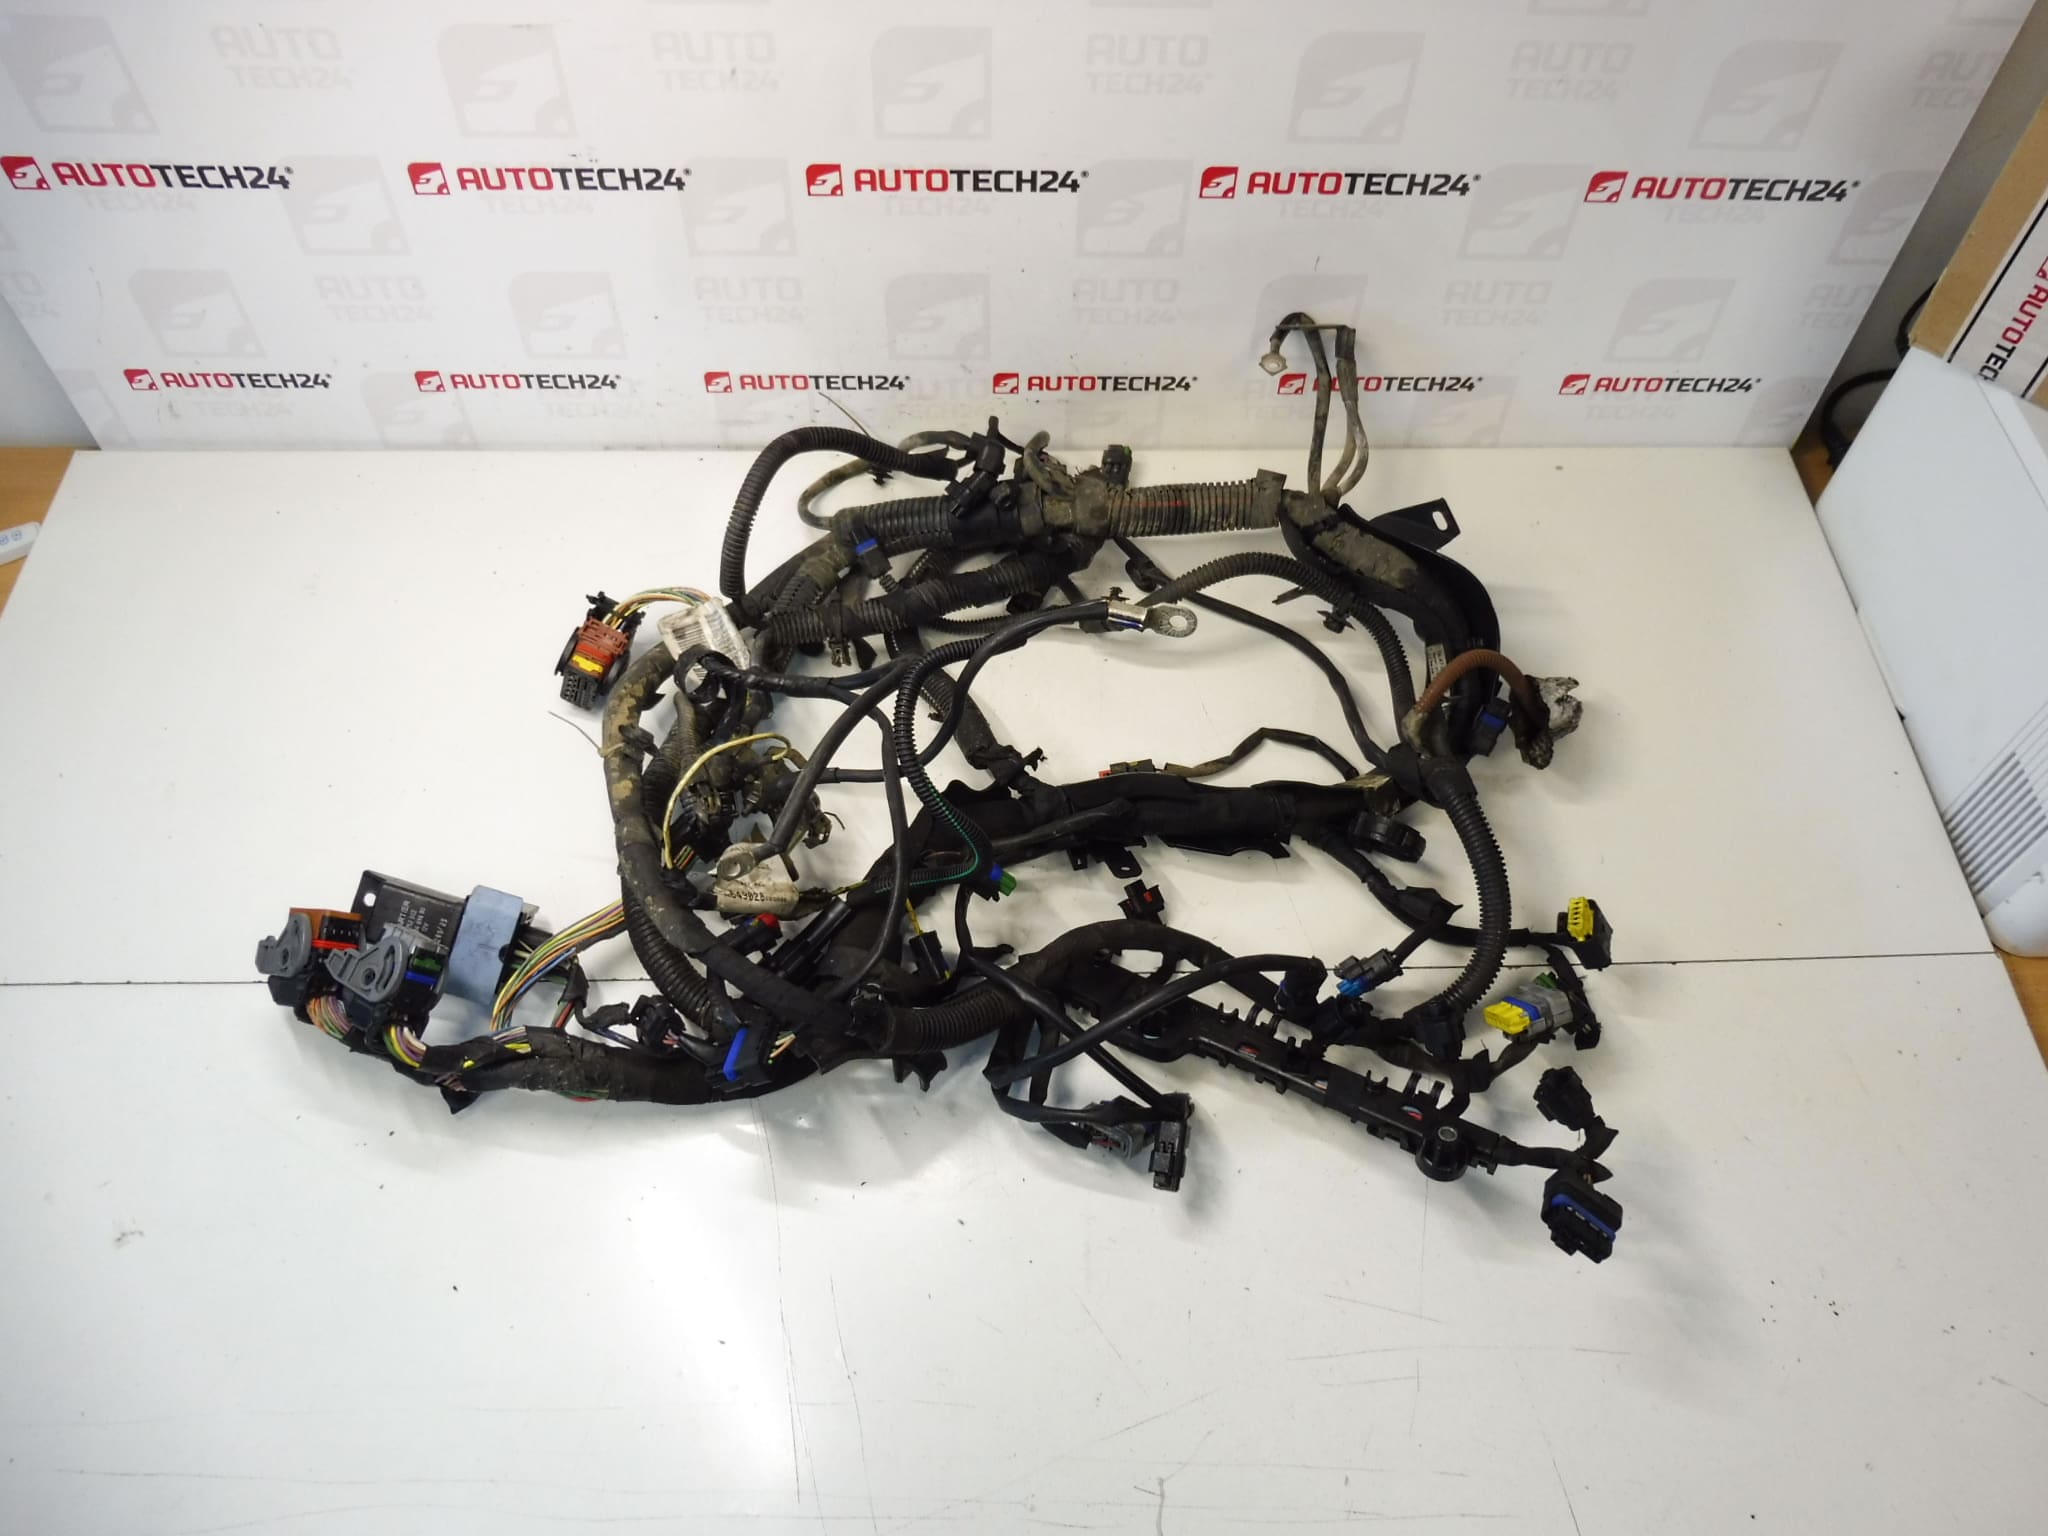
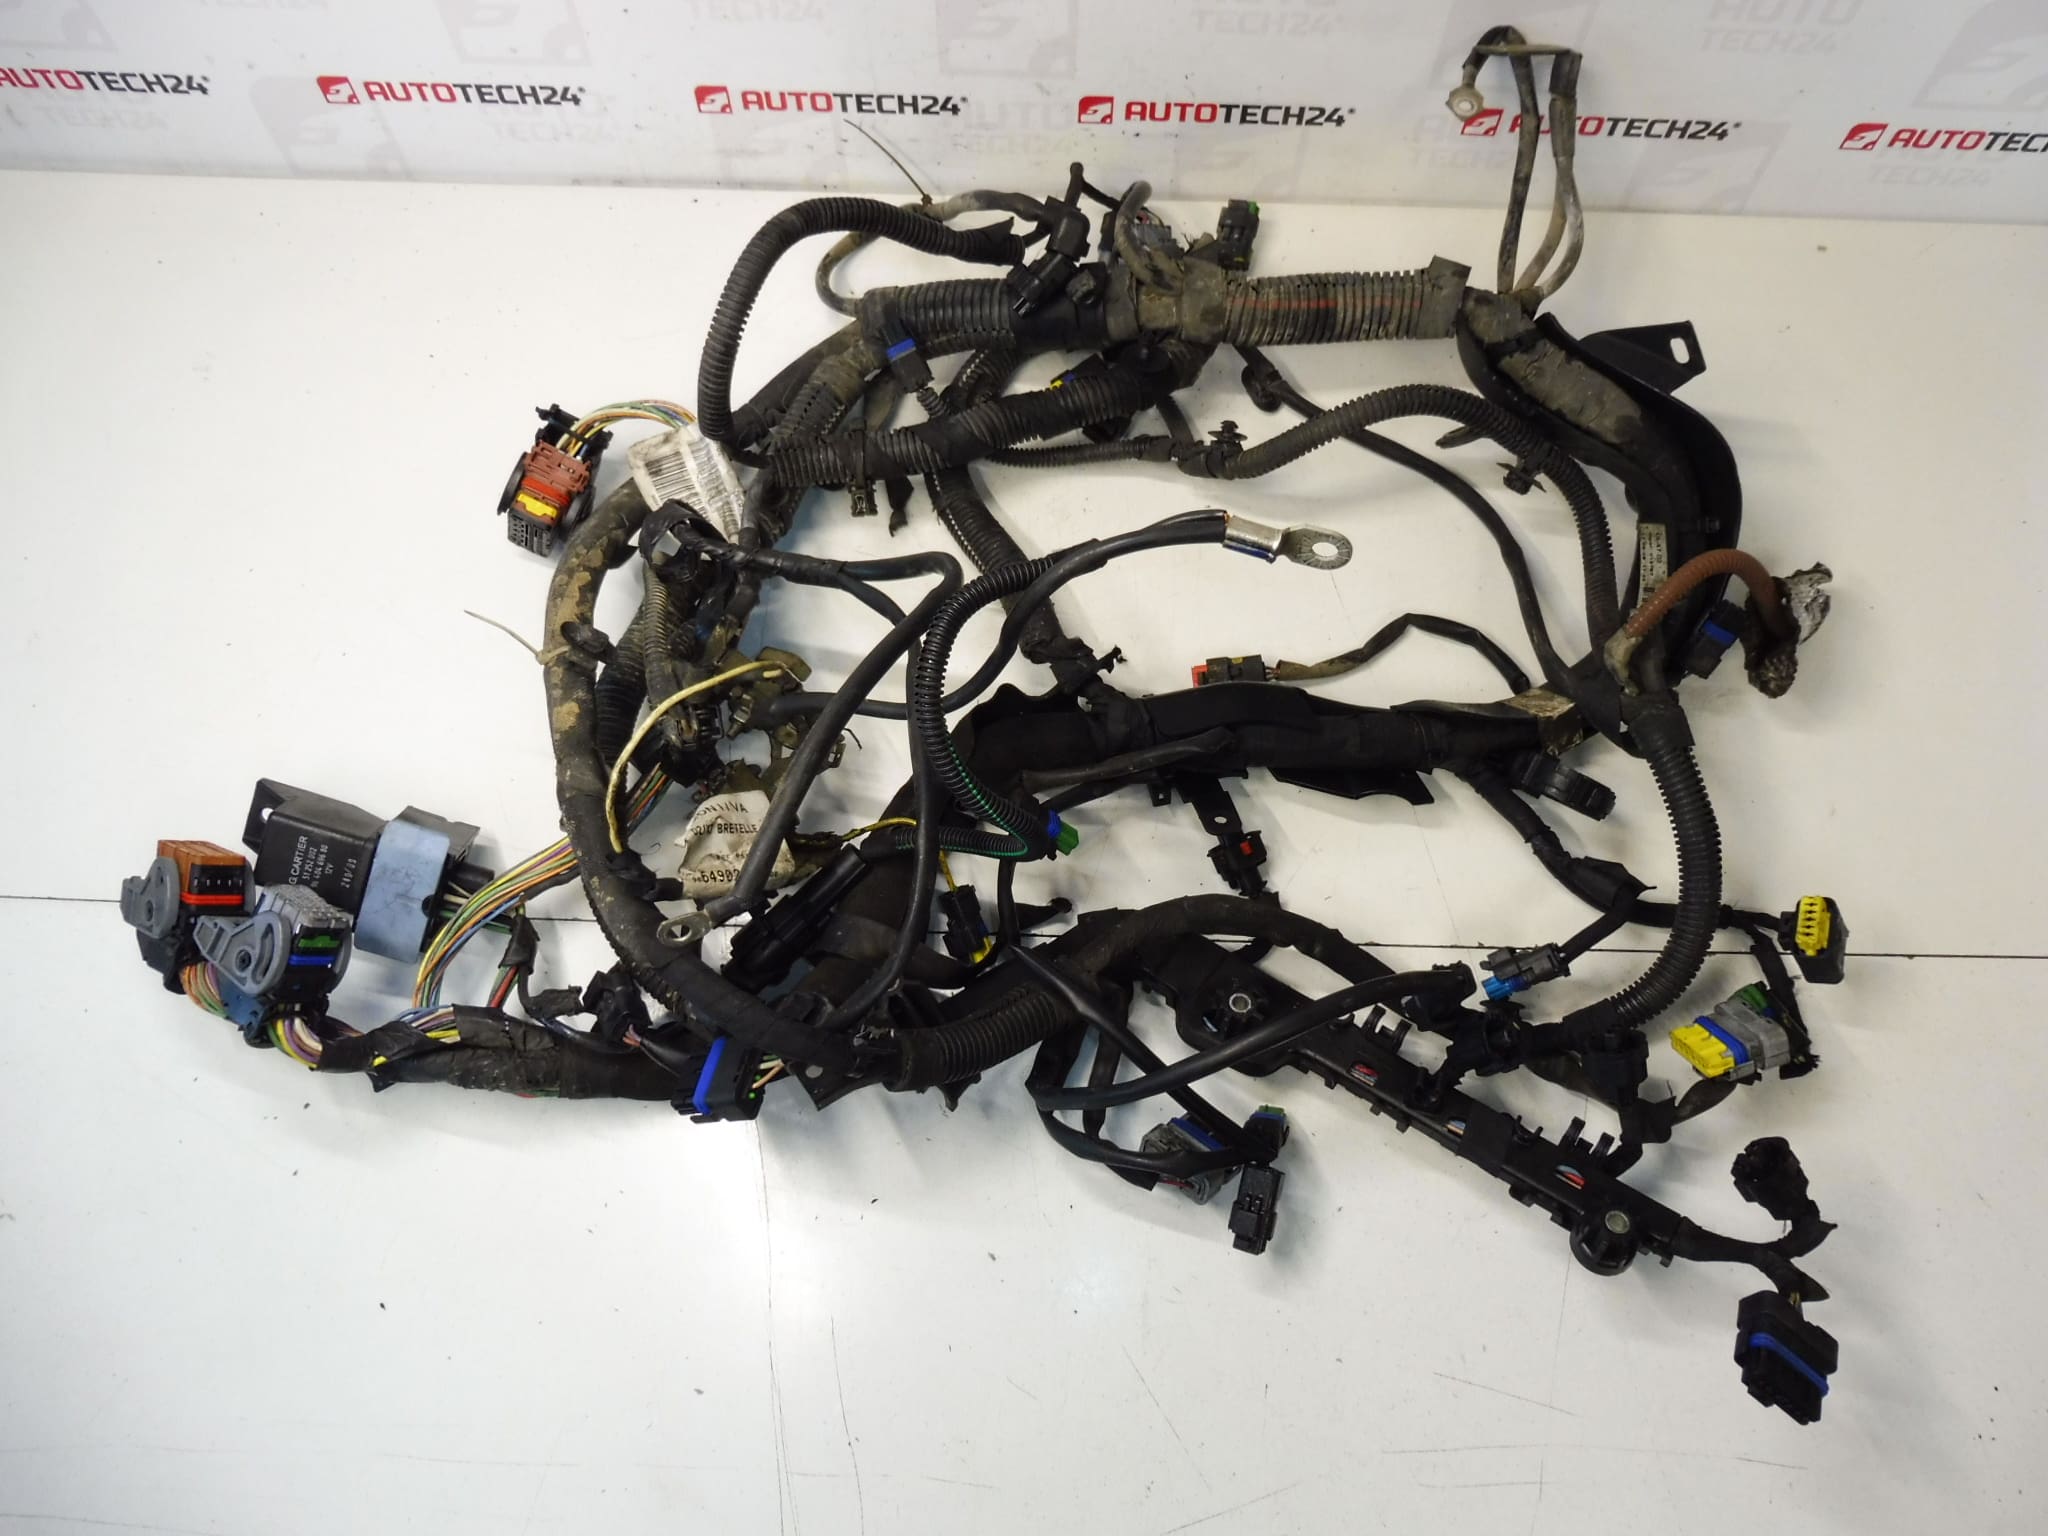
Complete engine wiring harness for Citroën C5 X7, Peugeot 407 1.6 HDi 9HZ
This complete engine wiring harness is designed for the 1.6 HDi diesel engines used in Citroën C5 X7 and Peugeot 407 models. Built to route power and signals between the Engine Control Unit and all engine sensors and actuators, the harness simplifies replacement of damaged or worn loom sections and restores reliable communication across the fuel, injection and emission systems. Ideal for professional workshops and experienced DIY mechanics looking for a direct-fit harness identified by part numbers 9664740580 and 6569TQ.
Technical Information
- Manufacturer: Stellantis (Citroën / Peugeot)
- Model: Citroën C5 X7; Peugeot 407
- Product Codes: 9664740580; 6569TQ
- Other Numbers: 9HZ; NFP
Function And Application
The engine wiring harness carries electrical power and signal lines for fuel injectors, sensors (MAF, MAP, coolant temperature, oil pressure, crankshaft and camshaft position), glow plugs, fuel pump, throttle control and emission-related devices. Proper routing and connector integrity are essential for stable engine management, sensor accuracy and fault-free communication with the ECU.
Typical Failure Modes And Frequency
Wiring harnesses are generally expected to last many years, but failures occur due to mechanical abrasion, heat aging, moisture ingress and connector corrosion. Common causes include chafing where the loom rubs against engine mounts or body panels, degraded insulation from prolonged heat exposure, rodent damage and water penetration into connector pins. Failures typically present as intermittent faults, sensor errors, injector malfunctions or no-start conditions and are most frequent on higher-mileage vehicles or cars exposed to harsh environmental conditions.
Installation Recommendation
- Disconnect The Battery Before Starting Work To Avoid Short Circuits.
- Remove Any Engine Covers Or Air Intake Components That Obstruct Access To The Old Harness.
- Label Or Photograph Connector Locations Before Disconnecting To Ensure Correct Reassembly.
- Release Retaining Clips And Carefully Free The Harness From Mounting Points; Avoid Pulling On Wires.
- Route The New Harness Following The Original Path, Secure With Clips Or Ties, And Replace Any Damaged Loom Sleeves Or Grommets.
- Apply Dielectric Grease Lightly To Exposed Connectors To Reduce Corrosion Risk Where Appropriate.
- After Reinstallation, Reconnect Battery And Perform A Full System Check: Clear Fault Codes, Run Engine, And Verify Sensor Readings With A Diagnostic Tool.
Why This Part Most Commonly Fails
The most frequent reason for failure is physical damage caused by vibration and rubbing against nearby components, which wears through insulation and exposes conductors. Heat from the engine and exhaust accelerates insulation aging, while moisture and road salts cause pin corrosion at connectors. Previous poor repairs or improper routing that leaves the loom unsupported also increase the risk of premature failure.
Replacement harnesses marked with the correct product codes (9664740580, 6569TQ) and matched to the 1.6 HDi 9HZ application restore dependable electrical connections and help eliminate recurring engine management faults—making them a practical choice for garages and competent DIY technicians working on Citroën C5 X7 and Peugeot 407 vehicles.