Description
Complete engine assembly from PEUGEOT 207 1.6 HDI
Part description
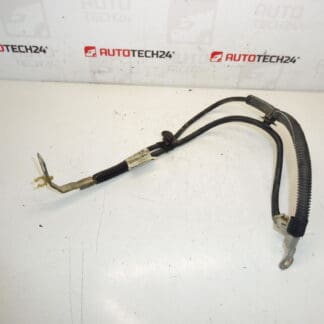
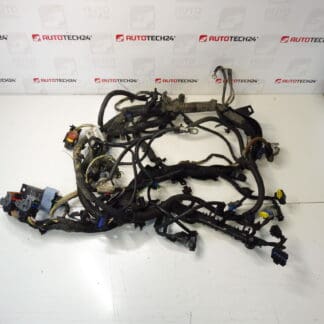
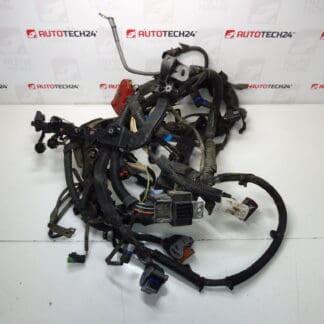
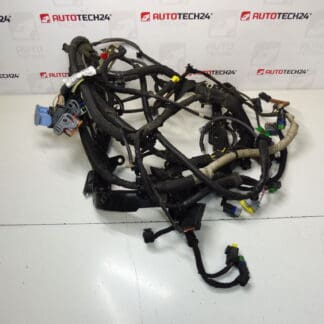
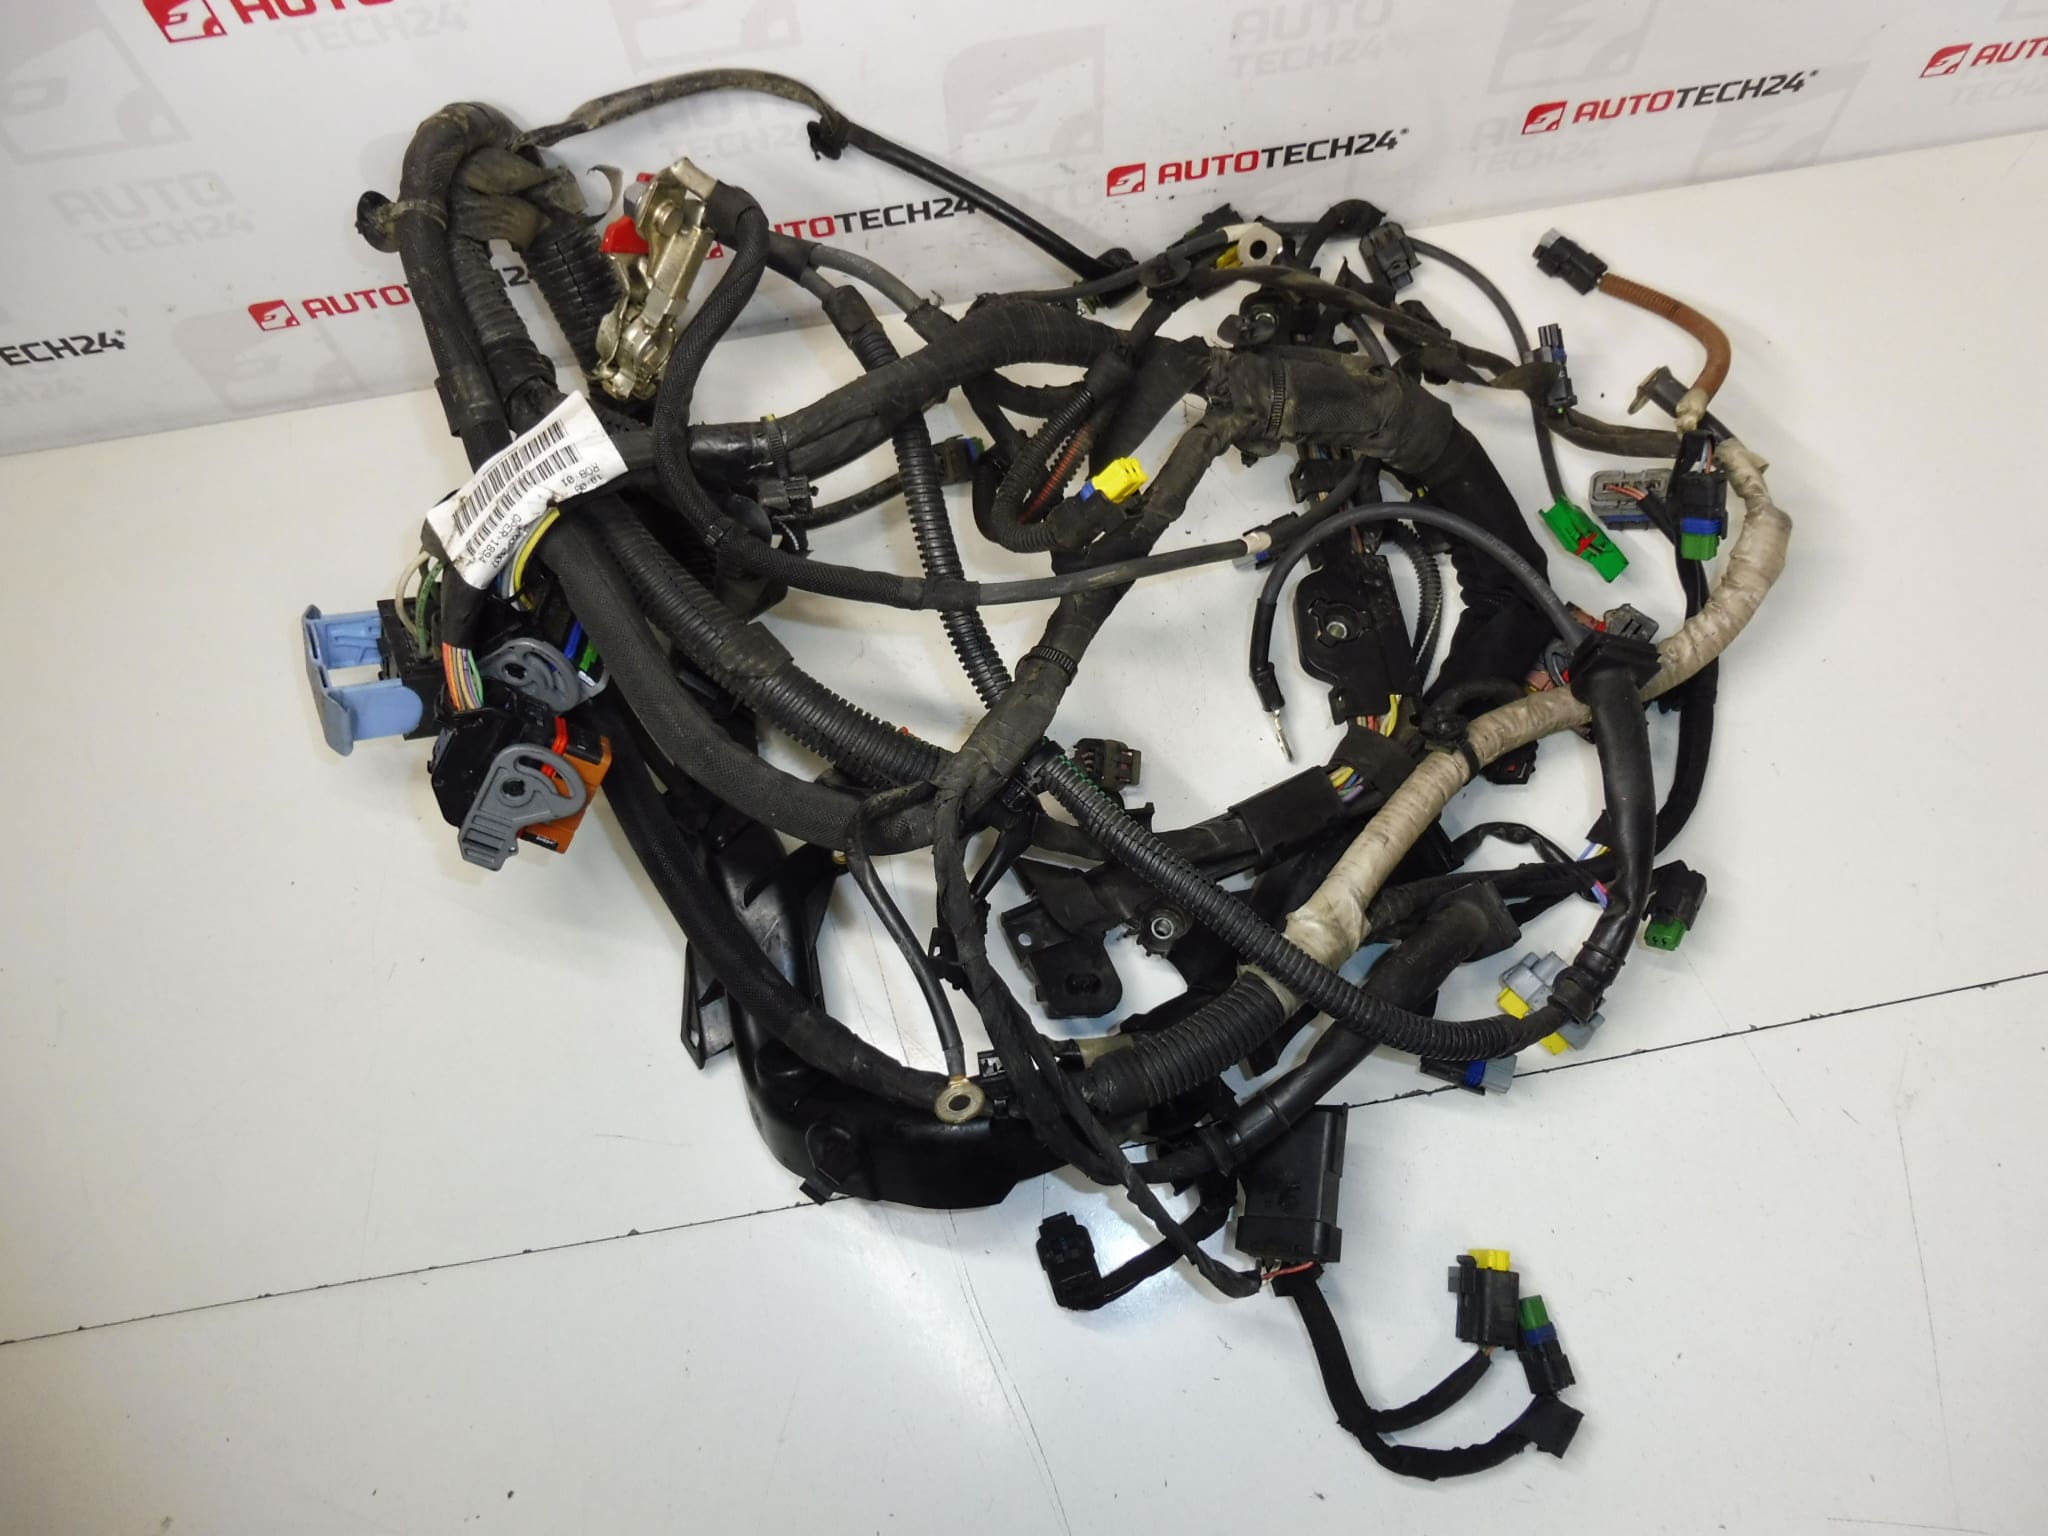
This Citroën/Peugeot engine harness is for the 1.6 HDI application and comes from a Peugeot 207. It’s a key part of the engine’s wiring – it connects the individual electrical components and sensors to the vehicle’s controls to keep everything running reliably and without interruptions.
If you are dealing with faults caused by damaged insulation, broken wires or “hackneyed” repairs, replacing the entire bundle is usually the cleanest and most reliable solution in the long term compared to endlessly searching for individual transition resistors and hidden breaks in the wiring.
Technical information
Product codes
- Product codes: 9664403580, 6569NE
Installation recommendations
Generally/typically for the engine wiring harness, the exact procedure may vary depending on the specific car design and equipment. Below is a practical one-size-fits-all procedure that most often works for mechanics when replacing a harness.
1) Before assembly (checks of used part)
- Carefully compare the part numbers (9664403580, 6569NE) with the old harness and wiring labels.
- Check the compatibility of connectors: shape, number of pins, securing, branch lengths and types of grips.
- Visually check the condition of the insulation: scratches, breakage, hardening, traces of overheating, oxidation in the connectors.
- Check for damage to connector locks and harness guide holders/clips.
2) Necessary tools and materials (in general)
- Basic set of gola/albus/torx according to car design
- Preparations for dismantling plastic clips
- Pliers, cable ties, insulating textile tape (for securing cables if necessary)
- Electrical contact cleaner and possibly dielectric petroleum jelly (very sparingly)
- Describing tape/labels and marker for marking connectors
3) Step-by-step assembly procedure
- Disconnect the battery (at least the negative pole) and secure the vehicle against movement.
- Take photo documentation of harness routing and location of all clips/mounts prior to disassembly.
- Disconnect the connectors of the old harness one by one and mark them in case of confusion.
- Release the bundle from the holders, rails and grommets so that the wiring does not tear or break anywhere.
- Remove the old harness and compare it with the new one (branches, lengths, connector types, mounts).
- Place the new harness in the vehicle and guide it along the same route as the original (be sure to place it correctly in the clips).
- Connect the connectors one at a time – always check that the connector is properly seated and secured.
- Secure wiring in areas subject to friction, vibration, or contact with heat/moving parts (without improper harness tensioning).
- Check that there are no unused connectors and that no cable is pinched under the bracket or cover.
- Only then reconnect the battery.
-
4) Post-assembly checks and test drive/function verification
- Check that all connectors are secure and not under tension.
- Verify stable operation without power outages; observe for irregularities previously associated with wiring.
- After a short ride, recheck the fastening of the harness (clips, tapes) and possible abrasions at the points of contact.
5) The most common assembly mistakes + how to avoid them
- Swapping similar connectors → mark the connectors and proceed systematically through the branches.
- Incorrectly engaged connector fuses → after connecting, always gently pull the connector and check that it is secure.
- Poor harness routing (friction/heat/movement) → reroute the wiring and carefully replace all fasteners.
- Pinched wiring under the cover/bracket → before final tightening of the covers, do a visual inspection of the entire route.
Reasons why the part is damaged
- Vibration and movement of the motor leading to gradual breaking of wires or abrasion of insulation.
- Heat in the engine compartment – embrittlement of the insulation and subsequent cracking.
- Moisture and oxidation in connectors, transition resistances, signal dropouts.
- Inexpert interventions (twisting of wires, poor-quality connectors, poor insulation) and subsequent problems with conductivity.
- Mechanical damage after an accident or during previous disassembly (torn clips, pinched parts of the harness).