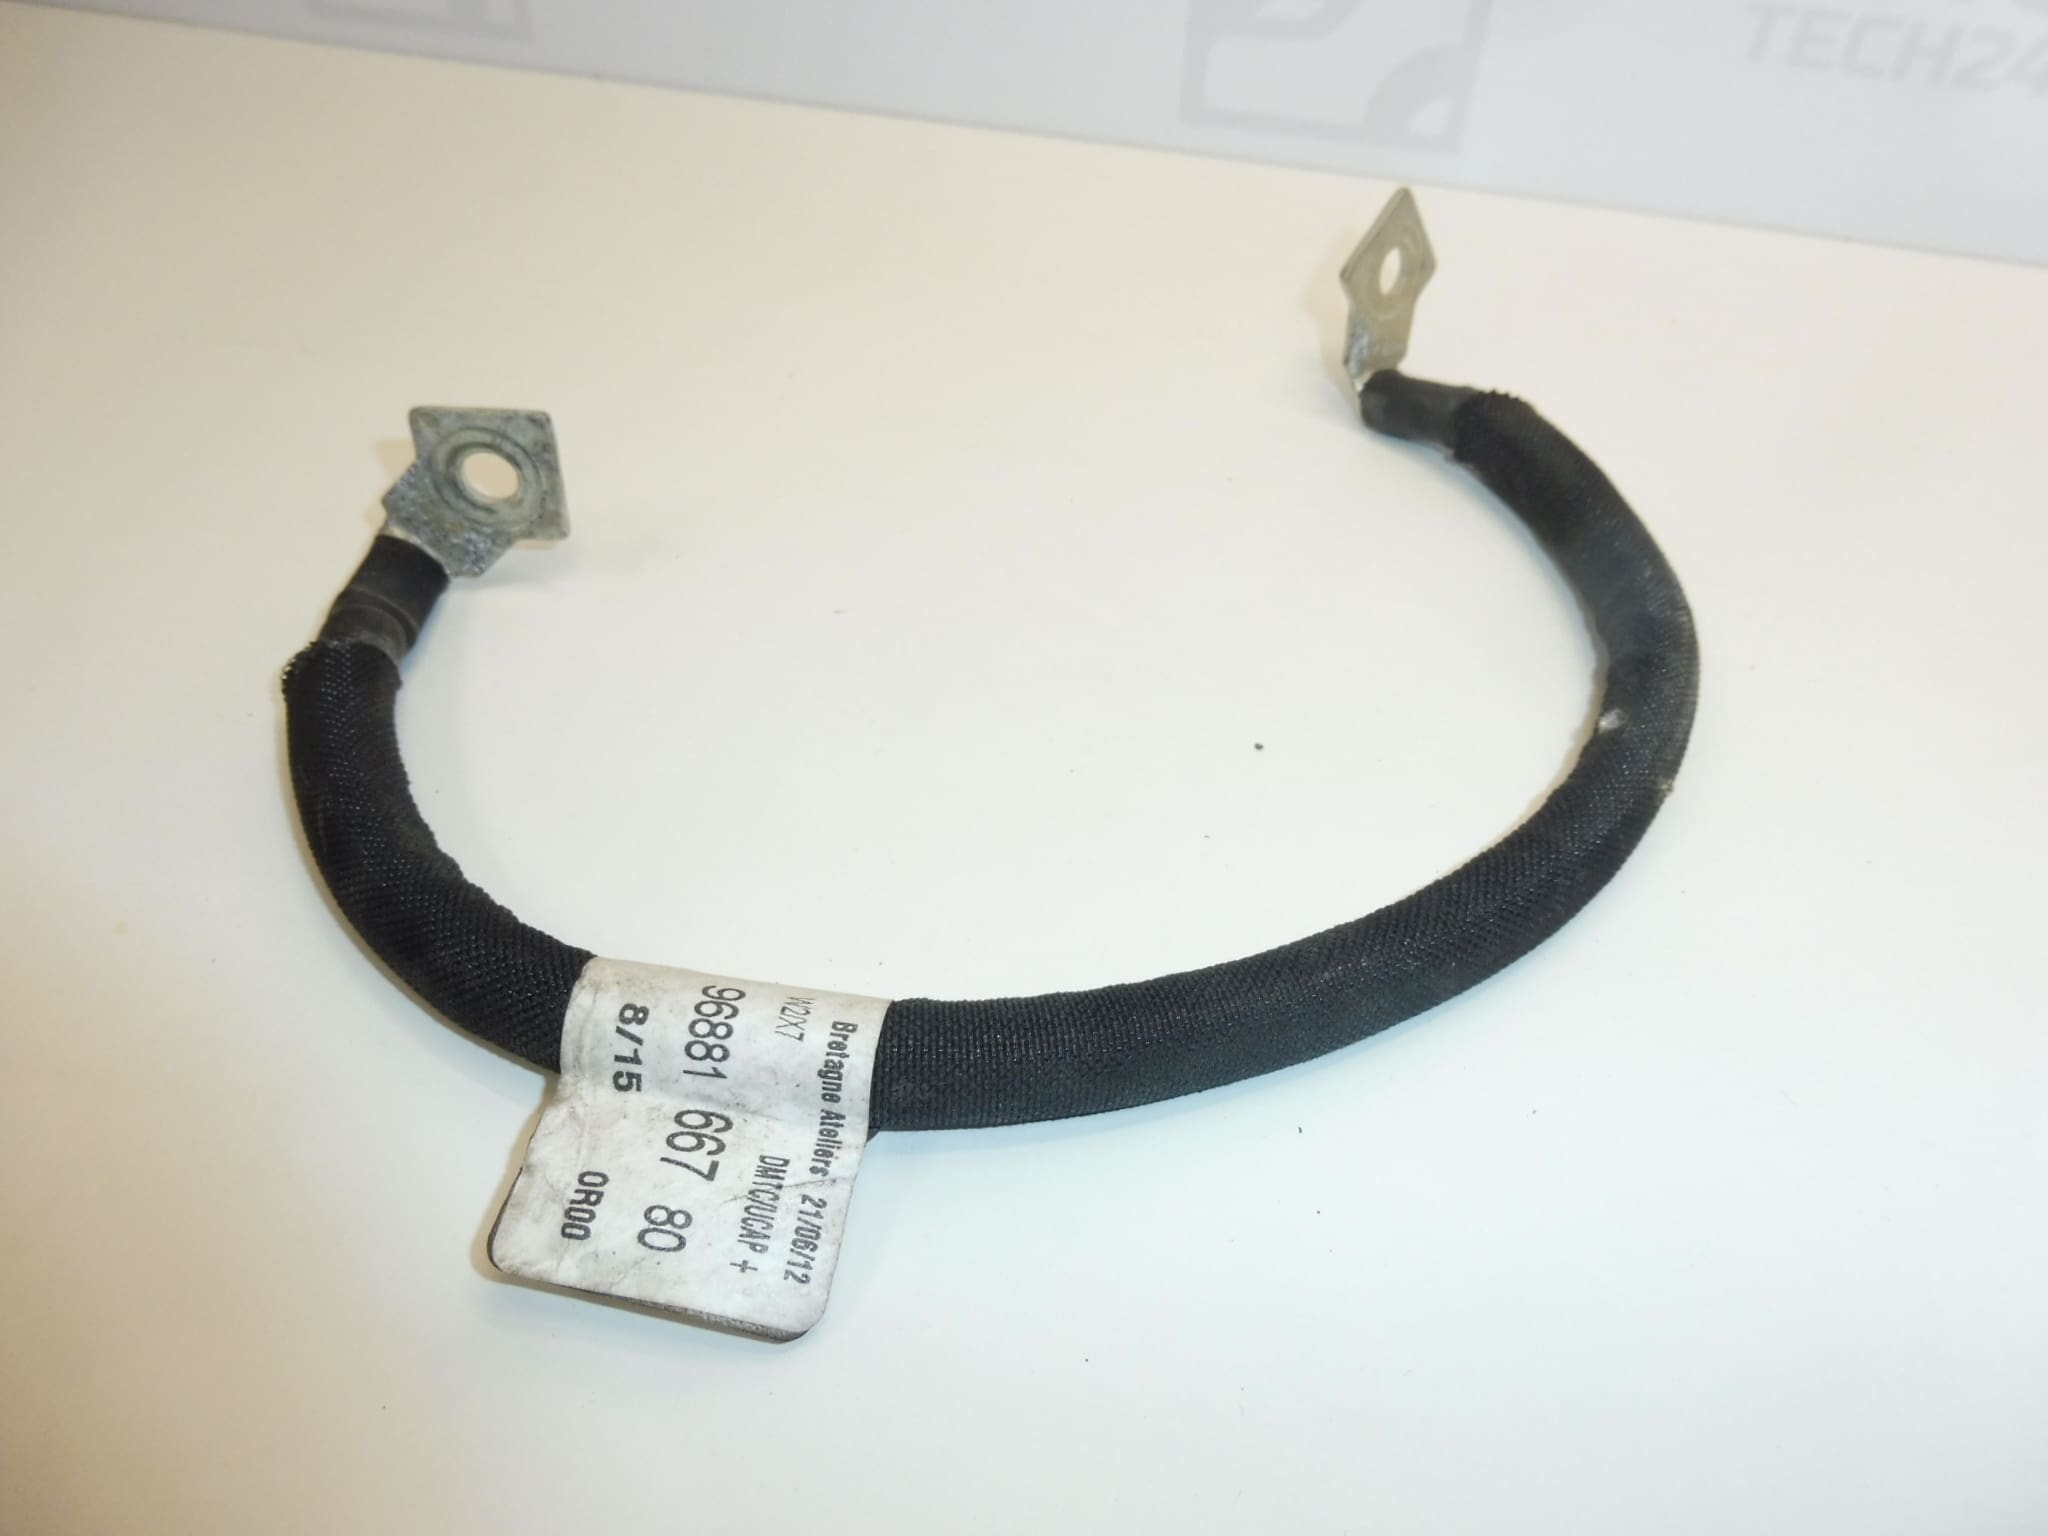
Description
START-STOP capacitor power supply cable for e-HDi engines
Part description
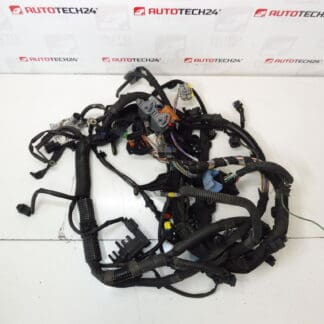
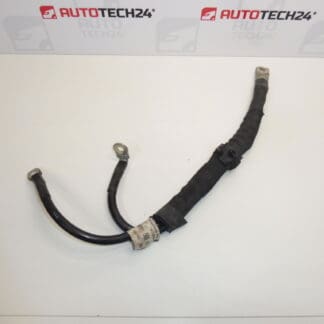
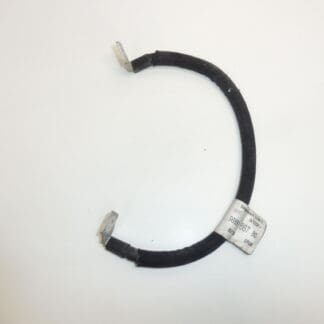
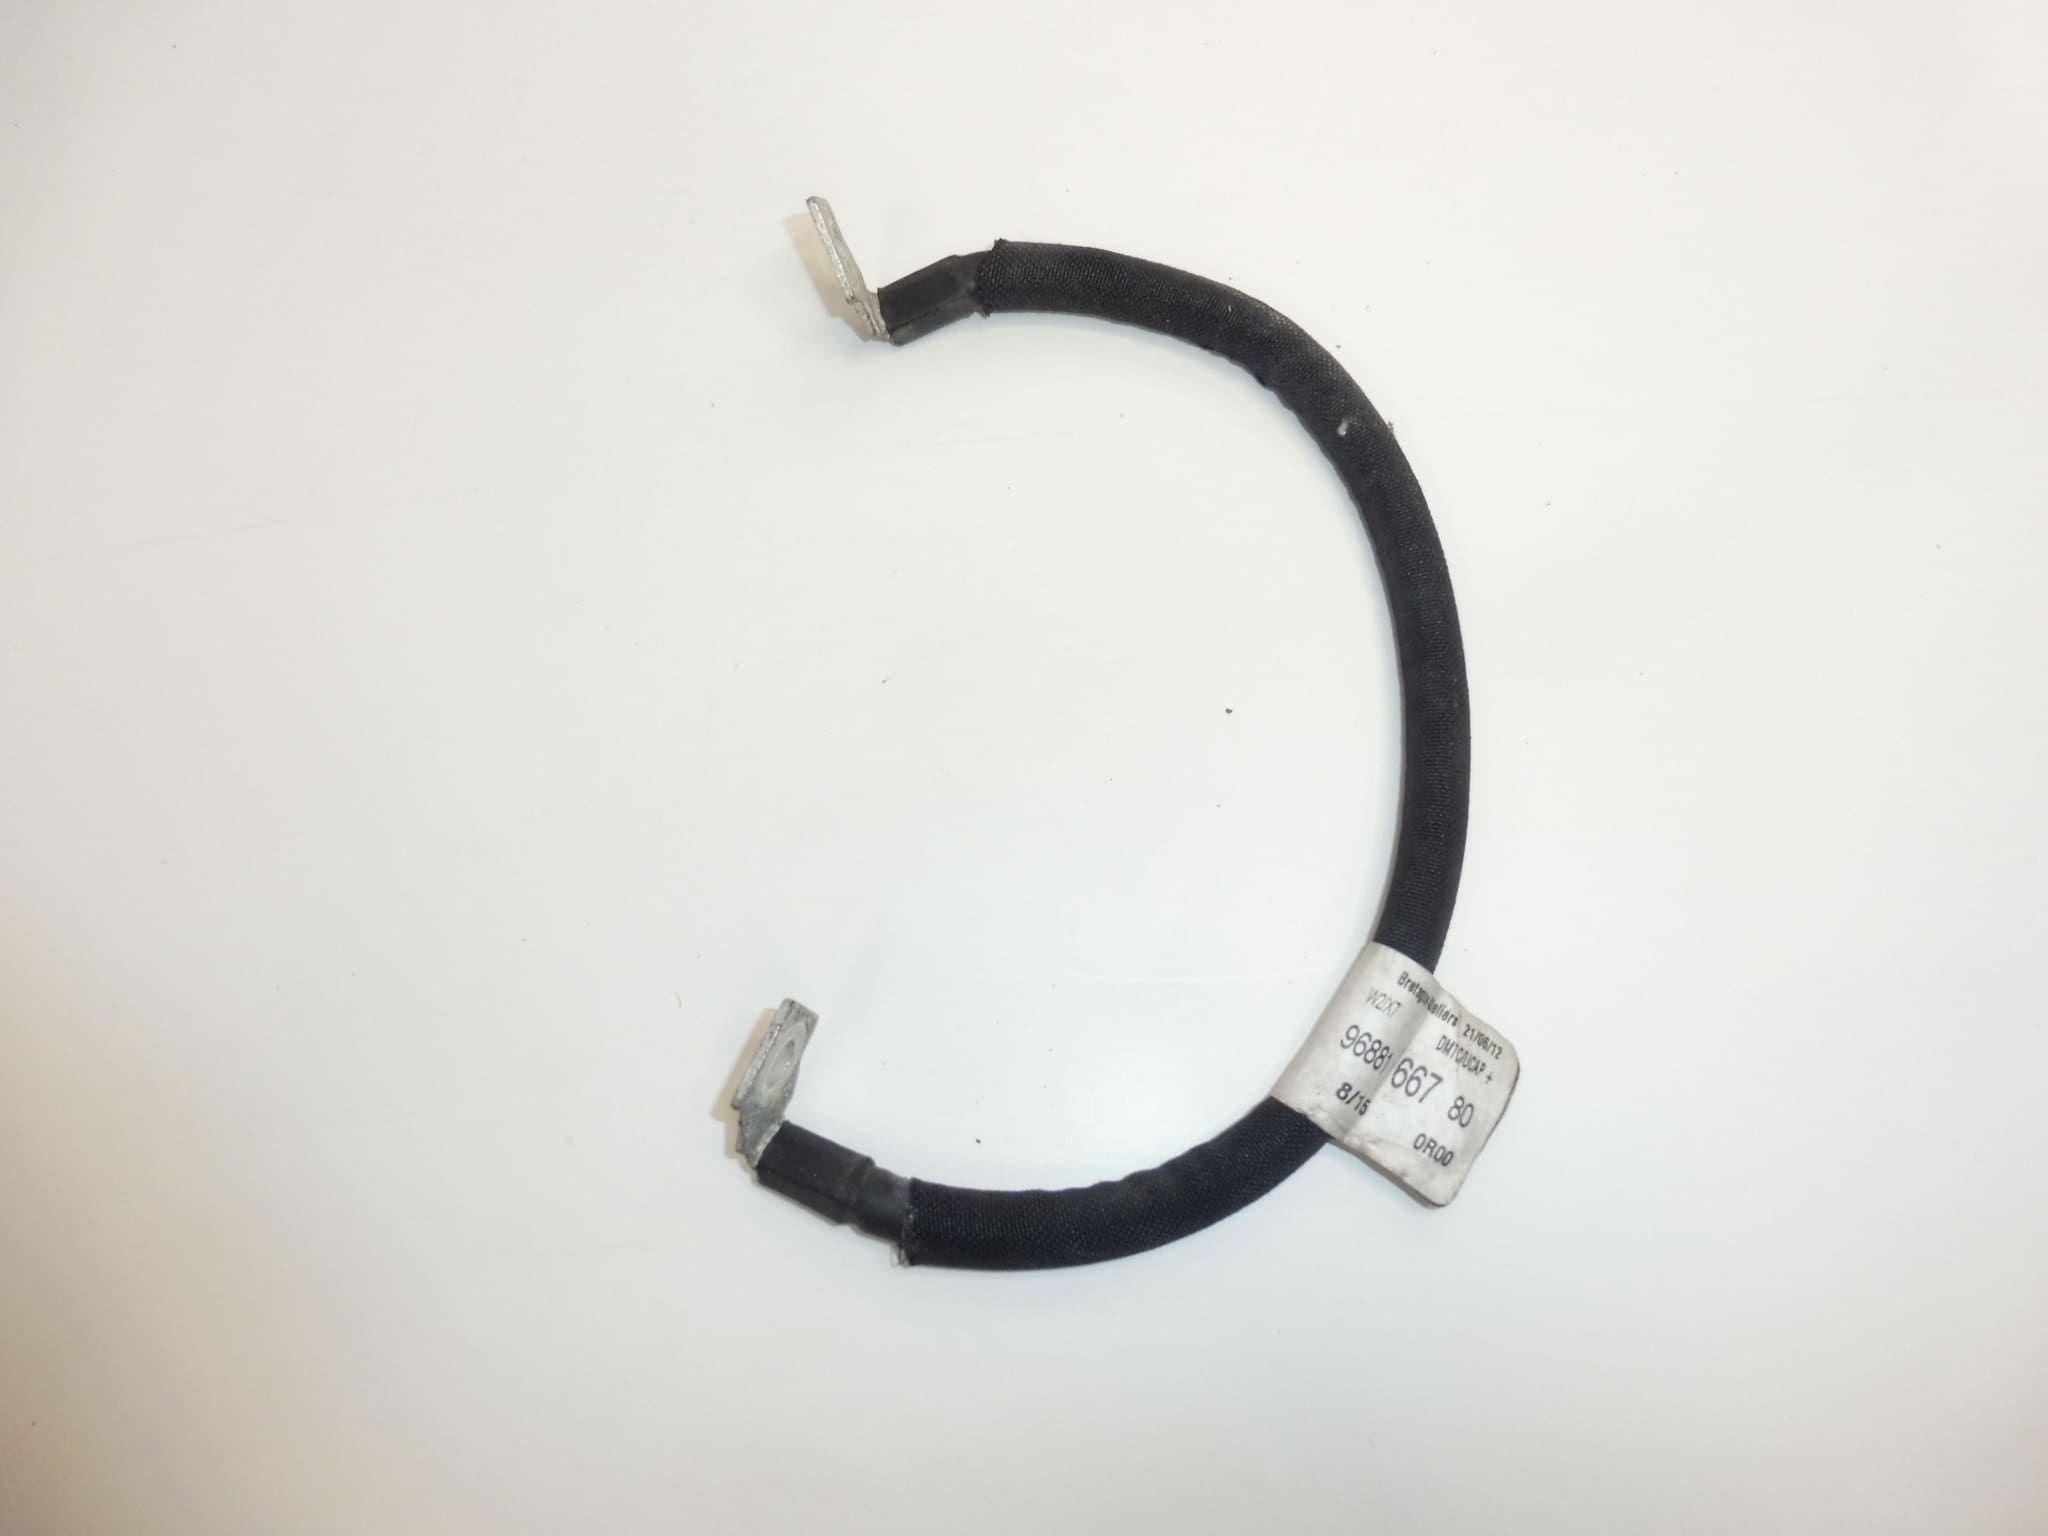
The used START-STOP capacitor cable with part number 9688166780 is a power supply cable designed to connect the capacitor to the associated electrical wiring. The documentation lists it for the Peugeot 508, and the labels also assign it to the Citroen C5 X7 model. It is a part for e-HDi engines, classified as an engine wiring harness.
When repairing a damaged power supply cable, replacing it can help restore a reliable electrical connection. Before selecting one, compare the product number, connector design and cable routing with the original part. Matching the vehicle model alone is not enough to identify the correct version.
Technical information
- Manufacturer: not specified; the documentation lists the designation Stellantis CITROEN PEUGEOT.
- Model: Citroen C5 X7 | Puegeot 508 — names taken from the labels.
- Part type: START-STOP capacitor power supply cable.
- Application according to description: e-HDi engines.
- Category: 1.6 HDI | Electrical components | Wiring harnesses | Engine wiring harnesses.
- Condition: used auto part.
- Other numbers: not specified.
Product codes
- Product codes: 9688166780.
Number 9688166780 is the main identifier for finding this cable. When comparing it with the old part, also check the mechanical design and connection points.
Installation recommendations
The following procedure is general guidance for replacing the START-STOP system capacitor power supply cable. The exact steps, access to the part and safe disconnection of the system depend on the specific model and vehicle configuration. The capacitor may retain electrical energy even after the battery is disconnected; disconnecting the battery alone may therefore not ensure a safe condition.
1) Before installation
- Compare the part number, cable length and shape, connectors, insulation and fasteners with the old part.
- Inspect the used cable for cracked insulation, scuffs, deformed contacts, corrosion or signs of overheating.
- Also check the mating connectors. A damaged or oxidized contact can cause the fault to recur even after the cable is replaced.
- Obtain the manufacturer’s procedure for safely disconnecting the battery and securing the capacitor in advance. If you do not have access to it, have a professional service center carry out the work.
2) Tools and materials required
In general, you will need suitable hand tools for the type of connections, tools for carefully releasing clips, protective gloves and goggles, and possibly a product intended for cleaning electrical contacts. Any suitable measuring equipment and the way it is used must comply with the service procedure for the system in question.
3) Step-by-step installation procedure
- Park the vehicle safely, switch off the ignition and secure it against accidental starting.
- Follow the specified procedure for shutting down the electrical systems and disconnect the battery as instructed by the manufacturer.
- Secure the capacitor according to the service procedure and verify that it is safe to work on. Never discharge the capacitor by shorting its contacts.
- Gain access to the cable and, before removal, note its routing, the position of the clips and the orientation of the connectors.
- Carefully release the cable fasteners without damaging nearby wires or brackets.
- Disconnect the connectors using the appropriate method for their design. Do not pull on the wire itself or forcefully pry open locked connectors.
- Remove the old cable and inspect the connection points. Resolve any corrosion, heat damage or loose mating connectors before installing the replacement.
- Route the used cable being installed along the original path, without tension, sharp bends or contact with moving or hot parts.
- Connect the connectors, secure them and refit the cable fasteners. Tighten any bolted connections to the manufacturer’s specifications.
- Refit the removed covers and restore power to the system using the specified procedure. Carry out a final check of the connections and operation.
4) Checks after installation and functional verification
Check that the connections are secure and the cable is fastened, and make sure it is not pinched anywhere. After putting the vehicle back into operation, watch for any warning messages and verify that the START-STOP system works under the conditions specified by the manufacturer. The system’s failure to activate does not necessarily indicate a cable fault. Carry out diagnostics and a short test drive if necessary. Stop the inspection if you notice the smell of overheated insulation or unusual heating at the connections.
5) Common installation mistakes and how to avoid them
- Working without securing the capacitor safely: always follow the service instructions, rather than simply disconnecting the battery.
- Incorrect cable routing: follow the original route and refit all necessary fasteners.
- Loose connection or unsecured connector: check every connection before restoring power.
- Leaving a damaged mating connector in place: eliminate the cause of the poor connection to prevent damage to the replacement cable.
Reasons why the part gets damaged
For this type of cable, common causes of damage include:
- Insulation chafing due to vibration, missing clips or incorrect routing.
- Corrosion of contacts caused by moisture and dirt.
- Overheating of connections due to looseness or increased contact resistance.
- Aging insulation and long-term exposure to heat.
- Mechanical damage during a previous repair, pulling on the wire or pinching the cable.
Before replacing the cable, it is advisable to eliminate the original cause of the fault so that the replacement cable is not subjected to the same stress.