Description
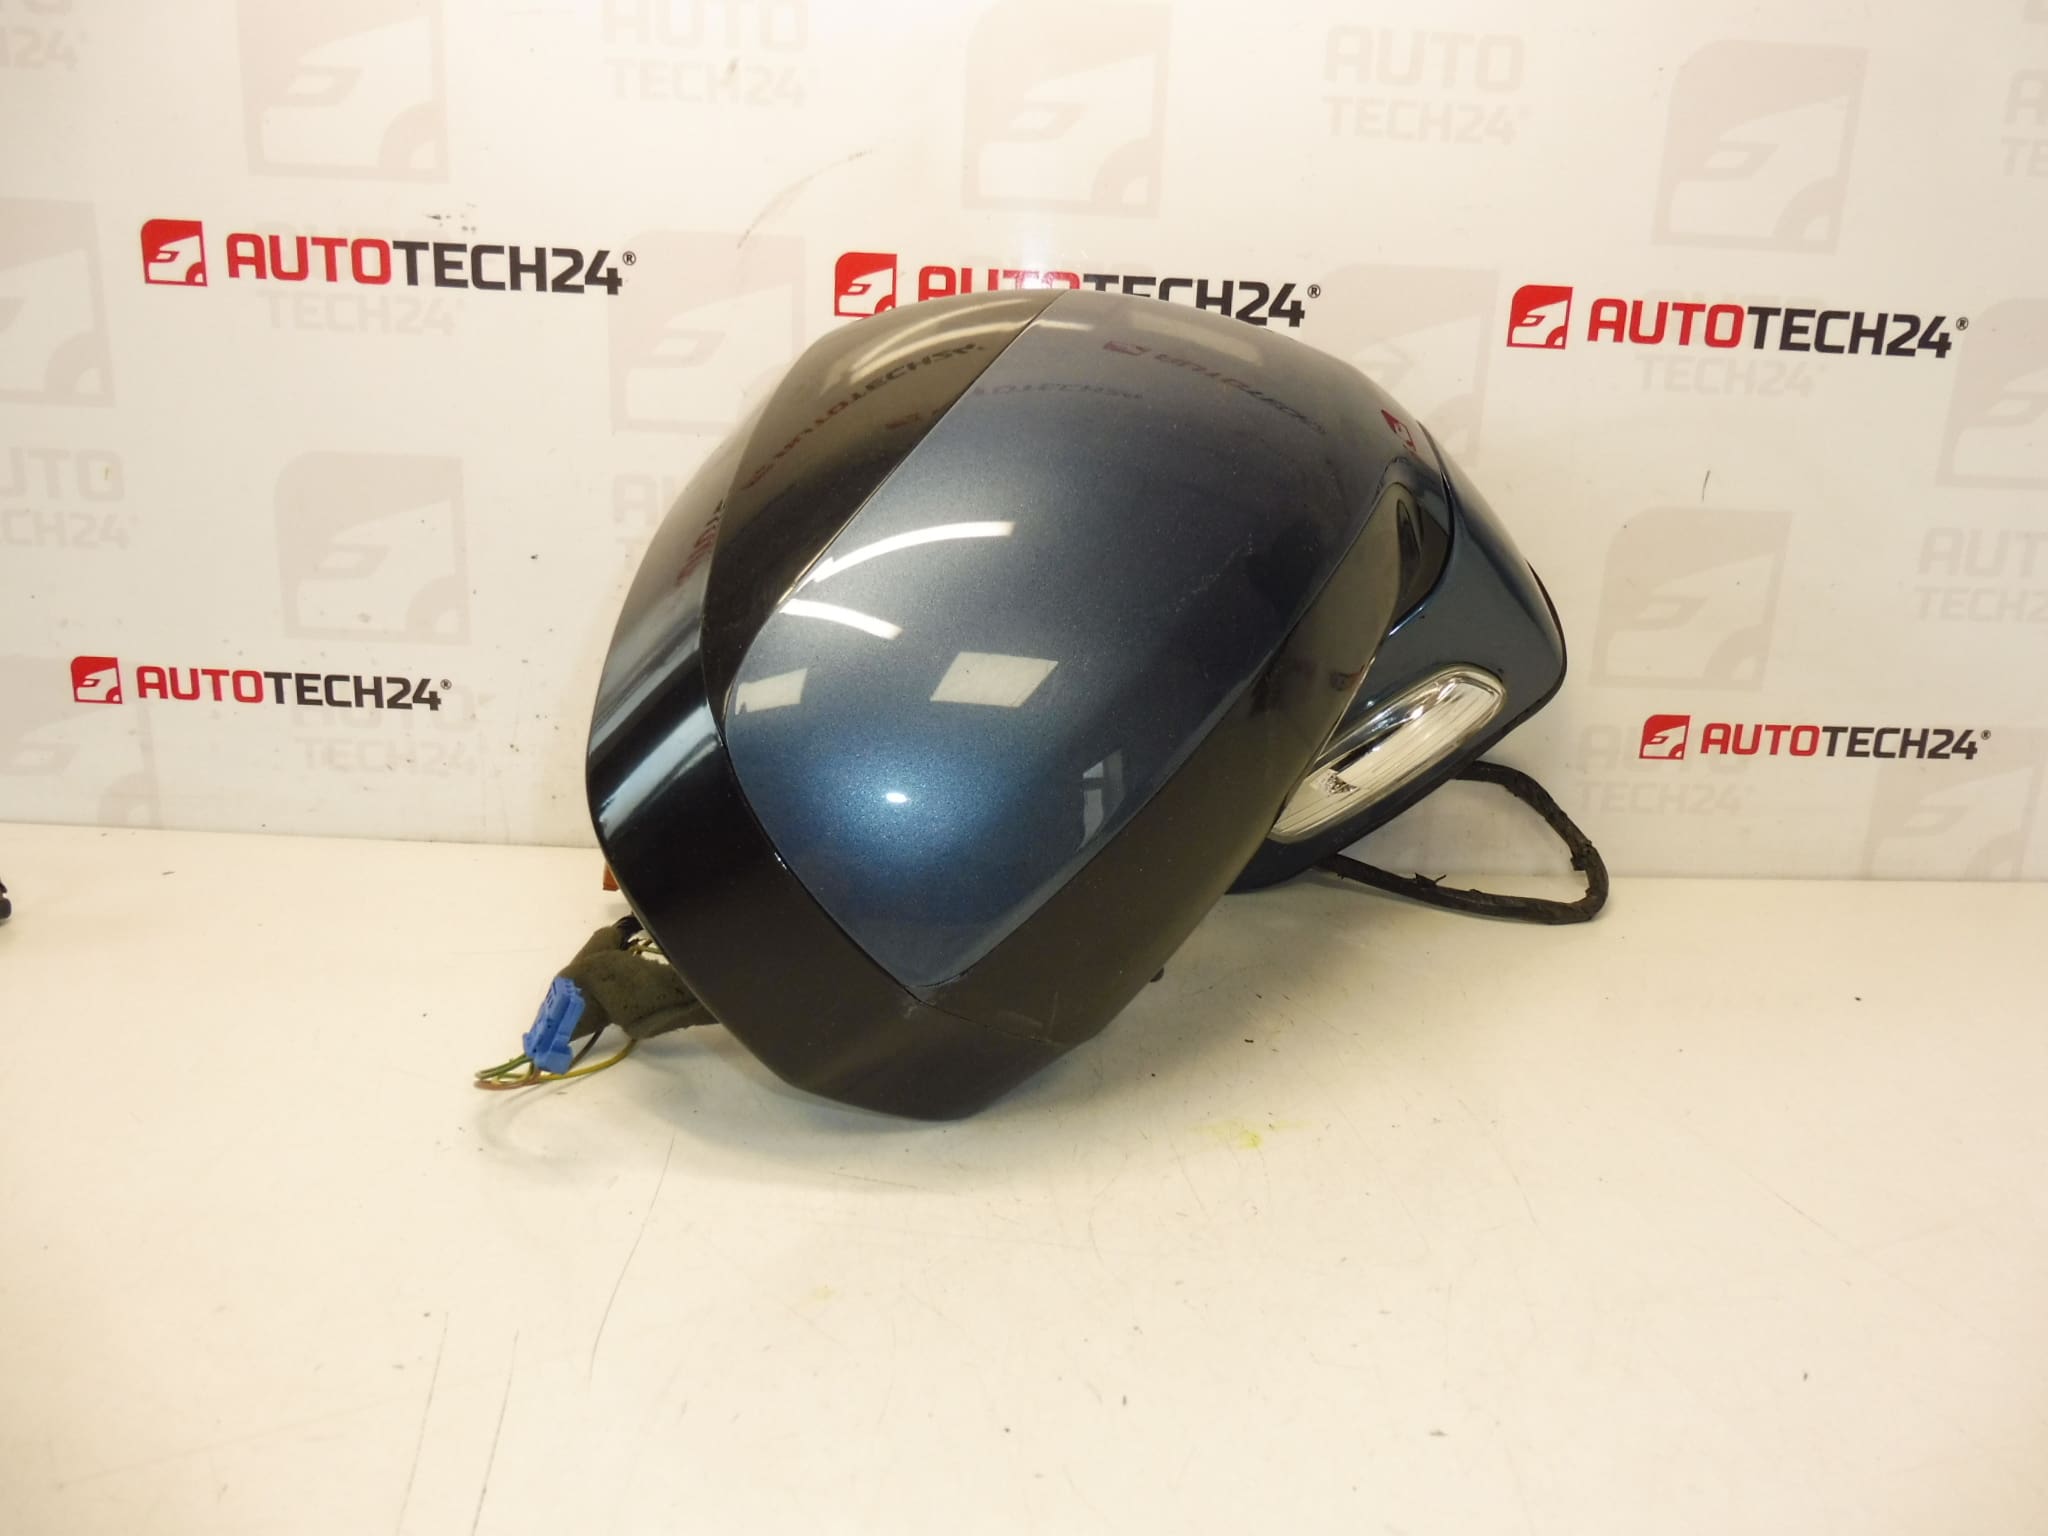
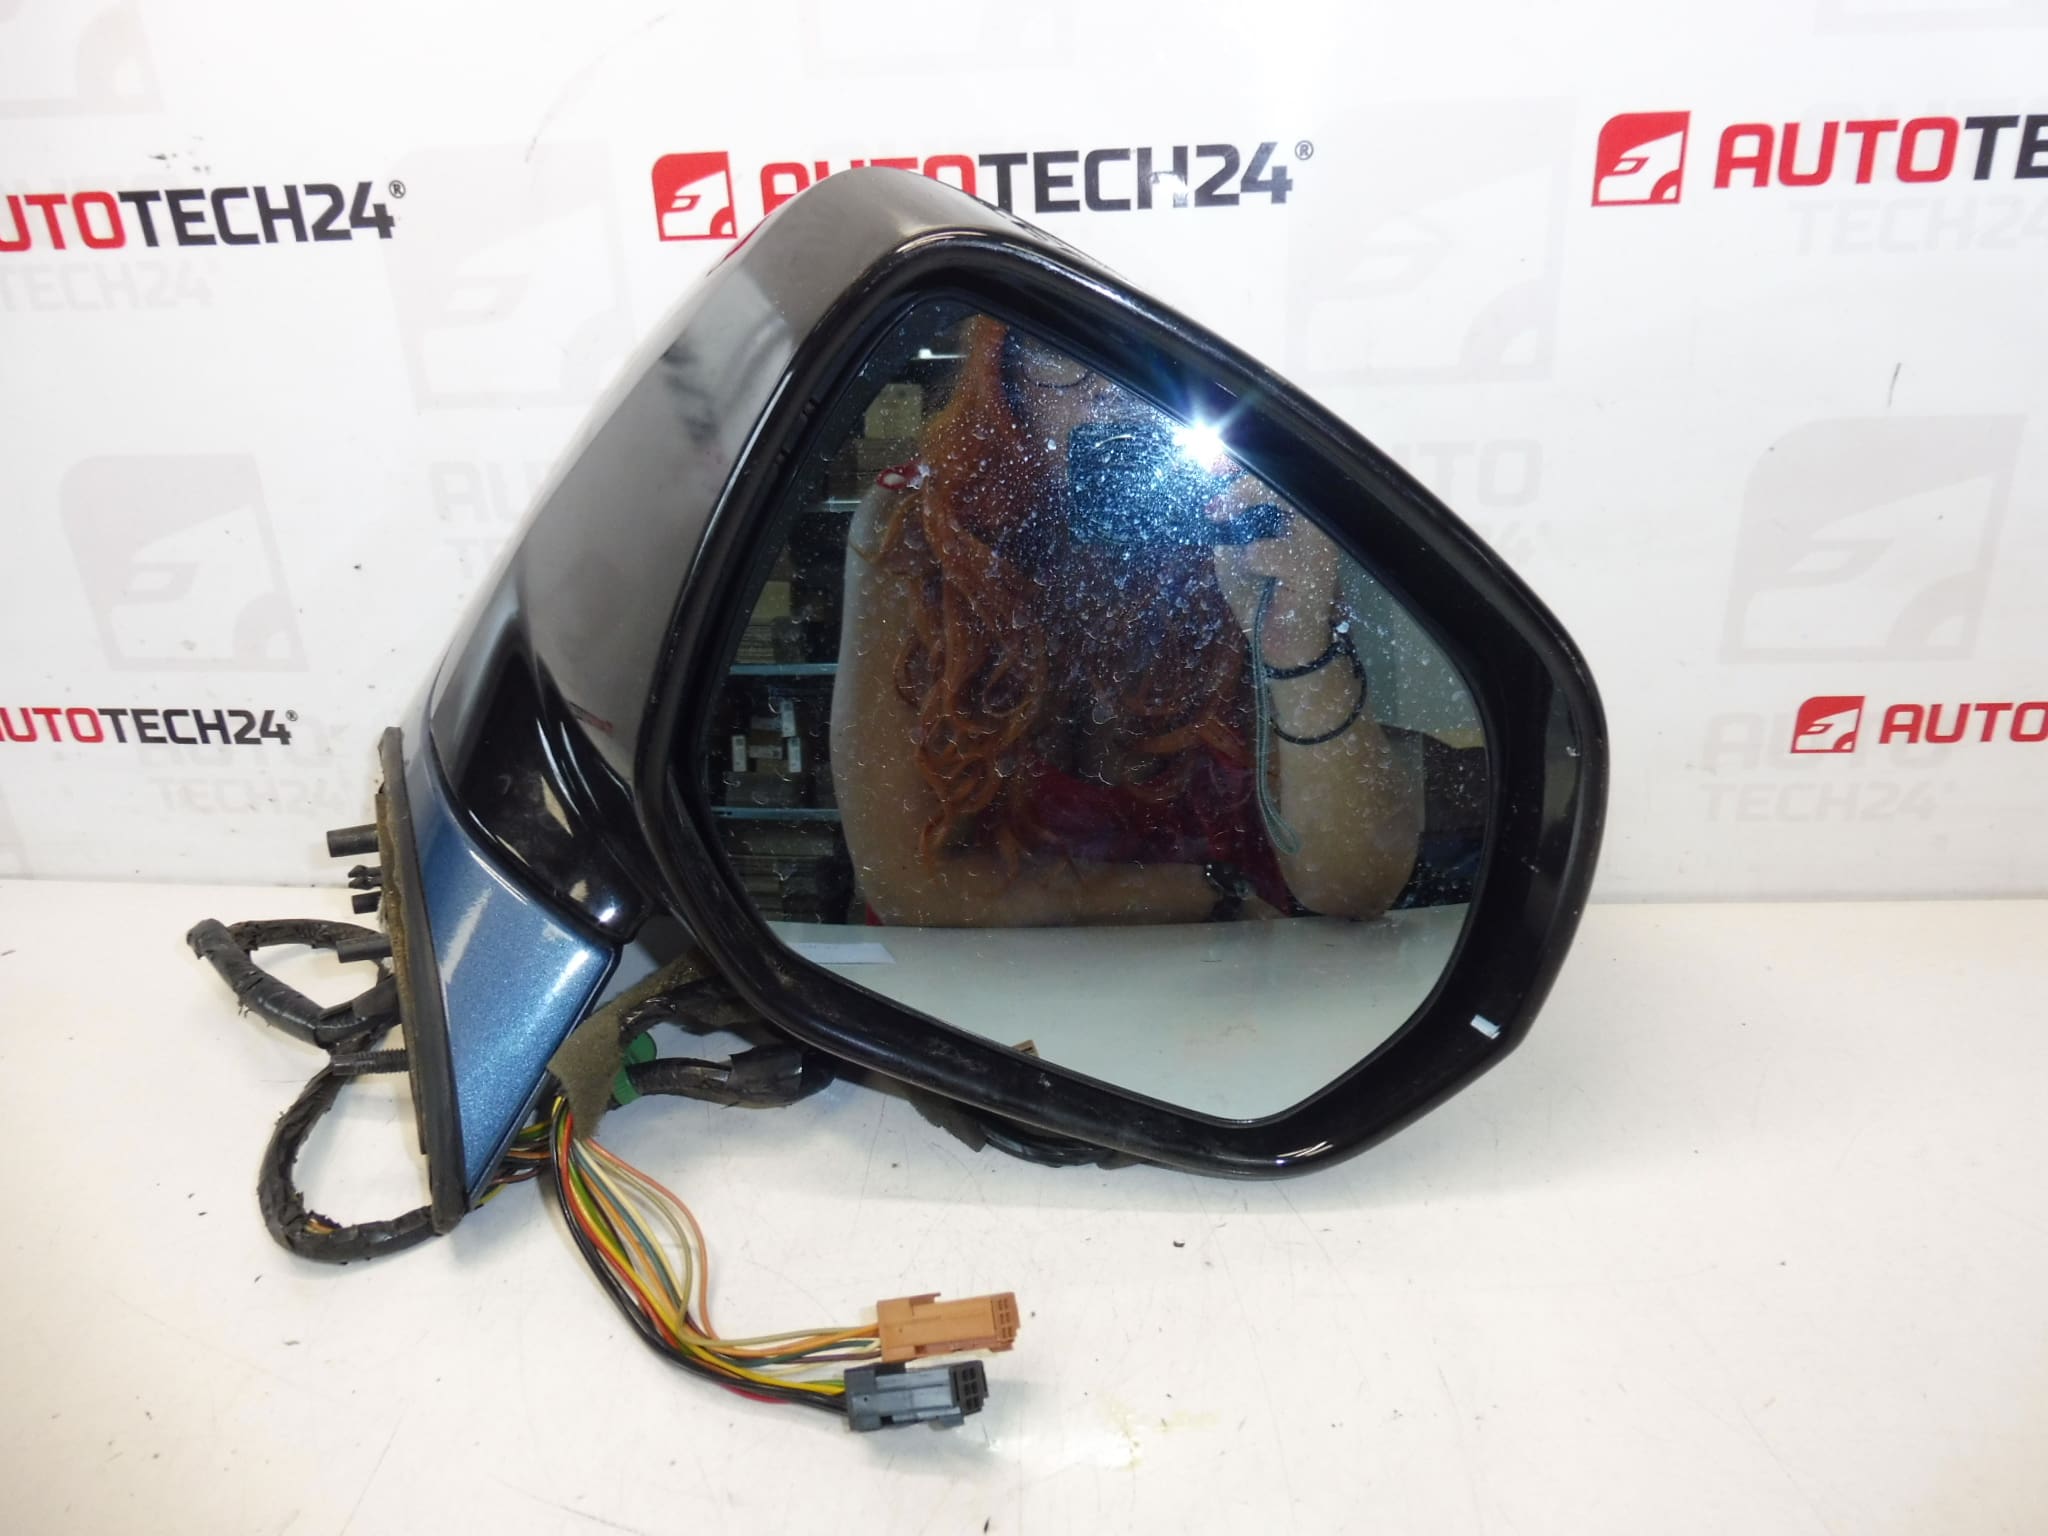
Right Side Mirror For Citroën C4 Picasso And Grand Picasso
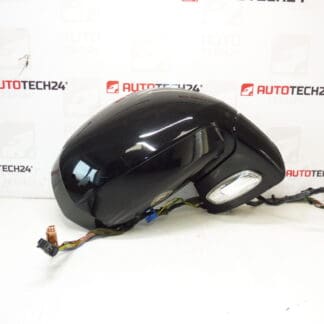
Electrically Adjustable, Heated, Puddle Light, Temperature Sensor
Passenger Side, 15 Pins 6+6+3
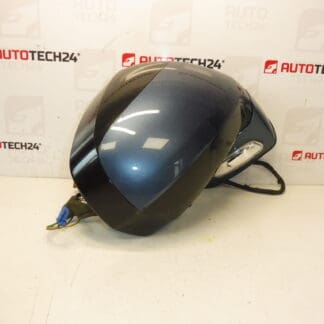
Color KGQ – Kyanos Blue
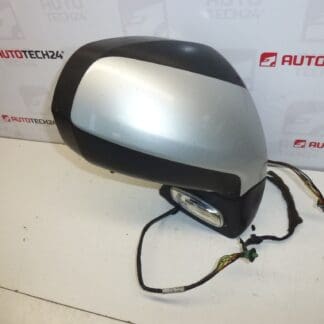
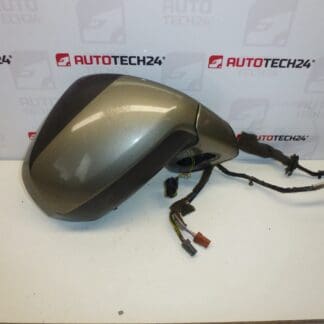
Other Colors Available
Product Overview
This genuine-style right side (passenger) wing mirror is designed for Citroën C4 Picasso and Grand Picasso models. It offers full electric adjustment, integrated heating to prevent misting and icing, a puddle/approach light for improved visibility when entering the vehicle, and a built-in temperature sensor. The connector uses a 15-pin configuration arranged as 6+6+3, ensuring compatibility with the car’s original wiring harness. Color code KGQ corresponds to Kyanos Blue; other color variants are available to match your vehicle.
Technical Information
- Manufacturer: Stellantis (Citroën/Peugeot)
- Model: Citroën C4 Picasso, Citroën Grand Picasso
- Product Codes: 96851525XY, 8153VR
- Additional Numbers: Color Code KGQ (Kyanos Blue); Connector: 15 Pins (6+6+3)
Compatibility And Fitment
Fits Right Side (Passenger) positions on Citroën C4 Picasso and Grand Picasso models using the specified 15-pin connector. Before ordering, check that your vehicle uses the same connector layout and features (heated mirror, puddle light, temperature sensor). Matching the paint code (KGQ) ensures a factory color match; painting may be required if a different finish is desired.
How To Replace
Replacement is straightforward for a mechanically competent DIYer or professional mechanic. Typical steps:
- Fold mirror and remove the inner door trim or triangular cover to access mounting bolts.
- Disconnect the electrical connector by releasing the locking clip.
- Unscrew the mirror mounting bolts and carefully remove the mirror assembly from the door.
- Fit the new mirror, secure the mounting bolts to the manufacturer’s torque, reconnect the electrical connector and reassemble the trim.
- Test electric adjustment, heating, puddle light and temperature sensor functions before finishing.
Installation Recommendations
- Disconnect the battery before working on electrical components to avoid short circuits or accidental airbag deployment.
- Work on a dry vehicle and protect door trim and paintwork to prevent scratches.
- Ensure connectors and contacts are dry and free of corrosion; apply dielectric grease if appropriate.
- If the mirror includes paint-matched housing, check fit and finish before final tightening.
- After installation, verify all mirror functions (adjustment, heating, puddle light) and recalibrate settings if required by the vehicle.
Why This Part Commonly Fails
Exterior mirrors are exposed to impacts, moisture and temperature cycles. The most frequent causes of failure are:
- Mechanical damage from collisions or knocks (broken housing or glass).
- Motor or actuator wear causing loss of adjustment.
- Water ingress and corrosion of connectors leading to intermittent electrical faults.
- Heating element failure or wiring damage affecting the demisting function.
- Damage to the puddle light or temperature sensor from impacts or electrical faults.
Why Buy This Mirror
Ideal for mechanics and DIY enthusiasts who need a direct-fit, feature-complete replacement for the right side mirror on Citroën C4 Picasso and Grand Picasso vehicles. The unit preserves factory functions—electric adjustment, heating, puddle light and temperature sensing—helping maintain safety and comfort while keeping repair time and complexity low. Common search terms: Citroën C4 Picasso right mirror, 96851525XY, 8153VR, KGQ Kyanos Blue mirror.