Description
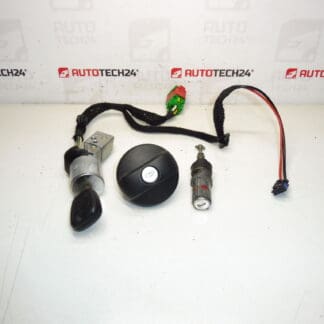
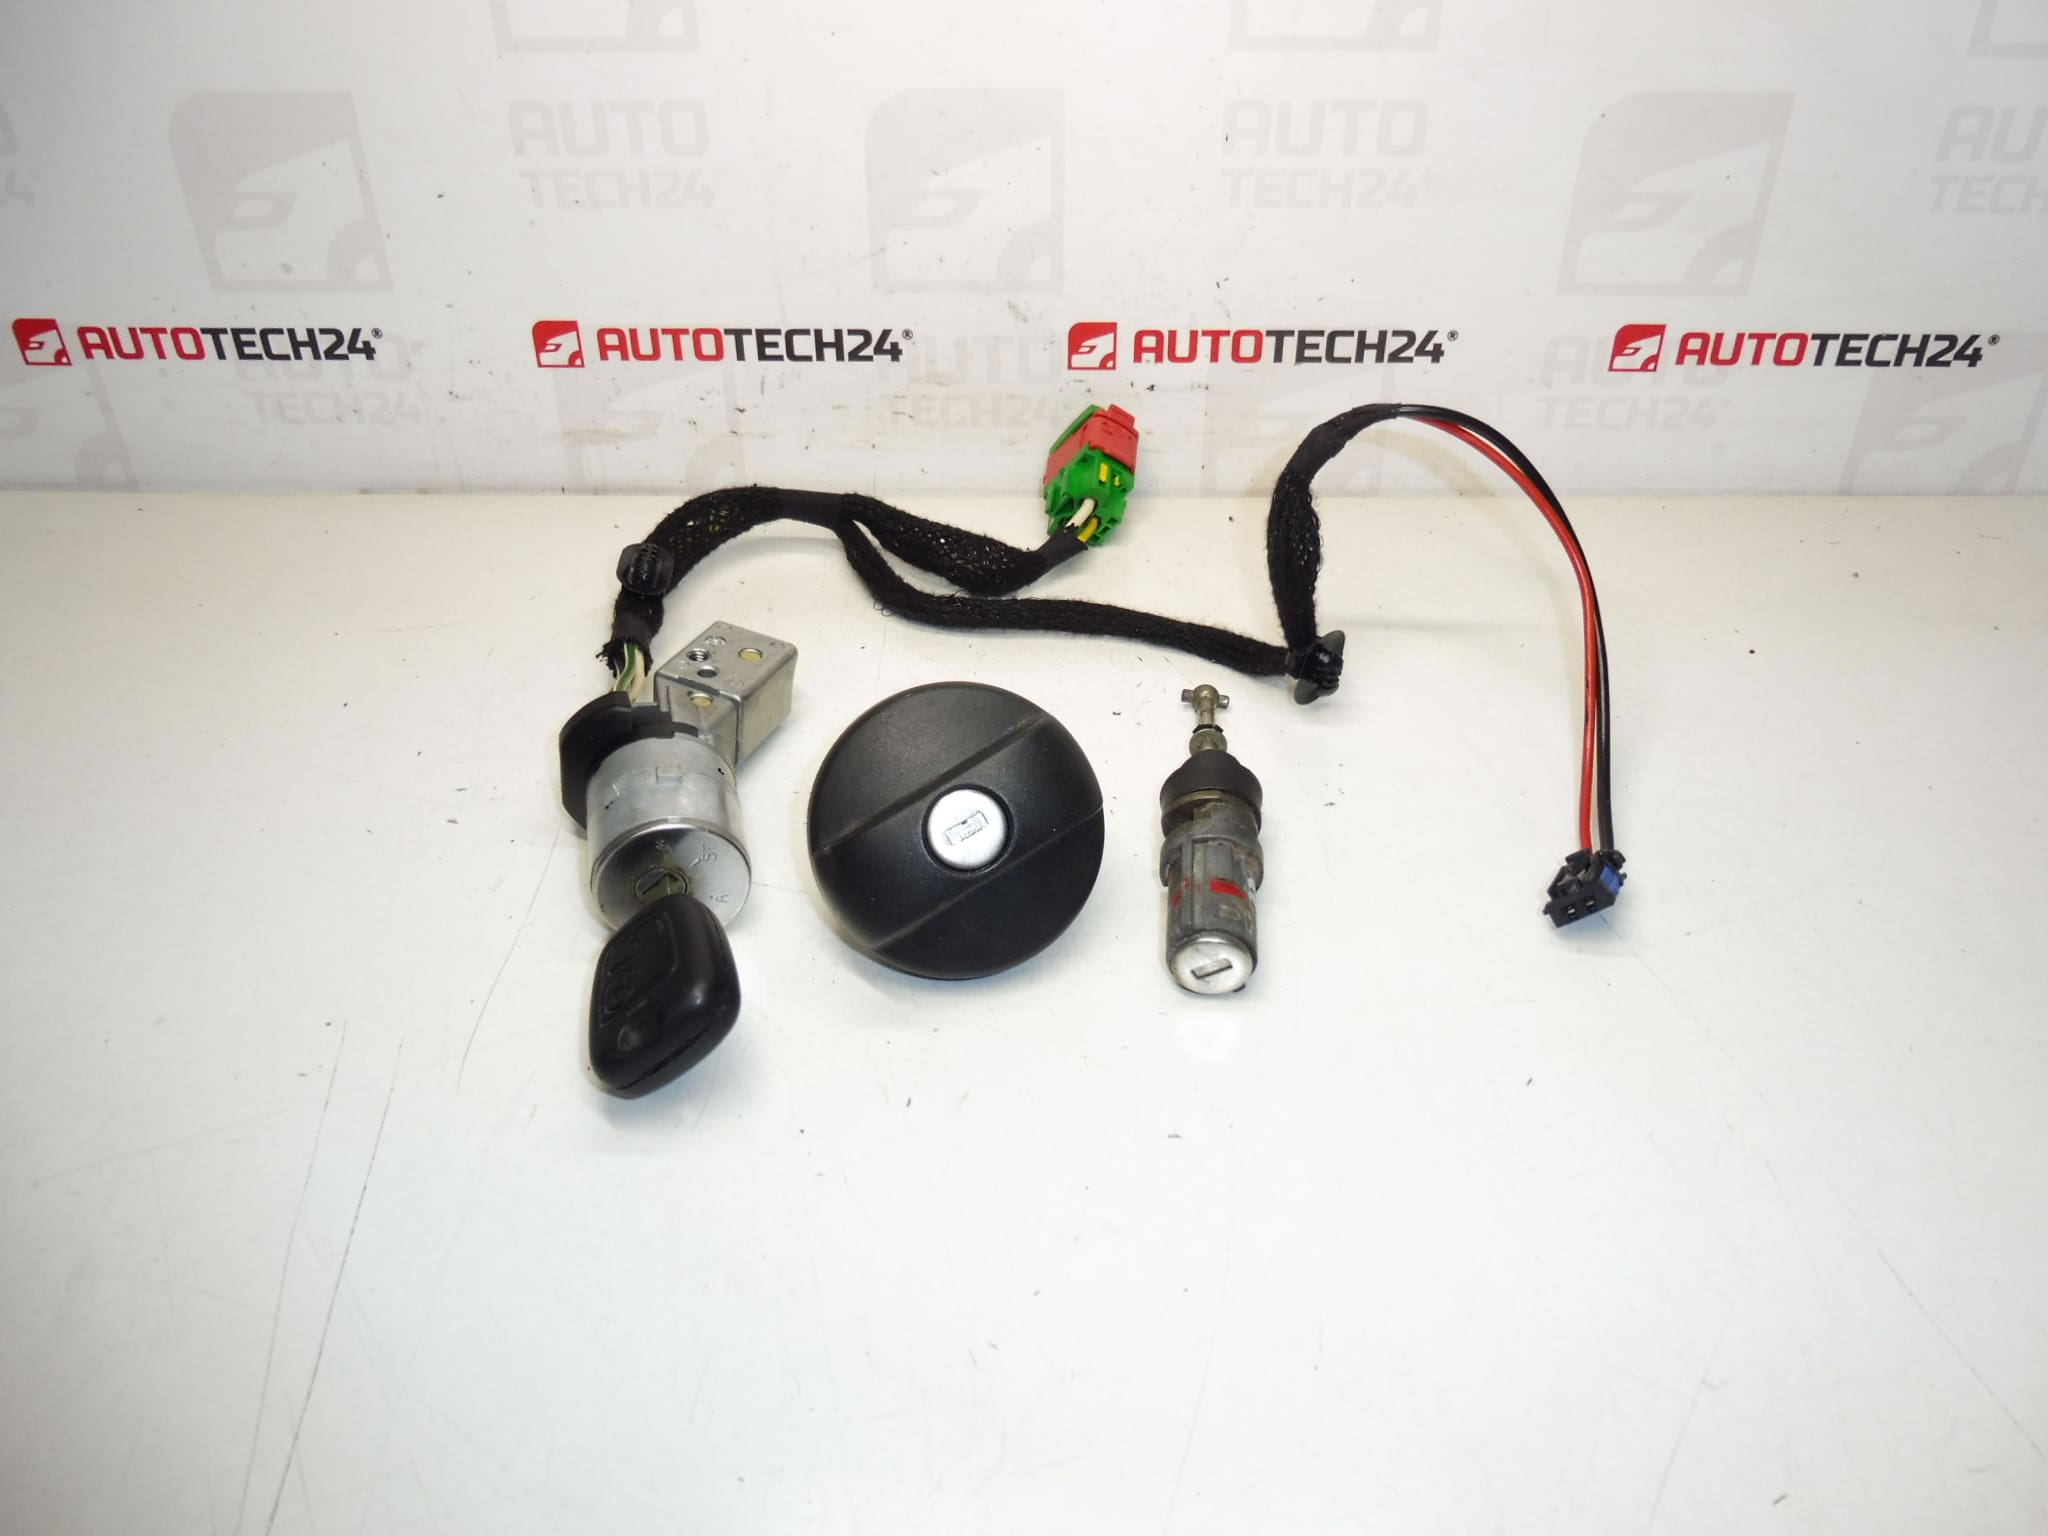
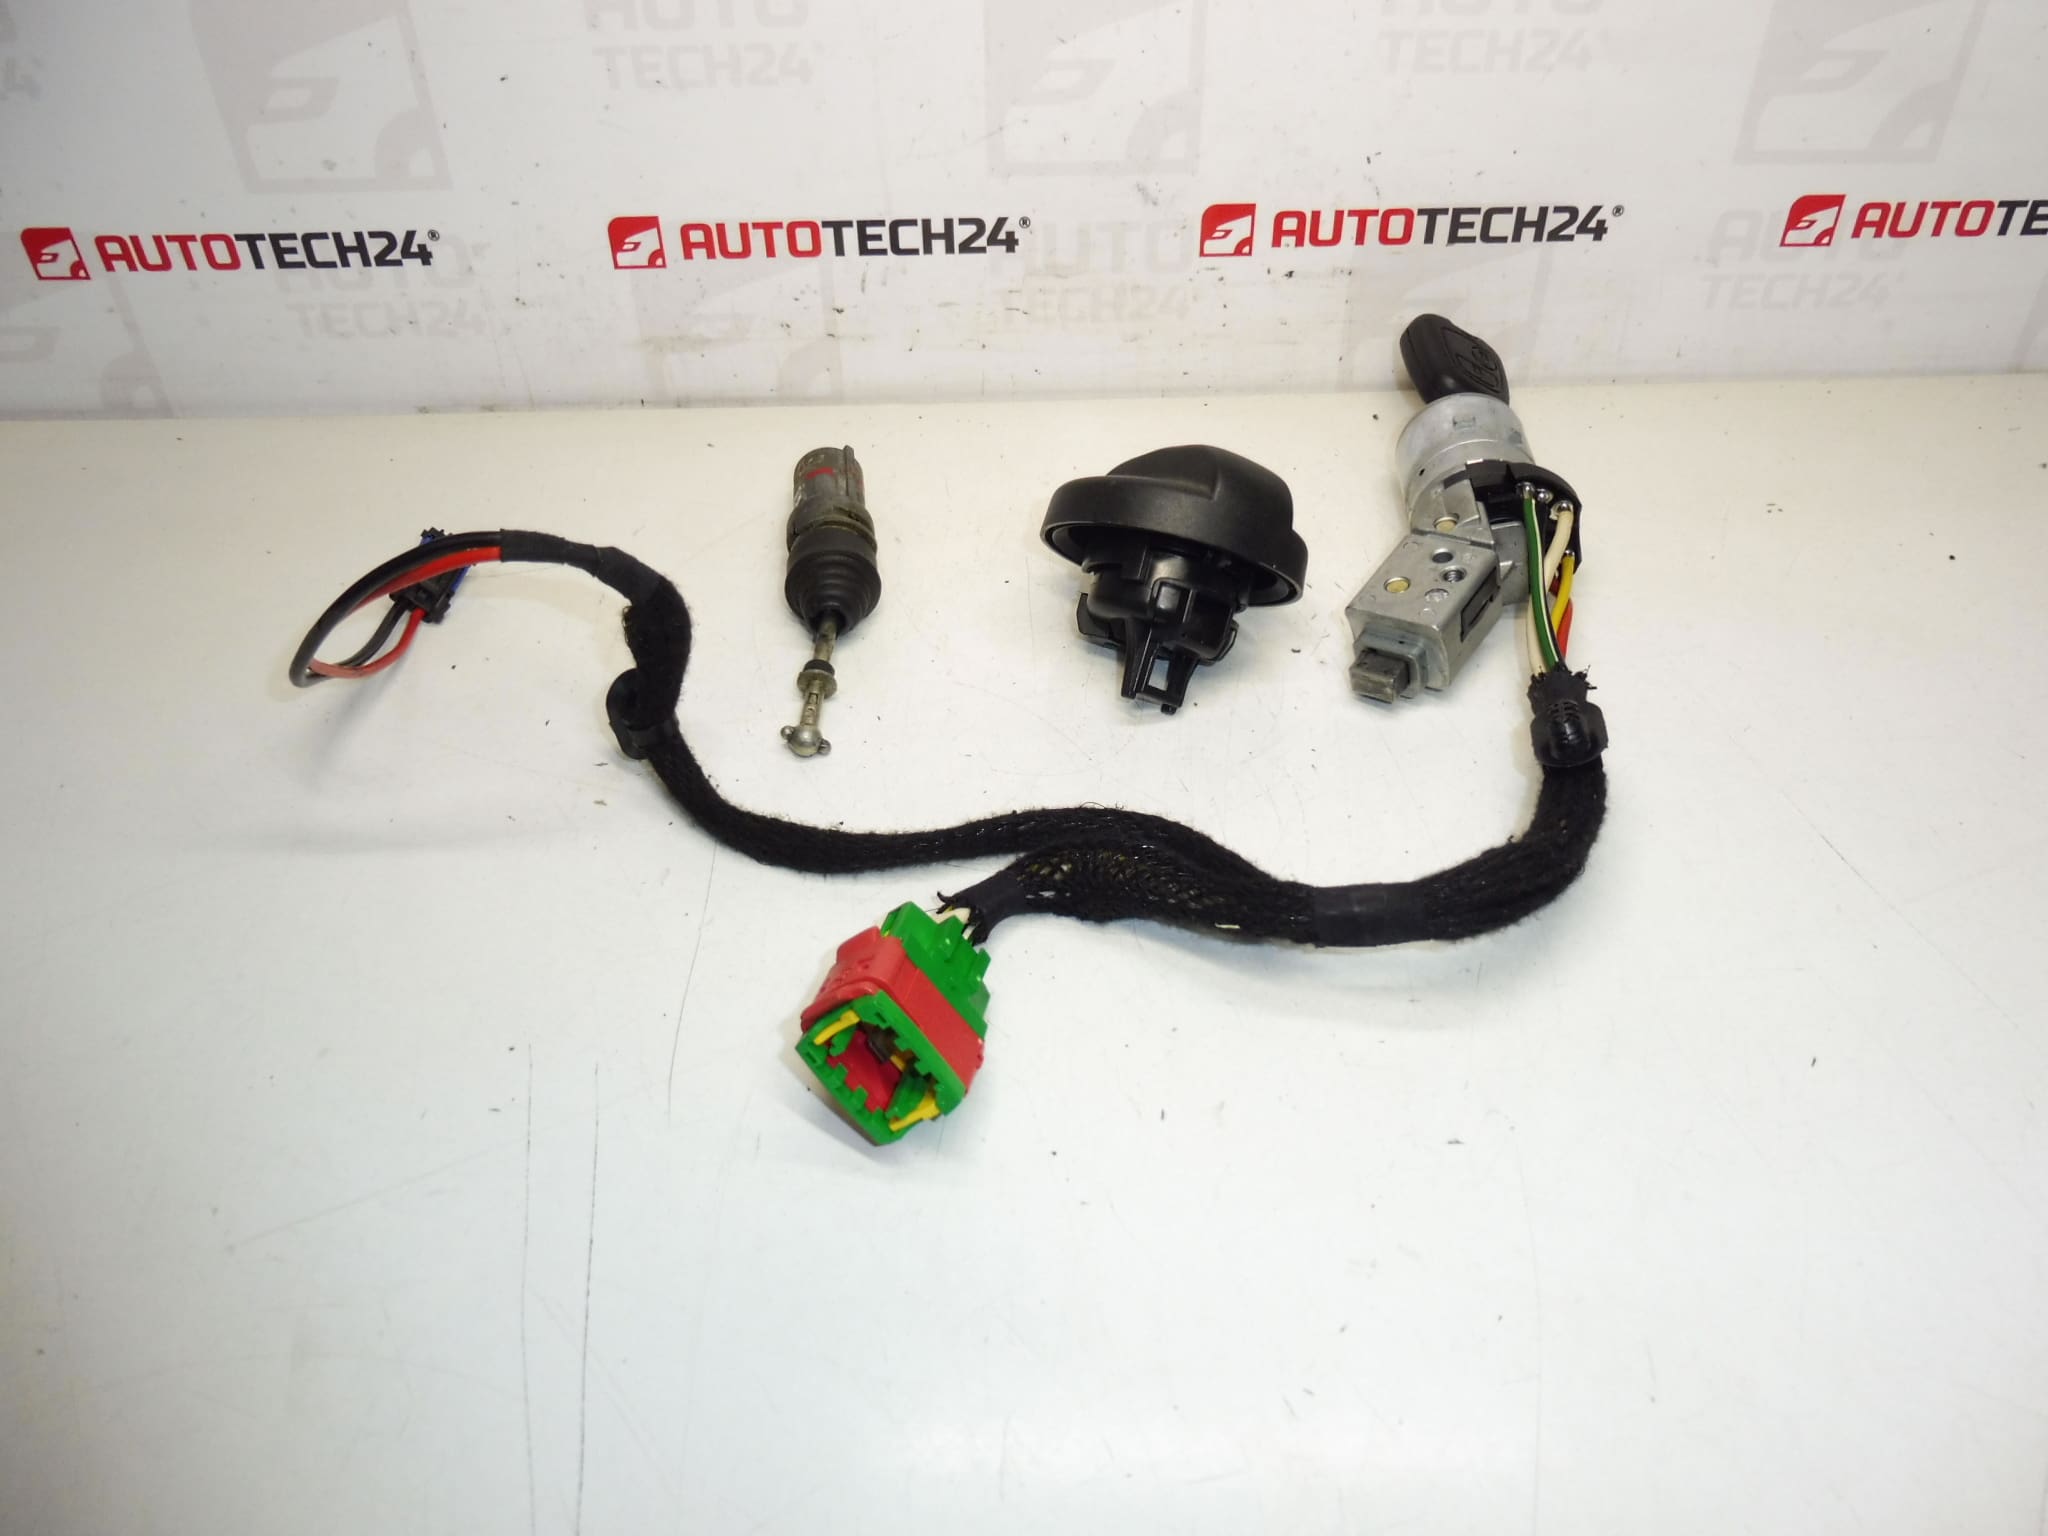
Lock Set: Ignition Barrel, Fuel Filler Flap, Driver’s Door Locks For PEUGEOT 307 CC Up To 2004
1x Key Blade
This comprehensive lock set is tailored for Peugeot 307 CC owners and professional mechanics who need a reliable replacement for worn or damaged locking components. The kit includes the ignition barrel plus lock cores for the driver’s door and the fuel filler flap, together with one key blade. Ideal for restorations, accident repairs or when locks are no longer operating smoothly, the set matches original fitment for early 307 CC models and is commonly referenced by part codes 4162CQ and 4162X4.
Technical Information
- Manufacturer: Stellantis / Peugeot
- Model: Peugeot 307 CC (Coupe-Cabriolet) Up To 2004
- Product Codes: 4162CQ, 4162X4
- Additional Numbers: No Additional OEM Numbers Known
Installation Recommendations
- Disconnect Battery: For Safety, Disconnect The Negative Battery Terminal Before Starting Work.
- Access Ignition Barrel: Remove Steering Column Covers To Reach The Ignition Barrel Retaining Screws Or Clips; Note The Steering Wheel Position To Reassemble Correctly.
- Door And Fuel Flap Locks: Remove Interior Door Trim Or Fuel Filler Access Panels To Extract The Lock Cylinders; Keep Fasteners And Clips For Reuse.
- Key Transfer Or Cutting: The Kit Includes One Key Blade. Cut The Blade To Match Your Existing Key Pattern Or Use It As The Master For New Keys.
- Immobiliser Note: If The Vehicle Uses A Transponder Immobiliser, The Electronic Transponder Must Be Transferred From The Old Key Or Programmed Separately; This Kit Provides Mechanical Components And A Key Blade Only.
- Lubrication And Adjustment: After Installation, Lubricate Lock Mechanisms With Graphite Or Suitable Lock Lubricant And Check For Smooth Operation Through Full Travel Of The Key And Lock.
- Test Before Reassembly: Verify That Ignition, Door, And Fuel Flap Locks Operate Correctly Before Reinstalling Trim Panels.
Most Common Failure Reasons
- Mechanical Wear: Continuous Use Causes Wafers And Tumblers To Wear, Leading To Sloppy Operation Or Failure To Turn.
- Corrosion And Contamination: Moisture, Road Salt, And Dirt Can Corrode Internals, Especially On Exterior Locks Such As The Fuel Flap.
- Broken Or Worn Keys: Damaged Key Blades Or Excessive Force Can Break Keys Inside The Cylinder Or Damage Internal Components.
- Seized Mechanisms: Lack Of Lubrication Or Ingress Of Debris Can Cause Locks To Stick Or Jam.
- Vandalism Or Forced Entry: Physical Damage From Forced Attempts Will Require Cylinder Replacement.
Keywords For Search: Ignition Barrel Lock Set, Peugeot 307 CC Locks, 4162CQ, 4162X4, Door Lock Cylinder, Fuel Flap Lock, Key Blade. This product is aimed at mechanics and DIYers who search by part number or who need a direct-fit replacement for early Peugeot 307 CC models.