Description
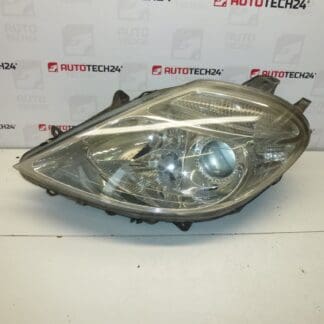
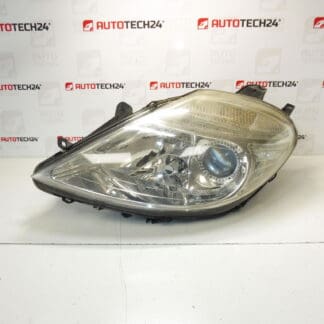
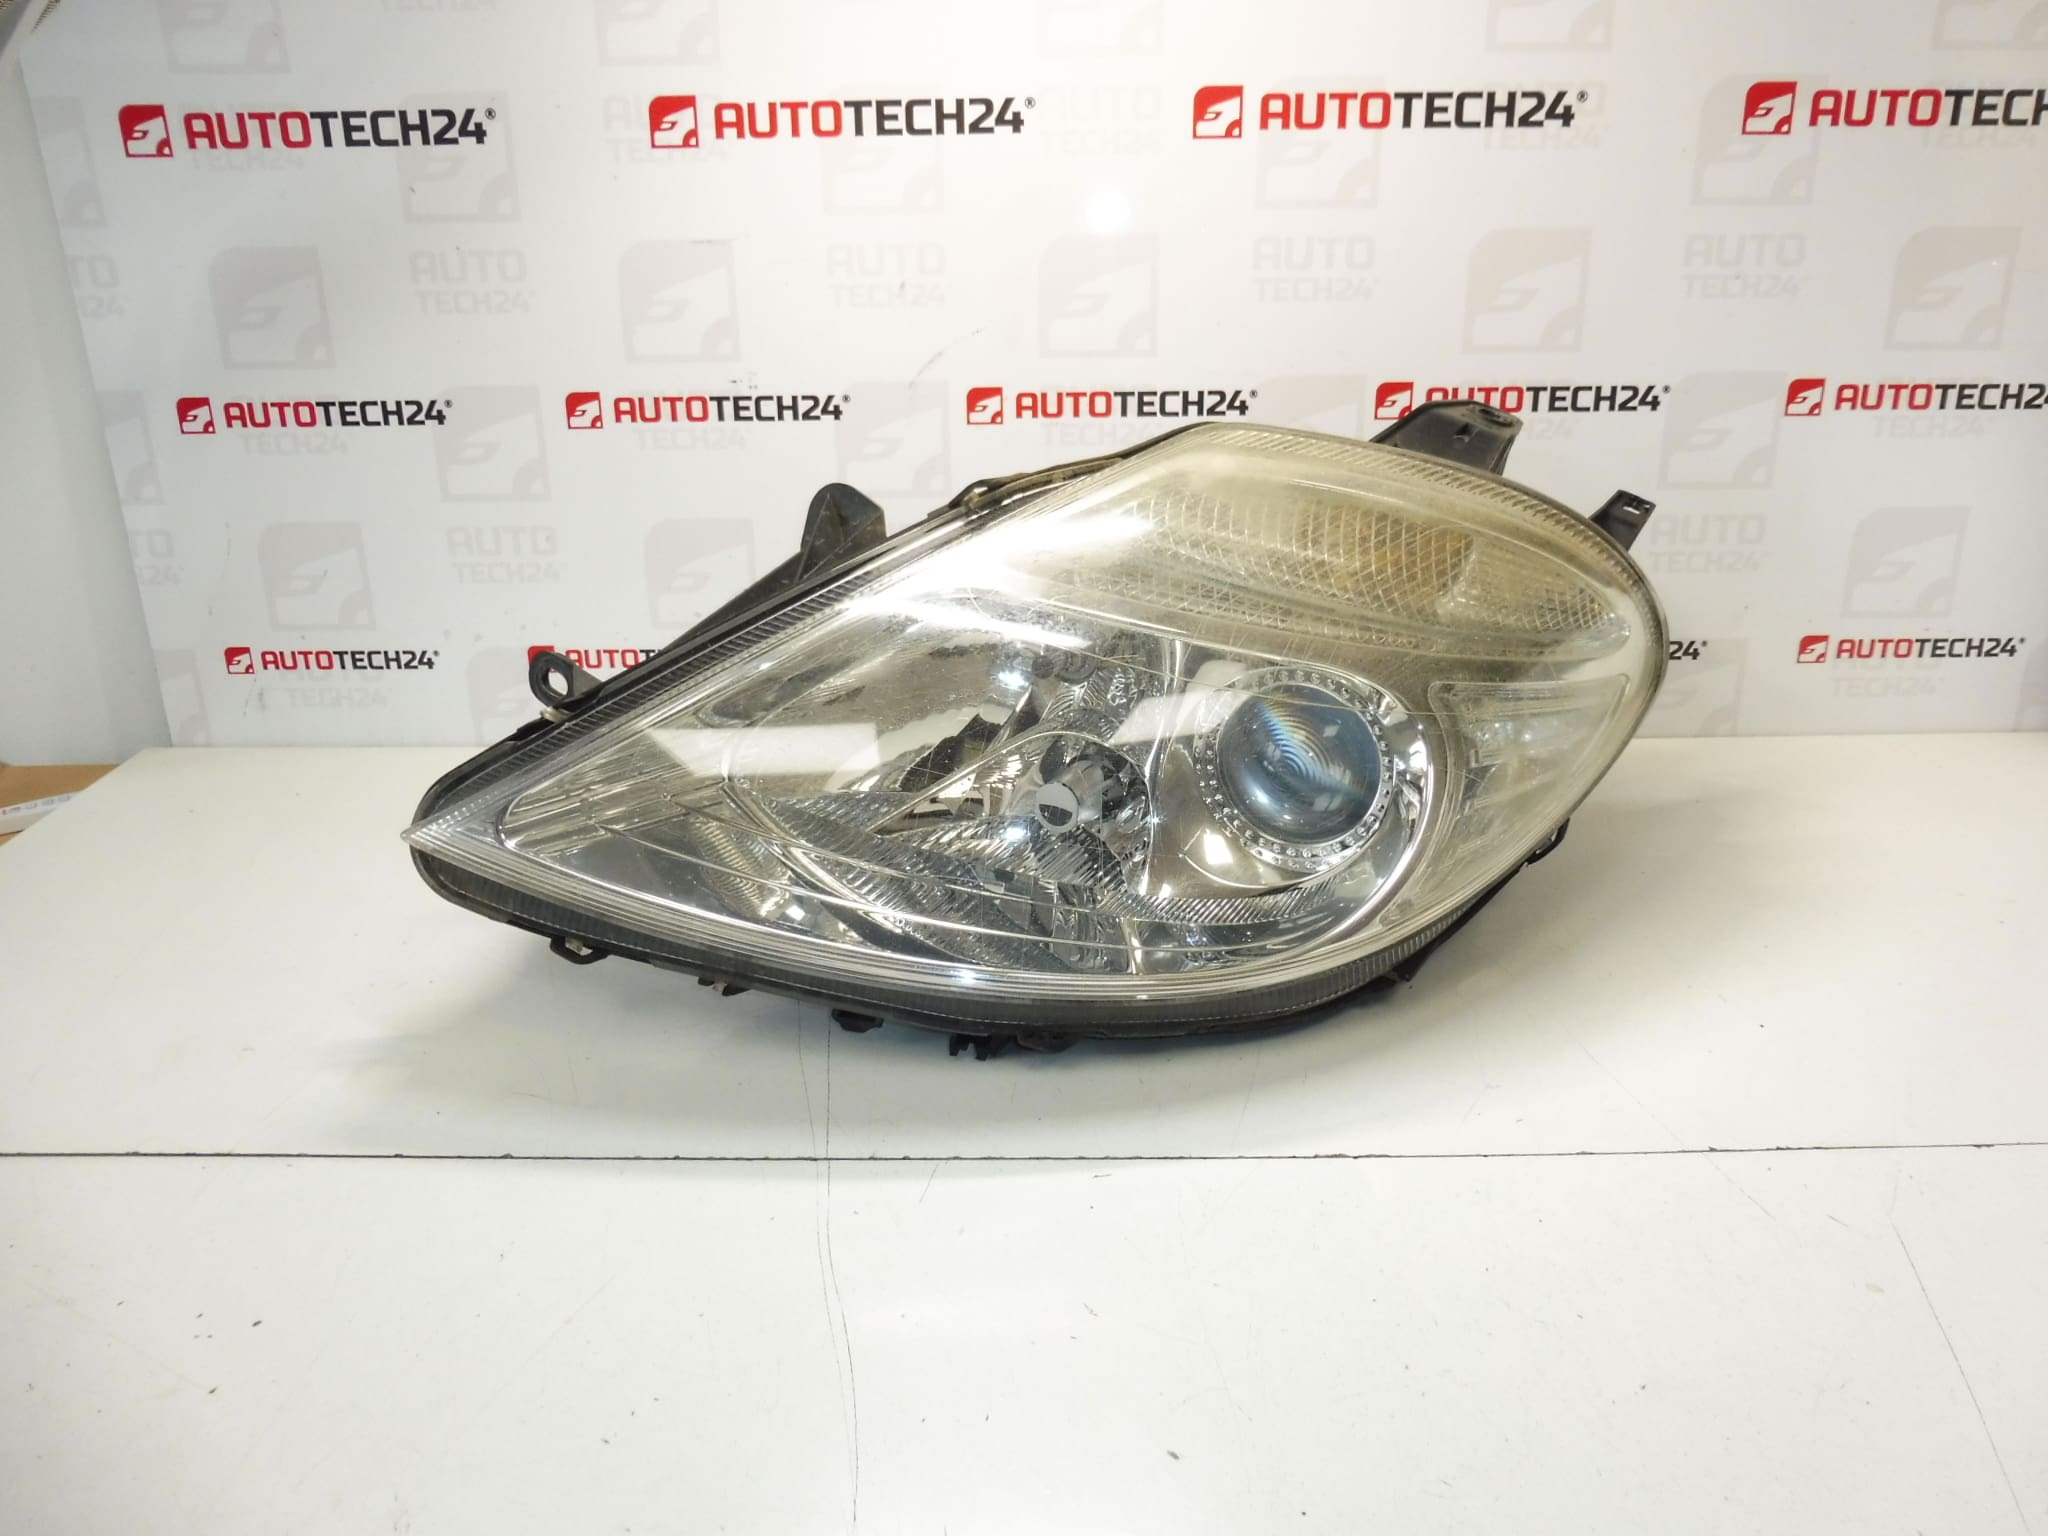
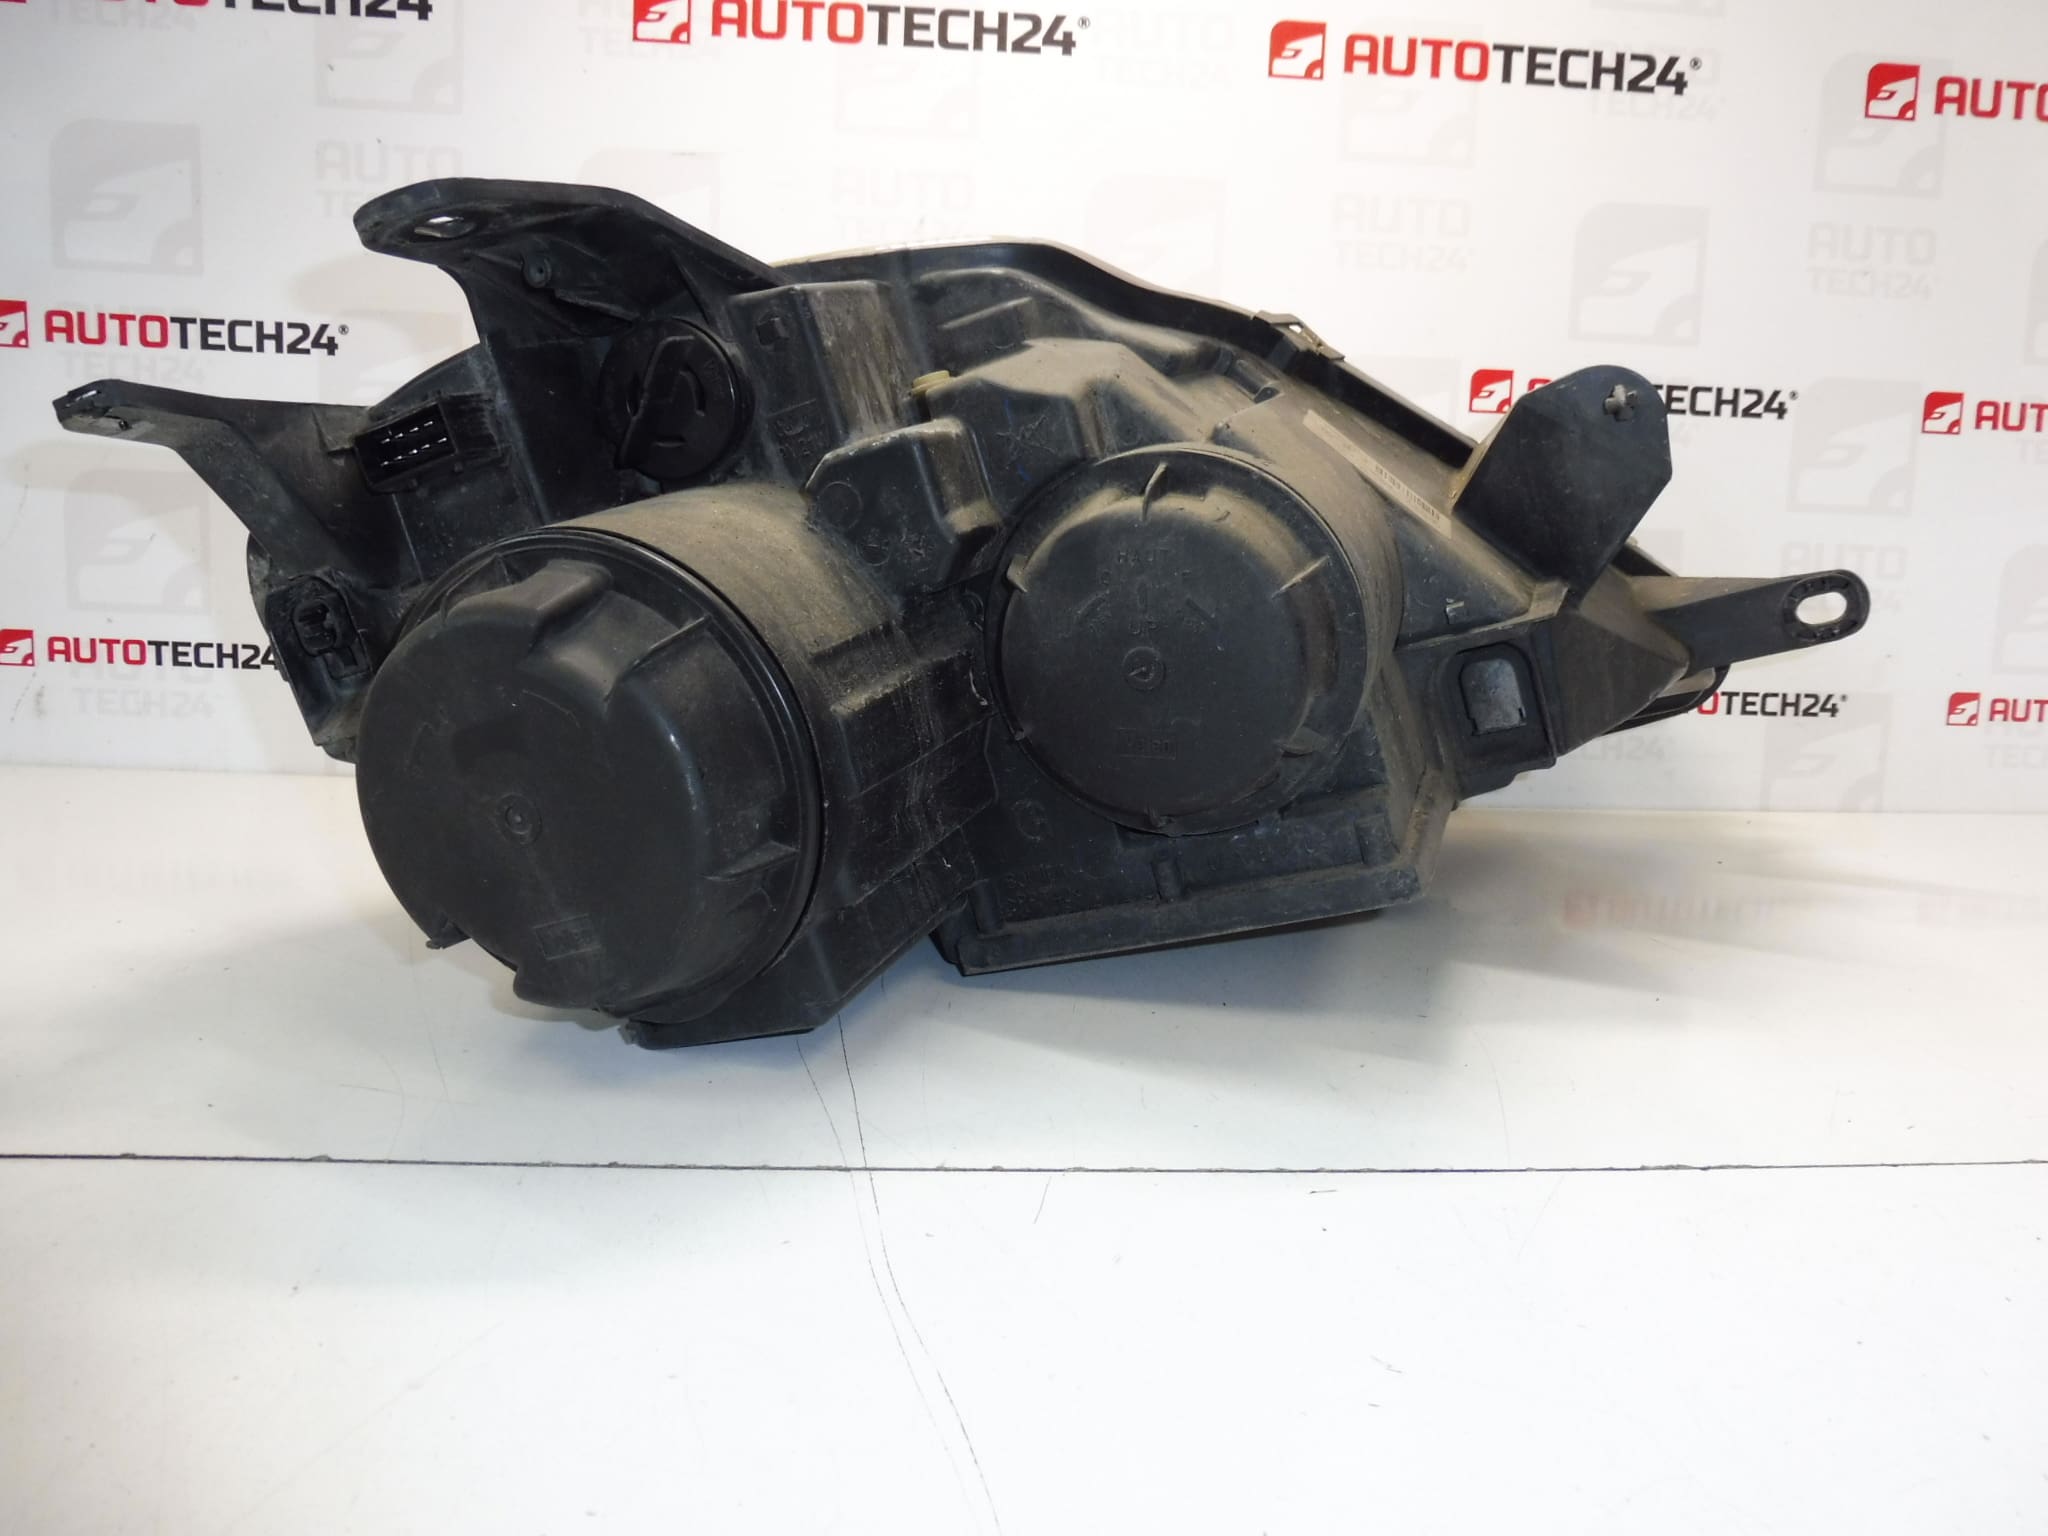
Left Front Xenon Headlight For Citroën C8. Complete Headlamp Including The Xenon Bulb And Control Unit. The Headlamp Is Fully Functional. Real Photo – This Is Exactly What You Will Receive.
This left front Xenon headlight is a direct-fit unit designed for Citroën C8 owners and professionals servicing Stellantis platforms. The complete assembly includes the Xenon bulb, ballast/igniter and the headlight control electronics, offering a ready-to-install replacement for damaged or degraded original units. Ideal for auto mechanics and experienced DIYers searching by OE numbers, the unit matches common part references used in service and spare-part searches to make finding the correct replacement quick and reliable.
Technical Information
- Manufacturer: Citroën (Stellantis)
- Model: Citroën C8 (compatible with related PSA/Fiat/Peugeot platform models such as Peugeot 807)
- Product Codes: 1494320080, 89006373, 620816
- Additional Numbers: Referenced Tags: 1494320080 | 620816 | 89006373
Function And Components
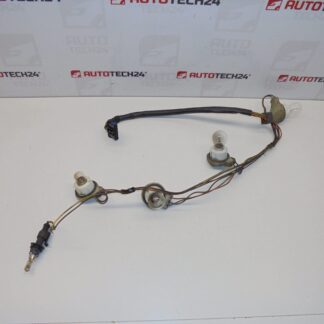
The Xenon headlight system provides high-intensity discharge lighting for improved night visibility. Key components included in the assembly:
- Xenon Bulb (factory systems typically use D2S HID bulbs, 35W)
- Ballast/Igniter (integrated control unit for lamp ignition and operation)
- Headlight Control Electronics (beam leveling and communication with vehicle CAN where applicable)
- Housing, Lens And Adjustment Mechanisms (beam aim and sealing)
Installation
Replacement should be performed by a trained technician or a competent DIYer with basic workshop equipment. Typical steps:
- Disconnect Battery Before Work To Avoid Electrical Damage And For Safety.
- Remove Any Required Trim Or Bumper Fasteners To Access The Headlamp Assembly.
- Unbolt The Headlamp, Carefully Unplug All Electrical Connectors And Remove The Unit.
- Transfer Any Ancillary Parts If Needed (e.g., Leveling Motor Or Washer Components) Or Install The New Complete Unit.
- Reconnect Electrical Connectors, Refit Fasteners, Reinstall Trim And Reconnect Battery.
- Perform Beam Alignment And Leveling According To Manufacturer Specifications; Check For Warning Lights Or Fault Codes.
Installation Recommendations
- Always Disconnect The Battery Before Starting Work.
- Do Not Open Ballast Or Bulb Assembly: High Voltage Present; Handle Only As An Integrated Unit.
- Wear Gloves When Handling Xenon Bulbs; Avoid Fingerprints On Glass.
- Check And Replace Seals Or Gaskets If Signs Of Moisture Or Damage Are Present.
- After Installation, Verify Aim And Adaptive/Leveling Function To Ensure Legal And Safe Illumination.
- If One Xenon Lamp Has Failed, Consider Replacing The Opposite Lamp To Match Light Output And Color Temperature.
Why The Part Most Often Fails
- Moisture Ingress Causing Corrosion Or Short Circuits In Ballast Or Connectors.
- Ballast Or Igniter Failure Due To Thermal Stress Or Age.
- Xenon Bulb Reaching End Of Life (Dimming, Flicker, Or Failure).
- Physical Damage From Impacts Or Road Debris.
- Failure Of Headlight Leveling Motor Or Electrical Connectors Due To Corrosion.
- Lens Yellowing Or Clouding Reducing Light Output Over Time.
Recommended Checks And Maintenance
- Perform Visual Inspection For Seals, Condensation, And Connector Corrosion During Routine Service.
- Scan For Fault Codes If A Warning Light Appears After Replacement.
- Test Headlight Leveling And Washer Functions Where Equipped.
- Keep Replacement Part Numbers Handy For Faster Sourcing; Search By OE Codes 1494320080 / 89006373 / 620816.
Additional Notes
This unit Is Supplied As A Complete, Fully Functional Headlamp Assembly. Because Xenon Systems Operate At High Voltage And Are Integrated With Vehicle Electronics, Follow The Above Installation Recommendations Carefully To Ensure Safe, Reliable Operation And Proper Beam Alignment.