Description
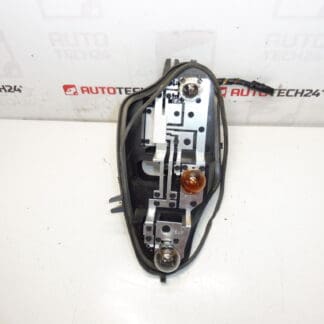
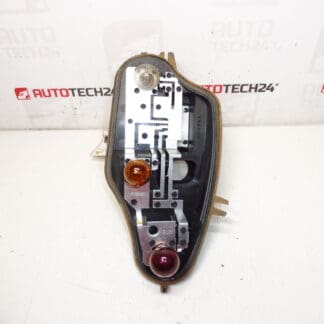
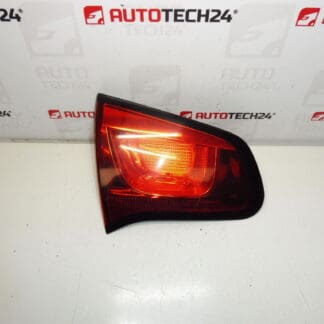
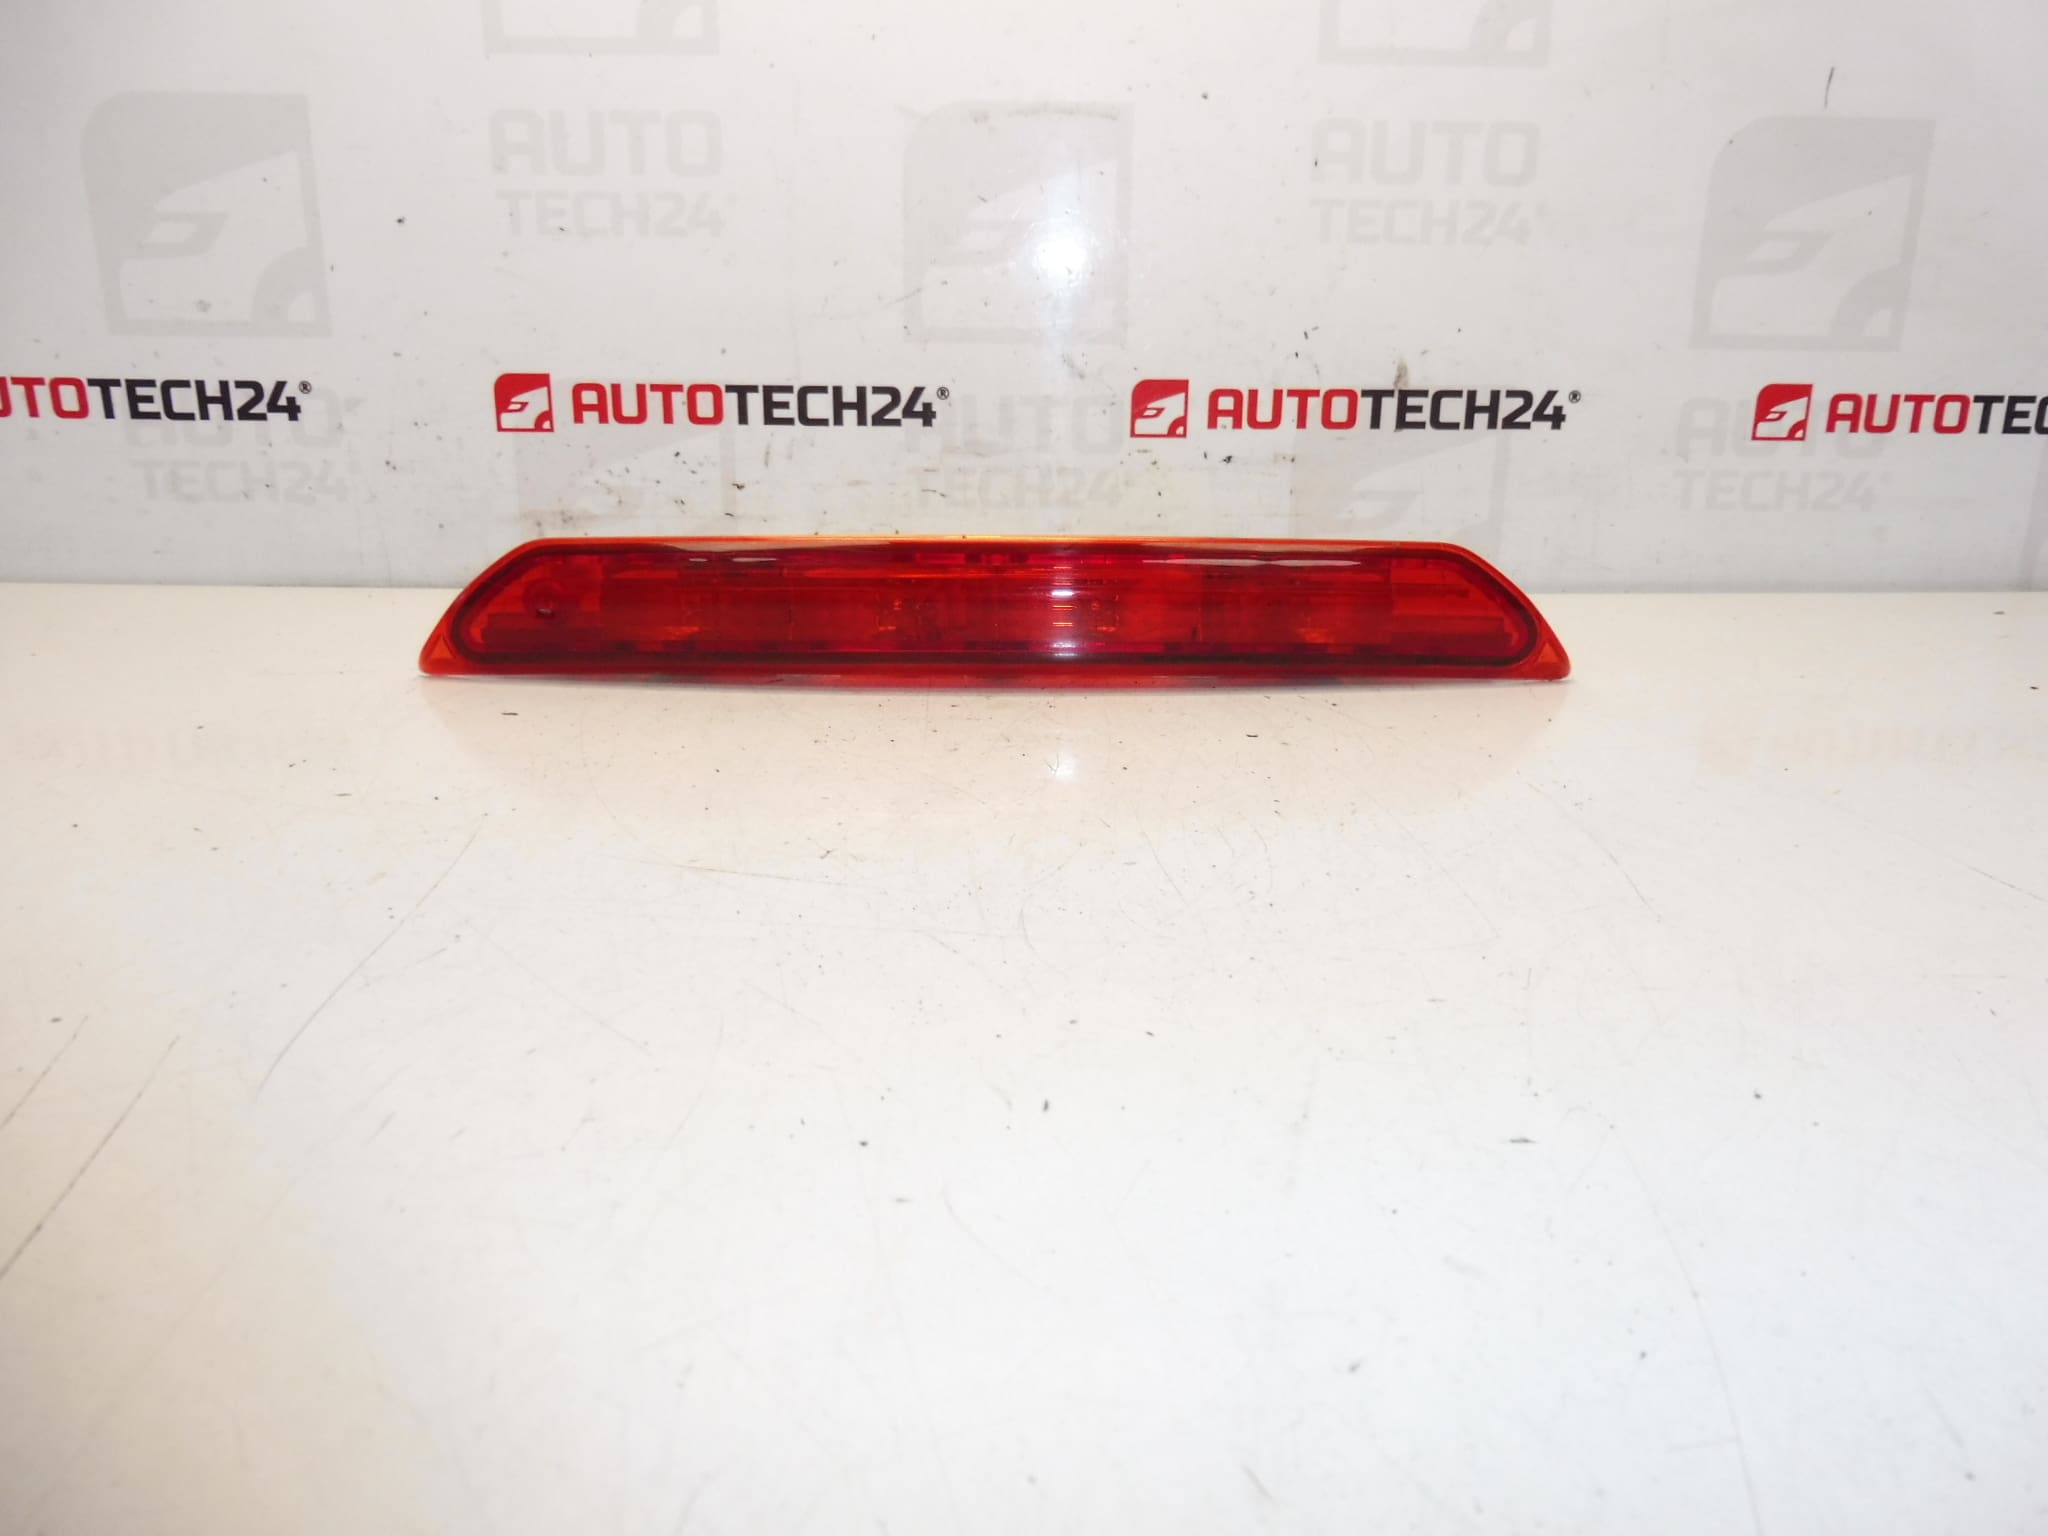
Third brake light for Citroën C3 II A51 2009–2016.
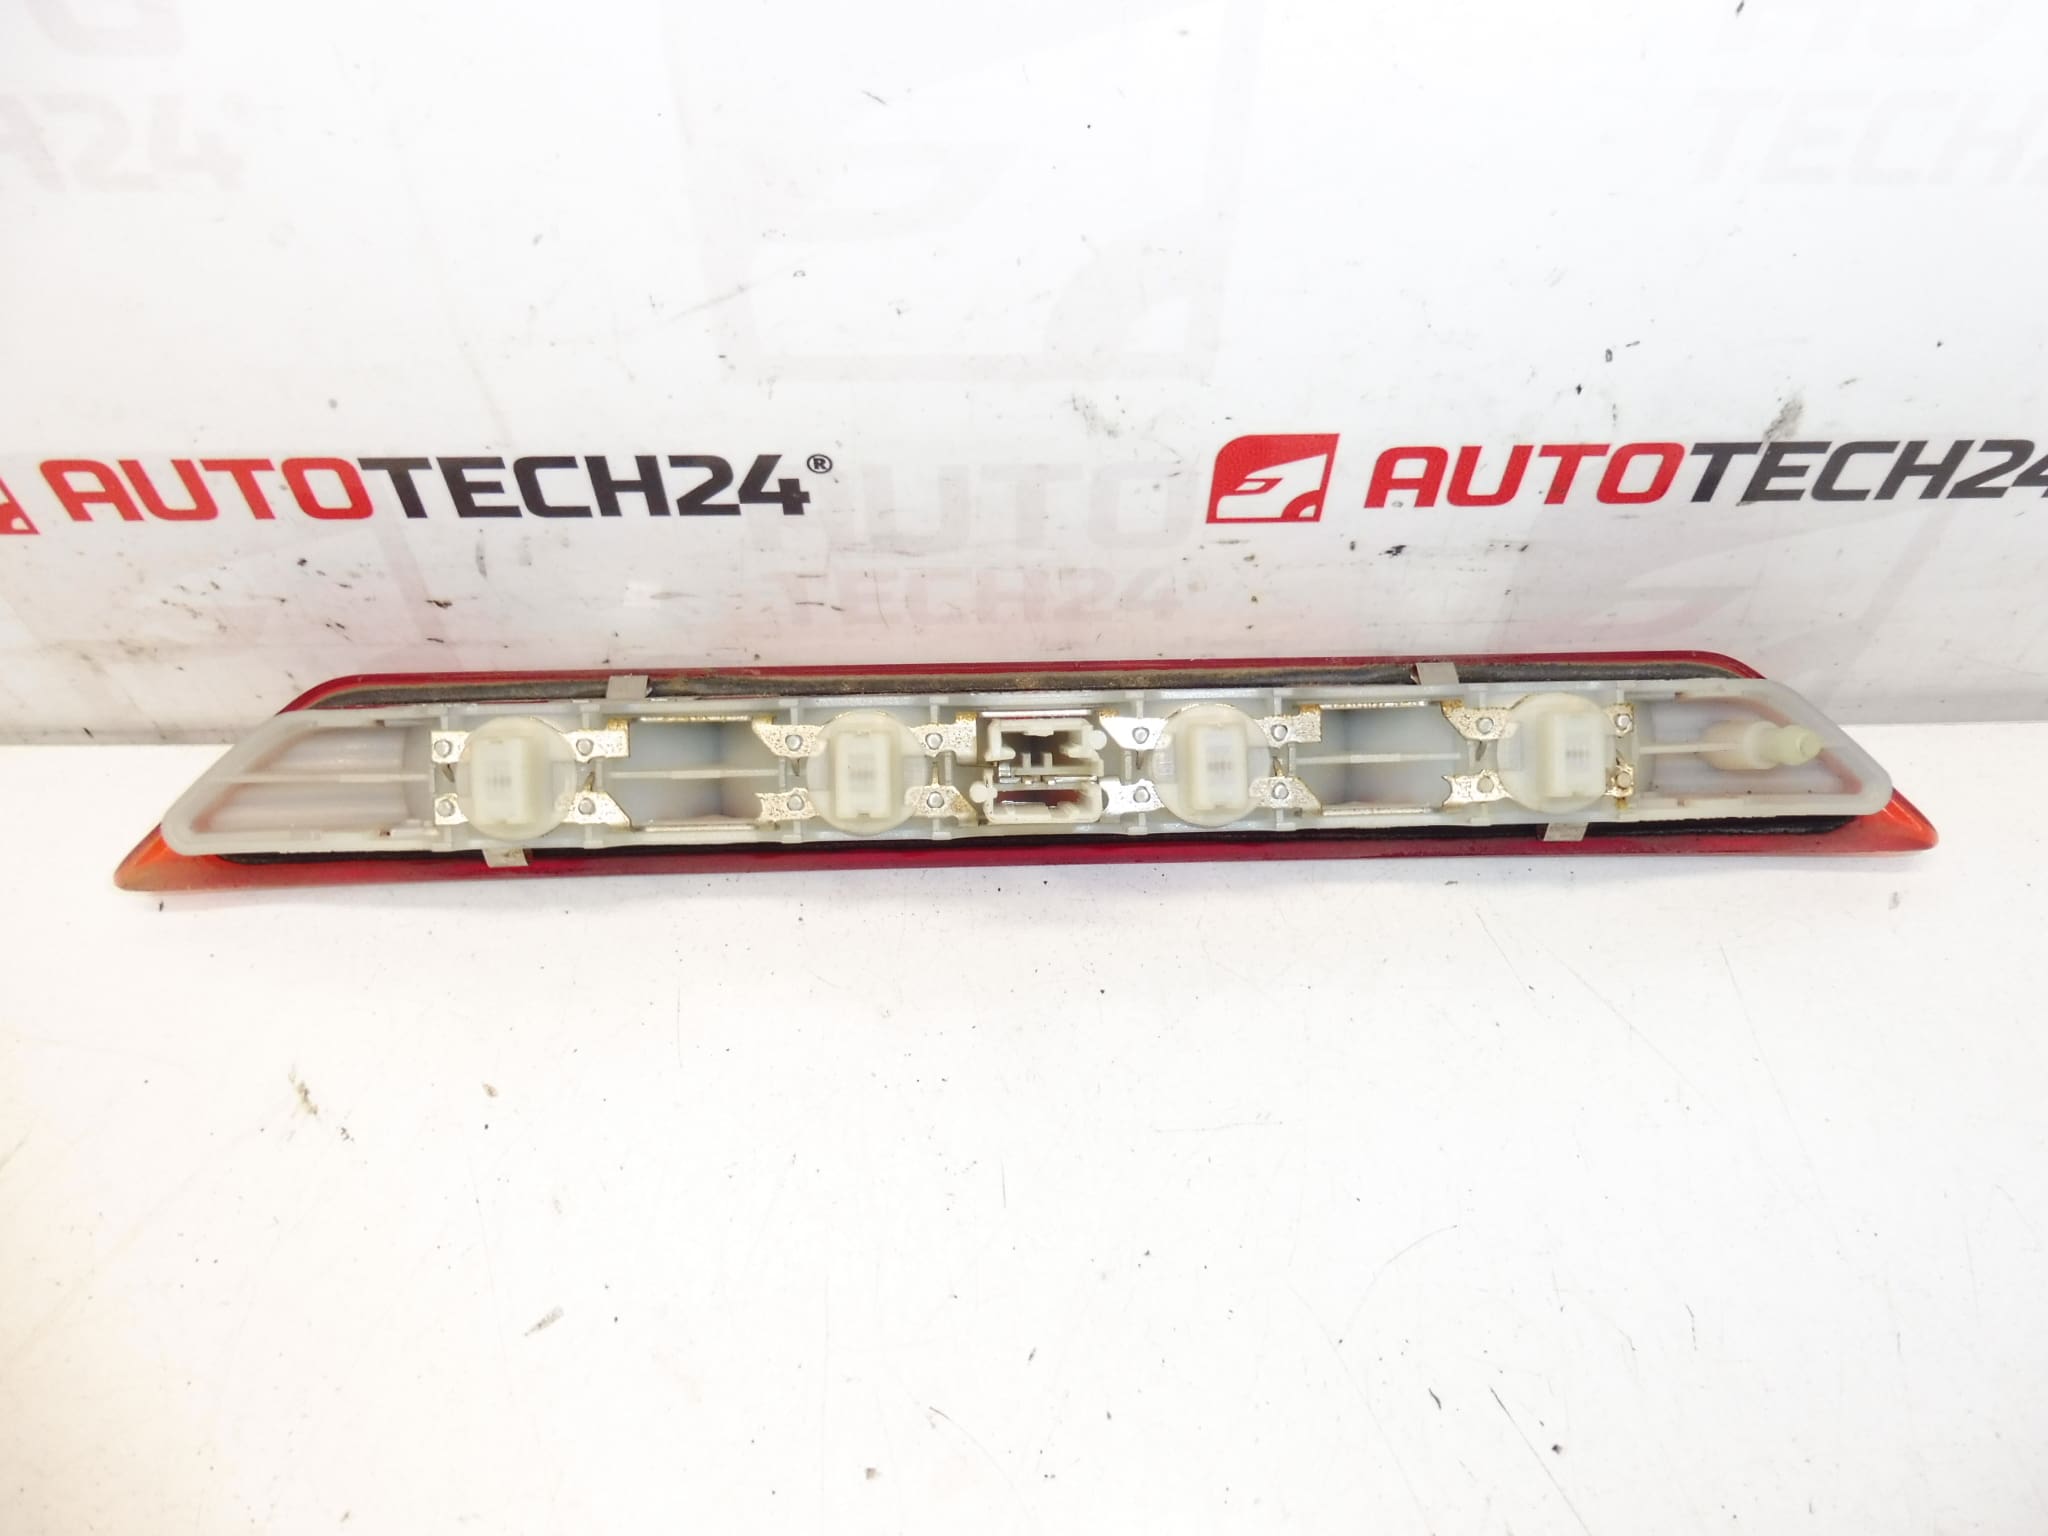
This high-mounted third brake light is a direct-fit replacement for Citroën C3 II (A51) models produced from 2009 to 2016. Intended for professional workshops and DIY mechanics, the unit restores brake-signal visibility at the roofline, improves road safety and keeps the vehicle compliant with road regulations. The part is commonly searched by OEM references 9683116580 and 6351JS.
Key Features
- Direct OEM Fit For Citroën C3 II A51 (2009–2016).
- High-Level Brake Light Location For Improved Visibility.
- Complete Assembly Includes Lens, Housing And Light Module.
- Quick Identification By Part Numbers 9683116580 / 6351JS.
Technical Information
- Manufacturer: Citroën / Stellantis
- Model: Citroën C3 II (A51) 2009–2016
- Product Codes: 9683116580
- Other Numbers: 6351JS
Installation Recommendations
Replacing the third brake light on a C3 II is straightforward for a trained mechanic or an experienced DIYer. Typical replacement steps:
- Open the tailgate and remove the interior trim panel or access cover to reach the lamp fasteners. Keep clips and screws in a safe place.
- Unscrew or unclip the lamp assembly and carefully disconnect the electrical connector. Inspect the connector for corrosion or damaged pins.
- Fit the new assembly into the roof/tailgate recess, reconnect the electrical plug and secure the unit with the original fasteners. Ensure the seal sits correctly to prevent water ingress.
- Reinstall interior trim, check that no wires are pinched, and test the brake light operation (apply the brake pedal or use a helper). Verify proper illumination and alignment.
Use appropriate trim tools to avoid damaging interior panels. If the connector shows signs of corrosion, clean or replace it before installation. Ensure the roof/tailgate sealing surface is clean to maintain watertightness.
Why This Part Usually Fails
- Moisture Ingress: Water penetration around the seal causes corrosion of contacts or failure of the light module.
- Impact Or Body Damage: Rear impacts or pressure on the tailgate can crack the lens or damage mounting points.
- Electrical Issues: Corroded connectors, broken wiring, or intermittent ground connections lead to failure or flicker.
- Component Aging: LEDs or bulbs may degrade over time due to thermal cycling and vibration.
Practical Tips
- Check and replace damaged seals to prevent repeat failures.
- Inspect the wiring harness and connector for corrosion—apply dielectric grease if appropriate.
- After installation, verify both functionality and that the light is securely mounted to prevent rattles or water entry.
This product is ideal for restoring the original appearance and function of the Citroën C3 II third brake light position. Search by the OEM numbers for fast lookup and correct fitment.