Description
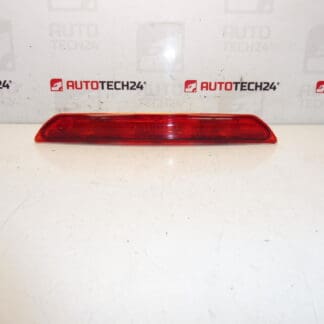
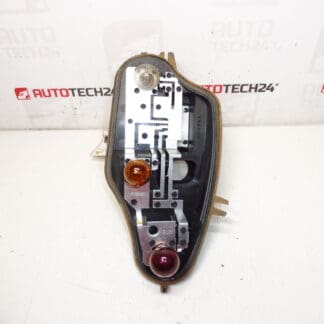
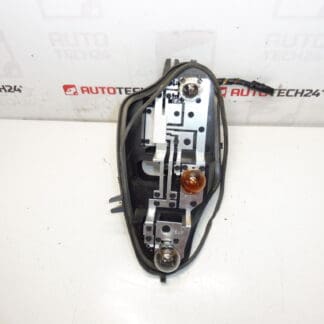
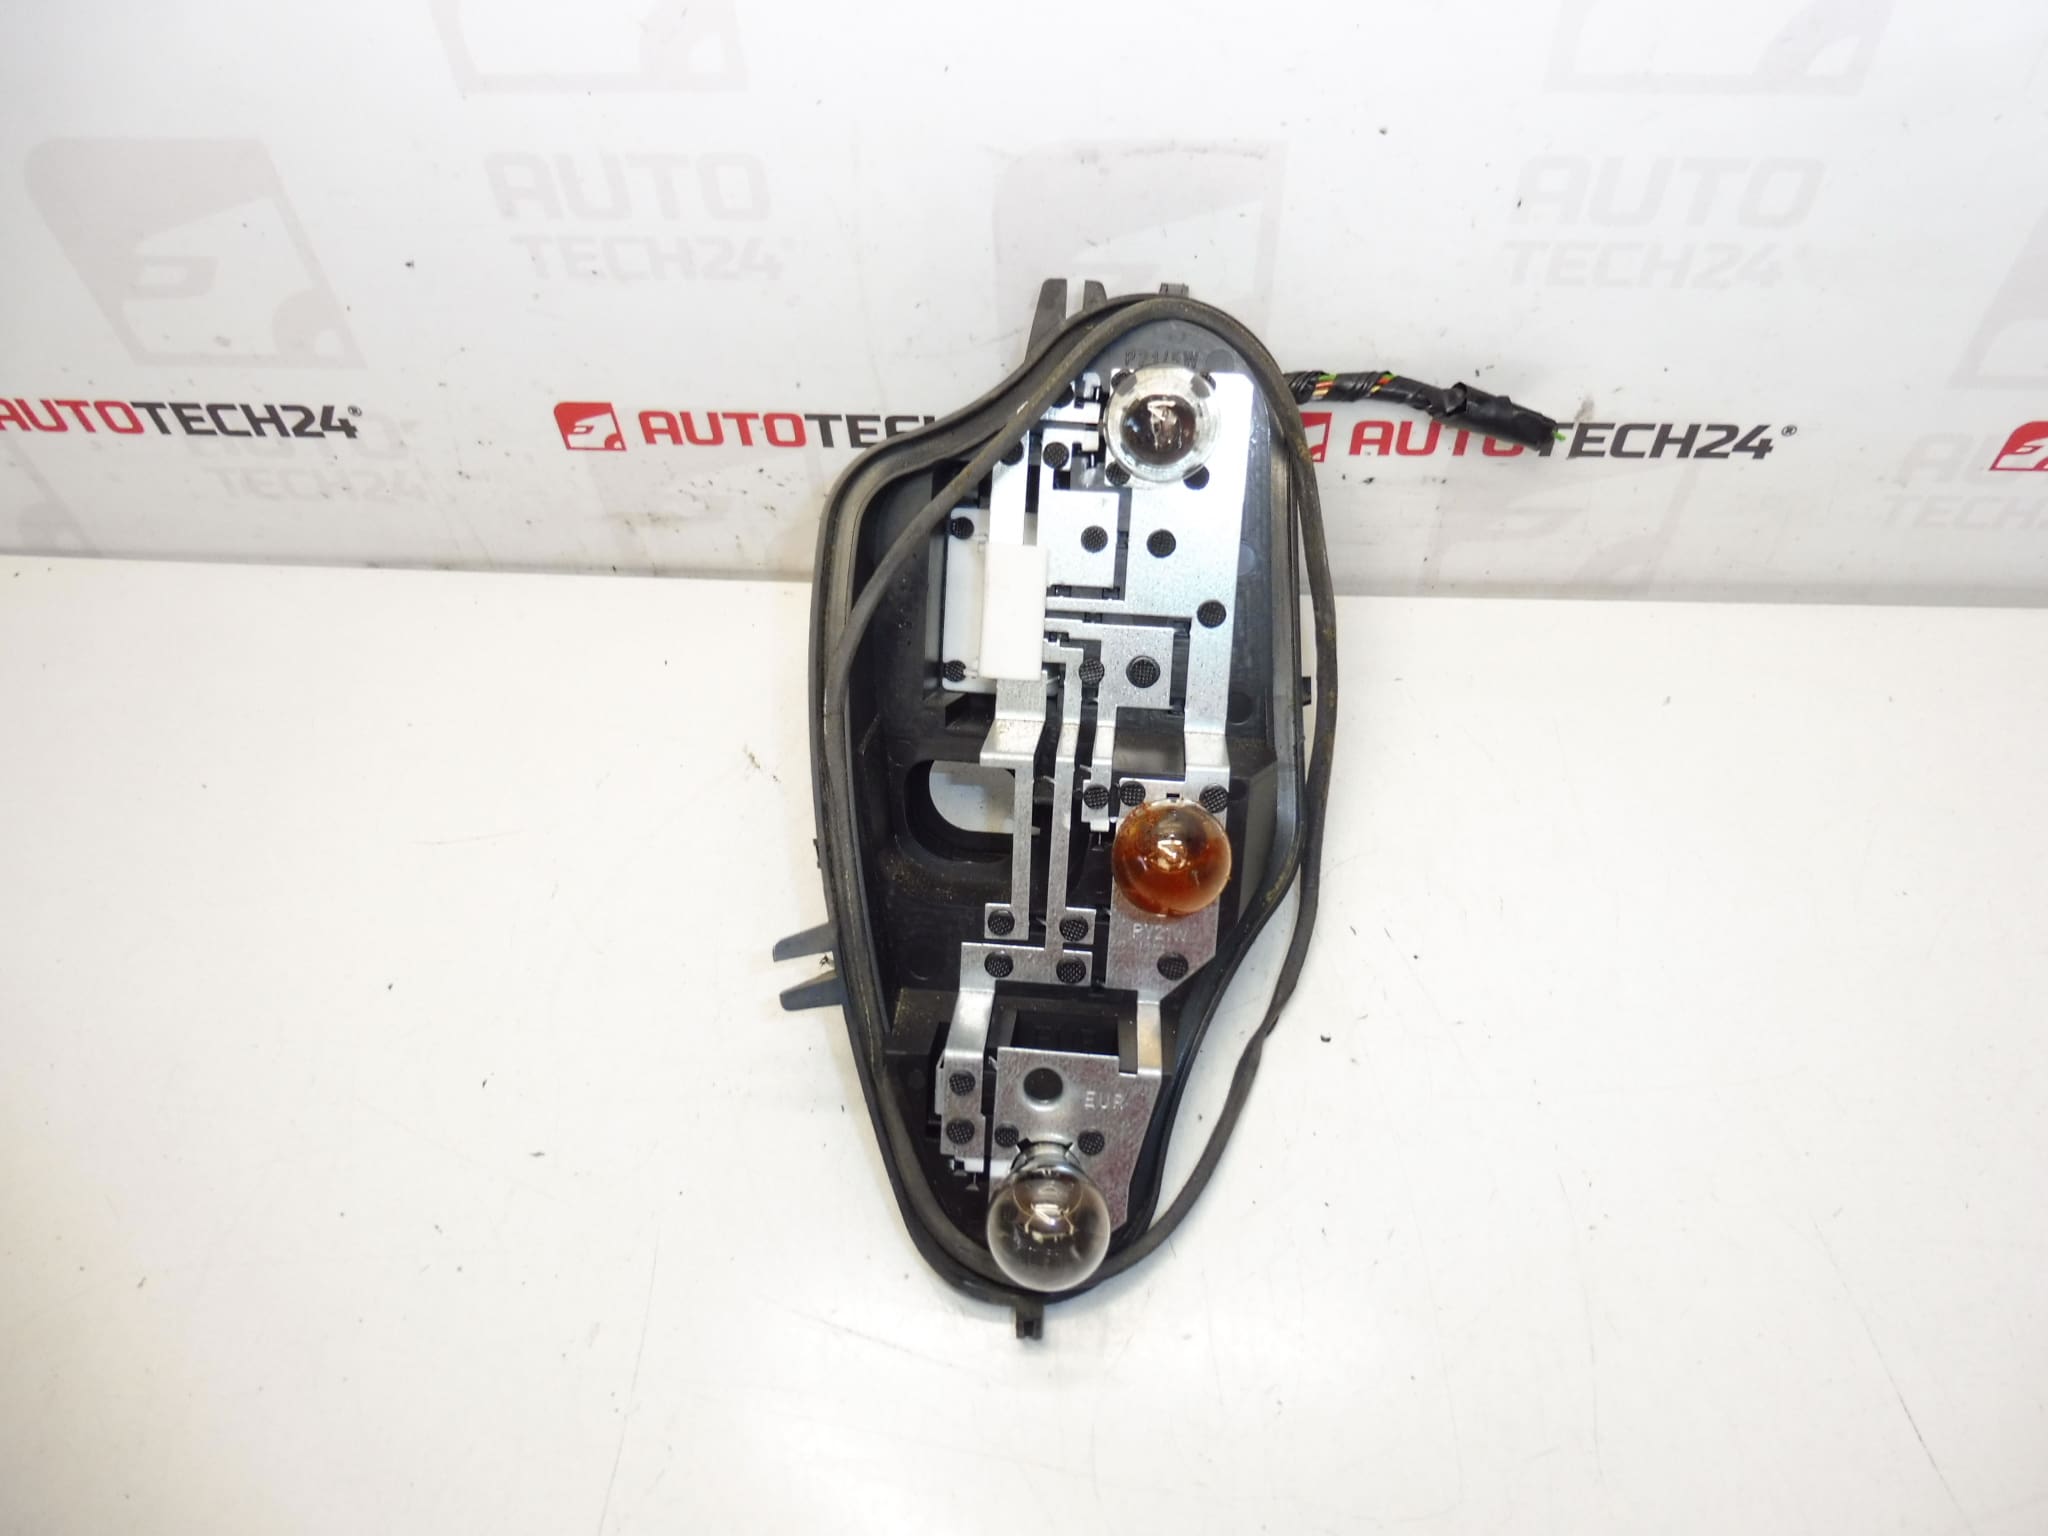
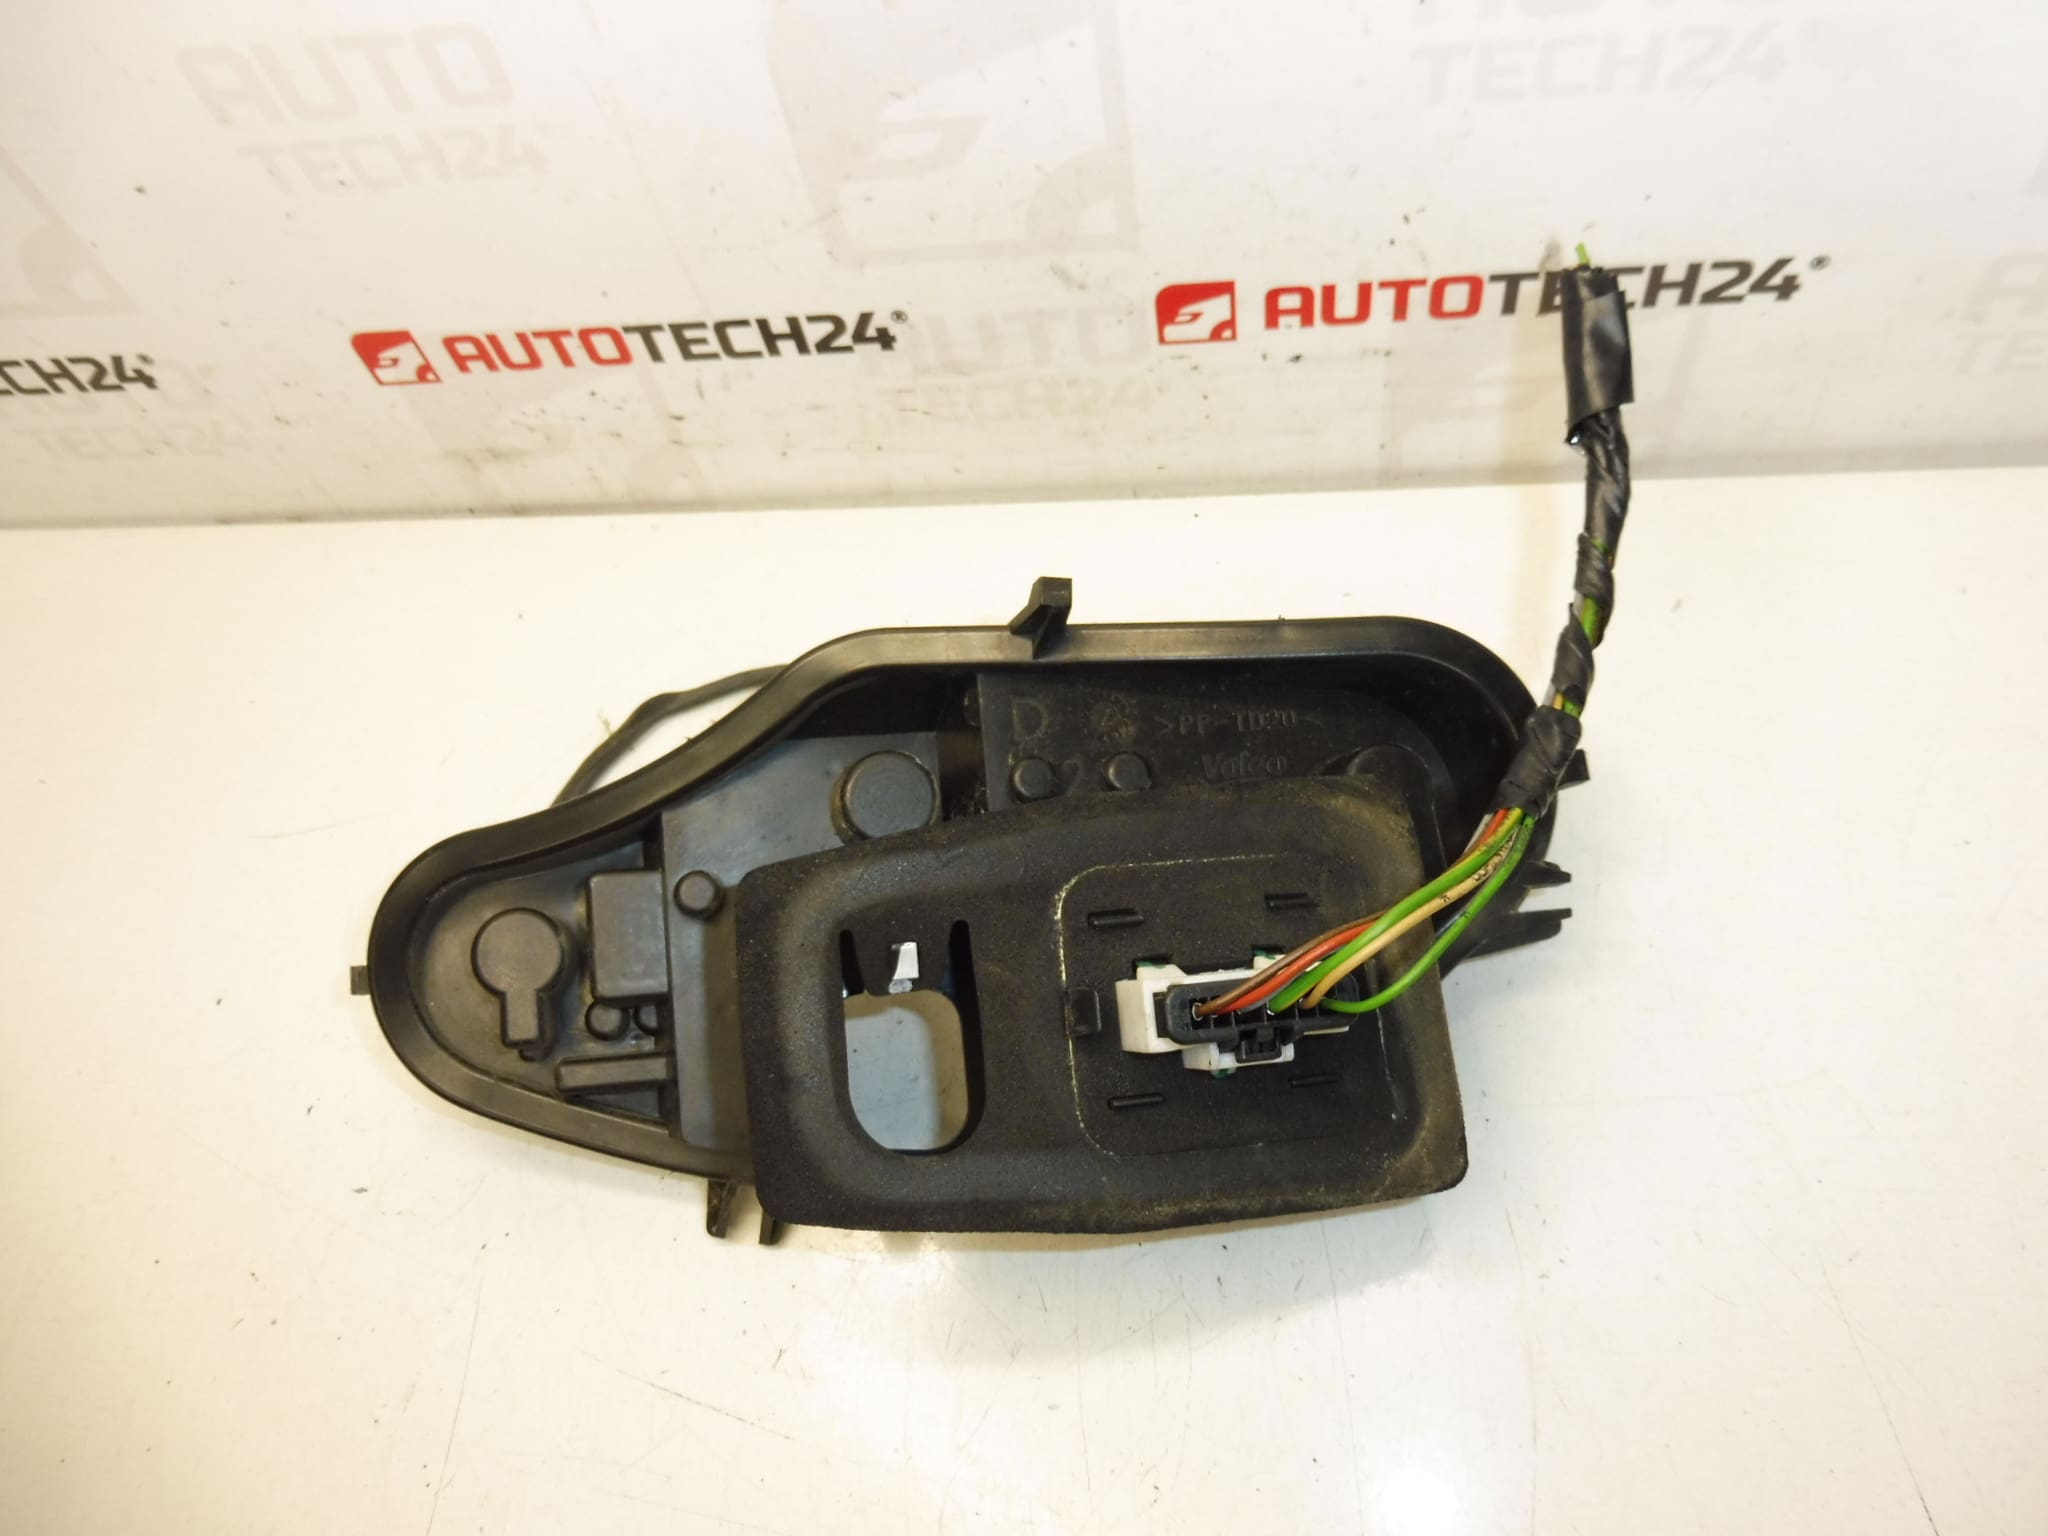
Bulb holder for the right rear lamp in the wing for Citroën C3 II A51. Supplied with a short piece of wiring.
Product Overview
Replacement bulb holder/socket for the right rear lamp mounted in the wing (fender) of Citroën C3 II (A51). Designed for mechanics and DIY enthusiasts who need a reliable, easy-to-fit part when the original socket is damaged, corroded or the wiring has been compromised. Commonly searched under part number 6351KQ for quick identification.
Features And Benefits
- Direct replacement for the right rear lamp socket in the wing, matching original fitment.
- Supplied with a short wiring lead to simplify connection to the vehicle harness.
- Restores secure electrical contact and proper bulb seating to eliminate flicker and intermittent faults.
- Simple to install with common hand tools — saves time in the workshop compared with repairing damaged wiring.
Compatibility
Fits Citroën C3 II (A51) — right rear lamp in the wing/fender. Often identified by product code 6351KQ.
Installation
- Park the vehicle on a level surface and switch off the ignition.
- Access the rear light cluster from inside the luggage compartment or by removing the appropriate trim panel to reach the lamp holder.
- Disconnect the vehicle battery or at least isolate the lighting circuit to avoid short circuits while working.
- Remove the tail light cluster fasteners and carefully extract the cluster to access the old socket.
- Unplug the original holder from the vehicle harness and note pin positions. Cut or disengage the old holder as required.
- Connect the new holder using the supplied wiring lead. Use proper crimps or solder joints and protect connections with heat shrink or dielectric grease to prevent corrosion.
- Refit the lamp cluster, restore the battery connection and test all rear light functions (stop, tail, indicators, reverse if applicable).
- Reassemble trim and ensure the lamp housing seals correctly to prevent water ingress.
Maintenance And Expected Lifespan
Lifespan depends on exposure to moisture, salt and vibration. Typical life is several years in normal conditions, but may be shortened by persistent water ingress, road salt or repeated bulb overheating. Inspect sockets during routine light checks and replace at first sign of corrosion, loose contacts or melted plastic.
Technical Information
- Manufacturer: Stellantis / Citroën
- Model: Citroën C3 II (A51) — Right Rear Lamp (Wing)
- Product Codes: 6351KQ
- Additional Numbers: Not specified
Installation Recommendations
- Use quality electrical connectors and insulate joints with heat shrink to ensure long-term reliability.
- Apply a thin film of dielectric grease to contacts to reduce oxidation and improve conductivity.
- Check the lamp housing seal and replace any damaged gaskets to prevent future water damage to the socket.
- When possible, test the new socket with a multimeter for continuity before final reassembly.
Most Common Failure Causes
- Corrosion from water ingress or condensation inside the lamp housing.
- Mechanical damage from impact or when removing/ refitting the lamp cluster.
- Heat damage caused by faulty bulbs or poor contact leading to arcing and melting of the socket.
- Wiring abrasion or connector fatigue caused by vibration and movement over time.
Notes For Buyers
If you regularly search by part number, 6351KQ is the reference commonly used for this bulb holder. Suitable for professional workshops and competent DIYers who follow safe installation practices and seal the lamp housing correctly after replacement.