Description
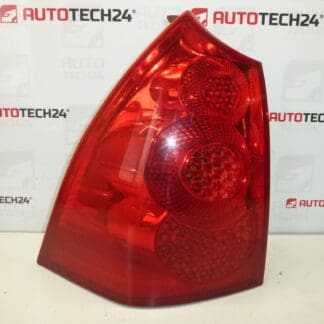
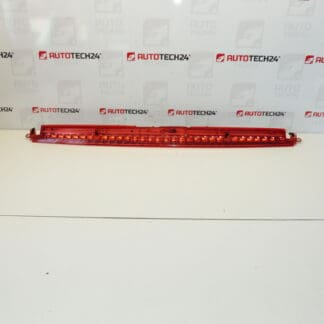
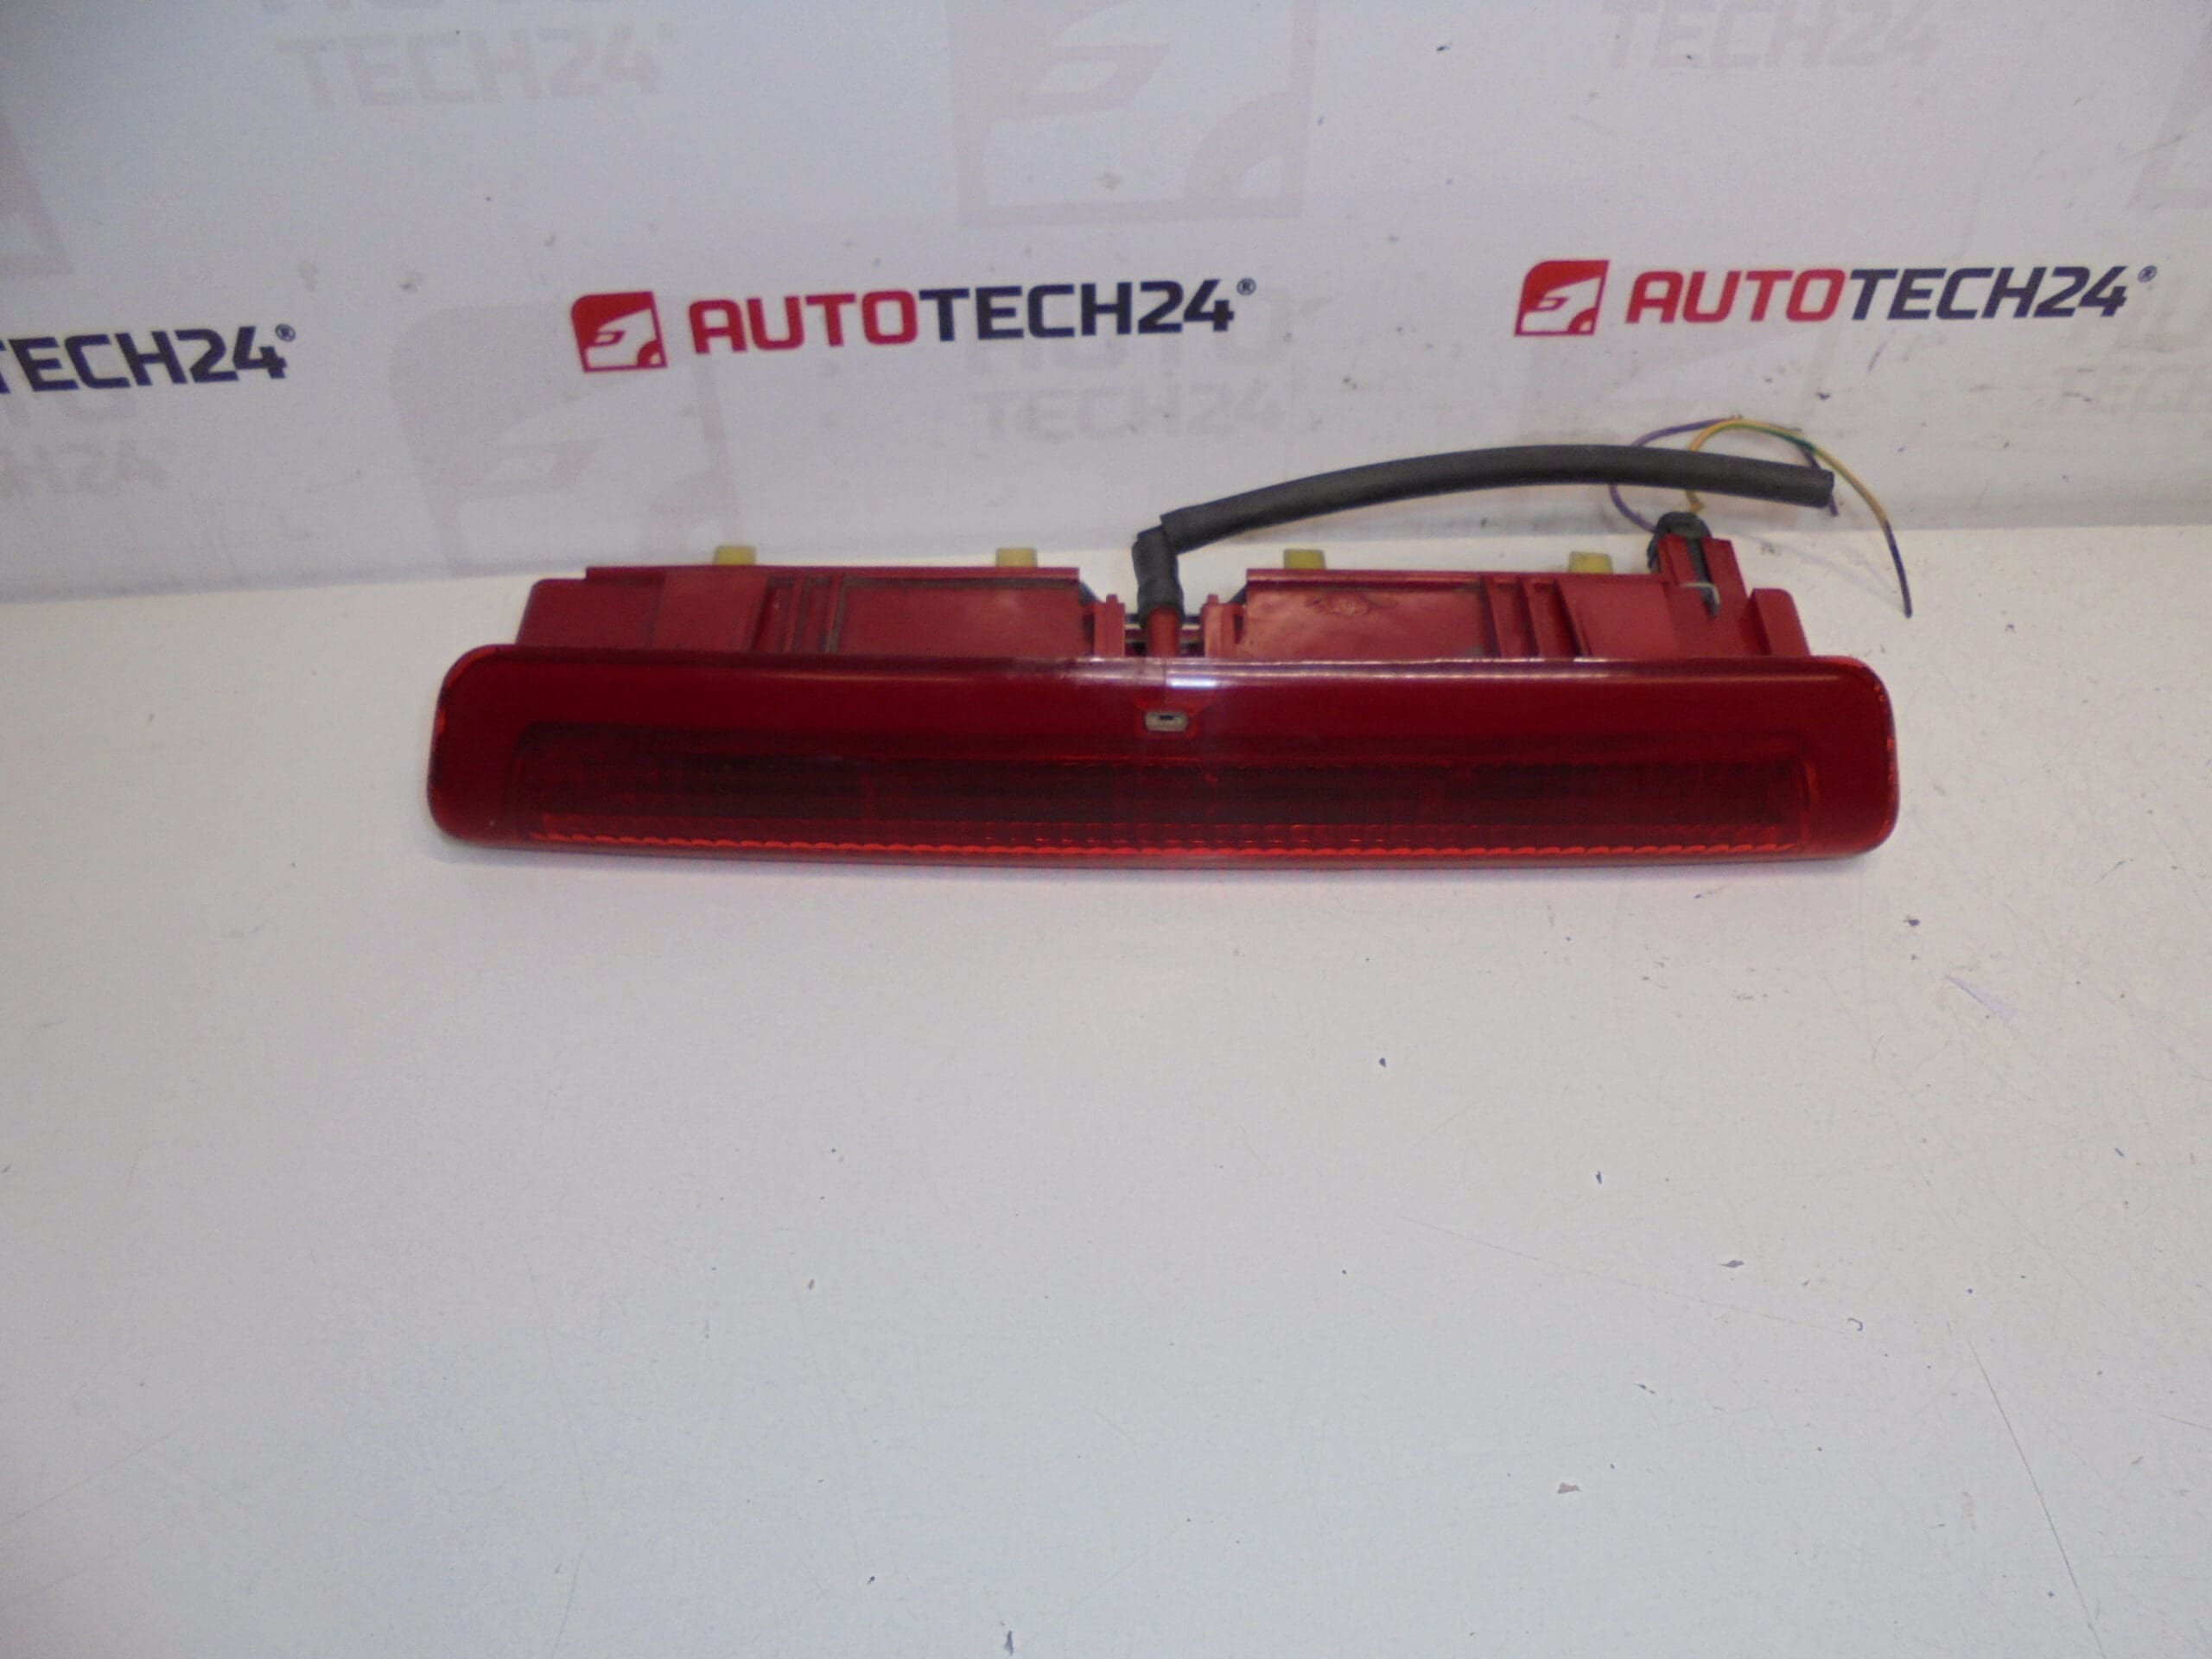
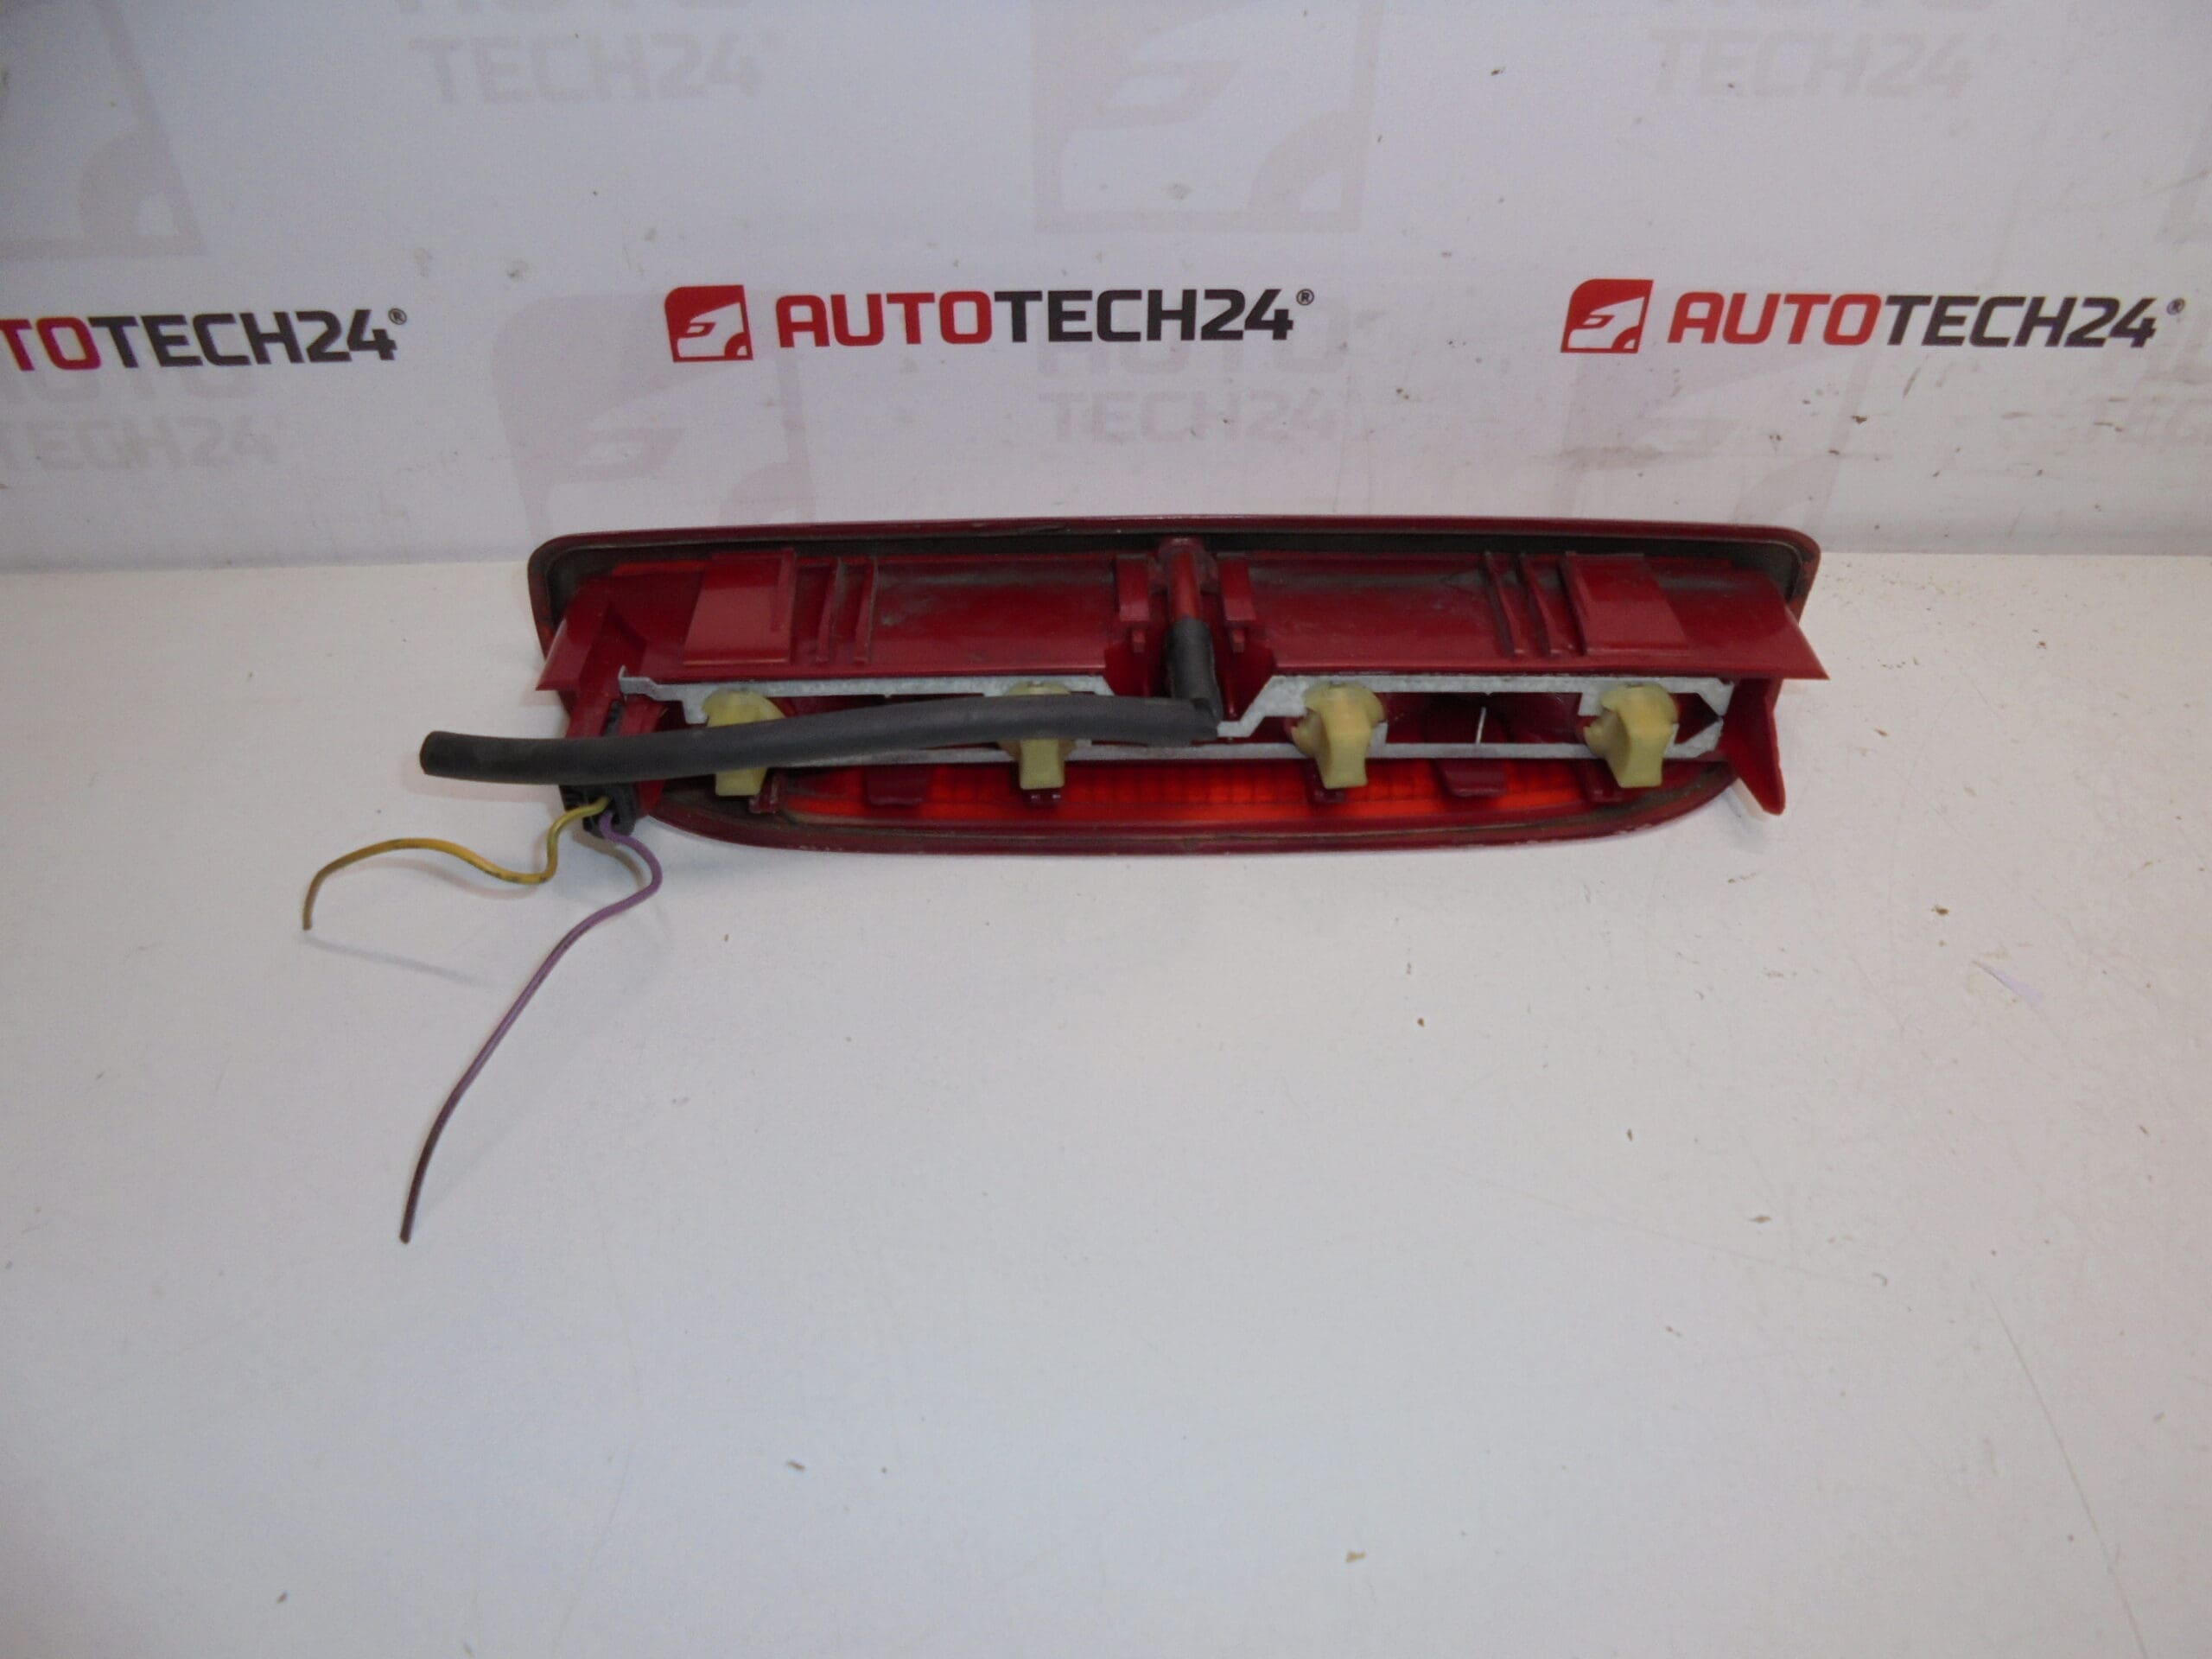
Third brake light for PEUGEOT 307 KOMBI and SW cars
A light crack around the washer, like all of them
Fully sealing, no fogging
Part description
Used rear (third) brake light for Peugeot 307 KOMBI/SW, suitable as a replacement for a damaged piece. The part has a slight crack around the washer, which is common with this design, but according to the description, the light is fully sealed and does not fog up. An ideal choice if you need to quickly restore the functionality of the brake lights without unnecessary compromises.
- Condition: used, small crack at the washer
- Features: sealing, no dewing
Technical information
Product codes
- Product codes: 6350Q2
Installation recommendations
Generally/typically for replacing the third brake light the following procedure applies (exact steps may vary depending on the specific car model).
1) Before assembly
- Compare the new part with the old one: shape, mount, connector and part number 6350Q2.
- Check the condition of the seals/seats and whether the crack is wide.
- Check the cleanliness of the connector (no corrosion, loose pins).
2) Necessary tools and materials
- Normal set of screwdrivers / bits (according to the type of fastening)
- Plastic pry bar for removing upholstery (to minimize plastic damage)
- Cleaning agent for degreasing contact surfaces, clean rags
- Gloves, possibly insulating tape for temporary securing of cabling
3) Step-by-step assembly procedure
- Secure the vehicle against movement and turn off the ignition.
- For work safety, disconnect the battery (typically for electrical parts in the back of the car).
- Get access to the light by removing the necessary covers/upholstery in the mounting area (use a plastic pry bar).
- Disconnect the brake light electrical connector and check for damage.
- Unfasten the light fastening (screws/nuts/handles according to design) and carefully remove the part.
- Clean the contact surface of the bodywork and remove dirt that could cause a leak.
- Insert the replacement light into the correct position and check that it fits properly all the way around.
- Tighten the fasteners evenly (without over-tightening to avoid damaging the plastic or gasket).
- Connect the connector and make sure it is secure and the wiring is not pinched or rubbed anywhere.
- Refit the covers/upholstery in the reverse order of removal.
- Connect the battery.
-
4) Post-assembly checks and test drive/function verification
- Verify the operation of the brake light (ideally with the help of a second person).
- Check that the light is firmly held and does not vibrate.
- After driving or after washing, visually check that no condensation forms in the lamp.
5) The most common assembly mistakes + how to avoid them
- Damage to upholstery/clips during removal – use a plastic pry bar and be patient.
- Poor gasket seating – always clean the surface and check for even seating.
- Extension of the fastening – can lead to plastic cracking or deformation of the seal; tighten with feeling.
- Unsecured connector – once connected, pull the connector lightly to verify that it clicks.
Reasons why the part is damaged
- Hairline cracks in the washer due to stress and aging of the plastic (typical for this type of light).
- Mechanical damage when handling the fifth door or during disassembly/assembly.
- Vibration and long-term fastening stress.
- Clogging with dirt and subsequent leakage with a poorly fitting seal (generally).