Description
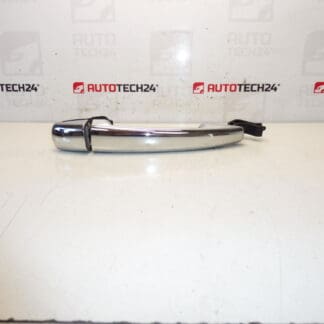
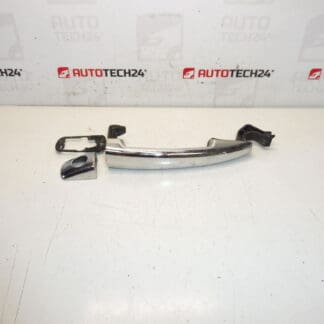
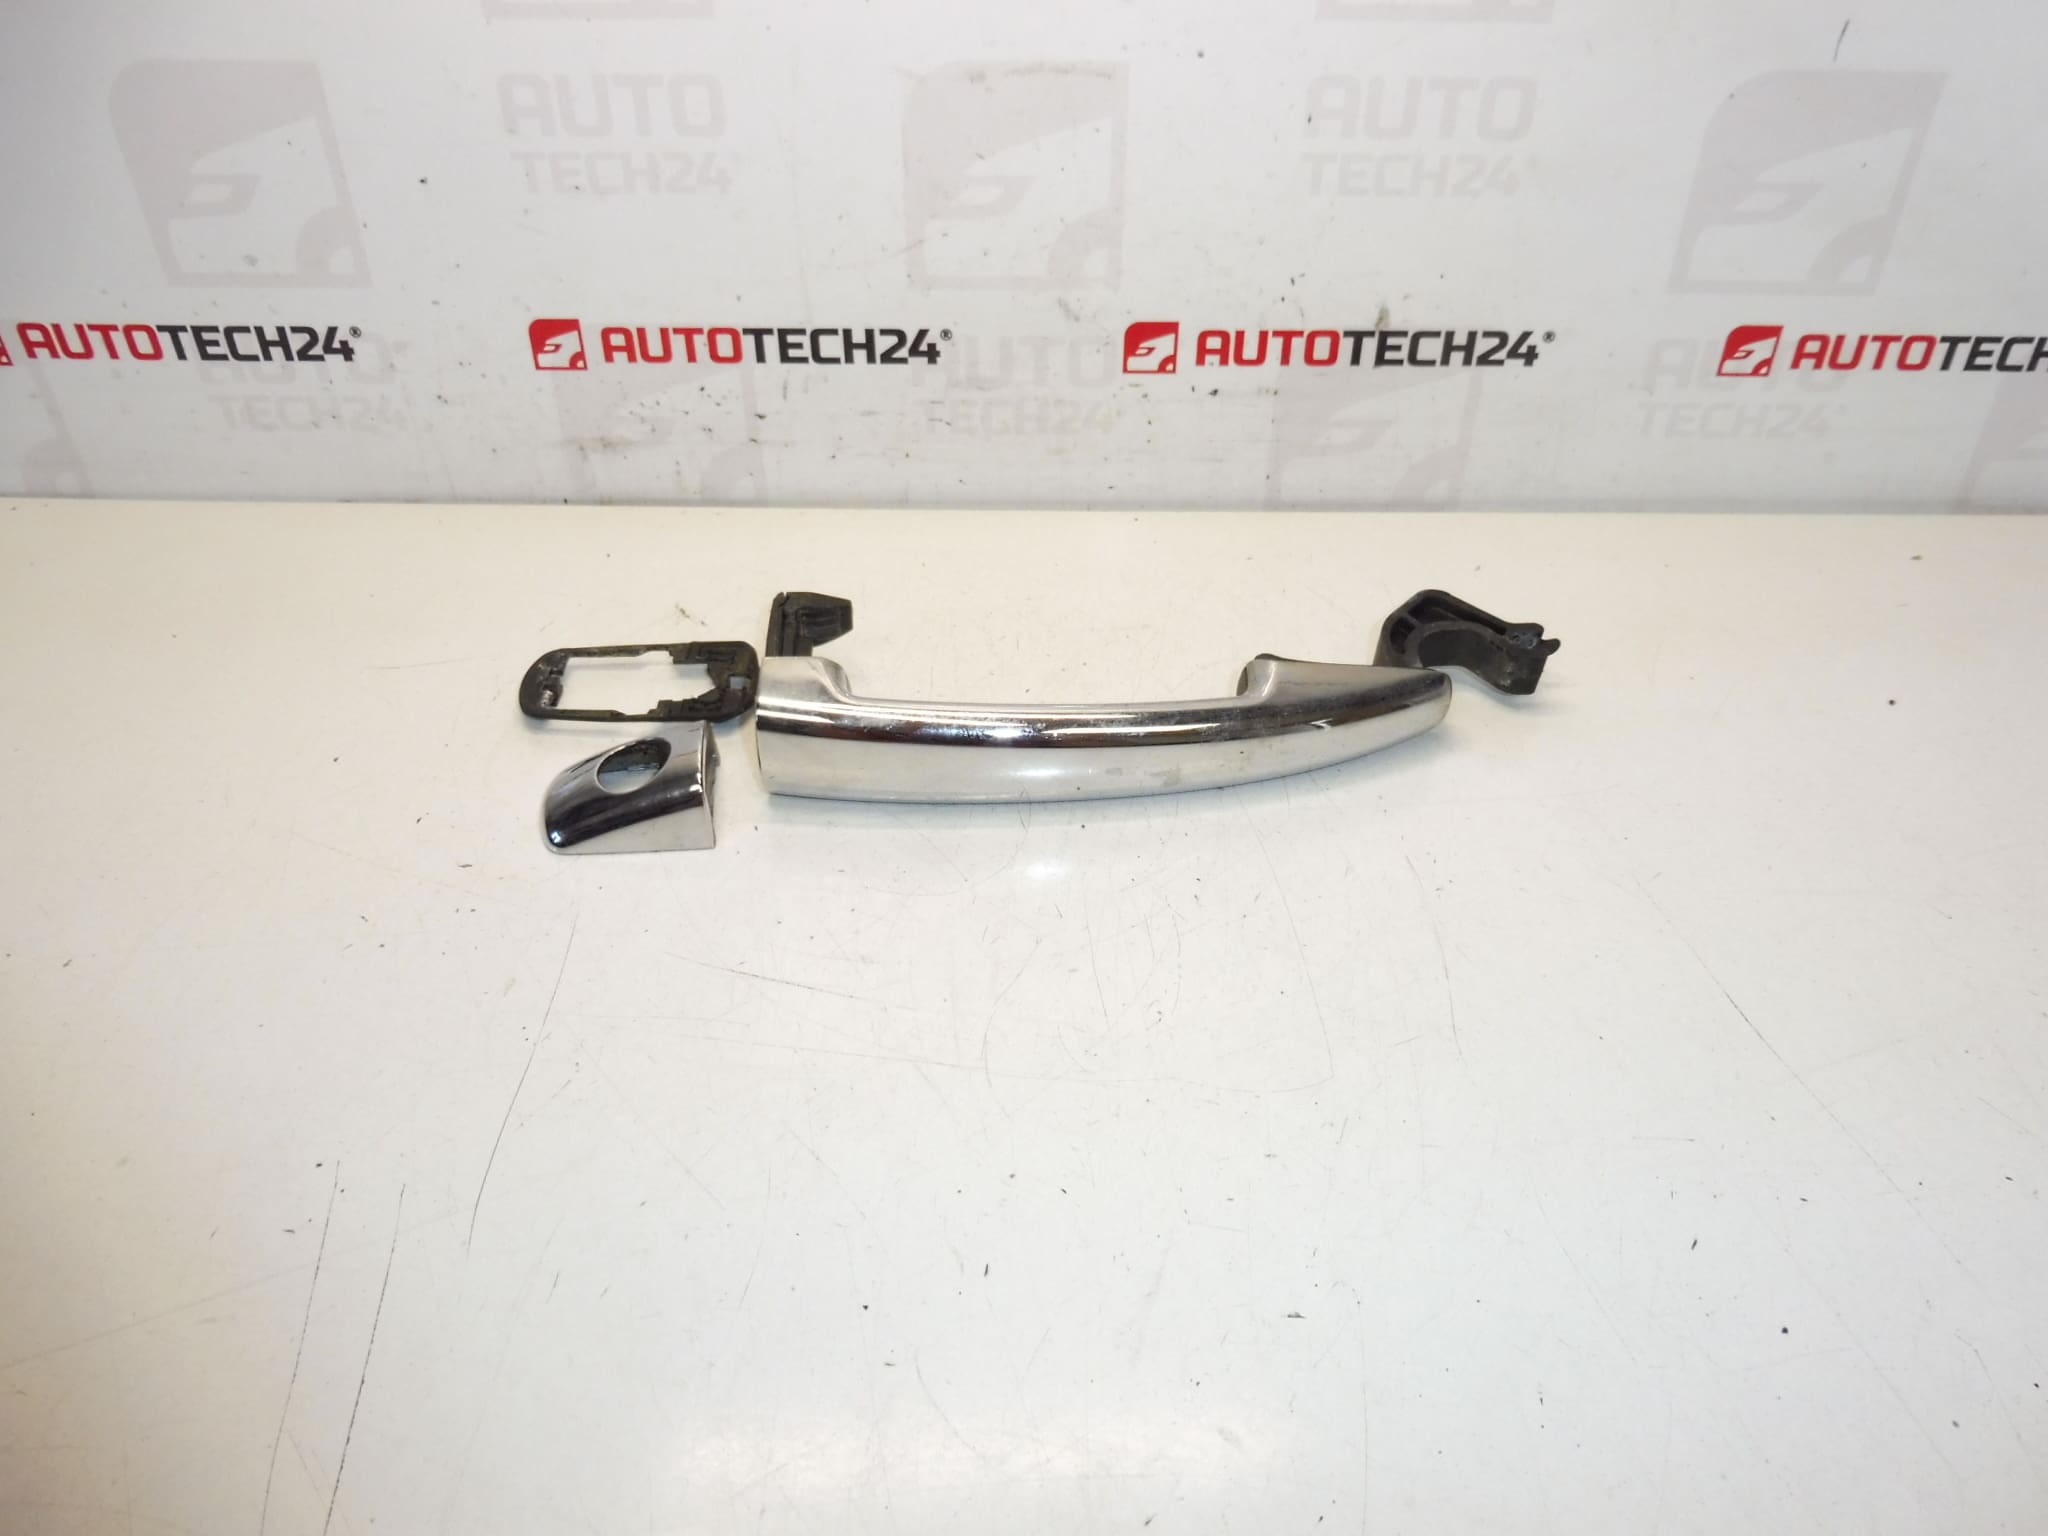
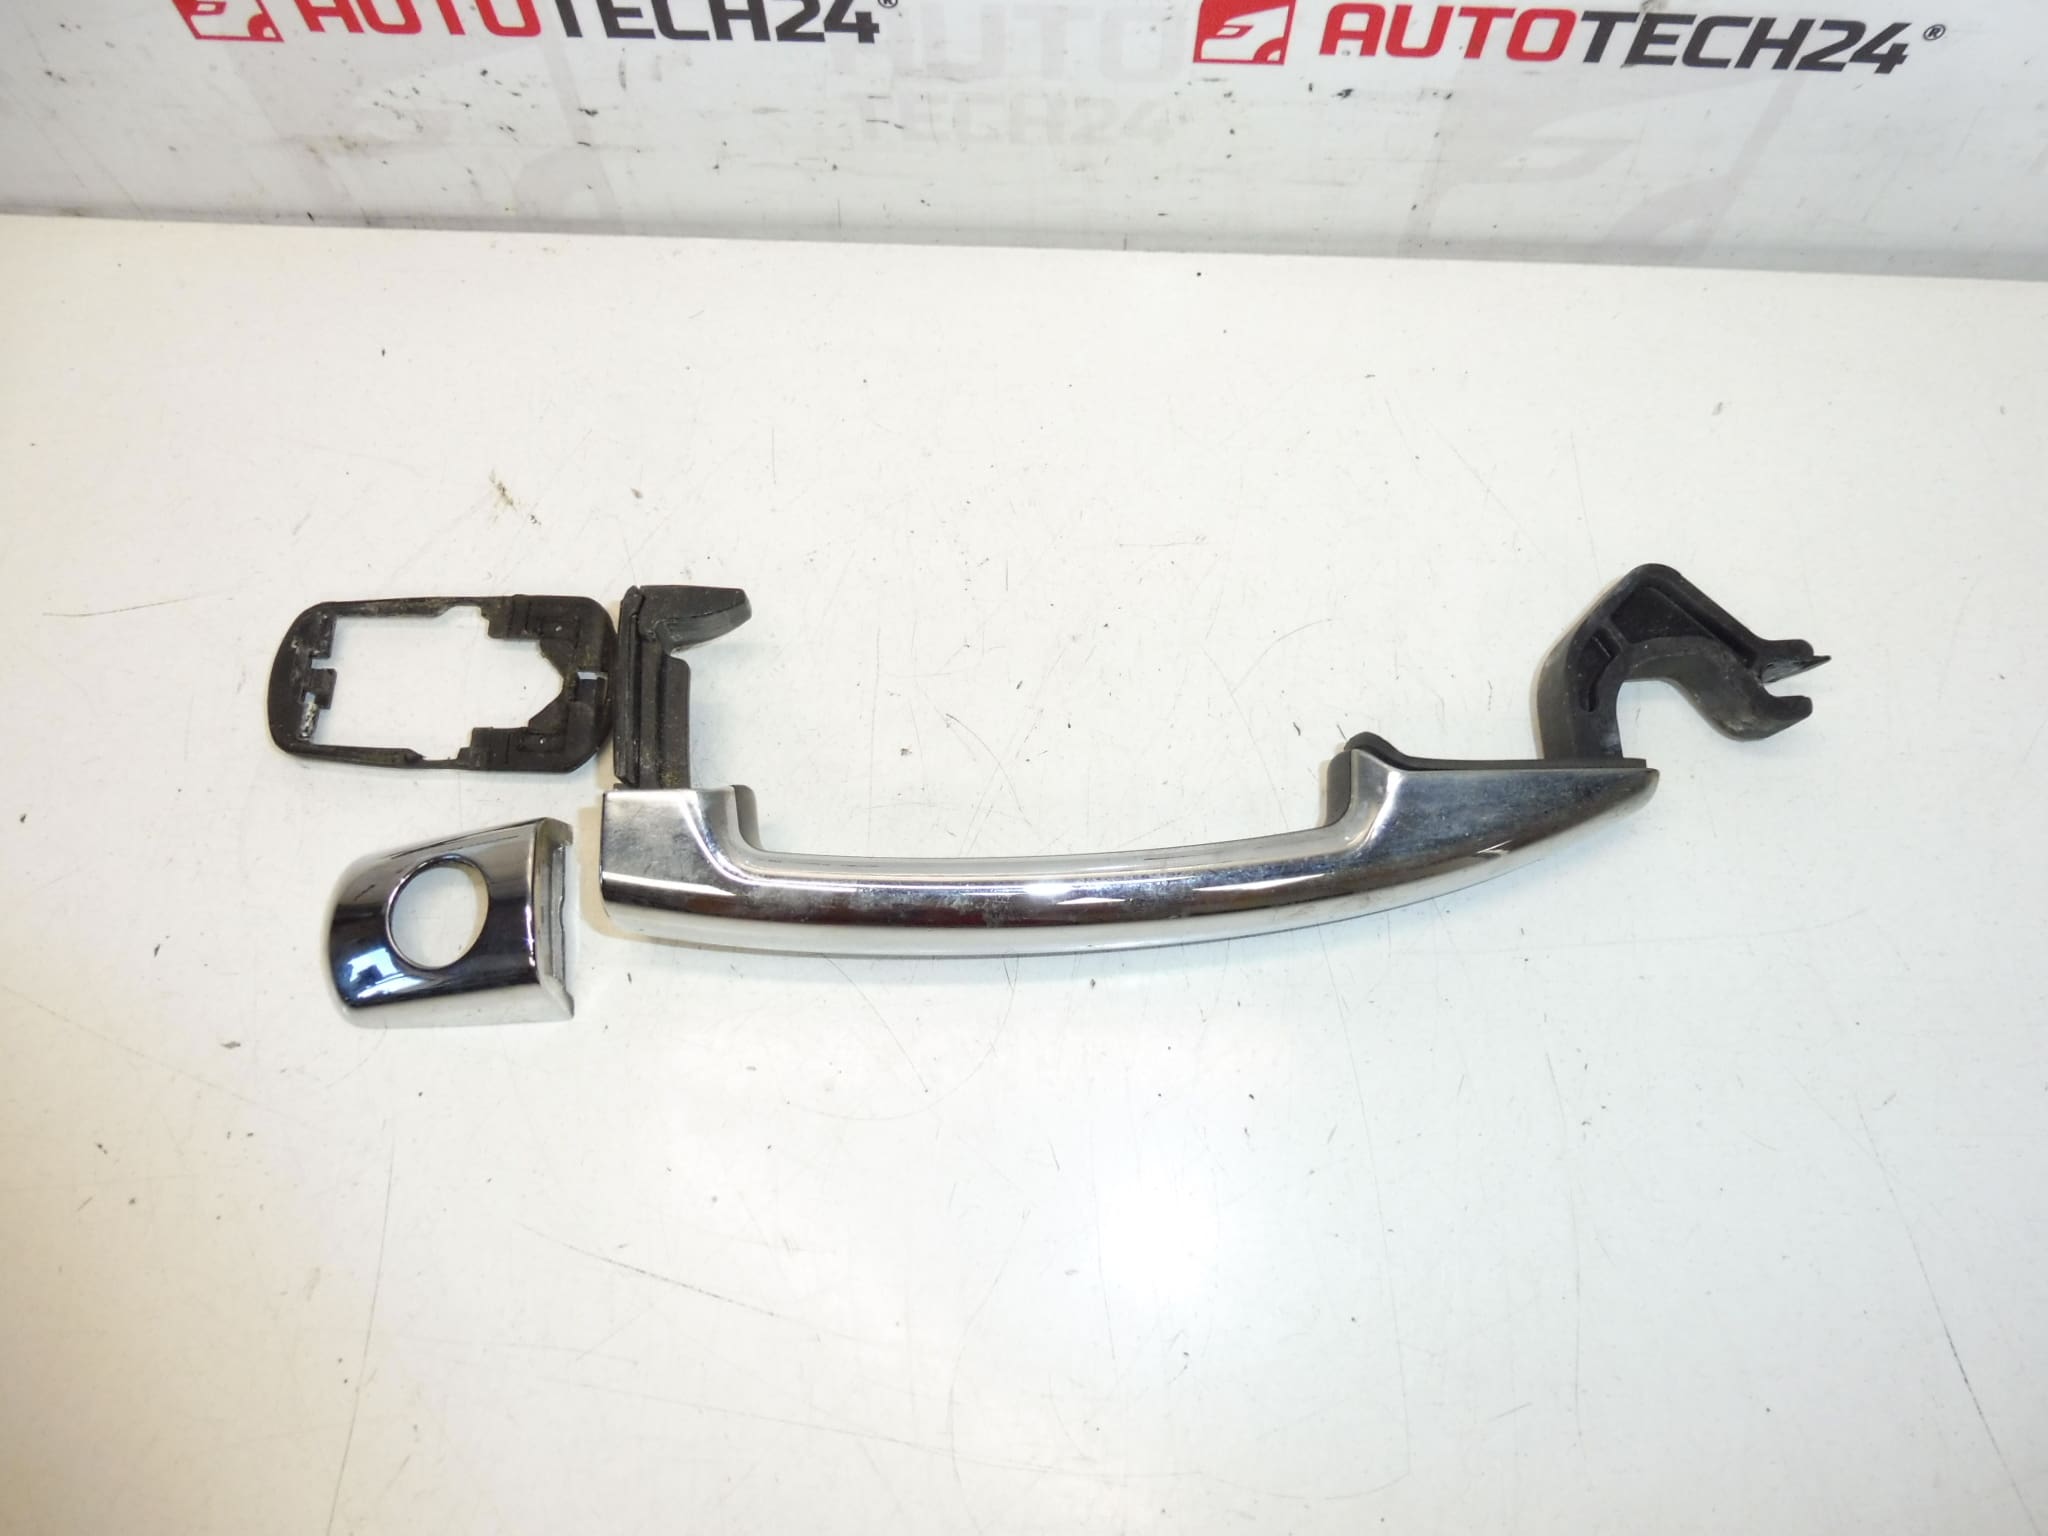
Left Front Door Handle For Citroën C3 II (A51), DS3
HVD Color – Grey Chiné Trim
With Keyhole For Lock Operation
Driver’s Door
This used left front exterior door handle is designed for Citroën C3 II (A51) and DS3 models and is commonly referenced under code 9101KY. Ideal for professional mechanics and DIY enthusiasts, the part restores reliable opening and secure locking of the driver door. The unit features a keyhole for manual cylinder access and a grey chiné finish that matches many interior/exterior trim variants. Replacing a worn or broken handle is a cost-effective repair that returns proper function and improves vehicle appearance.
Technical Information
- Manufacturer: Stellantis / Citroën / Peugeot
- Model: Citroën C3 II (A51); DS3
- Product Codes: 9101KY
- Other Numbers: A51
- Color/Finish: HVD Color – Grey Chiné Trim
- Position: Left Front (Driver’s Door)
- Features: With Keyhole
Installation Recommendation
Fitment is straightforward for experienced technicians and competent DIYers. Typical replacement steps:
- Remove the inner door panel by releasing fasteners and plastic clips to access the handle mechanism.
- Disconnect the interior door release linkage and electrical connectors where present.
- Unscrew the retaining bolts or nuts securing the exterior handle to the door shell.
- Carefully withdraw the old handle, transferring the lock cylinder or trim pieces if required.
- Install the replacement handle, refit fasteners and reconnect linkages, ensuring smooth movement and correct engagement with the latch.
- Test door opening, locking and key operation before refitting the door panel and clips.
Tips: Use proper trim tools to avoid breaking door-panel clips. Keep fasteners and small parts organized during disassembly. If the lock cylinder is worn, consider transferring or replacing it at the same time.
Why This Part Most Often Fails
- Material Fatigue: Plastic components and internal levers can crack or fracture over time, especially after repeated use.
- Wear Of Lock Cylinder: Keyhole mechanisms accumulate wear and dirt, causing stiff operation or failure to turn.
- Corrosion And Seizing: Moisture ingress and corrosion of metal linkages can prevent smooth operation.
- Impact Damage: Door impacts or attempted break-ins often deform or break the exterior handle assembly.
- Broken Clips Or Fasteners: Internal mounting clips can fail, causing loose or misaligned handles.
This replacement handle is often searched by its product code 9101KY. Compatible with the listed Citroën models and intended for those comfortable with standard door trim removal and assembly procedures.