Description
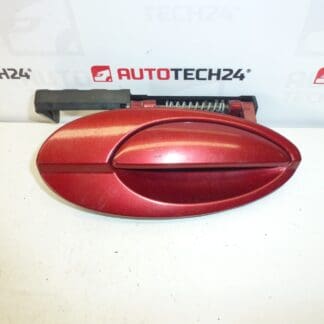
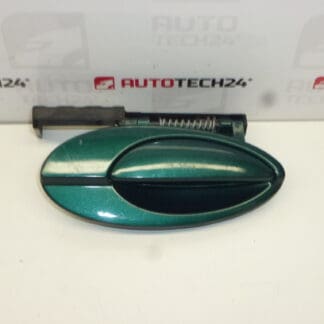
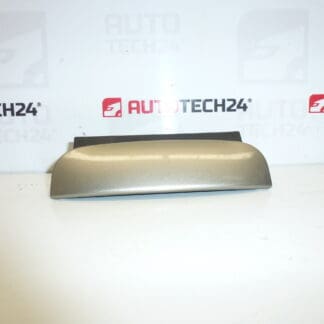
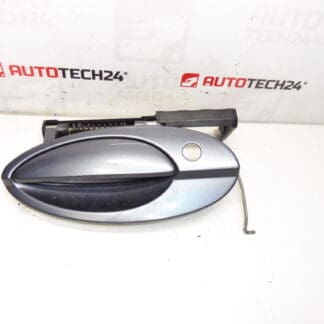
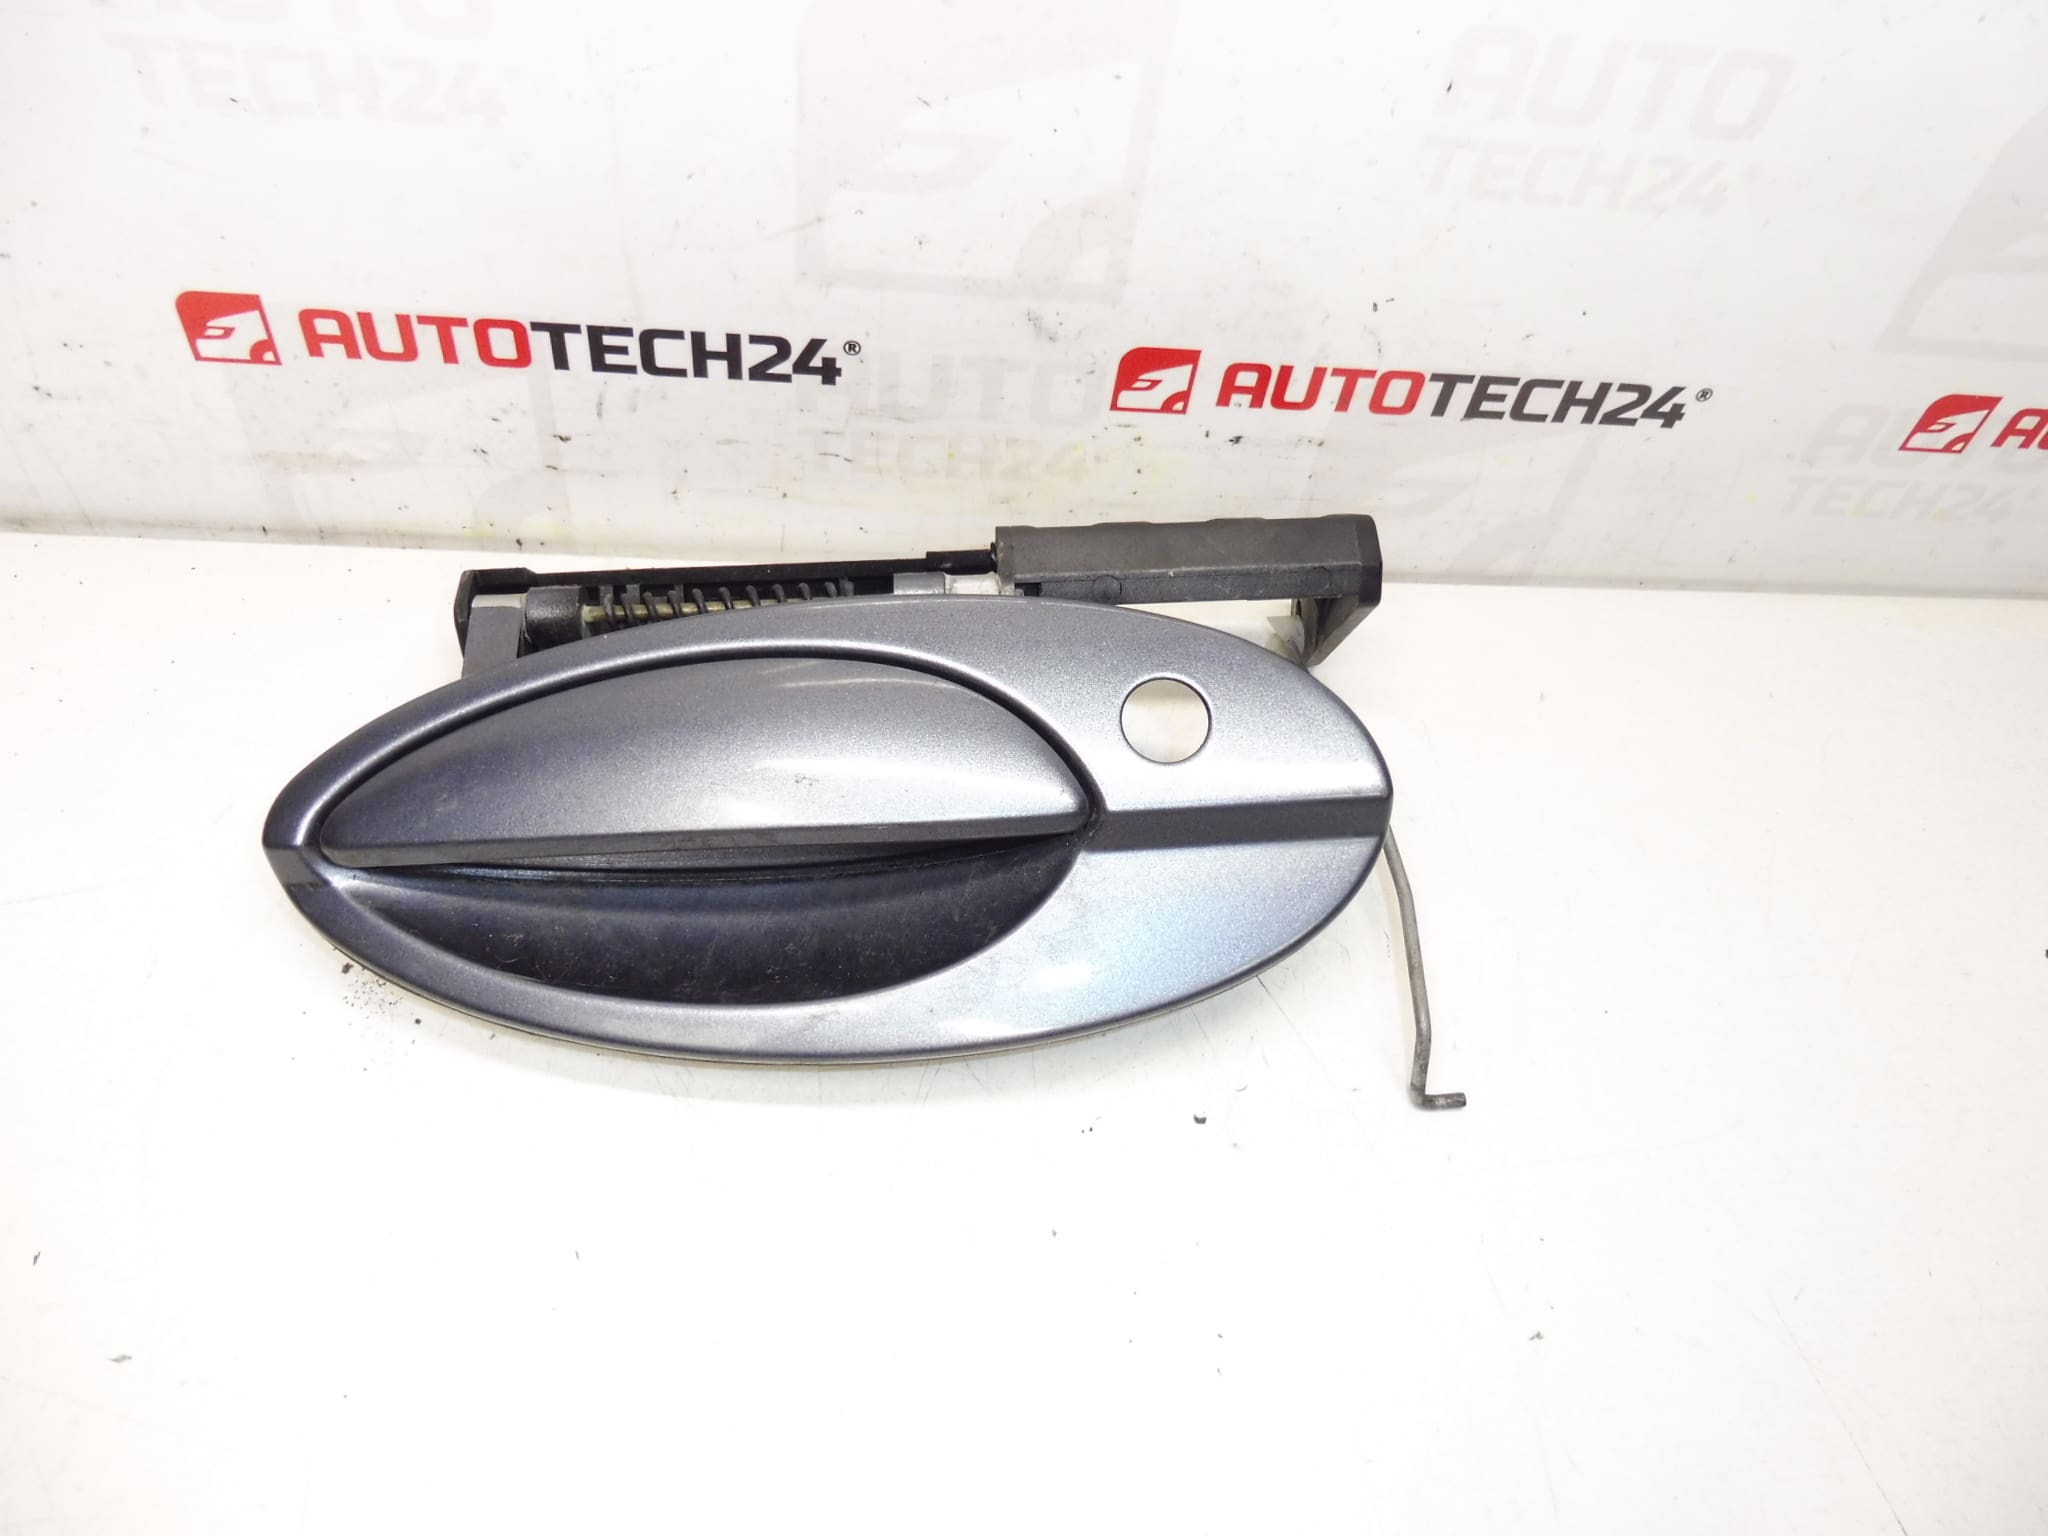
Left Front Door Handle For Citroën C5 I and II. Color EZW – Gray Metallic Paint. Driver Side.
Overview
This exterior left front door handle is designed for Citroën C5 first and second generations, finished in EZW gray metallic paint. It replaces the original driver-side handle and fits vehicles that use OE codes 9634766077 or 9634765877. Ideal for professional garages and DIY mechanics looking for a correct-color, direct-fit replacement to restore door operation and appearance.
Technical Information
- Manufacturer: Stellantis (Citroën)
- Model: Citroën C5 I, Citroën C5 II
- Product Codes: 9634766077, 9634765877
- Additional Numbers: 9101Q9, EZWD, NFP
Compatibility
Fits Left Front (Driver Side) on Citroën C5 First Generation (C5 I) and Second Generation (C5 II). Commonly referenced under part numbers 9634766077 and 9634765877. Verify visual match to existing handle (color code EZW – Gray Metallic) before installation.
Function And Typical Application
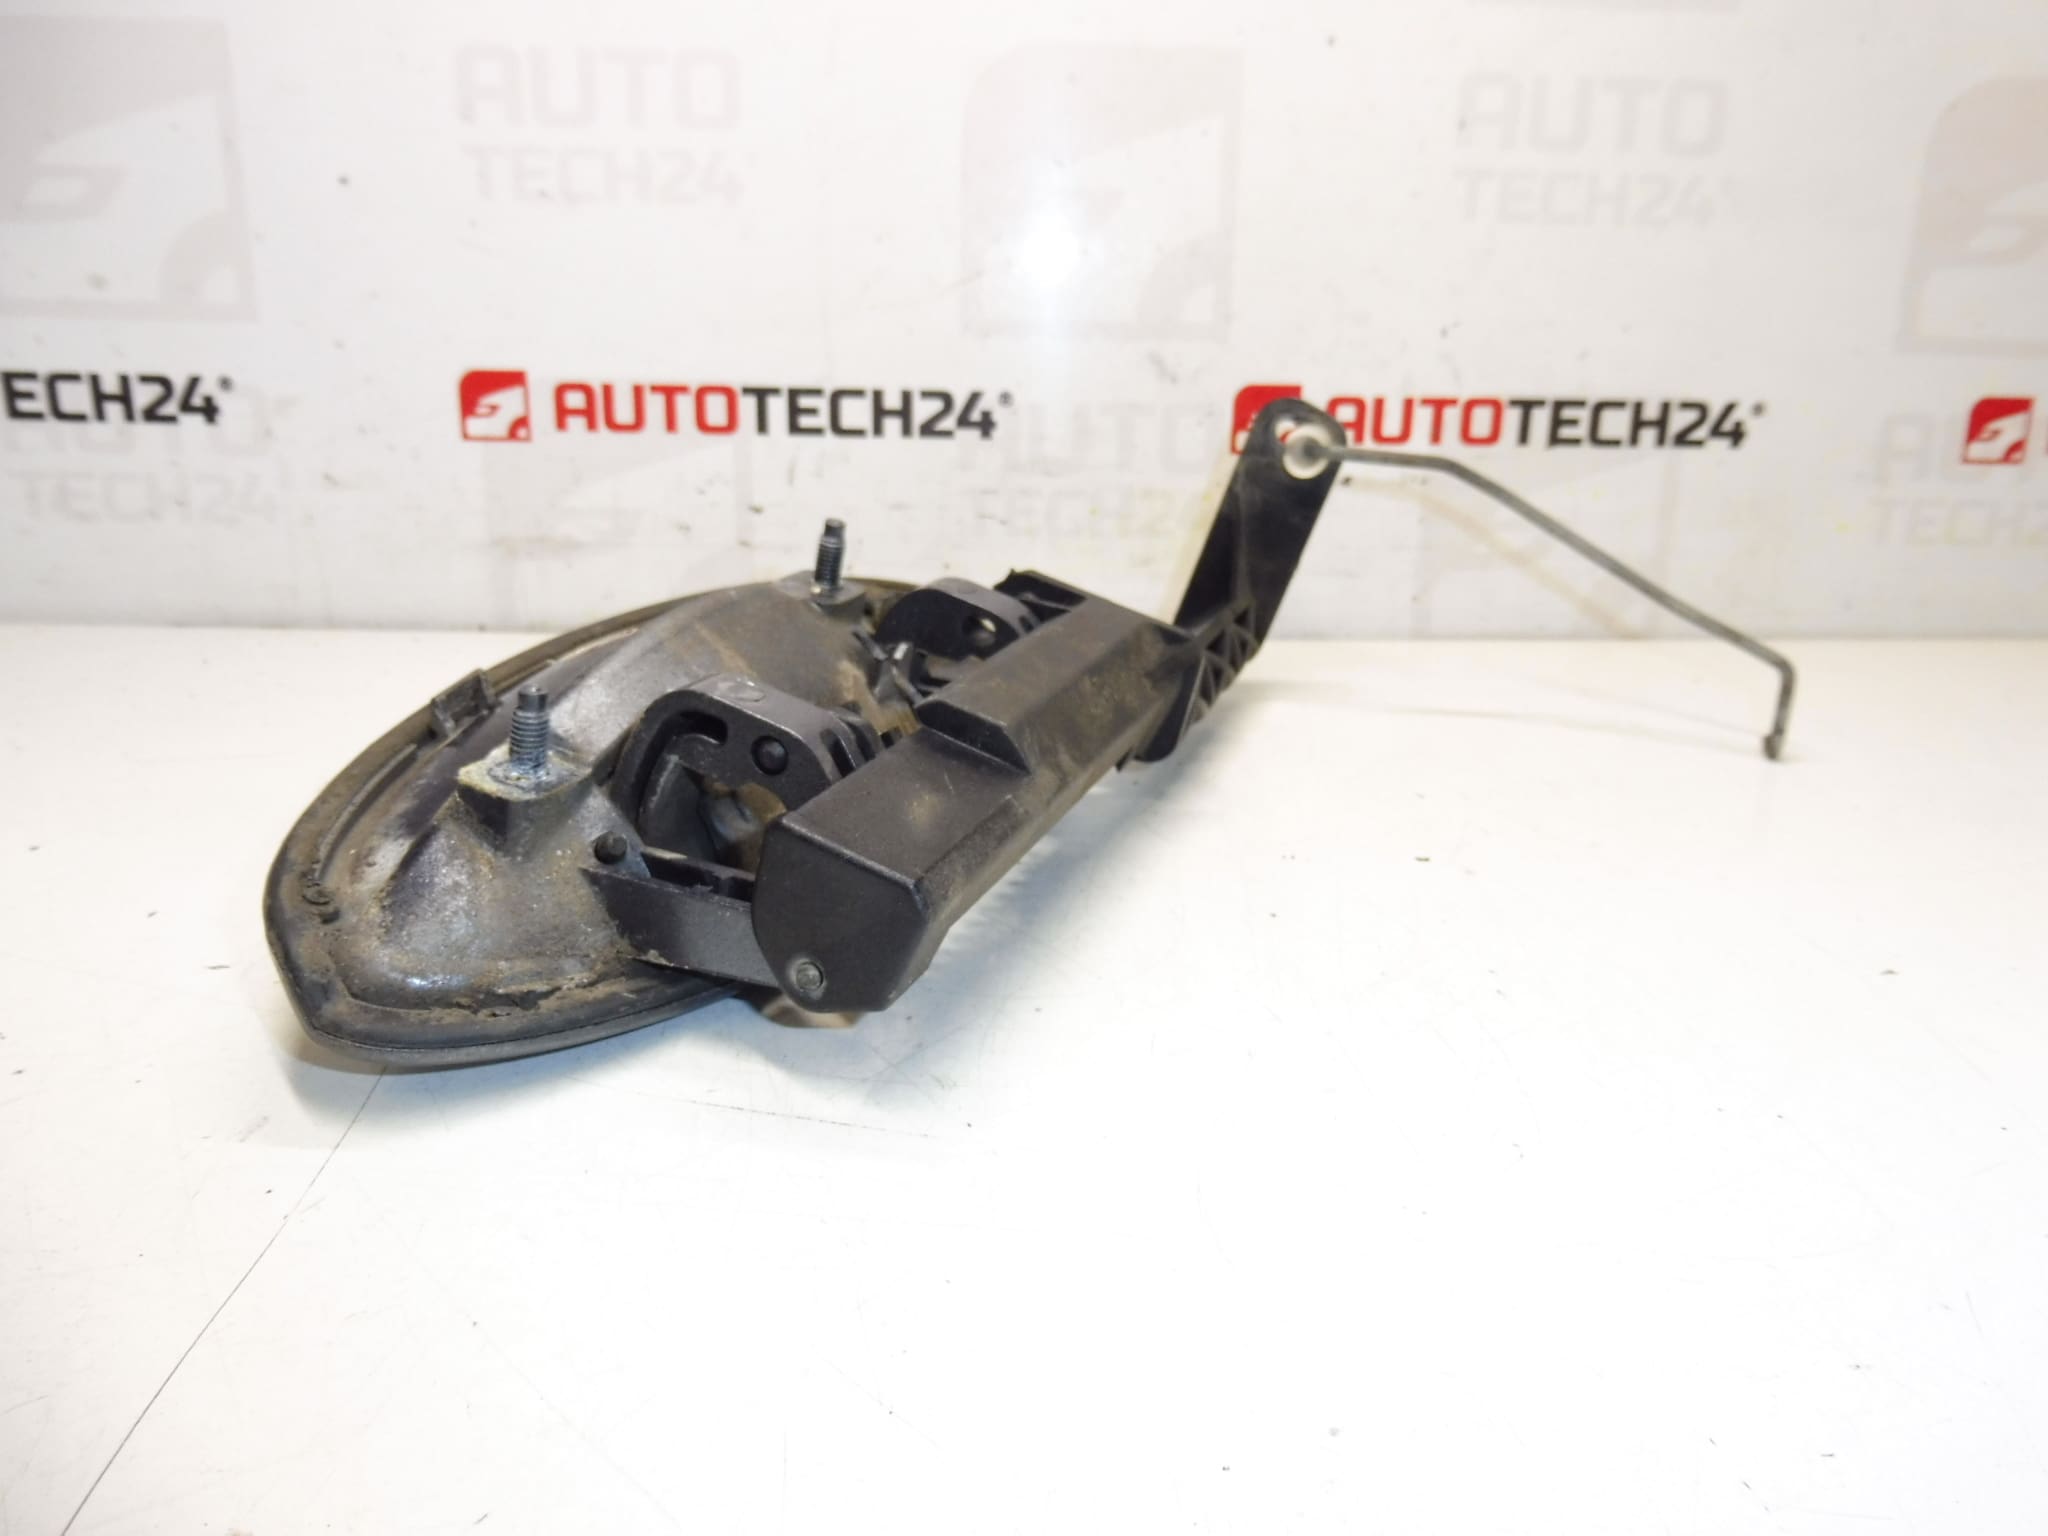
The handle operates the external door latch, transferring user input via internal linkages or rods to the latch mechanism. It restores mechanical opening of the door and the correct exterior appearance when faded, broken, or damaged.
Installation Recommendations
- Preparation: Gather trim tools, Torx/Phillips/metric sockets as required, and light lubricant. Work on a clean, dry surface to avoid scratching painted panels.
- Removal: Remove the interior door trim to access the handle mounting. Disconnect the door lock rod(s) and any electrical connectors for central locking or sensors if present.
- Replacement: Unscrew or unclip the handle retaining fasteners, transfer any necessary clips or lock cylinder components from the old handle to the new one, fit the new handle into position, reconnect linkages, and secure fasteners.
- Final Checks: Test door opening and locking operation several times, adjust linkage if needed, and ensure paint edges are protected during reassembly.
Common Failure Reasons
Exterior door handles typically fail due to mechanical wear of internal components, brittle or broken plastic clips, corrosion of mounting points or linkages, impact damage, or paint degradation. Water ingress and salt exposure accelerate corrosion and plastic fatigue, especially in older vehicles or those used in harsh climates.
Why Choose This Part
Buying a direct-fit left front door handle in the correct EZW gray metallic finish ensures a seamless visual match and restores reliable door function. Key searchable identifiers—9634766077, 9634765877, 9101Q9, EZWD—help technicians and DIY buyers find the exact replacement quickly.