
Description
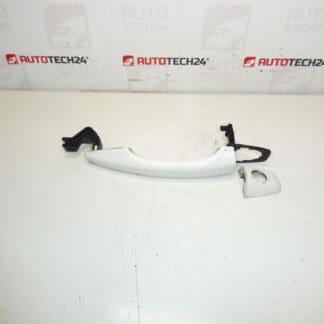
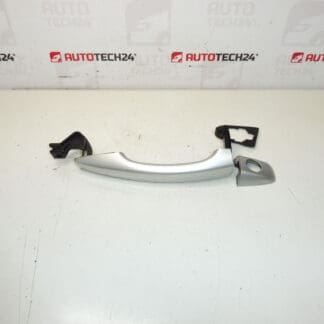
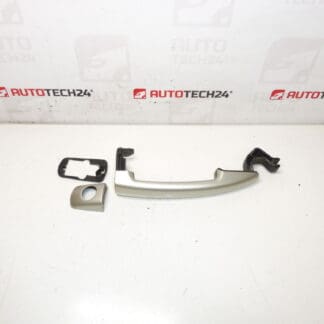
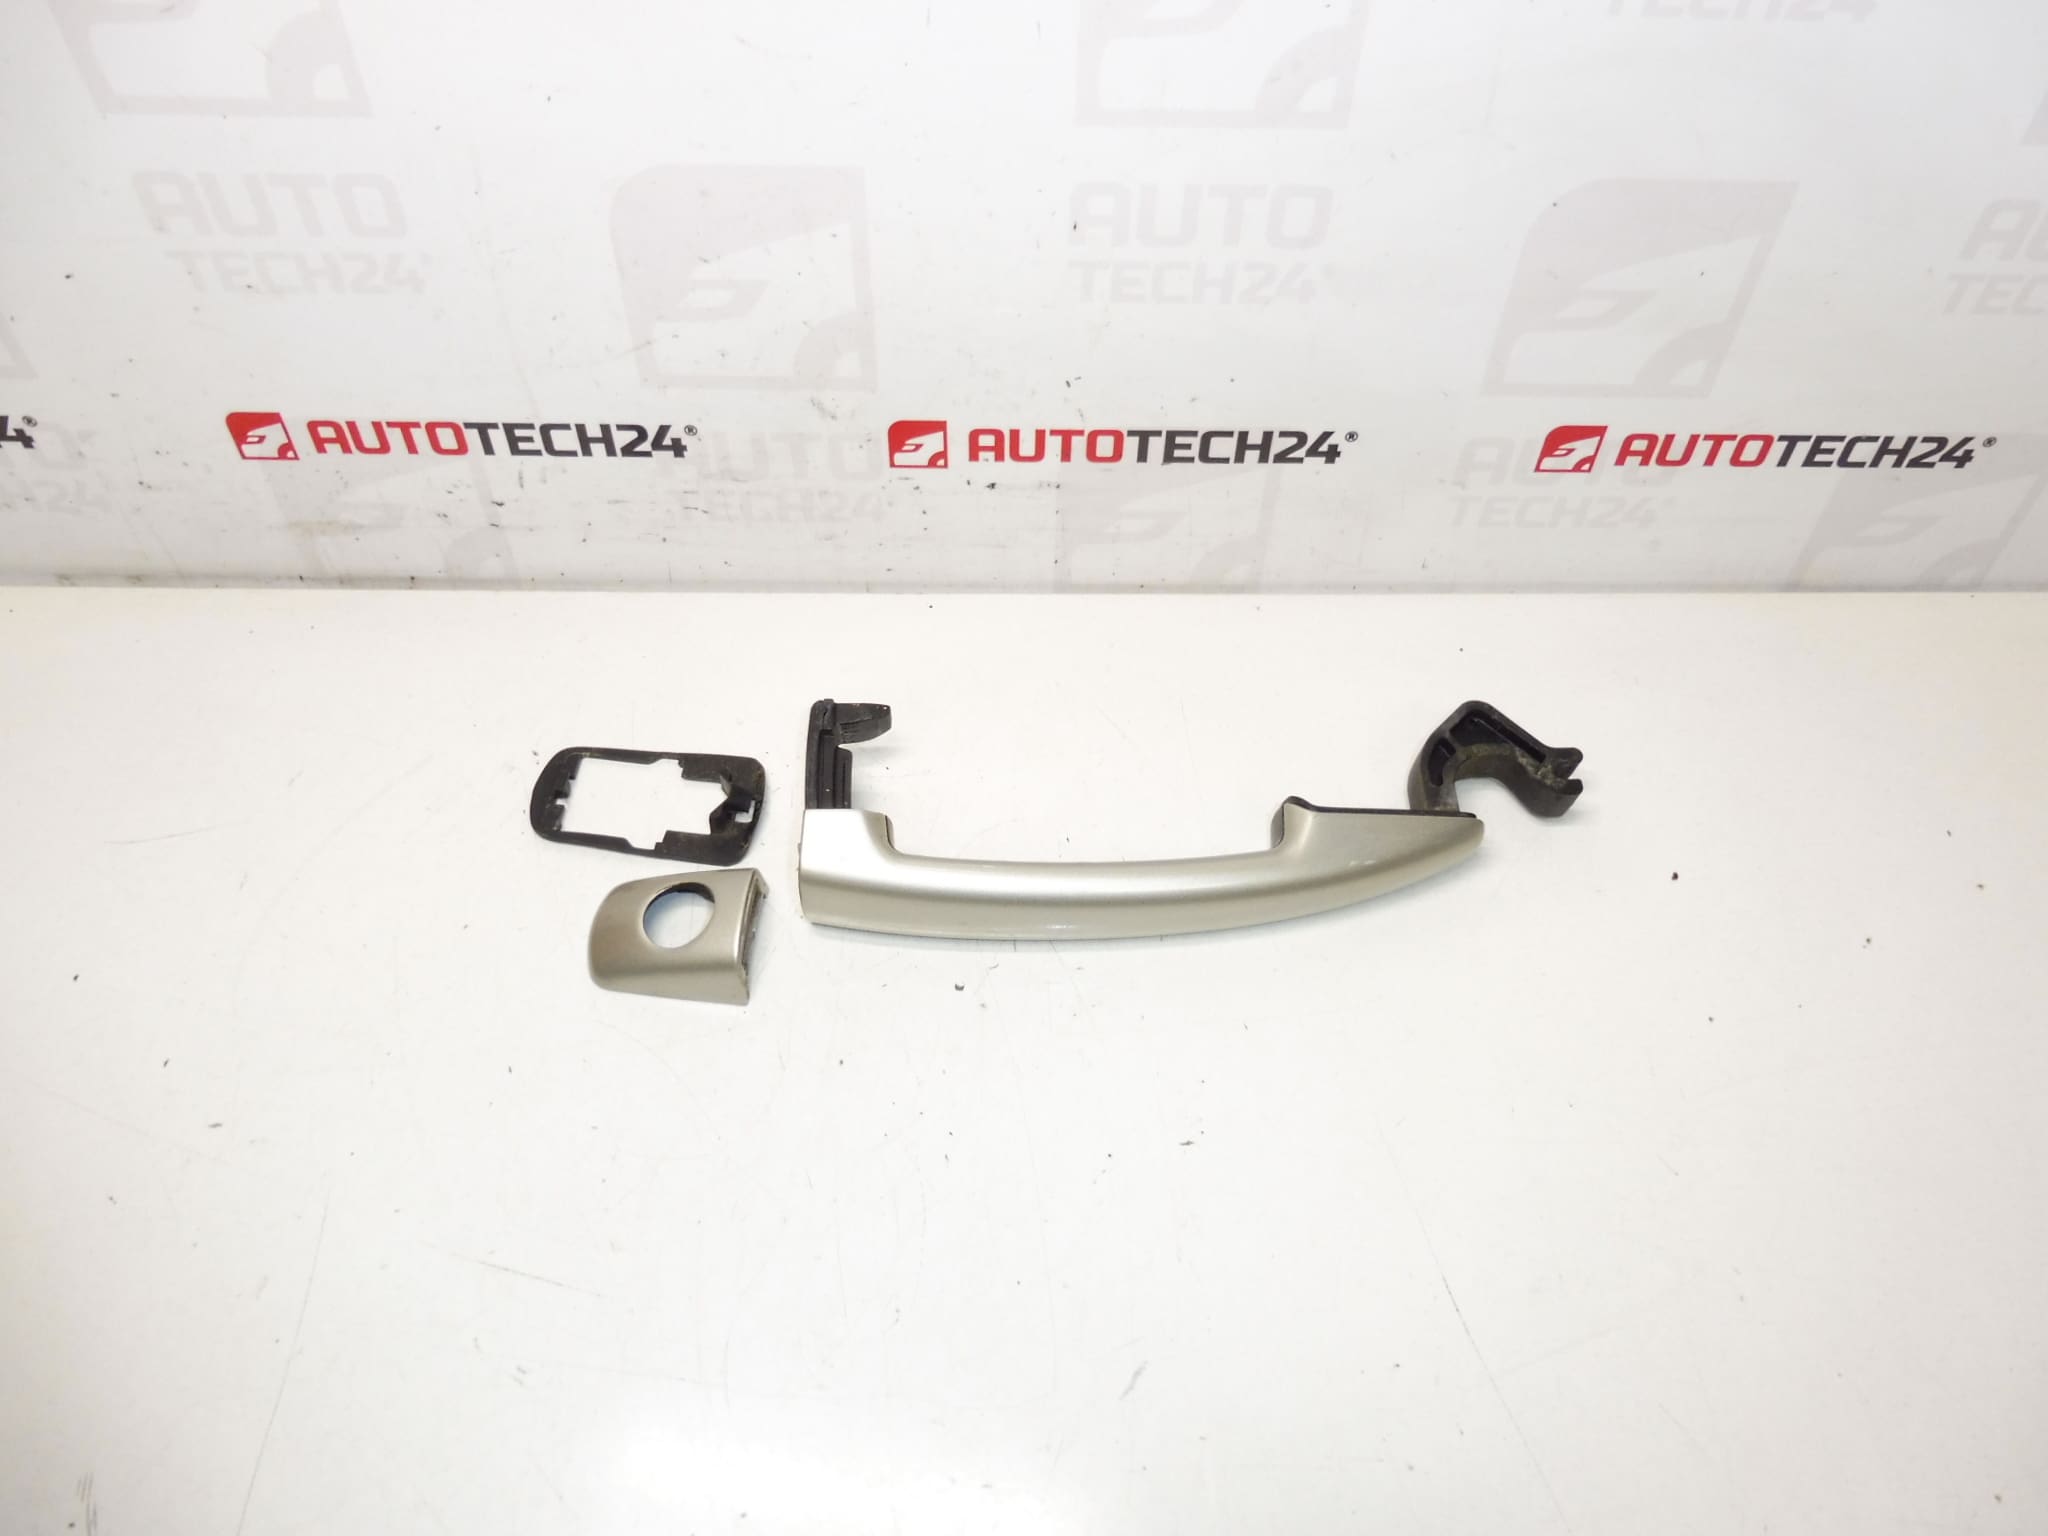
Left front door handle for CITROEN BERLINGO III, C4 II, C4 PICASSO and GRAND PICASSO, JUMPY III and PEUGEOT 207, 308, PARTNER III, EXPERT III cars
ETS color – CENTRE GRAY LACQUER
Part description
Used door handle ETSC 9101GF intended for left front door. It is a body part suitable as a replacement in the event of a crack, squeezing of the mechanism or damage to the surface of the handle. Due to the original name Stellantis (Citroën/Peugeot), it is often searched directly by part number.
Colour: ETS – Cendre gray lacquer (as specified in the documents).
Technical information
- Manufacturer: Stellantis (Citroën / Peugeot)
- Model: CITROEN BERLINGO III, C4 II, C4 PICASSO and GRAND PICASSO, JUMPY III; PEUGEOT 207, 308, PARTNER III, EXPERT III
- Other numbers: ETSC
Product codes
- Product codes: 9101GF
Installation recommendations
In general/typically, door handle replacement may vary depending on the specific model and design of the door (rails, lock, tie rod/cables). Below is a practical procedure for this type of part.
1) Before assembly
- Compare with the old part: orientation (front left), shape, fit, design and marking 9101GF.
- Check the condition of the used handle: cracks, play, smooth operation, undamaged grips and bearing surfaces.
- Check shade: ETS – Cendre grey (may vary due to paint age and wear).
2) Necessary tools and materials
- Set of screwdrivers / bits (according to the type of joints in the door)
- Plastic crowbar for removing upholstery (to avoid damage)
- Pliers for buckles/pins, or a small hook for handling tie rods
- Cleaning agent and cloth (for contact surfaces)
3) Step-by-step assembly procedure
- Secure the vehicle against movement and open the door for convenient access.
- Disassemble the inner lining of the door (typically: covers, screws, then carefully pry out the clips).
- Disconnect any connectors in the door if they interfere with handling (proceed carefully, do not pull on the cables).
- Access the space to the outer handle (after removing the lining and any film/protection).
- Release the handle attachment according to the door design (screws/detent) and prepare the position of the pull rods/cable guides.
- Disconnect the tie rods/cables from the crank – note their routing and locking position.
- Remove the original handle and clean the landing surface in the door.
- Insert the new handle into the hole, seat it correctly in the guides and bearing surfaces.
- Reattach the tie rods/cables and check that they are properly secured (no crossing or tension).
- Tighten the handle attachment and verify that it is firmly seated without play.
- Before completing the paneling, test the door opening function (from outside and inside).
- Refit the protective film/insulation (if removed), connect the connectors and fit the door trim.
-
4) Post-assembly checks and test drive/function verification
- Verify the smooth operation of the handle and correct return to the starting position.
- Check that the door opens/closes without increased resistance and that nothing rubs.
- After a short drive, check again for play or unwanted noises from the door area.
5) The most common assembly mistakes + how to avoid them
- Swap sides (right/left): always compare the shape and orientation with the old piece before assembly.
- Incorrectly guided or unsecured drawbar/cable guide: note the position before disassembly and test function several times after assembly.
- Damage to trim clips: use a plastic pry bar and work evenly around the perimeter.
- Bad seat of the handle: clean the seating surfaces and seat the handle in the guides without violence.
Reasons why the part is damaged
- Mechanical wear due to frequent use (backlash, squeezing of the bearing).
- Cracking of plastic parts due to the age of the material or frost.
- Damage after an accident or during careless handling (e.g. prying open a frozen door).
- Corrosion/fouling of the lock mechanism which increases resistance and stresses the handle.
- Incorrect installation (tension of tie rods/cable guides, crooked seating) which leads to excessive stress.