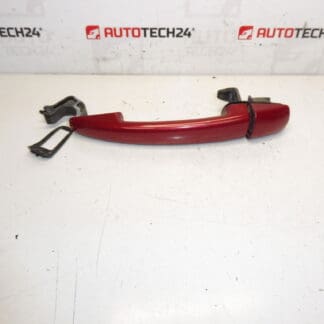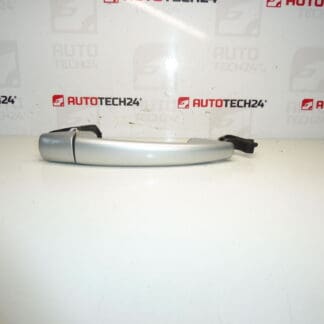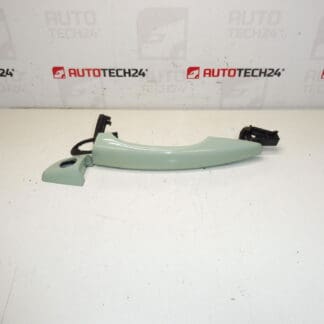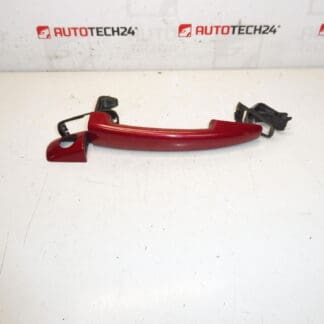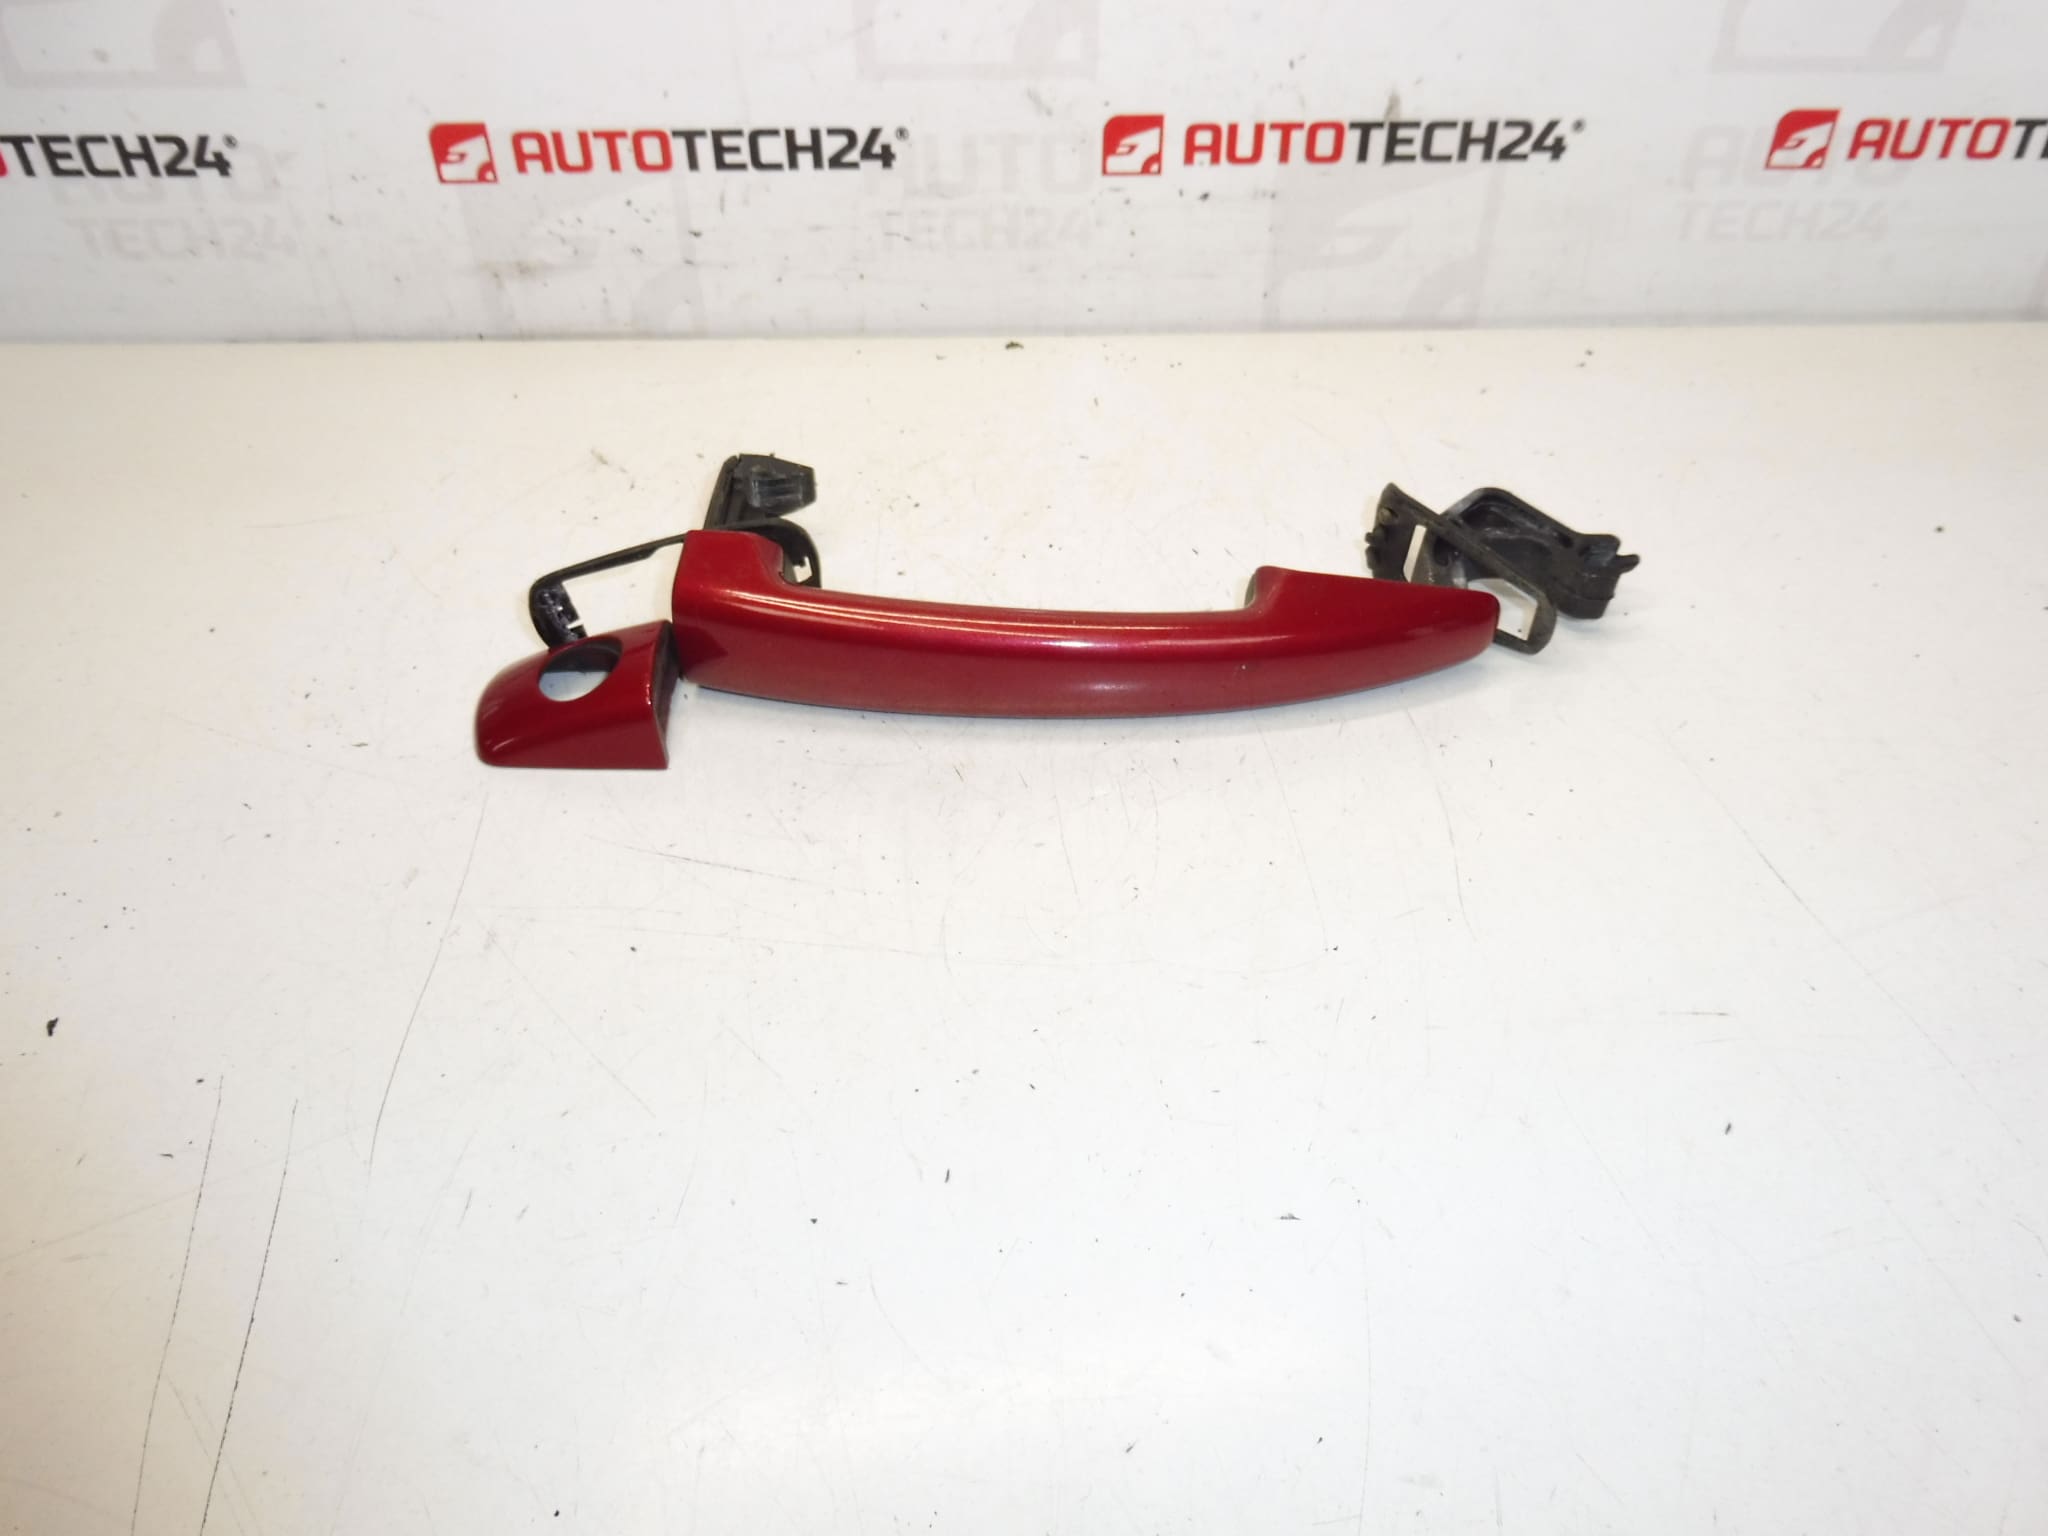
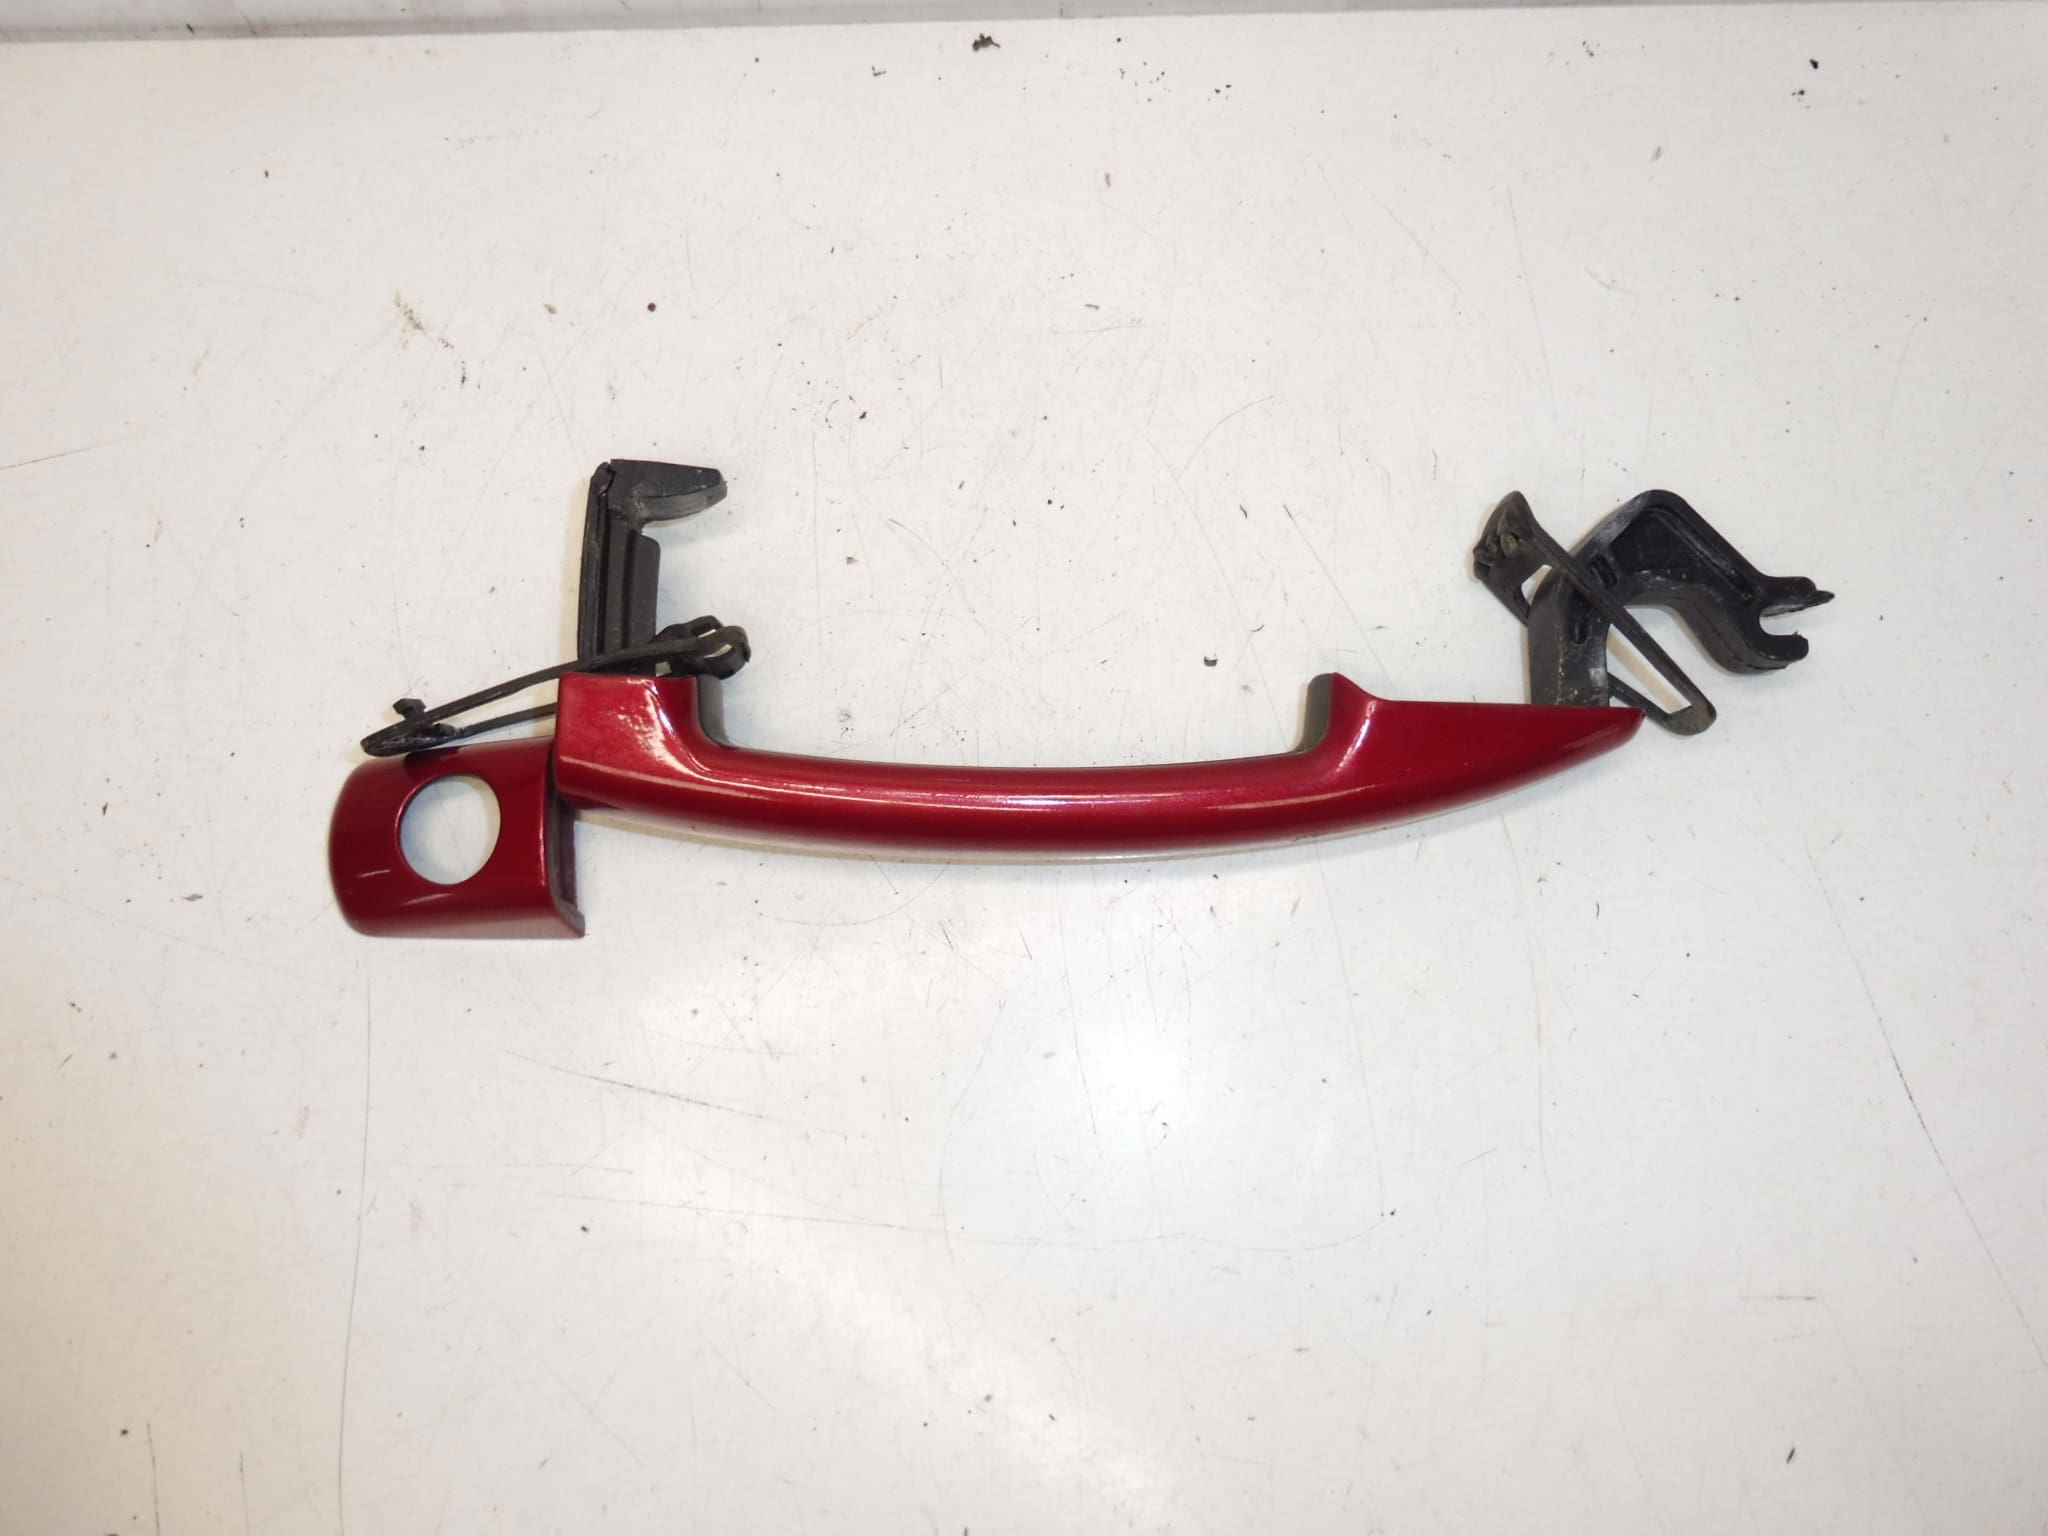
Front door handle EPYD Peugeot 3008 5008 9101KJ

30.00

Stellantis CITROEN PEUGEOT
9101KJ EPYD

1 in stock

SKU: 9630-S9_K16 Categories: , , , Tag:

Description

Left front driver’s door handle for PEUGEOT 3008 and 5008 cars of the first generation
EPY color – RUBI RED LACQUER

Part description

This used front door handle is intended for Peugeot 3008 I and Peugeot 5008 I cars. It is an original part of the Stellantis Citroën Peugeot group, which is often searched by the designation 9101KJ and the color code EPYD.

The part is suitable for replacing a damaged or non-functioning door handle, when not only the correct function is important, but also the appearance of the car. The advantage is that it is made in the shade EPY – red Rubi, so it can be a suitable choice even for a repair without the need for painting, if it matches the condition and shade of your car.

Technical information

  • Manufacturer: Stellantis Citroën Peugeot
  • Model: Peugeot 3008 I, Peugeot 5008 I
  • Other numbers: 9101KJ, EPYD, EPY

Product codes

  • Product codes: 9101KJ, EPYD
  • Models: PEUGEOT 3008 I, PEUGEOT 5008 I

Installation recommendations

Generally/typically, when replacing a door handle, the exact procedure may vary depending on the specific design of the car and the design of the door. Below is a practical general procedure for this type of bodywork.

1) Before assembly

  • Compare the new and original part by shape, fit, color and product number.
  • Check the condition of the attachment points, springs, tie rods and any moving parts of the handle.
  • Check that the used part is not cracked, deformed or excessively worn at the attachment point.
  • Before assembly, clean the contact surfaces and the area around the door from dirt and old grease residues.

2) Necessary tools and materials

  • A common set of hand tools
  • Screwdrivers or bits corresponding to the connections used
  • Plastic pry bar for panel removal
  • Cleaning agent for degreasing
  • Fine technical lubricant for moving parts
  • Clean cloth or tea towel

3) Step-by-step assembly procedure

  1. Secure the vehicle against movement and open the relevant door to the appropriate working position.
  2. Remove the interior door trim if needed to access and attach the handle.
  3. Carefully release the covers and fasteners associated with the original crank.
  4. Disconnect the tie rod or other control mechanism if the crank is equipped with one.
  5. Remove the old handle without using excessive force to avoid damaging the surrounding sheet metal or the attachment.
  6. Compare the old and new part again just before installation, especially the mounting and functional parts.
  7. Place the new crank in the correct position and reattach the control mechanism.
  8. Fix the handle with the original or matching connecting material and make sure it fits correctly.
  9. Before fully folding the door, check the operation of the handle several times and the smoothness of the control.
  10. If all is well, put back the covers and door trim.
  11. Perform a final cleaning around the handle and check that there are no gaps or tension in the seat of the part.
    • 4) Post-assembly checks and test drive/function verification

      • Try opening and closing the door repeatedly from the outside while at rest.
      • Check that the crank operates smoothly without stuttering.
      • Verify the correct fit of the handle to the body and the visual continuity with the surrounding painted surfaces.
      • After a short period of use, recheck that the handle has not loosened and still works as smoothly.

      5) The most common assembly mistakes + how to avoid them

      • Part exchange – always compare the part number, shape and design before assembly.
      • Door panel damage – use appropriate tools and remove plastic parts carefully.
      • Incorrect seat of the handle – check the correct position and fit before tightening.
      • Unattached control mechanism – always verify the function of the handle in practice before folding the door.
      • Excessive force during installation – proceed with sensitivity to avoid cracking the mount or damaging the paintwork.

      Reasons why the part is damaged

      • Mechanical wear during frequent door use
      • Crack or damage after careless opening
      • Damage due to minor contact, vandalism or accident
      • Fatigue of the material at the attachment point or moving parts
      • Influence of weather conditions and long-term stress on the paint and the surface of the part

Additional information

Weight 0.5 kg

Unless otherwise specified in the description, all photos are for illustrative purposes only.

We reserve the right to replace the ordered reference with the manufacturer's replacement reference.

The parts come from crashed vehicles, are carefully inspected, and we provide a 12-month warranty on functionality for them.