Description
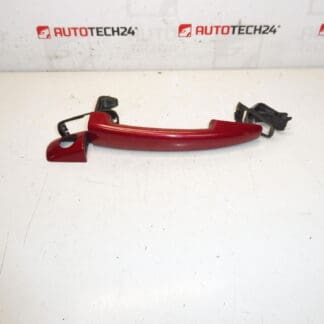
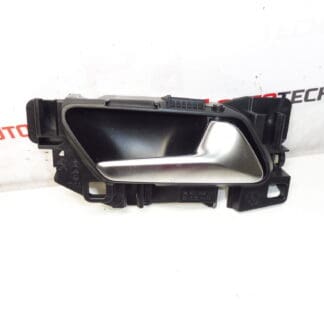
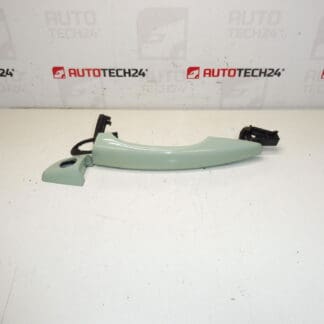
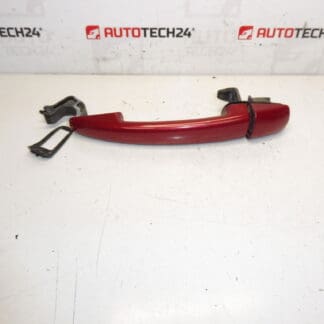
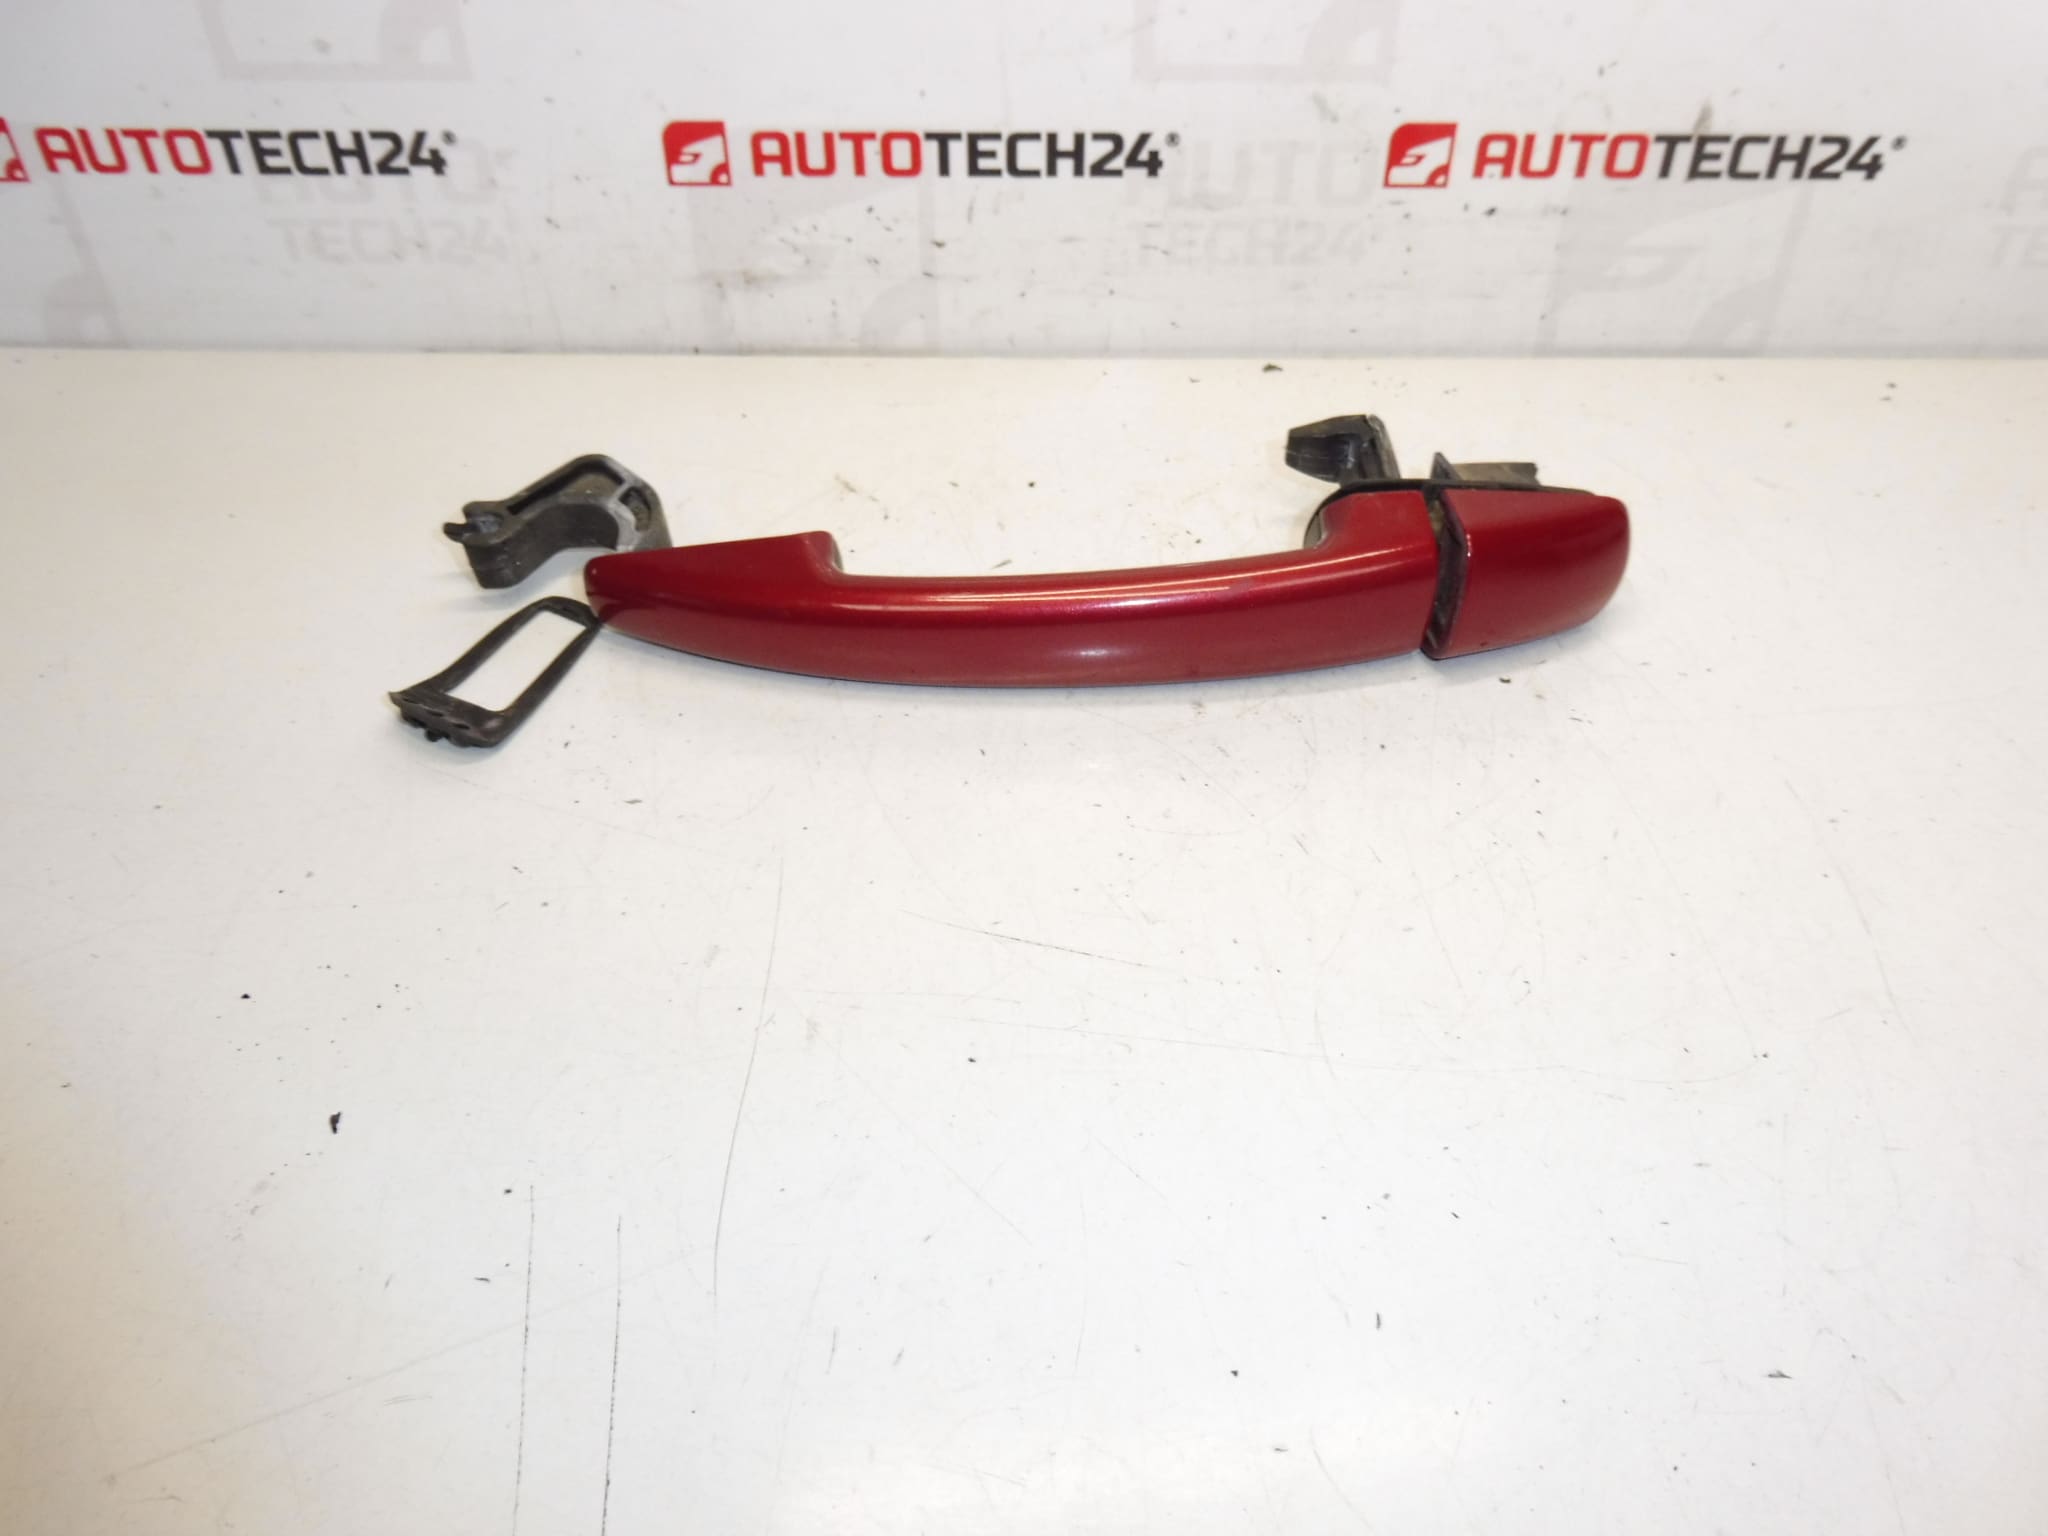
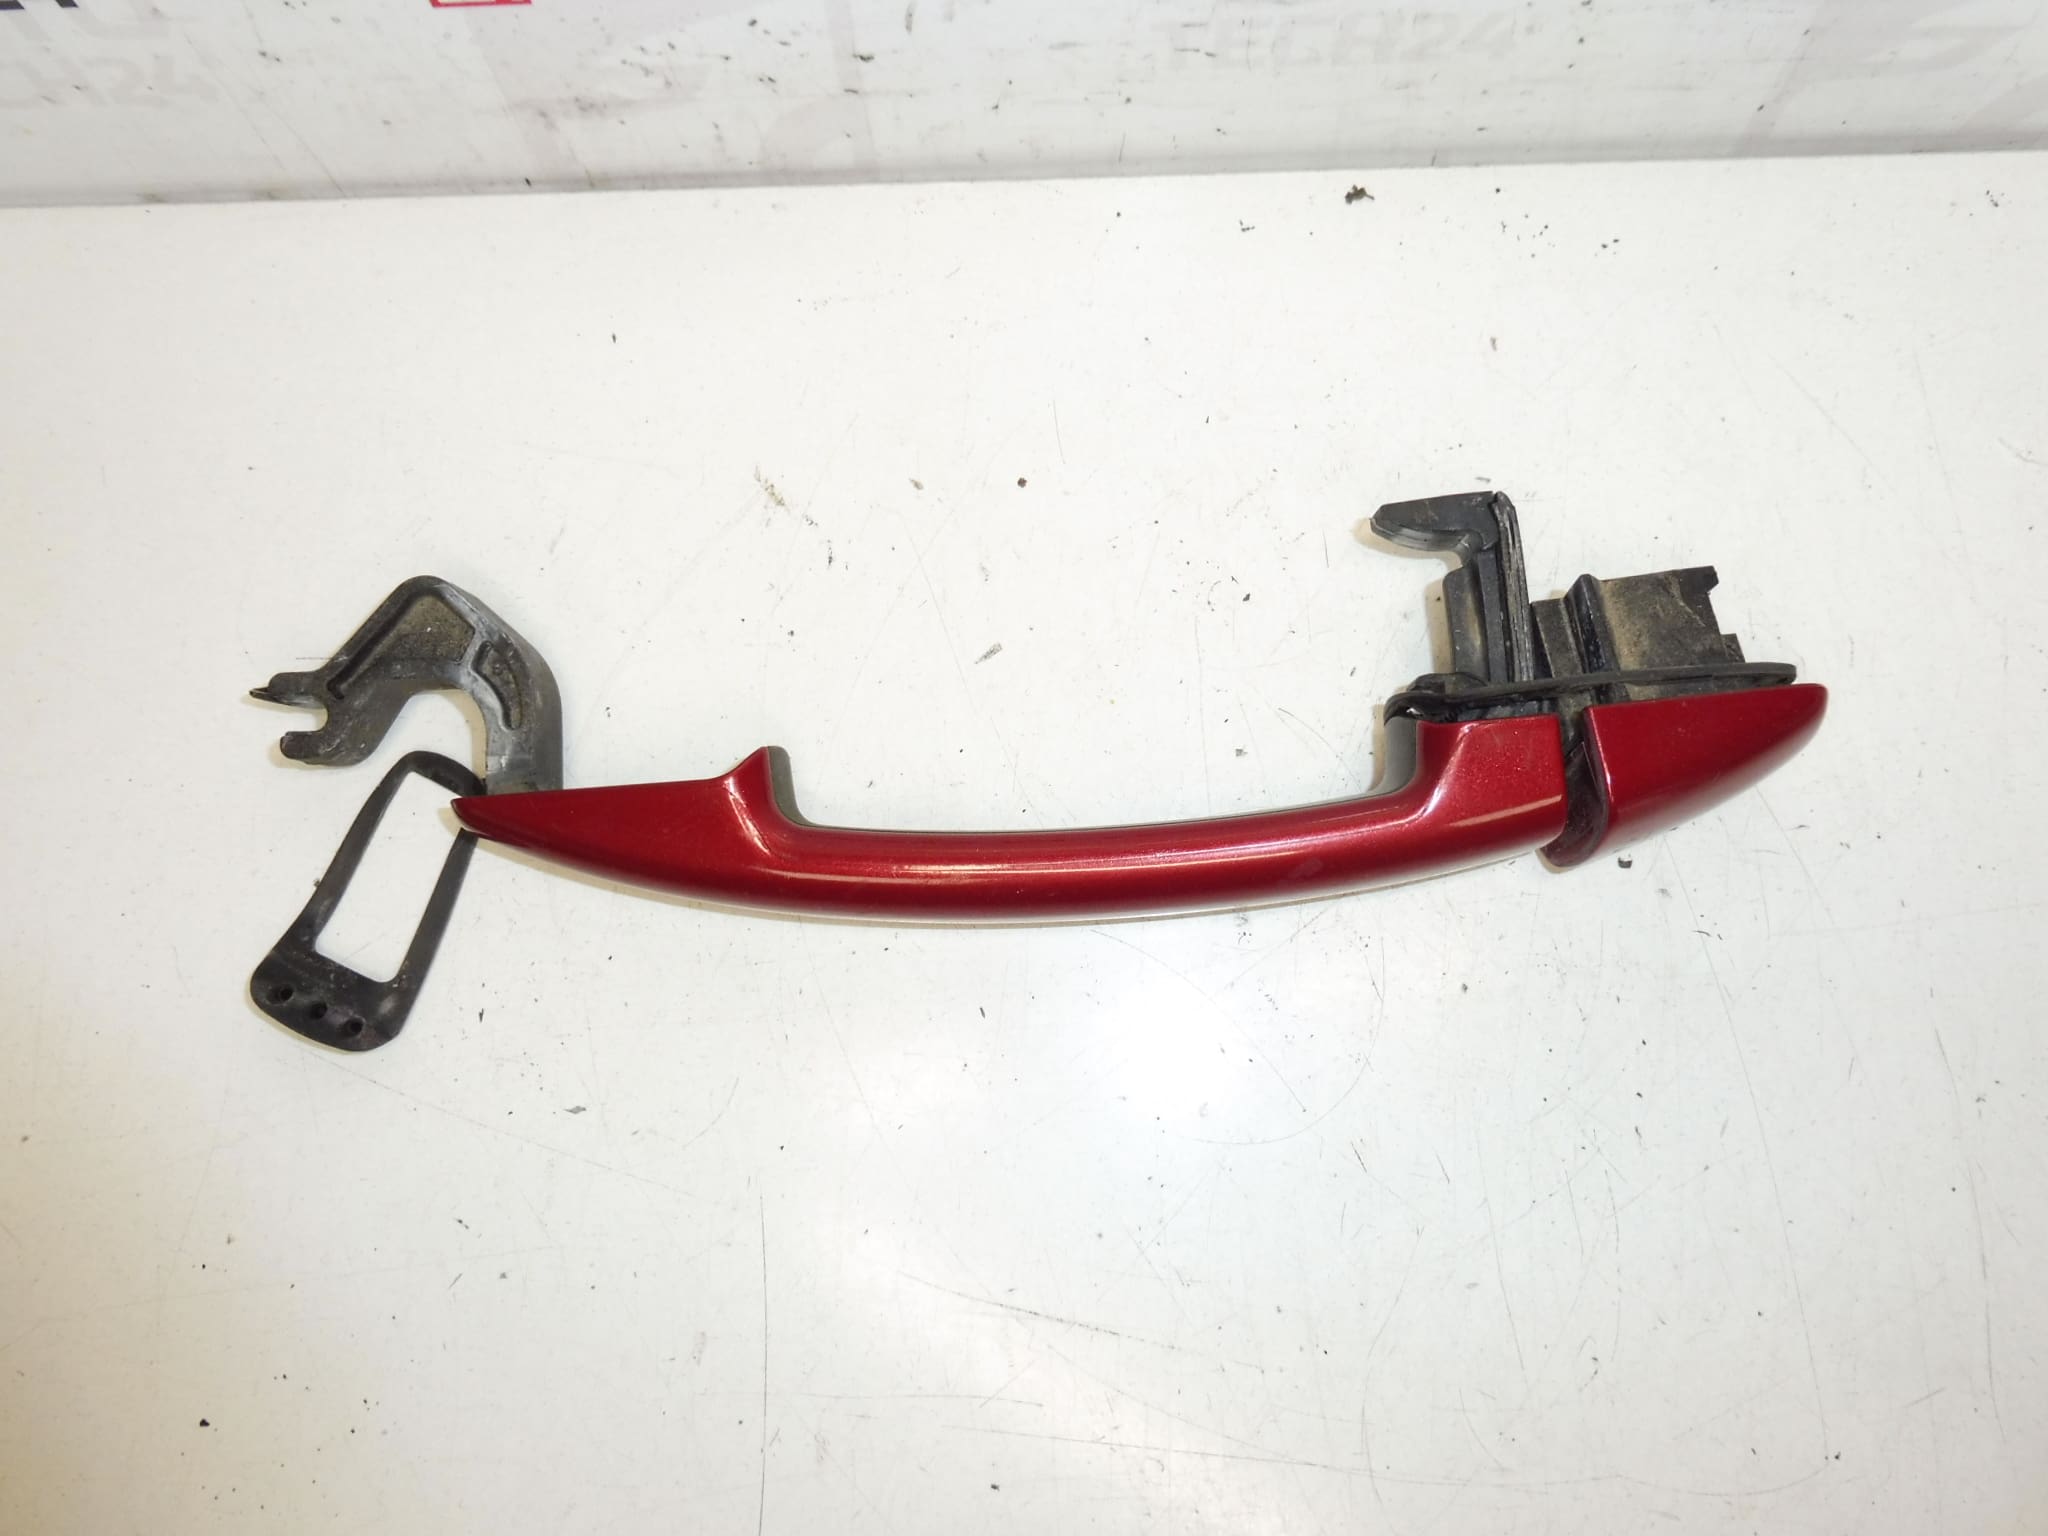
Door handle for right front and both left and right rear doors for Peugeot 3008 and 5008 first generation. Color EPY – Ruby Red Paint
Exterior door handle for Peugeot 3008 I and 5008 I in Ruby Red (EPY). Ideal for professional workshops and DIY mechanics searching by part code 9101KH or EPYD. This replacement outer handle restores door opening function and appearance while matching factory paint. Suitable for vehicles with mechanical or central-locking actuation; ensure compatibility with your door lock cylinder arrangement before installation.
Key Benefits
Durable exterior finish matched to factory Ruby Red paint. Direct-fit design for clean installation, reduces installation time in bodyshop and garage settings. Restores proper latch actuation and prevents water ingress around the handle area when fitted correctly.
Technical Information
- Manufacturer: Stellantis / Peugeot
- Model(s): Peugeot 3008 I, Peugeot 5008 I (First Generation)
- Product Codes: 9101KH, EPYD
- Other Numbers: Color Code EPY – Ruby Red
Fitment
Specifically produced for the right front door and both left and right rear doors on first-generation Peugeot 3008 and 5008 models. Check side and door position when ordering (Right Hand Drive vs Left Hand Drive does not affect side designation for the handle itself).
How To Replace (Overview)
- Remove interior door trim: unscrew fasteners and carefully pry trim clips to avoid damage.
- Peel back the waterproof membrane to access the inner door shell.
- Disconnect any electrical connectors if the handle has sensors or switches.
- Unbolt or unclip the handle from the inside of the door. Detach linkage rods from the latch mechanism.
- Transfer lock cylinder or trim pieces if required, then fit the new handle and reconnect linkage.
- Test mechanical movement and central locking operation before reassembling the door panel.
- Reattach the waterproof membrane and interior trim, ensuring all clips and screws are secure.
Mounting Recommendations
Work On A Flat Surface And Keep Parts Organized. Use Proper Trim Tools To Avoid Breakage Of Clips. Lubricate Moving Linkages With Suitable Grease (e.g., White Lithium) To Prevent Stiff Operation. Tighten Fasteners Evenly Without Over-Torquing; Replace Any Damaged Clips Or Gaskets To Maintain Water Tightness. After Installation, Check Door Alignment And Central Locking Function On All Doors.
Why This Part Most Commonly Fails
- Mechanical Wear: Frequent use leads to worn pivots or weakened plastic components inside the handle mechanism.
- Impact Damage: Door hits, parking lot knocks or forced entry attempts can crack the handle or break mounting tabs.
- Corrosion And Environmental Stress: Salt, moisture and dirt can corrode metal linkages or cause paint and seal deterioration—more common in colder climates.
- Broken Clips And Fasteners: Interior mounting clips are often plastic and can fail during previous repairs or from vibration over time.
Notes
When replacing, compare the part codes printed on the old handle to the Product Codes listed above (9101KH / EPYD) and confirm color code EPY for paint match. Professional installation is recommended for best fit and sealing, especially on vehicles with integrated central-locking switches or alarm sensors in the handle area.