Description
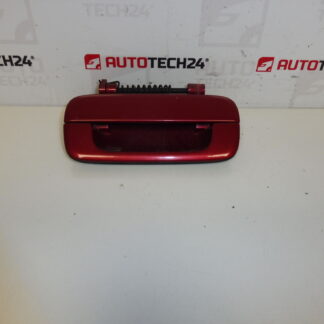
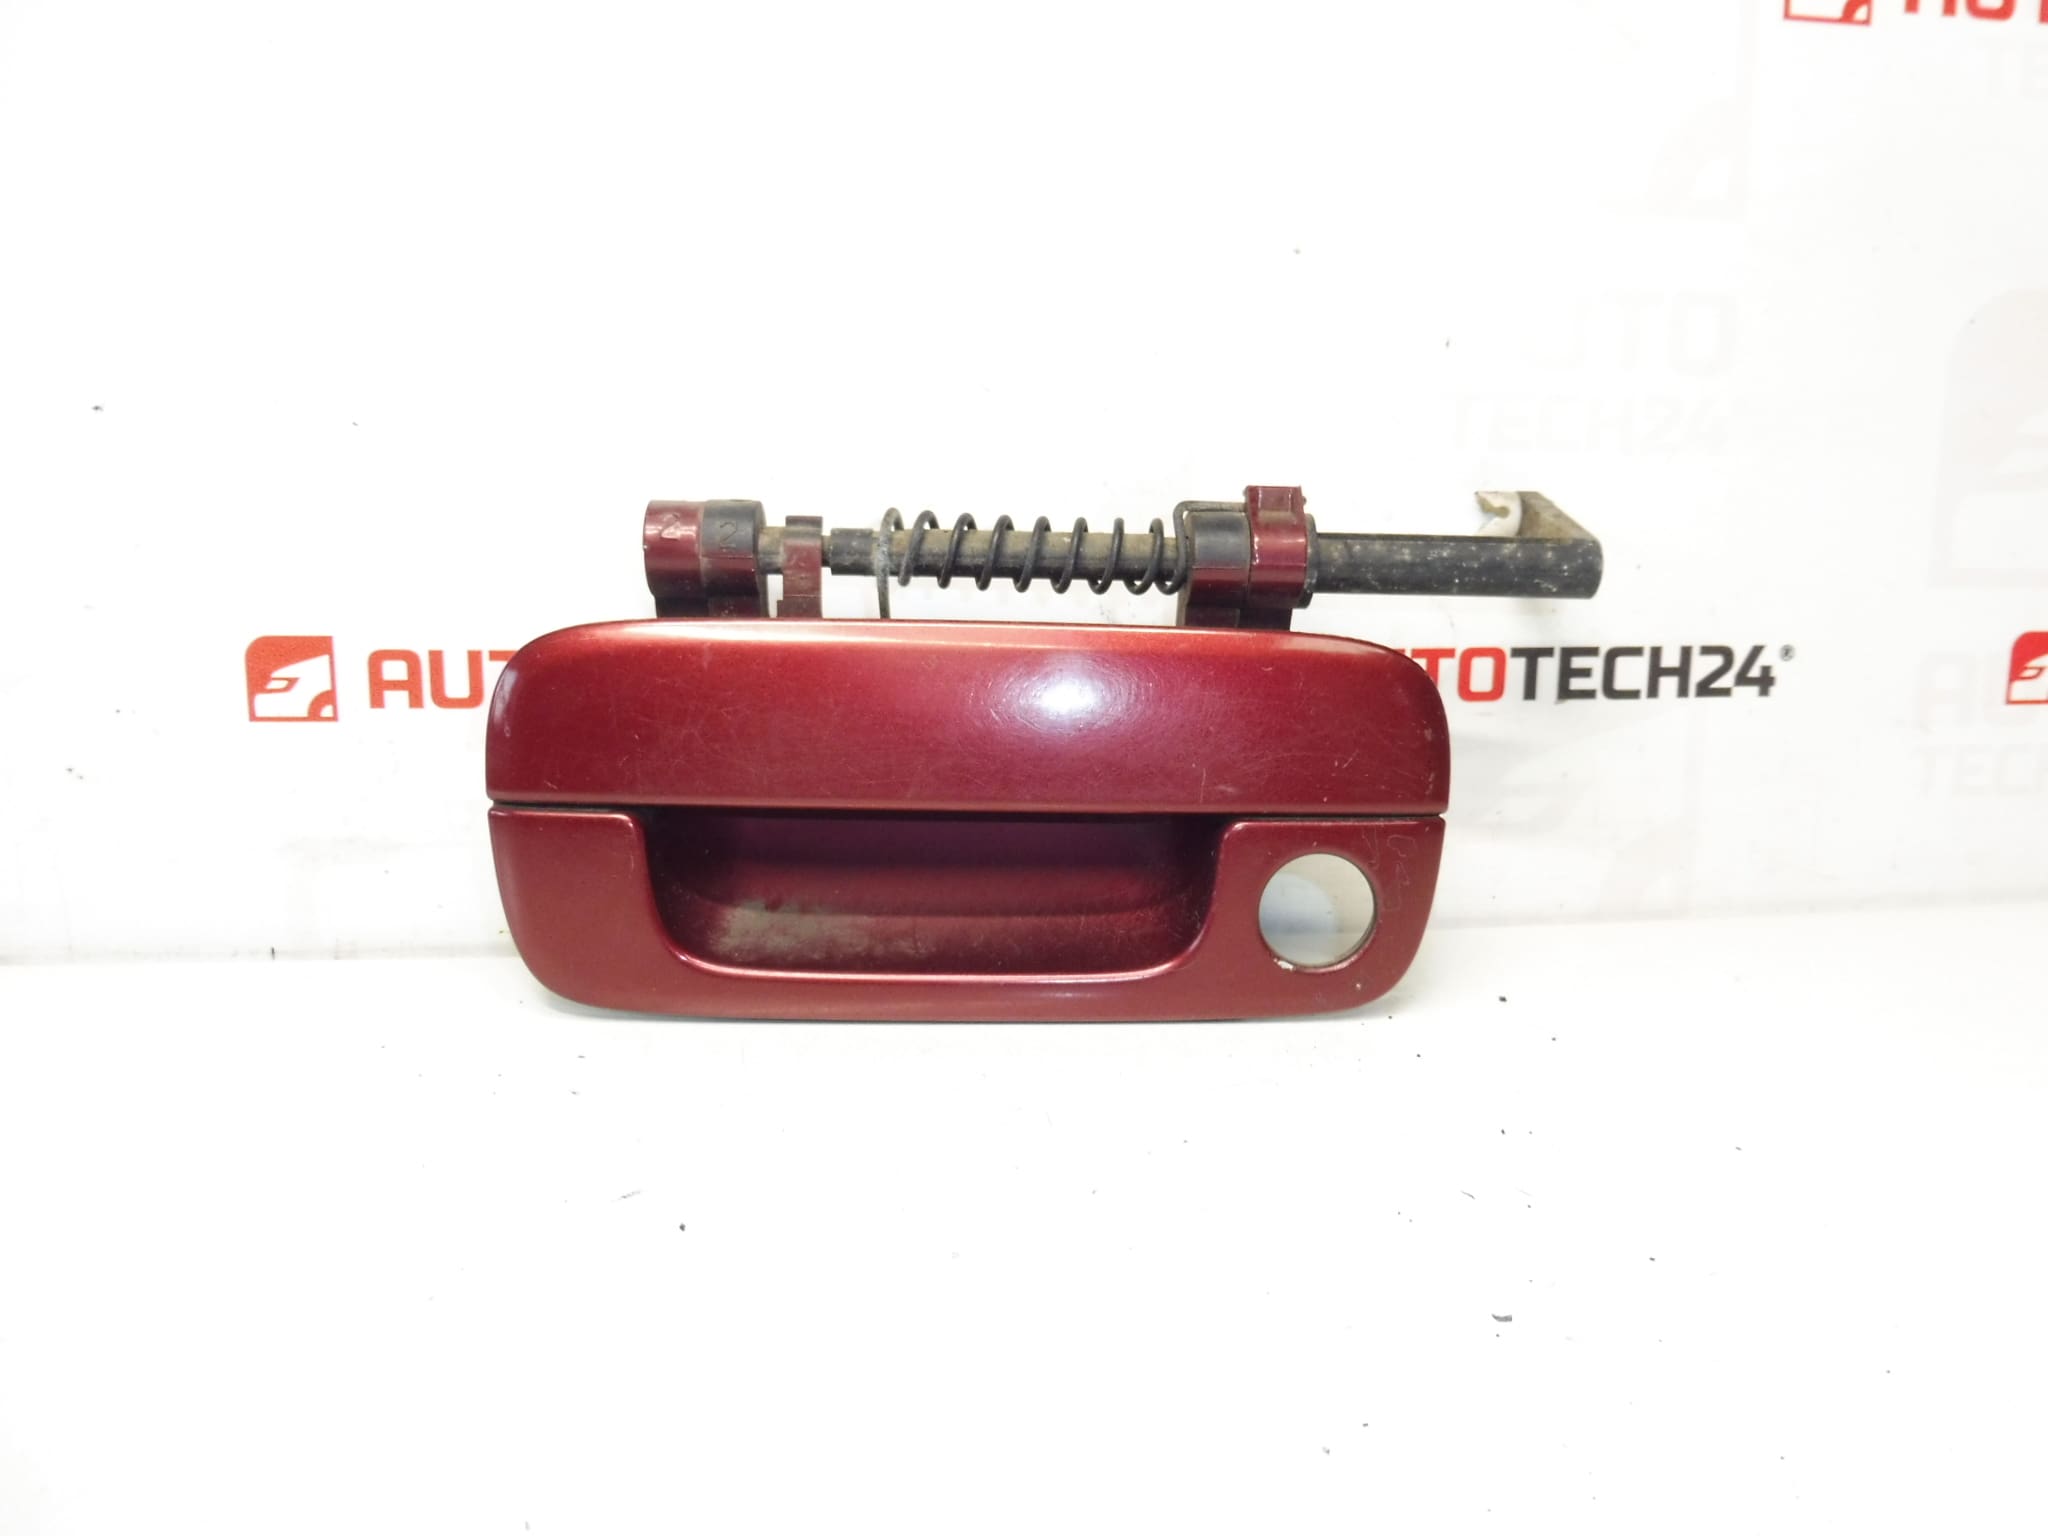
Left front door handle for Peugeot 406
Color EKQD paint Red Lucifer
Driver’s door
Replace a worn or damaged driver’s door handle with this direct-fit left front door handle for the Peugeot 406. Painted in EKQD “Red Lucifer”, this handle is a practical option for mechanics and DIY enthusiasts who need a color-matched exterior part that restores function and appearance. The part is commonly searched by code 9101H2, which makes finding the correct replacement faster when ordering or browsing online.
Key Benefits
- Direct fit for Peugeot 406 driver’s door — designed to match original mounting points and linkage.
- Factory color code EKQD (Red Lucifer) for better paint match and reduced refinishing time.
- Restores latch operation and exterior appearance after mechanical breakage or impact damage.
- Suitable for professional workshops and competent DIY repairers familiar with door trim removal.
Technical Information
- Manufacturer: Peugeot (Stellantis)
- Model: Peugeot 406
- Product Codes: 9101H2
- Additional Numbers: EKQD (Paint Code – Red Lucifer)
Installation Recommendations
Recommended for fitment by an experienced technician or an informed DIYer. Typical replacement steps:
- Prepare basic tools: trim removal tools, screwdrivers, socket set and pliers. Protect painted surfaces with masking tape.
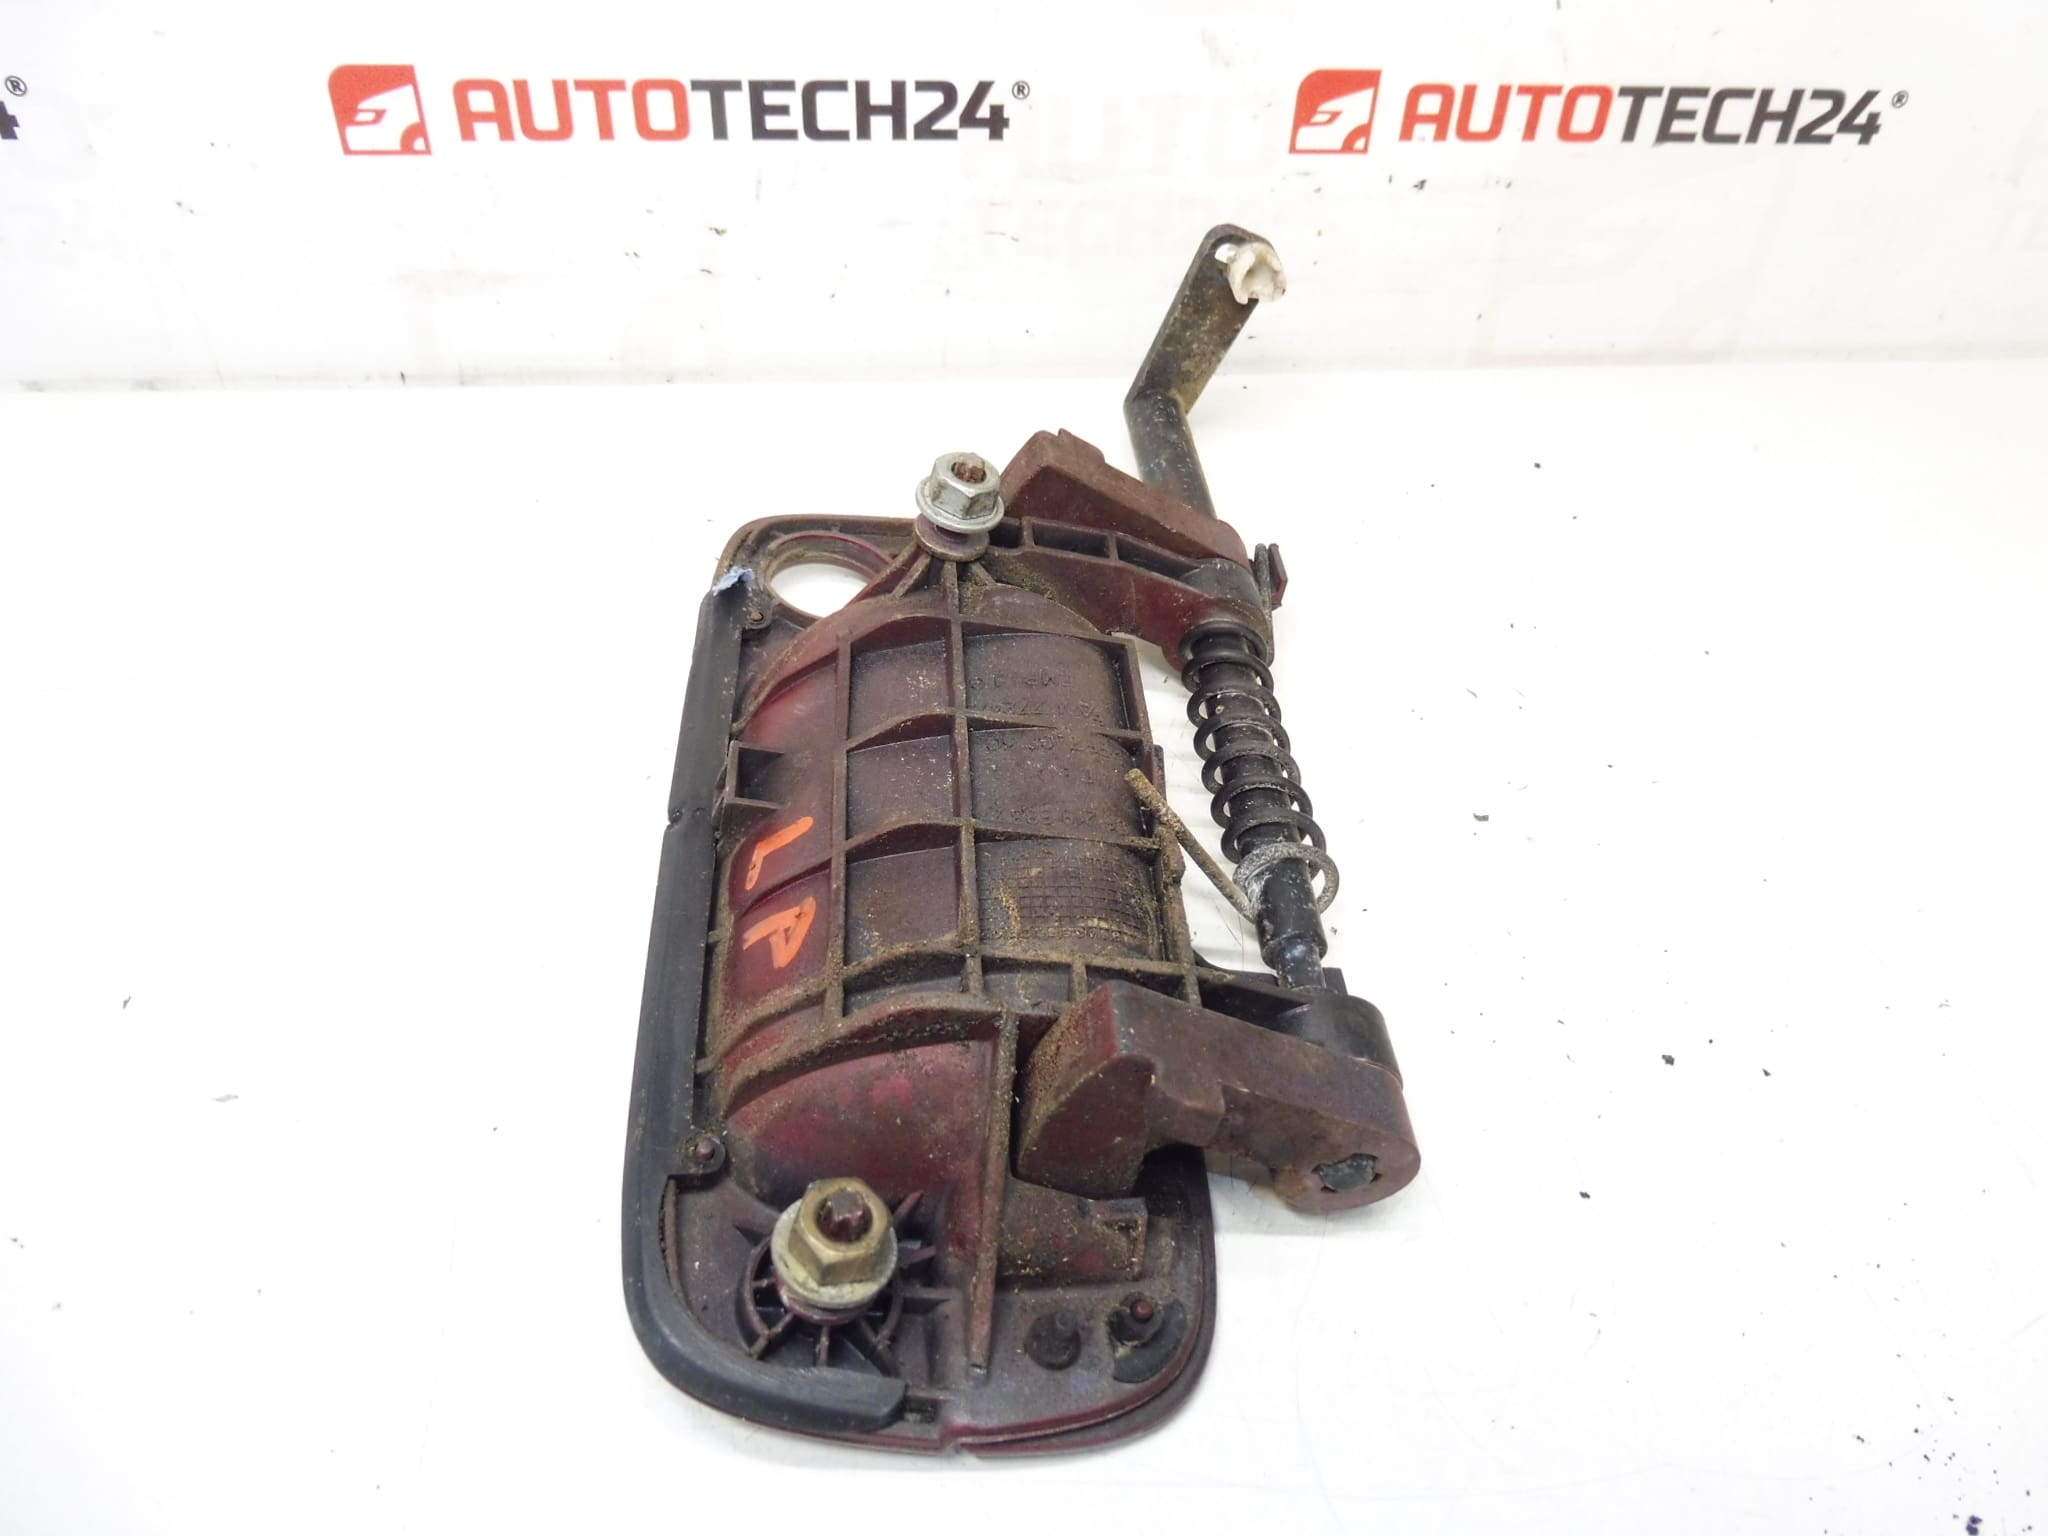
- Remove interior door card carefully to access handle mounting and linkage. Keep fasteners and clips organised for reassembly.
- Disconnect any rods or clips that link the handle to the latch and unlock mechanism. Note their orientation for correct reinstallation.
- Unscrew the handle retaining bolts, remove the old handle and fit the replacement in reverse order. Ensure gaskets/seals are correctly seated to prevent water ingress.
- Check operation of the lock, latch and central locking (if fitted) before refitting the door card. Lubricate moving parts with appropriate grease for smooth operation.
- After installation, test the handle from both outside and inside to confirm secure fit and correct function.
Why This Part Most Commonly Fails
- Mechanical wear: Repeated use causes internal plastic or metal components to weaken and eventually break.
- Broken Mounting Tabs: Impact from dents or door slam can snap mounting tabs or deform the handle assembly.
- Corrosion and Water Ingress: Rust in the latch area or water infiltration can seize mechanisms and cause associated stress failures.
- Paint Damage: External handles are exposed to weather and may chip or fade; while cosmetic, damaged paint can accelerate material degradation.
- Rod/Clip Fatigue: Linkage clips or rods that connect the handle to the latch can detach or snap, making the handle inoperative.
Tip: When replacing the exterior handle, inspect the latch, lock cylinder and linkage for wear. Replacing worn complementary parts at the same time reduces the chance of repeated labor.
Search by product code 9101H2 to quickly locate this exact part for Peugeot 406 applications. Suitable for professional repairs and competent DIY installations.