Description
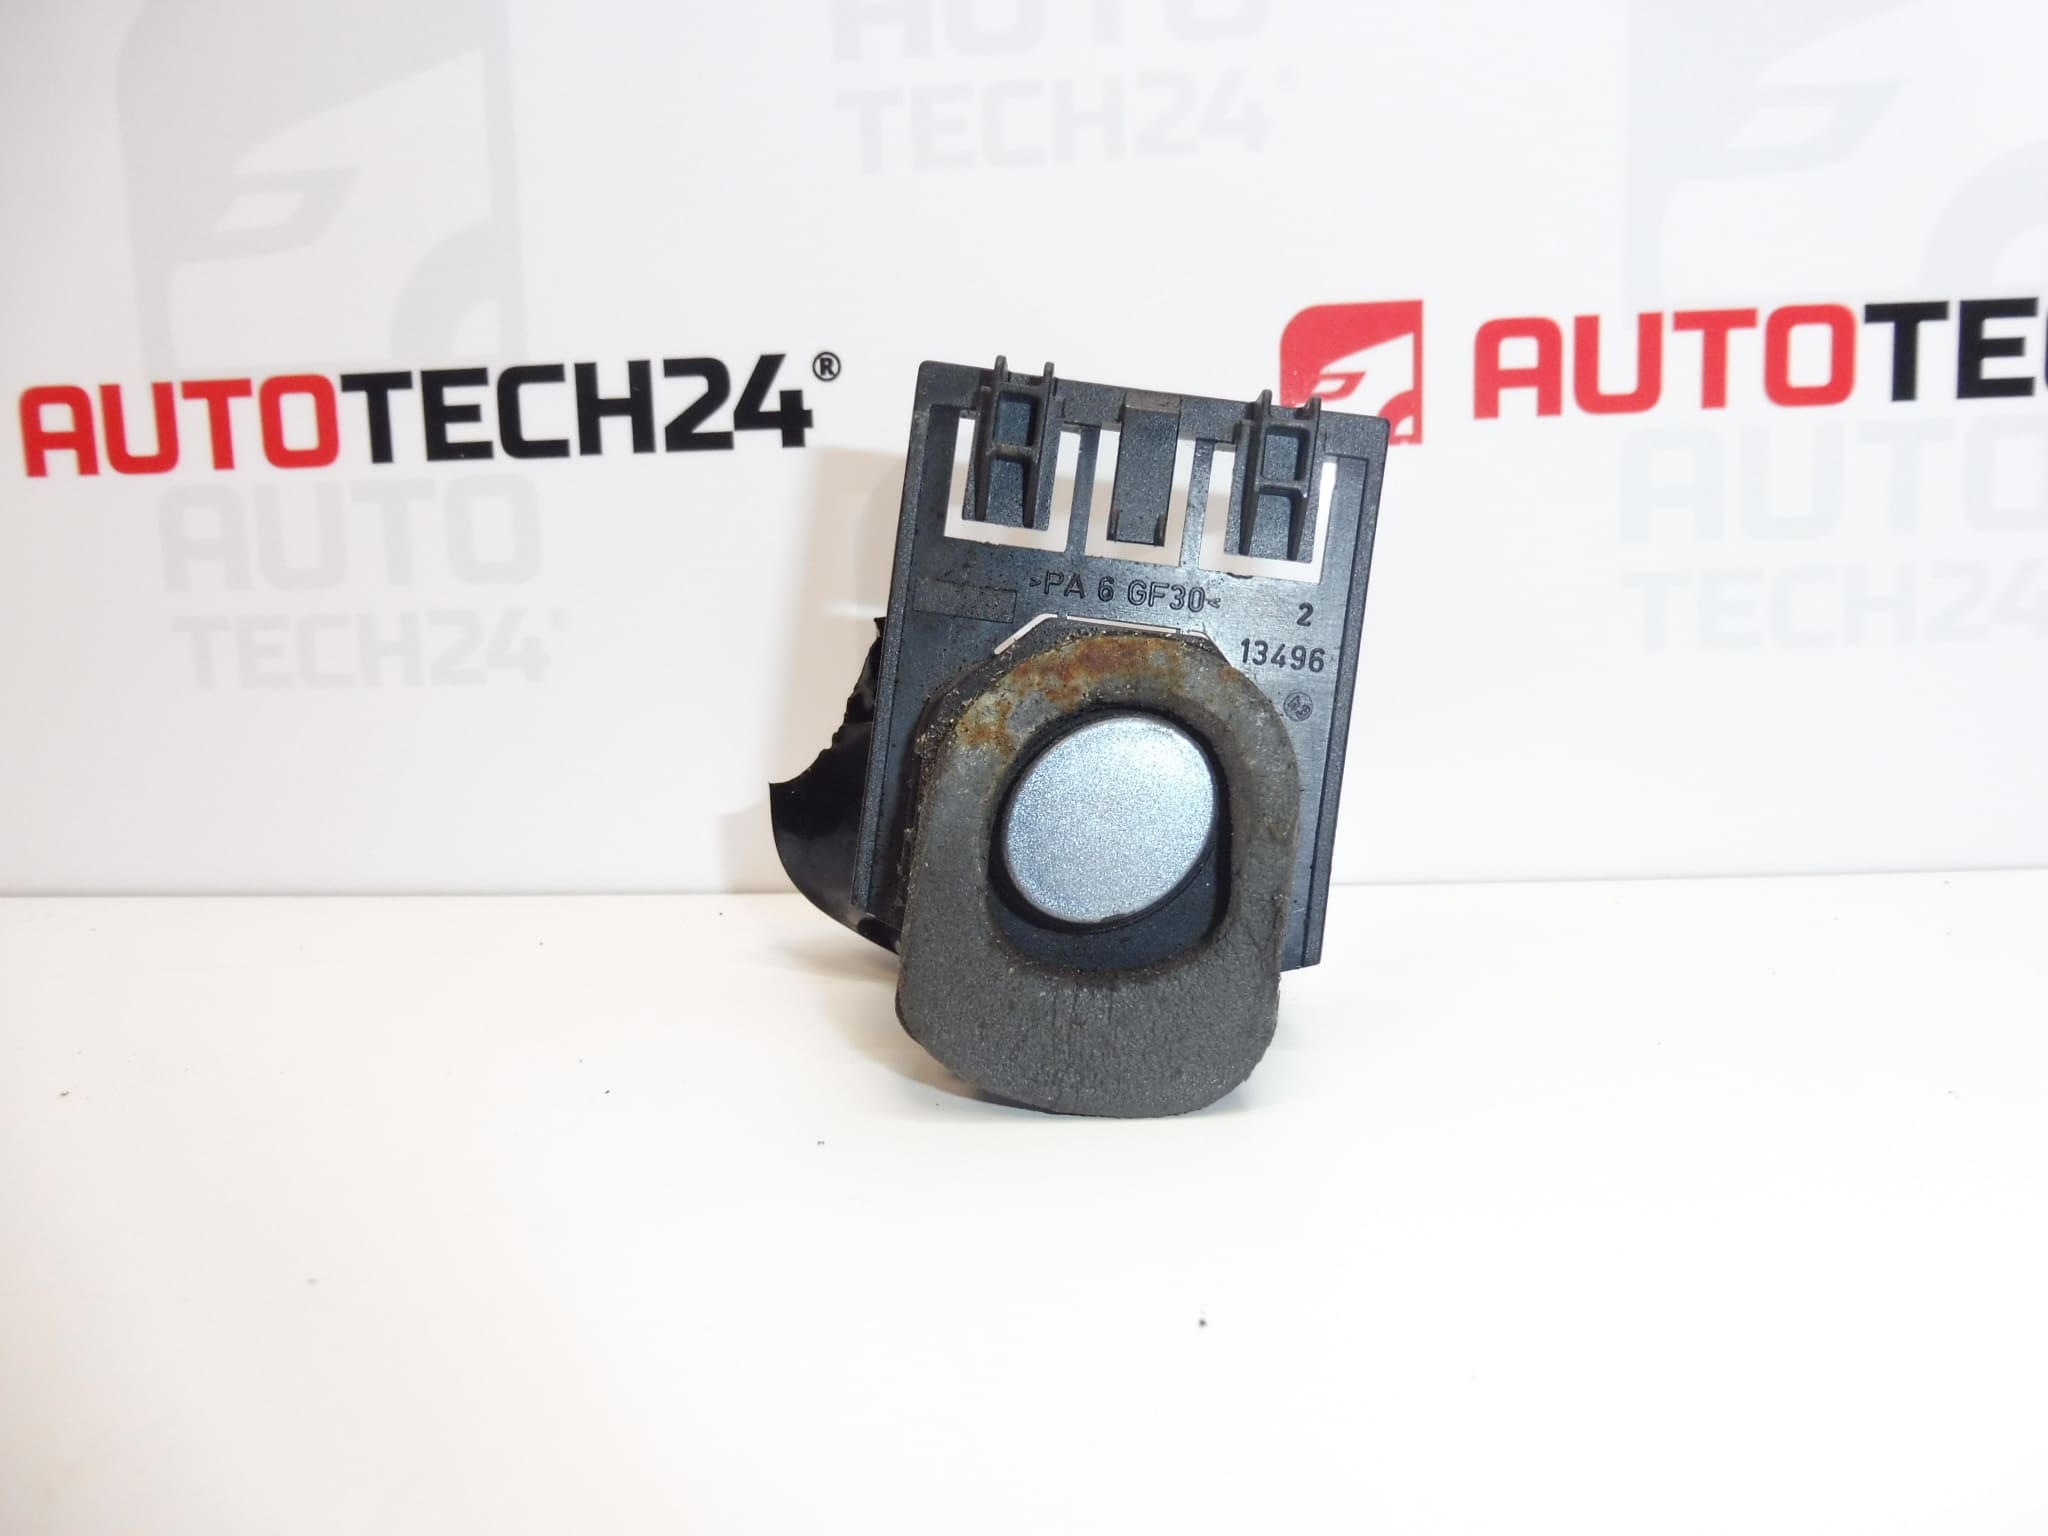
Boot lid release button for PEUGEOT 307 CC vehicles
Colour EZW – FER GREY PAINT
Other colours in stock
Part description
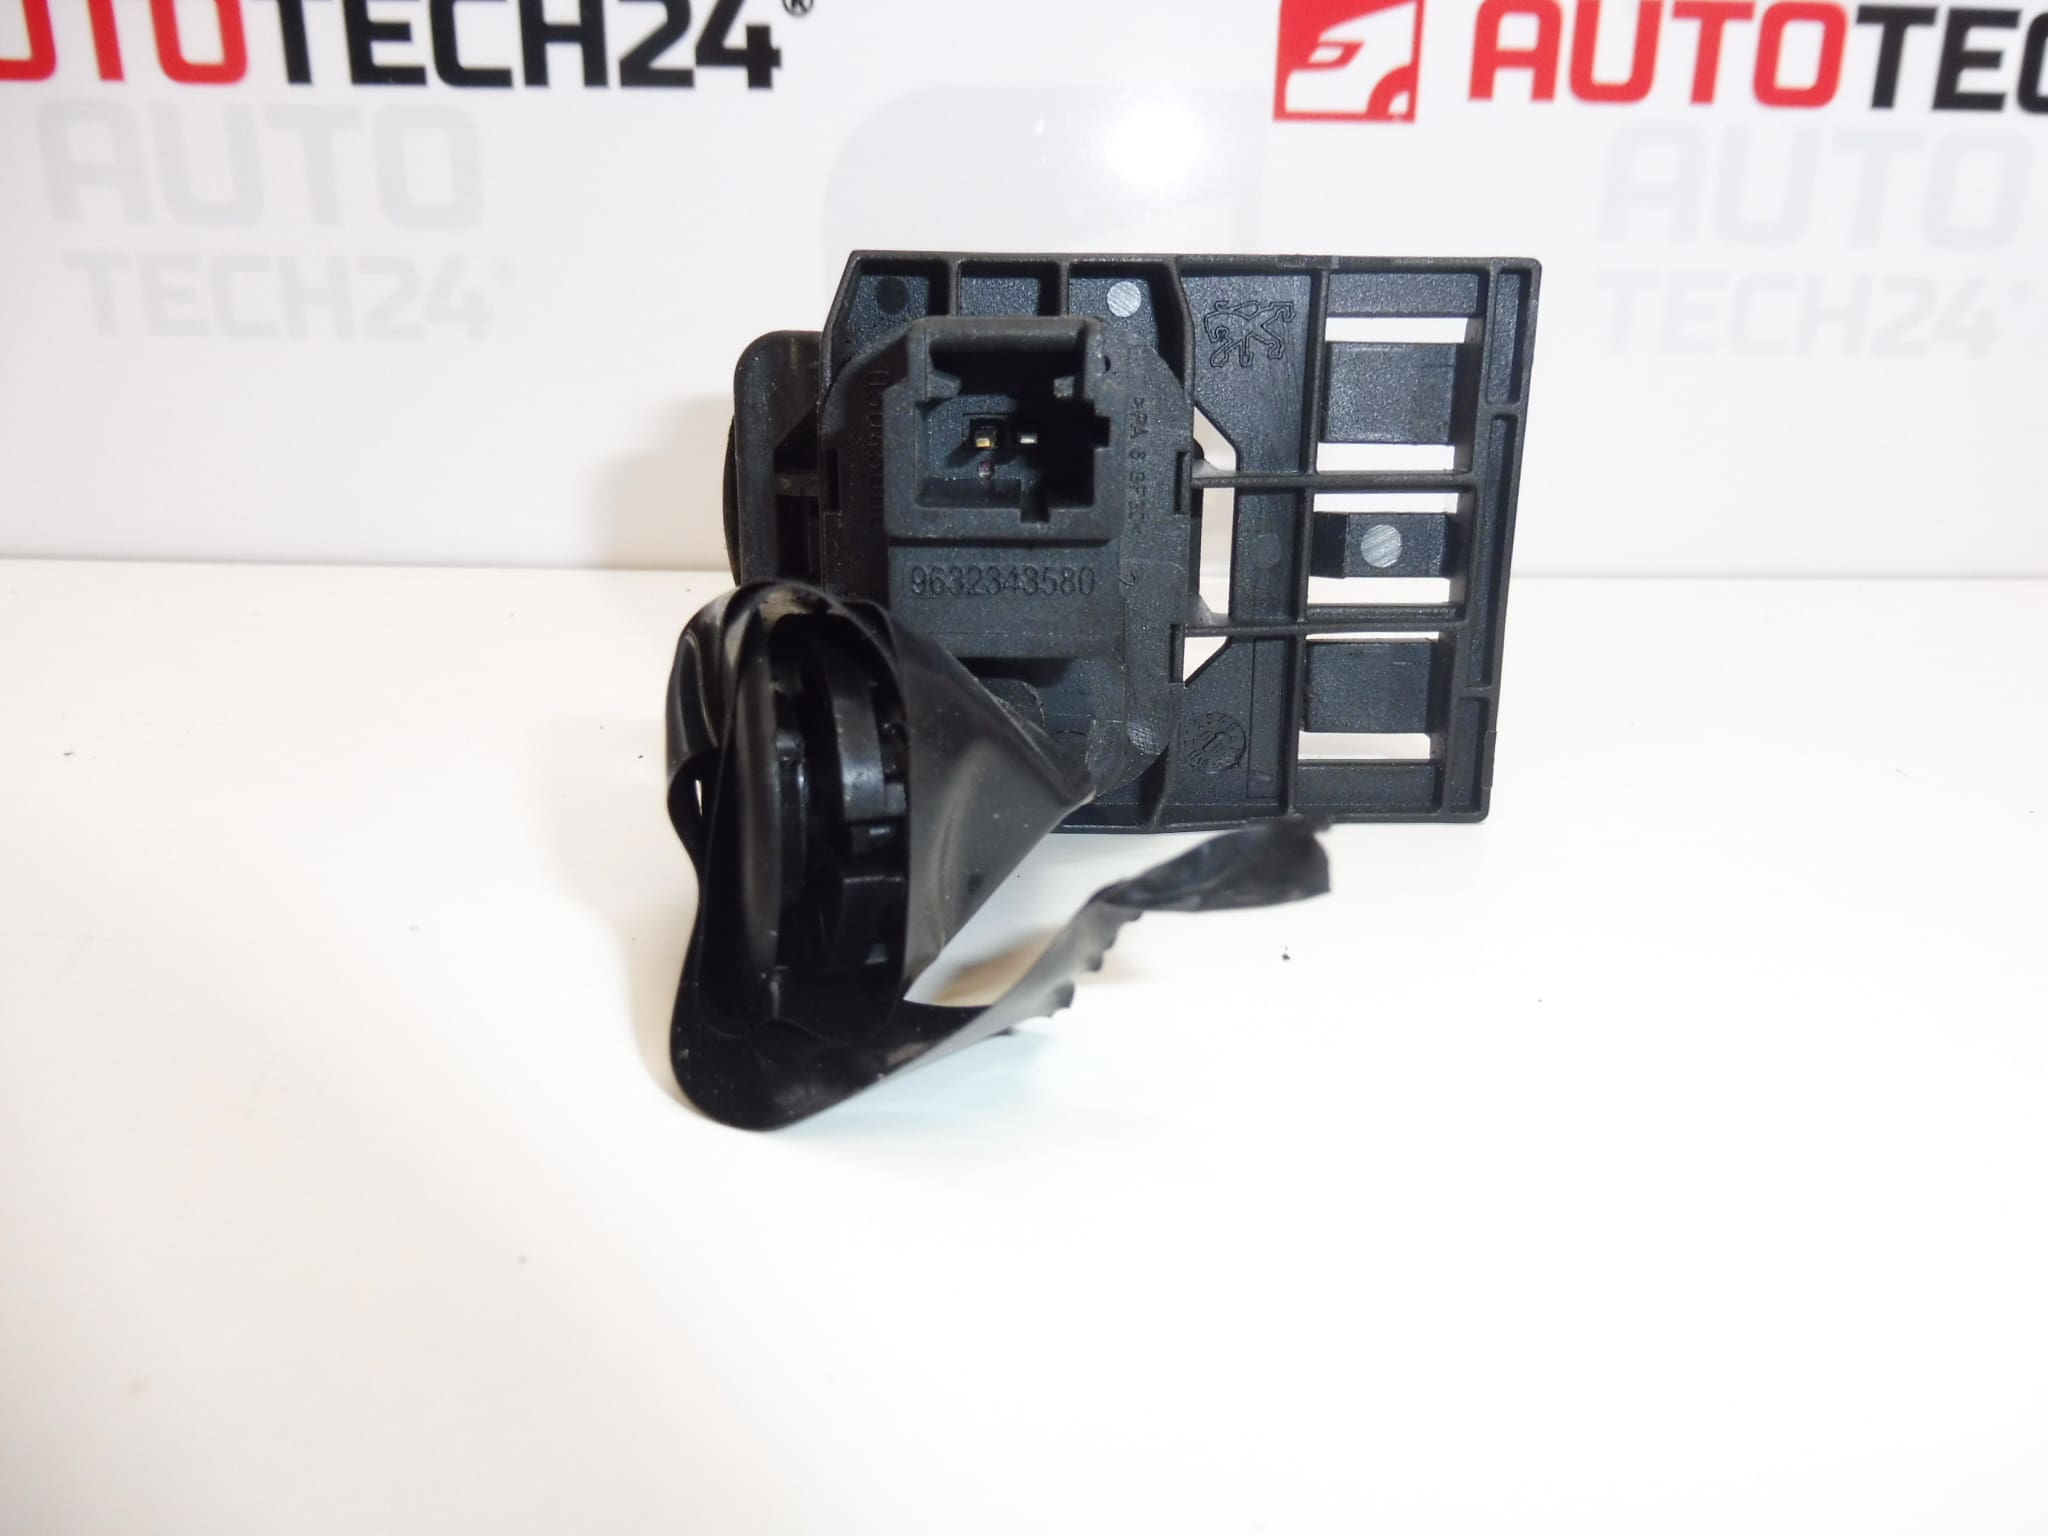
This used Peugeot 307 CC boot lid release button is a suitable choice for replacing a damaged or non-functional luggage compartment control. When looking for a replacement part, focus primarily on the references 9632343580 and 872559 and the design of the original button.
The part is identified in the documentation as EZWD, with the colour EZW – FER grey paint. When replacing it, it is important to compare not only its appearance but also its mounting and any electrical connection. This is a used car part; therefore, check its mechanical condition and operation before installation.
Technical information
- Manufacturer: not specified; listed in the documentation as Stellantis CITROEN PEUGEOT.
- Model: Peugeot 307; version according to the extended description: PEUGEOT 307 CC.
- Part type: boot lid release button.
- Colour: EZW – FER GREY PAINT.
- Condition: used part.
- Other numbers: not specified; additional references in the documentation: EZWD, NFP.
Product codes
- Product codes: 9632343580, 872559.
- Model according to labels: Peugeot 307.
- Additional references: EZWD, EZW, NFP.
Compare the numbers with the markings on the original part. A matching colour or model range name alone is no substitute for comparing the structural design and connections.
Installation recommendations
The following procedure generally applies to this type of part. The exact method of access, releasing the fixings and disconnecting any wiring depends on the specific vehicle version. Follow the manufacturer’s service procedure and do not force concealed clips.
1) Before installation
- Compare the product numbers, button shape, dimensions, mounting points and any connector with the old part.
- Check for cracks, broken tabs and the condition of the mating surfaces and any seal.
- Check that the button moves freely and returns without sticking.
- If the boot does not respond when the button is pressed, also check the wiring and lock before replacing it. The button itself may not be the cause.
2) Required tools and materials
- Standard hand tools appropriate for the actual type of fixing.
- Plastic tools for gently releasing the trim if it needs to be removed.
- A soft cloth and a cleaning product suitable for the surface concerned.
- If necessary, a multimeter for checking the electrical switch and wiring according to the service documentation.
3) Step-by-step installation procedure
- Park the vehicle safely, switch off the ignition and secure the boot lid against accidental closing.
- Before working on the electrical connection, follow the manufacturer’s instructions for shutting down the electrical system and disconnecting the battery if necessary.
- Check how to access the button fixings. If trim obstructs access, gently release its clips using a suitable tool.
- Make a note of or photograph the orientation of the original part, the wiring routing and the position of the fixings.
- If the button has an electrical connection, release the connector lock and disconnect it by holding its body, not by pulling on the wires.
- Release the fixings of the original button and carefully remove it. Protect the surrounding paintwork and do not lever against fragile parts.
- Clean the mating surface and check the area around the opening, any seal and the connections. Address any damaged seal or corroded contacts before completing installation.
- Compare both parts once again and insert the replacement button in the same orientation. Any seal must seat correctly and must not be pinched.
- Secure the button using the original fixing method. Do not overtighten the fixings, as this could deform or crack the plastic parts.
- Reconnect any connector, engage its locking tab and route the wiring so that it is neither taut nor trapped.
- Restore power according to the manufacturer’s procedure and safely check the button’s response before refitting the trim permanently.
- Refit the trim, check that all clips are properly seated, then verify that the lid opens and closes normally.
4) Post-installation checks and functional testing
- Operate the button repeatedly and check that it does not jam.
- Check that it is securely seated, that any seal is correctly positioned and that the wiring is routed without strain.
- With the lid closed, check that the lock holds securely and releases the lid correctly when activated.
- Testing with the vehicle stationary is usually sufficient to verify the button itself. Always check that the boot is securely closed before driving.
5) Common installation mistakes and how to avoid them
- Confusing similar versions: compare the part numbers, mounting and connections beforehand.
- Breaking clips: first determine how to release them and do not use excessive force.
- Pinching the seal or wiring: check their positioning before tightening and refitting covers.
- Connector not fully clicked into place: check that the locking tab is engaged and inspect the condition of the contacts.
- Replacement without identifying the cause of the fault: if the problem persists, check the associated lock and wiring.
Reasons why the part may become damaged
The following factors can generally cause boot release buttons to fail; this is not a description of faults identified in this particular item:
- Mechanical wear from frequent use, which can cause sticking or an unreliable response.
- Moisture and dirt, particularly when the seal is damaged, can restrict the movement of the mechanism or damage the electrical contacts.
- Ageing of plastics due to temperature changes and outdoor conditions can lead to cracks and weakened mounts.
- Excessive force or impact can damage both the button and its mounting.
- Careless previous removal can result in broken tabs, connector damage or incorrect seal positioning.