Description
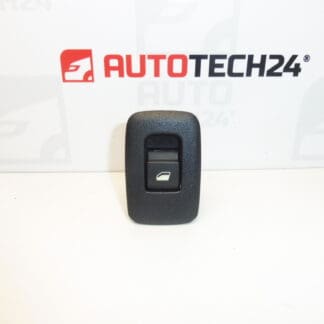
Window switch for Stellantis vehicles
Part description
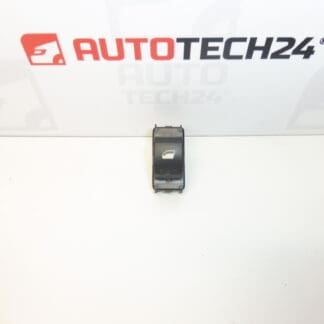
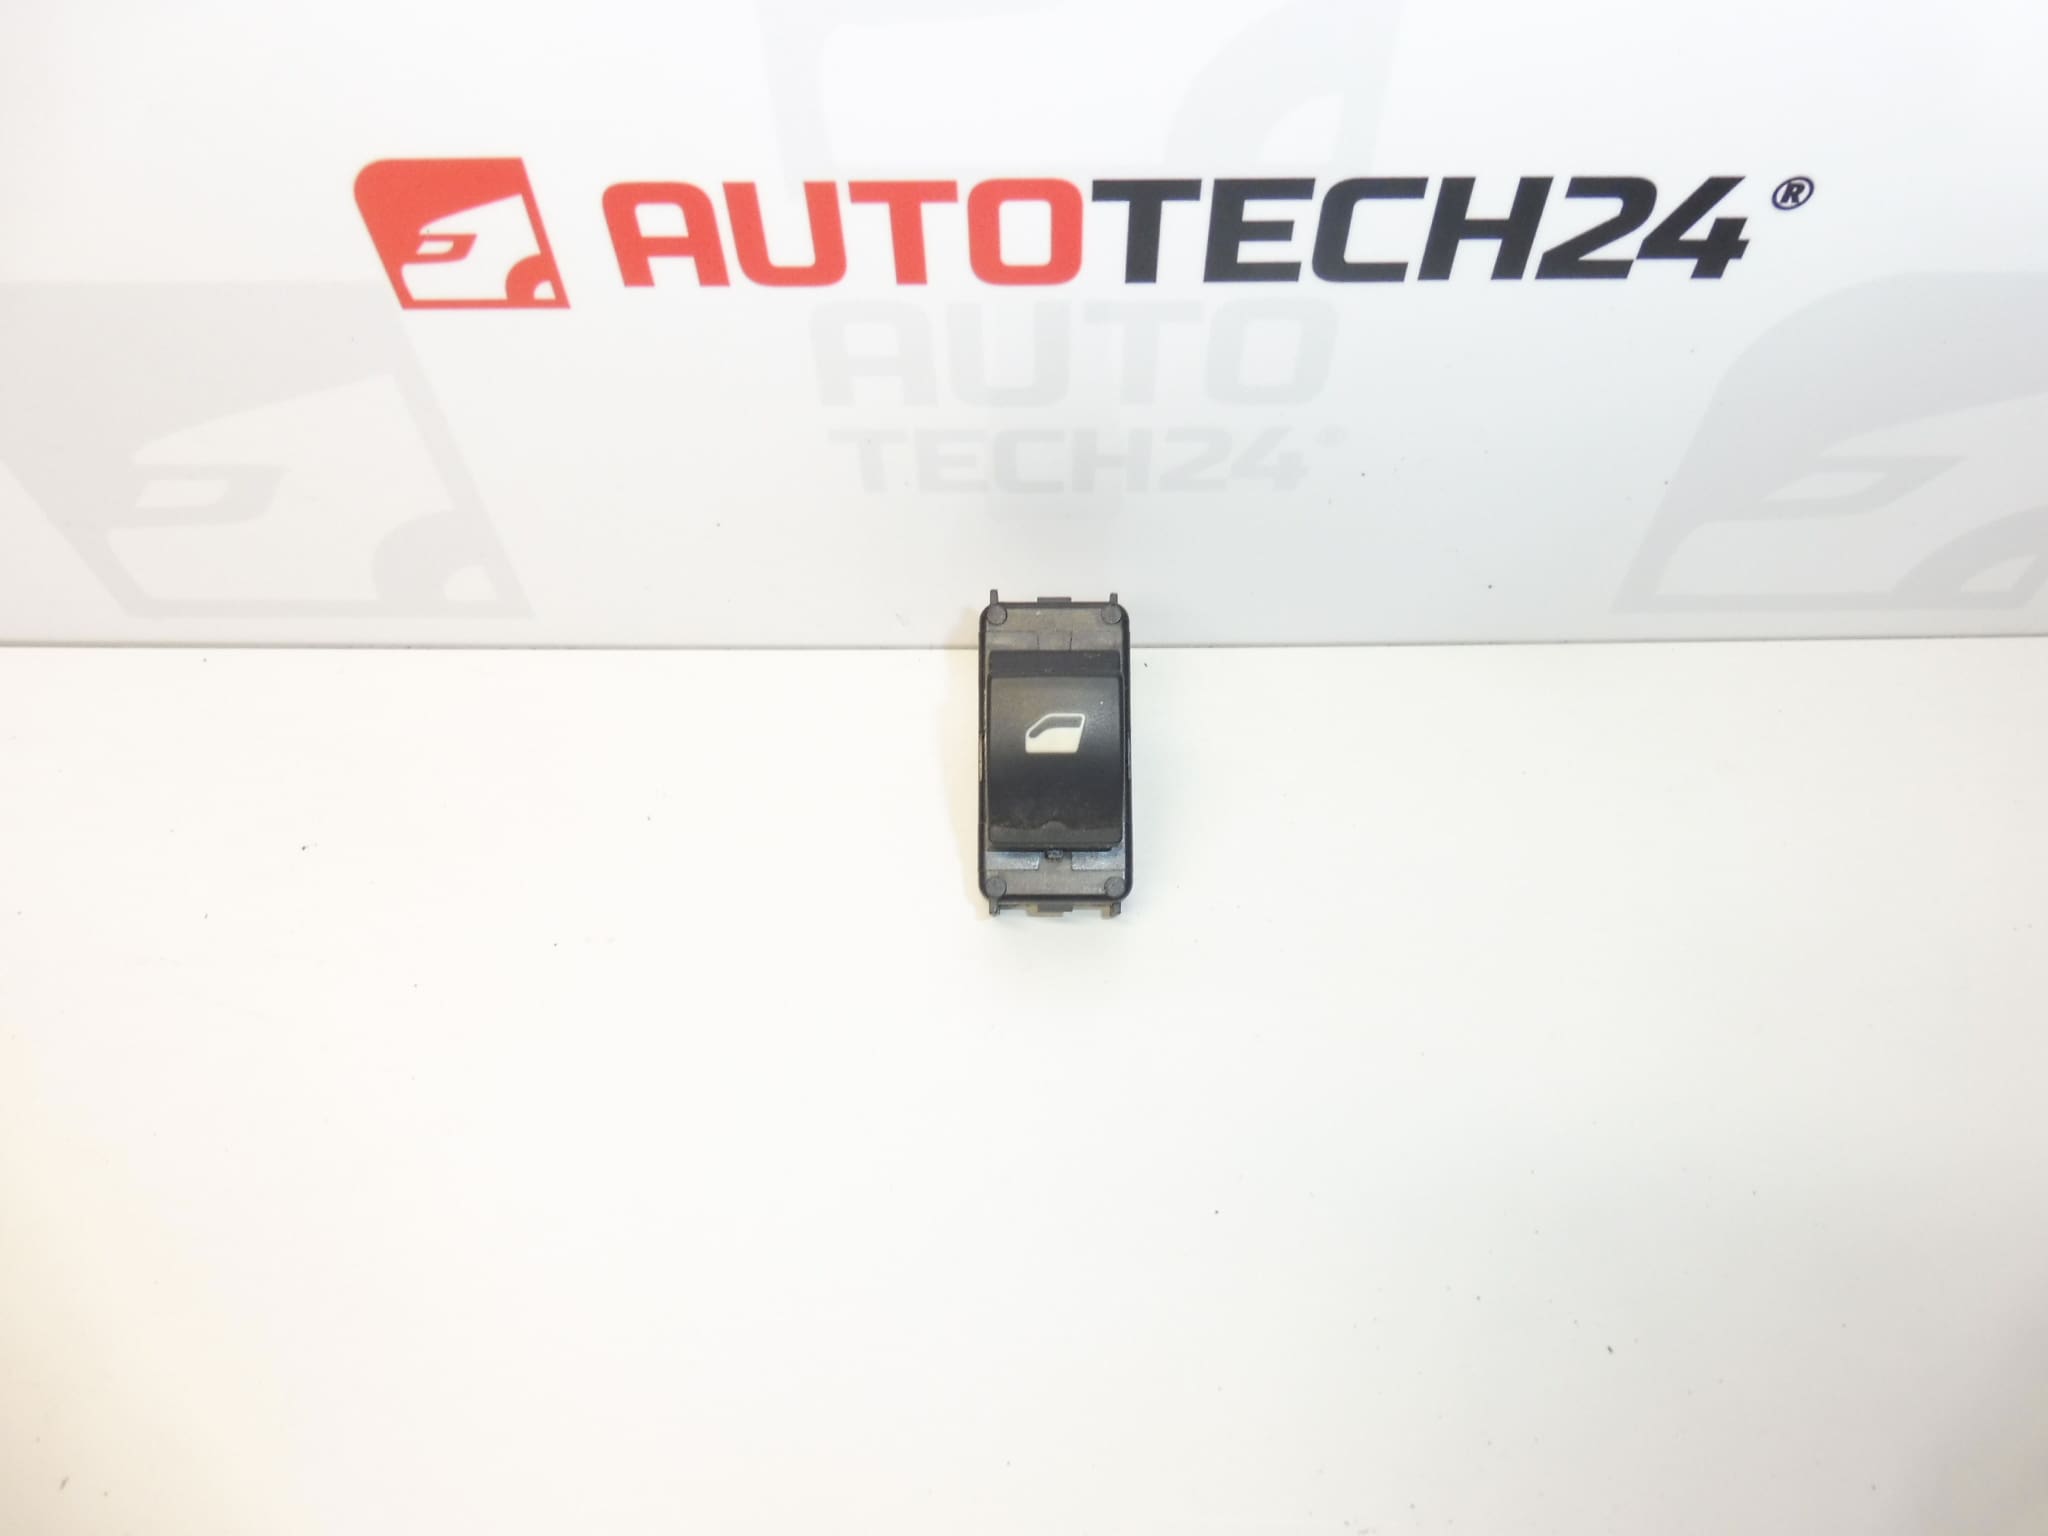
The used window switch with product number 98044803ZD is designed to operate the electric windows. If the switch is non-functional, intermittent or mechanically damaged, replacing it may be a practical solution if diagnostics confirm that this particular part is faulty.
The available information lists the part for the Citroën Berlingo K9, PEUGEOT RIFTER, FIAT DOBLO III, OPEL COMBO E K9 and Toyota ProAce City. When selecting a replacement, compare the 98044803ZD marking, connector, mounting and button configuration with the original switch. The model name alone may not distinguish between different trim variants.
Technical information
- Manufacturer: not specified
- Model: Citroën Berlingo K9 | FIAT DOBLO III | OPEL COMBO E K9 | PEUGEOT RIFTER | Toyota ProAce City
- Other numbers: not specified
- Product number: 98044803ZD
- Part type: electric window switch
- Condition: used part
- Group listed in the available information: Stellantis
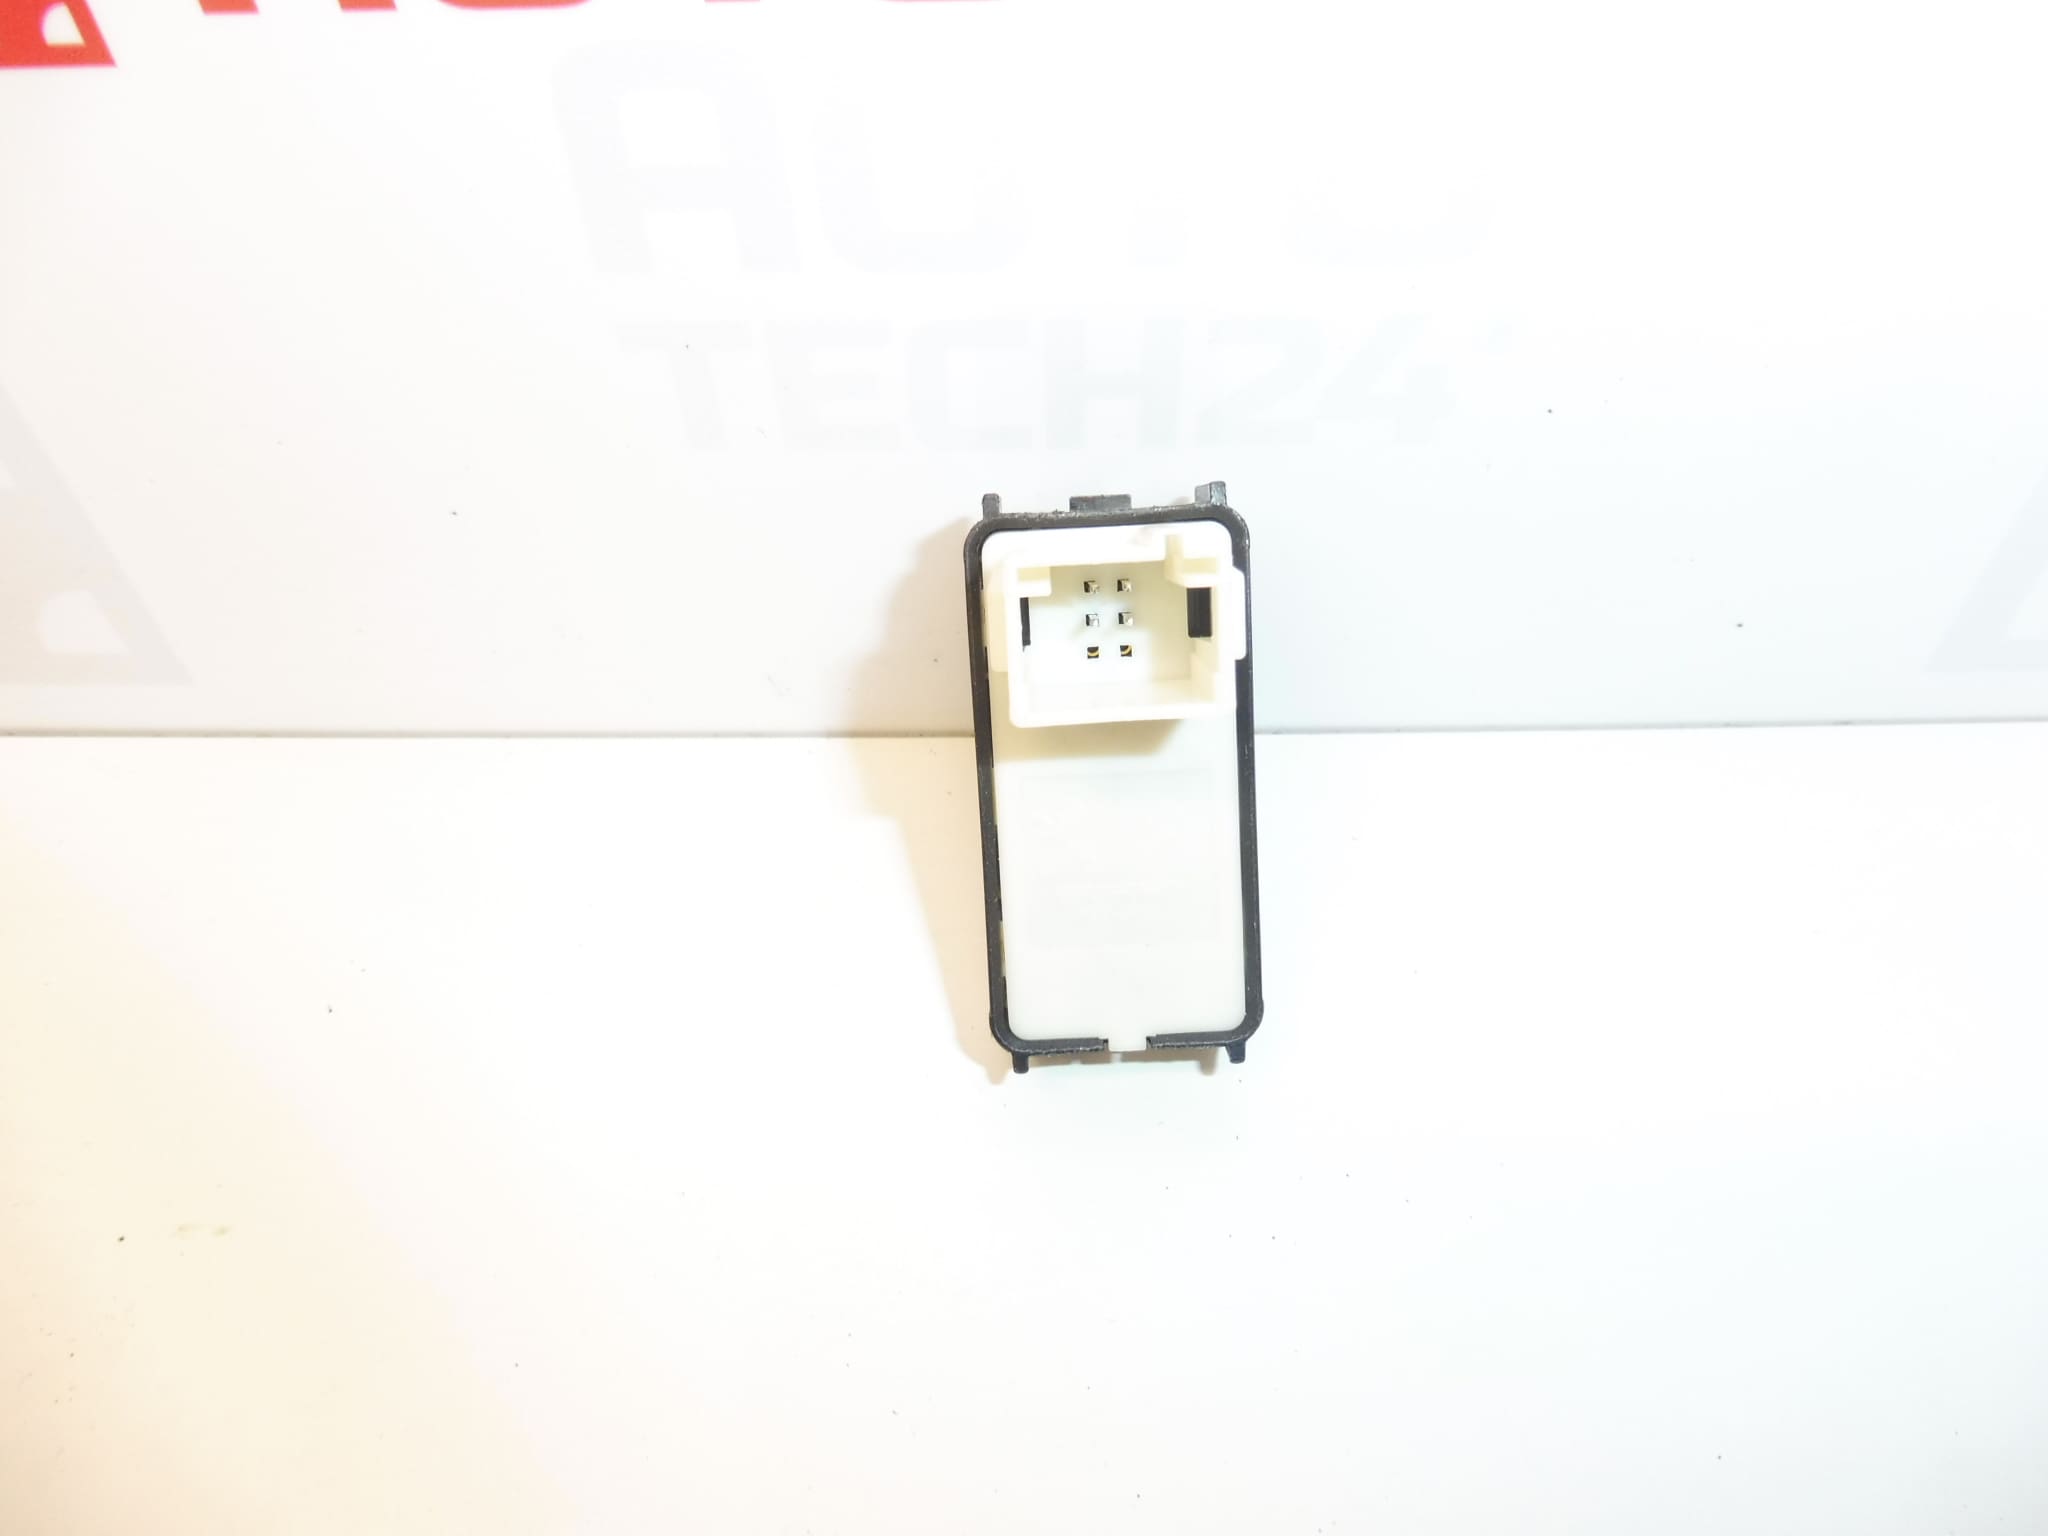
- Number of buttons and connector configuration: not specified
- Mounting side: not specified
Product codes
- Product codes: 98044803ZD
When searching for a replacement Citroën or Peugeot window switch, use the complete designation, including the ZD suffix. In addition to matching the number, compare the design and electrical configuration with the original part.
Installation recommendations
General guidance for this type of part: the following procedure describes replacing an electric window switch. The exact method for accessing and releasing it, and any initialization that may be required, depends on the specific model and vehicle configuration; these details are not provided in the available information.
1) Before installation
- Compare the product number, body shape, number and functions of the buttons, mounting points and connector with the old part.
- Inspect the used part: the housing must not have any damage that prevents it from being secured, the contacts must not be bent or significantly corroded, and the buttons must not stick.
- Check whether the problem is caused by the wiring, power supply, window motor or window mechanism. Replacing the switch will not resolve these faults.
2) Tools and materials required
Plastic trim removal tools, standard hand tools suitable for the fasteners used, a flashlight and a soft pad are typically useful. A multimeter can be used for electrical checks; perform measurements according to the vehicle wiring diagram. Any cleaning product used must be intended for electrical contacts and suitable for the surrounding plastics.
3) Step-by-step installation procedure
- Park the vehicle in a safe place and secure it against movement. If the window is still working, move it to a safe position before disconnecting the power supply.
- Switch off the ignition and follow the manufacturer’s instructions for allowing the electrical systems to go to sleep and, if applicable, disconnecting the battery.
- Access the switch according to the service procedure. Protect the surrounding surfaces from scratches.
- Release the relevant fasteners. Disengage the plastic clips gradually, without levering them forcefully.
- Carefully slide the switch out only far enough to avoid straining the connected wiring.
- Release the connector lock and disconnect it by pulling on the connector body, not the wires.
- Inspect the connector and accessible wiring. If you find oxidation, overheating or damaged insulation, address the cause of the fault first.
- Compare the two switches once again. The connector must match without modifications and without using force.
- Connect the replacement switch, secure the connector and fit the part in place, ensuring that the wiring is not pinched. Refit the fasteners and any trim that was removed.
- Restore the power supply according to the manufacturer’s procedure and check that the switch works. If the vehicle requires window initialization, perform it according to the relevant service documentation.
4) Post-installation checks and function test
With the vehicle stationary, test all functions supported by the switch and the vehicle’s equipment. Check the response to button presses, window lowering and raising, and ensure that the switch is correctly seated. Keep the area around the moving glass clear during testing. If the window does not respond or operates intermittently, do not continue operating it repeatedly without identifying the cause. A test drive is not necessary for a basic switch function check.
5) Common installation mistakes and how to avoid them
- Choosing based on appearance alone: also compare the complete part number, connector and button functions.
- Breaking the clips: first determine how the part is secured and use suitable plastic tools.
- Connector not fully inserted: check that its locking tab is secured before completing the installation.
- Pinched wiring: check the routing of the wires while seating the part.
- Overlooking another fault: check the electrical circuit and window mechanism before replacement.
Reasons why the part may be damaged
The following causes of damage may generally affect electric window switches. They are not a description of the condition of this specific part.
- Wear to contacts and buttons from prolonged and frequent use.
- Moisture or spilled liquids getting inside, which can cause oxidation and contact faults.
- Dust and dirt that restrict button movement.
- Excessive pressure or impact that damages the buttons, housing or mounting points.
- Poor contact in the connector, which can lead to intermittent operation or localized overheating.
- Improper removal that damages the clips, connector or supply wires.