Description
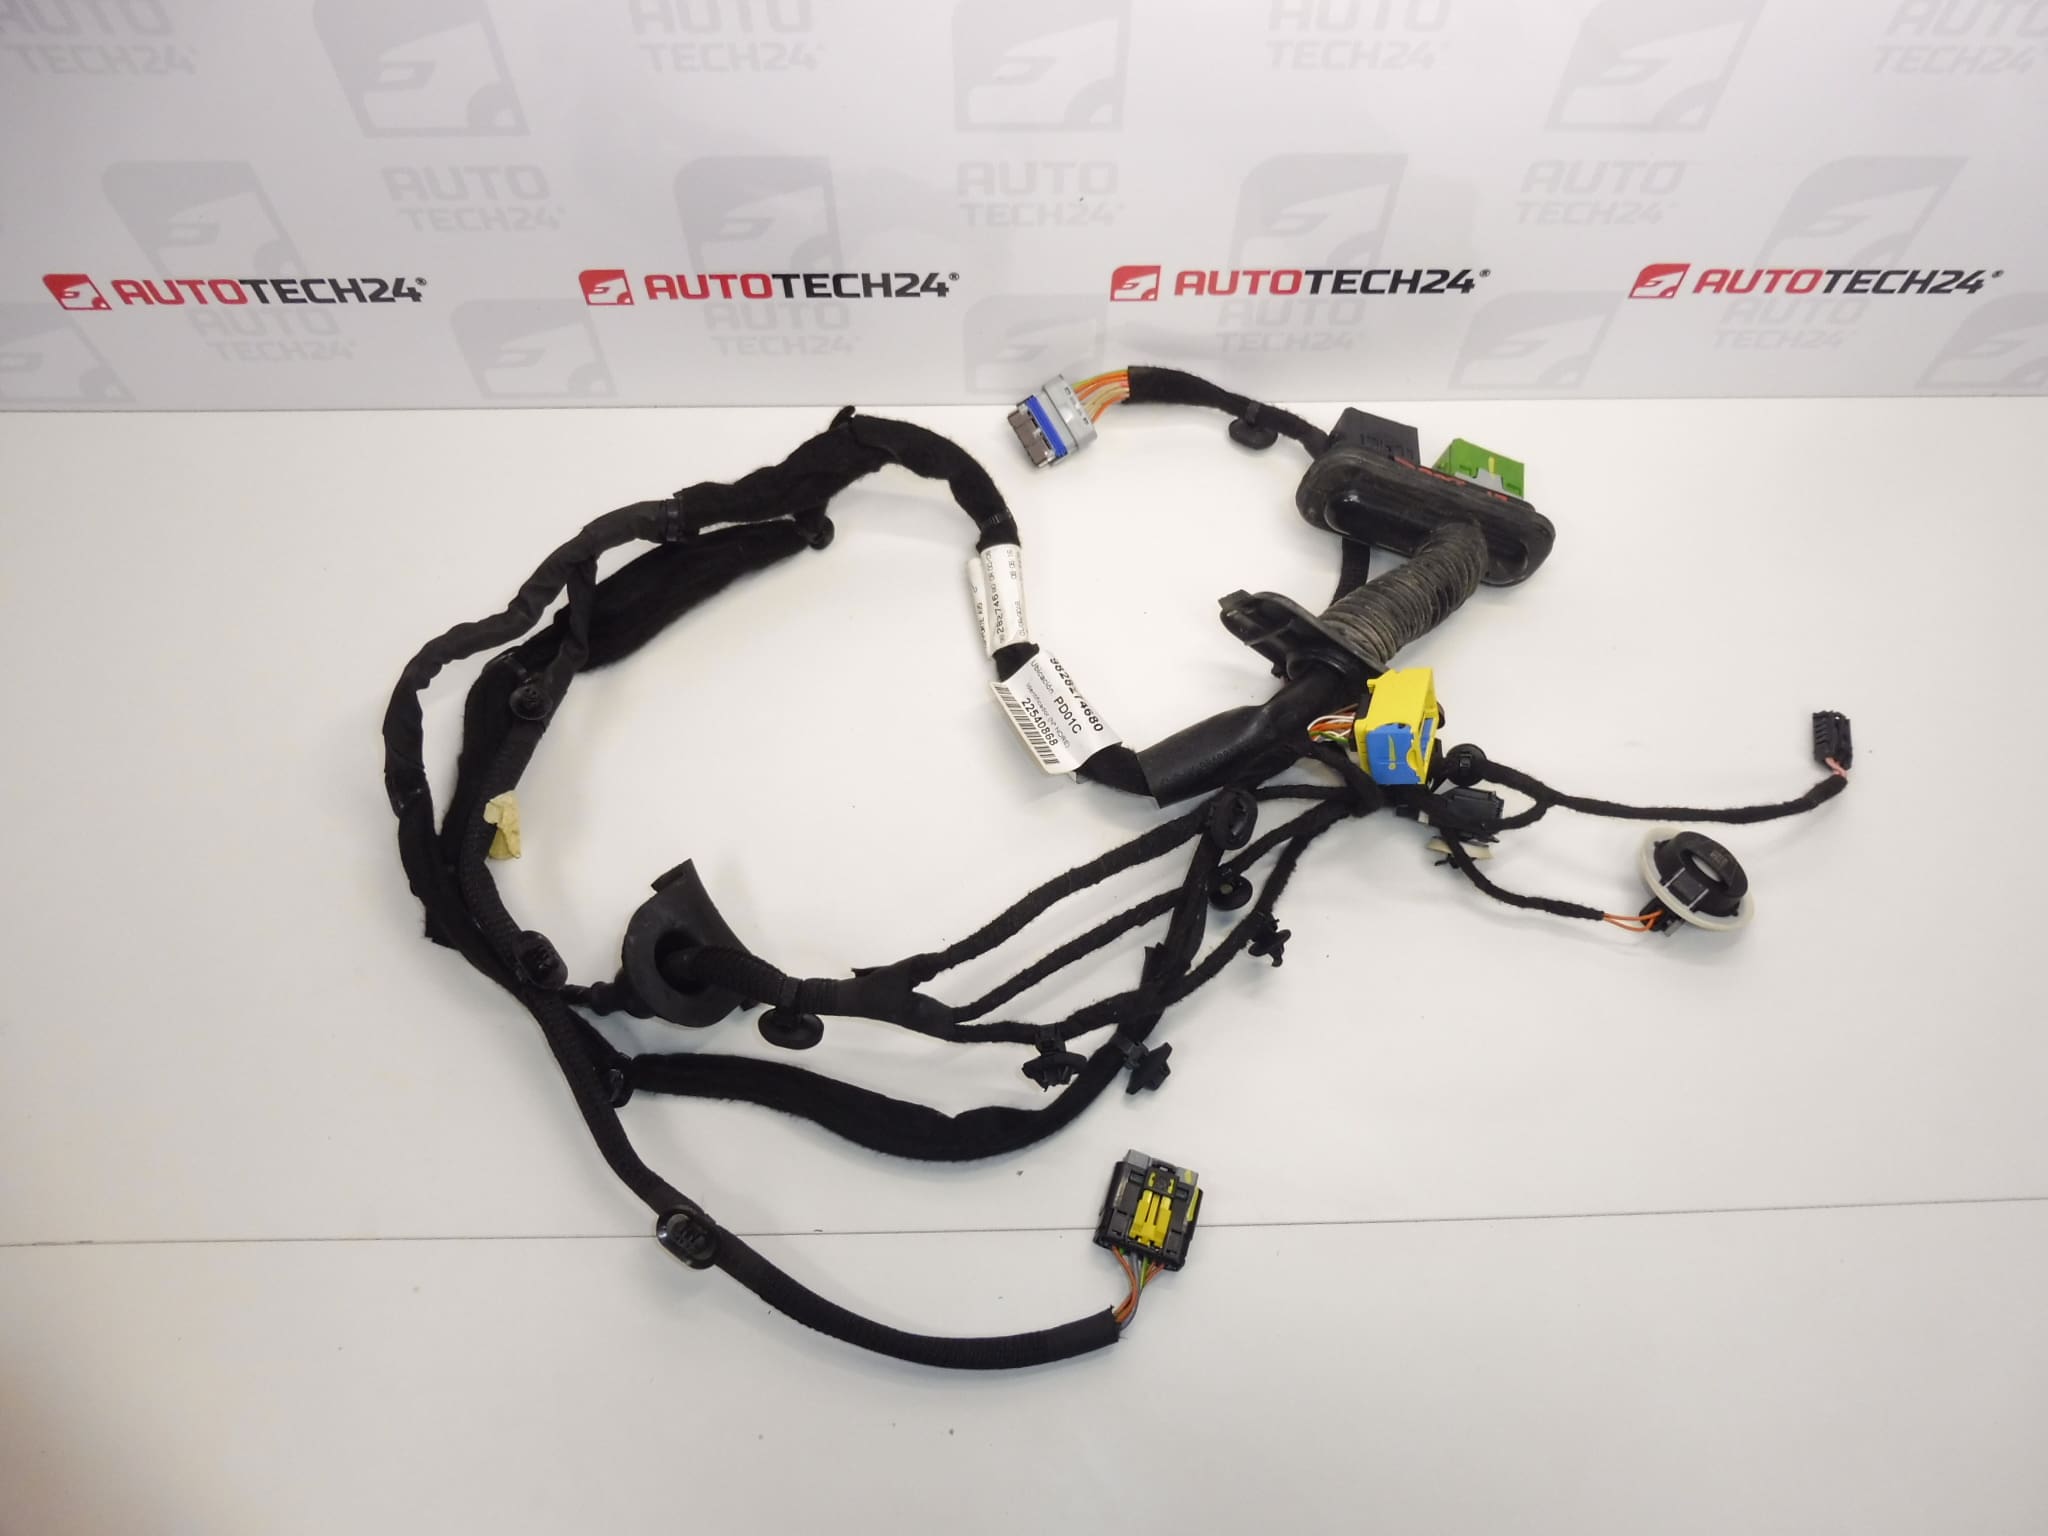
Driver’s door wiring harness for Citroën Berlingo K9 and Peugeot RIFTER, plus other Stellantis models
Part description
The used driver’s door wiring harness connects the door components electrically to the vehicle’s electrical system. It is a suitable choice when repairing damaged wiring, broken wires or faulty connectors. Replacing the matching harness makes it possible to resolve the fault without improvising connections between individual wires.
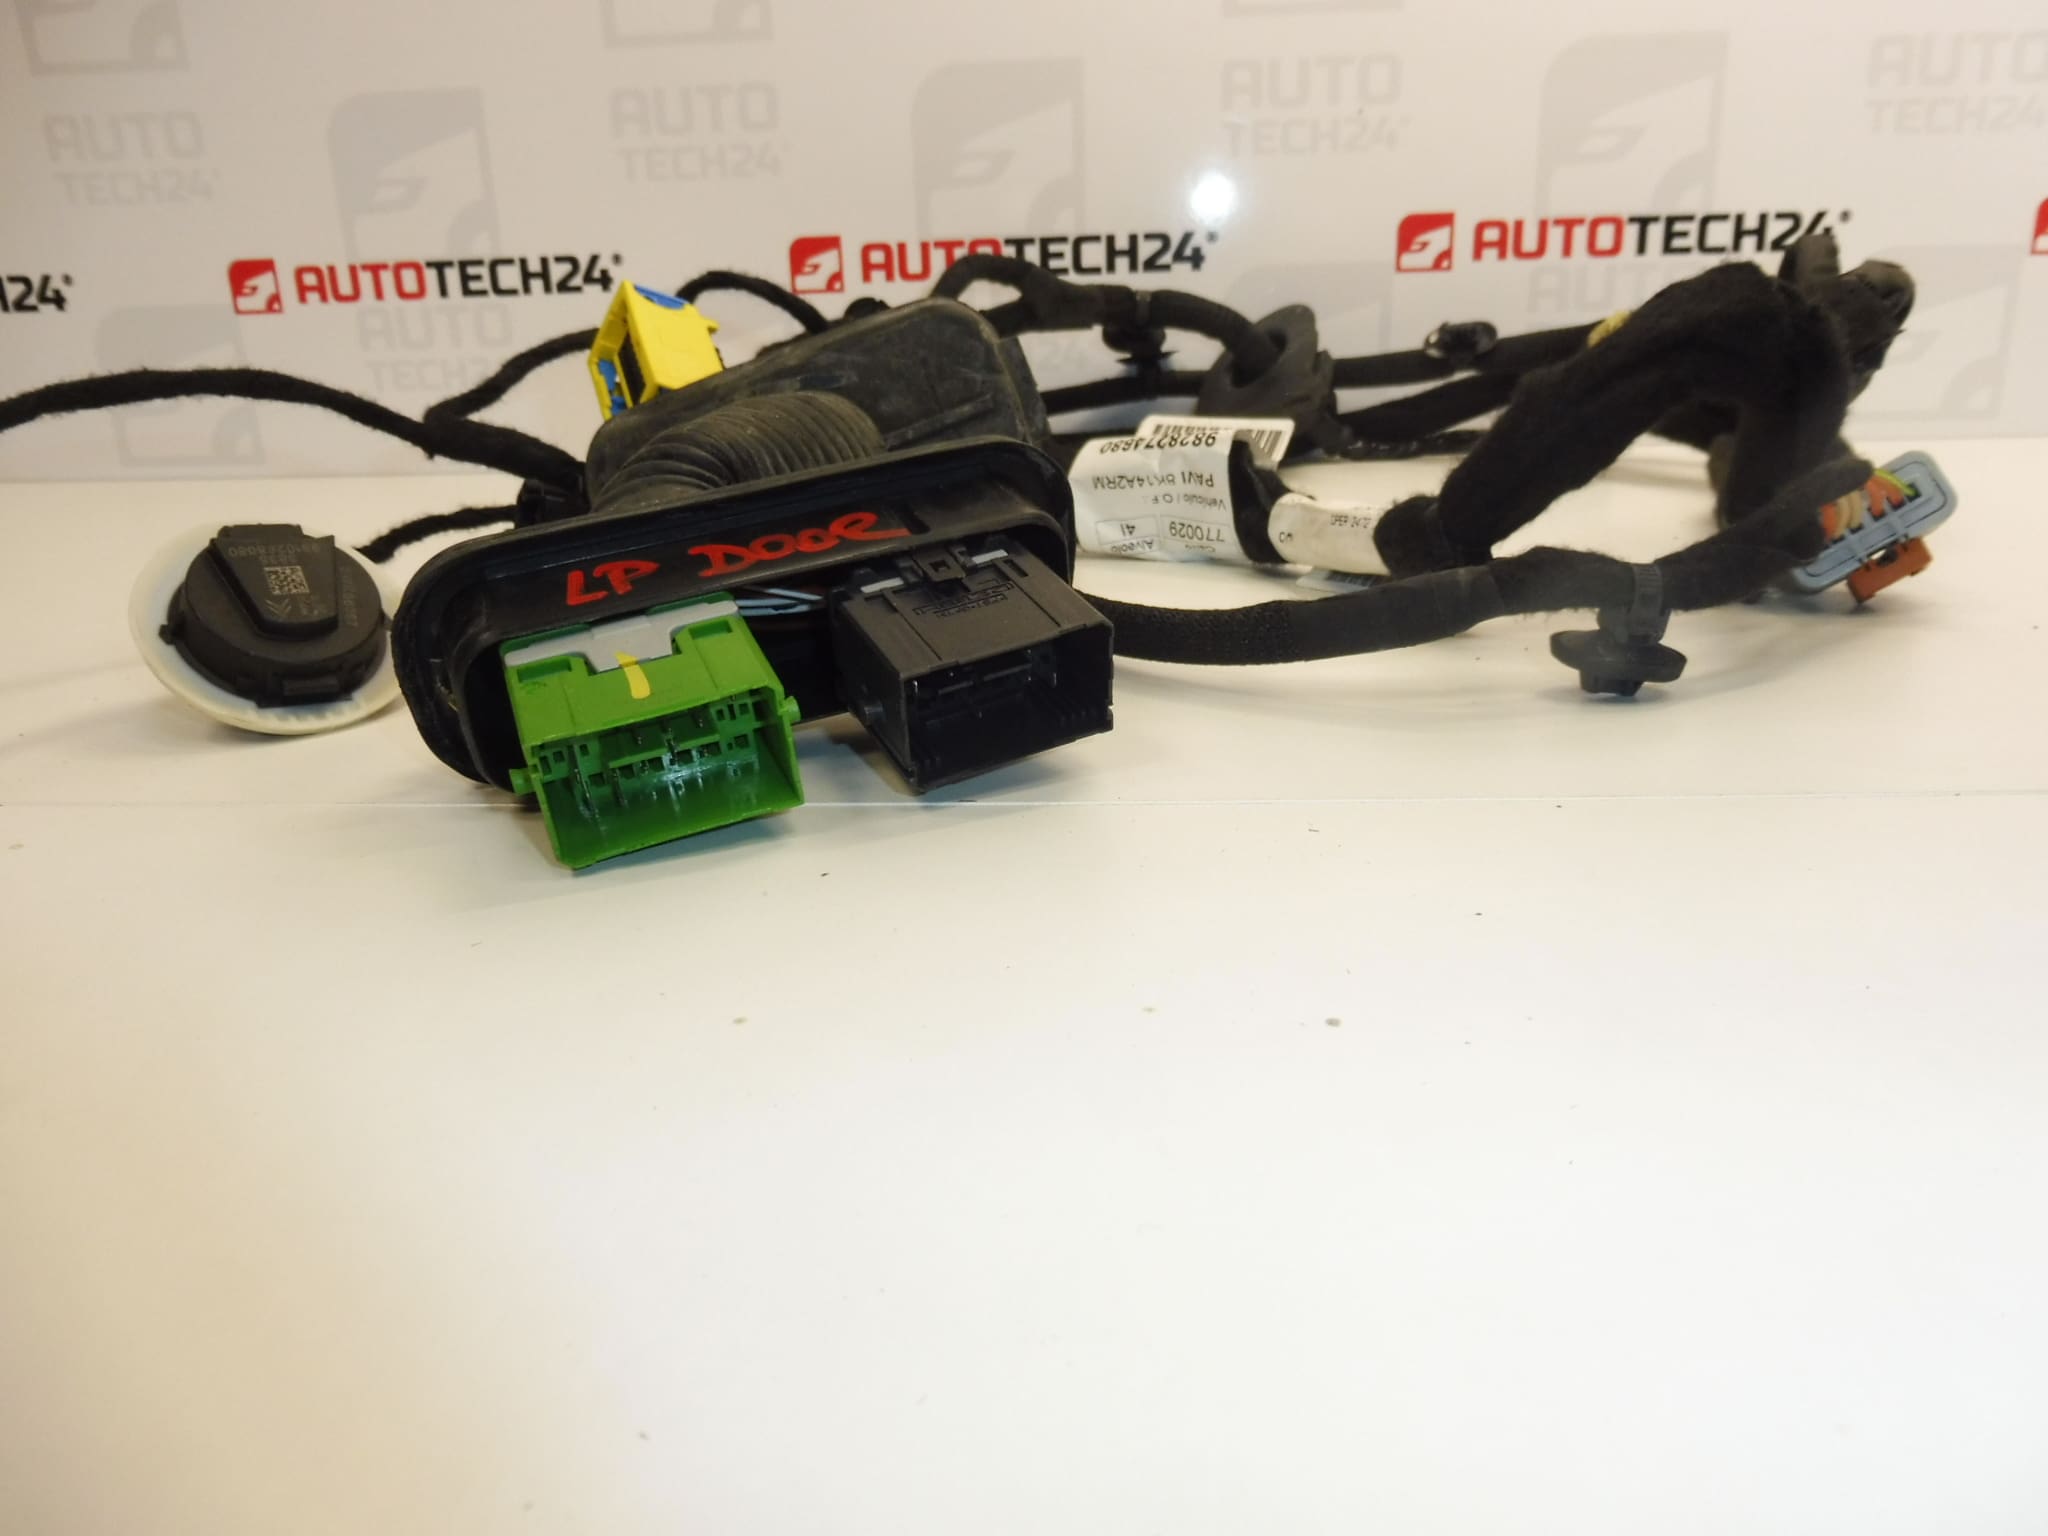
The part is listed in the supplied documentation under numbers 9828274680 and 9828274780. When selecting a replacement, compare the markings on the original harness, the connector design, the contact configuration and the individual branches. Door wiring may differ depending on the electrical equipment, so the model name alone is not enough to identify the correct version.
Technical information
- Manufacturer: Stellantis – according to the supplied documentation.
- Model: Citroën Berlingo K9 | FIAT DOBLO III | PEUGEOT RIFTER | Toyota ProAce City.
- Part type: driver’s door wiring harness.
- Condition: used auto part.
- Product numbers listed in the documentation: 9828274680, 9828274780.
- Other numbers: not specified.
- Specific model years and equipment versions: not specified.
Product codes
Product codes: 9828274680, 9828274780.
Both numbers are listed for this product. The documentation does not specify whether they are interchangeable or which equipment version each one is assigned to. Before installation, therefore, also check that it matches the original part by comparing the connectors, branching and harness mounting points.
Installation recommendations
The following general procedure applies to this type of part. The exact steps for removing the trim, accessing the connectors and disconnecting the battery depend on the specific vehicle model and version. Follow the manufacturer’s service instructions.
1) Before installation
- Check that the fault is actually in the wiring and not in a connected electrical component.
- Compare the markings on both harnesses, the length and routing of the branches, the shape of the connectors, their locking mechanisms and the contact configuration.
- Inspect the used part: the insulation, protective sleeves, any grommets, mounting points and connectors. Look for abrasions, cracks, signs of heat damage, corrosion or improper repairs.
- Before disassembly, take photos of the original wiring route and connections.
2) Tools and materials required
You will typically need tools for carefully removing trim, standard hand tools suitable for the fasteners used, a flashlight and, if necessary, a multimeter. Use only a product intended for electrical contacts to clean connectors. Choose materials for securing and protecting the wiring according to the original design and service instructions.
3) Step-by-step installation procedure
- Park the vehicle safely, switch off the ignition and secure the door to prevent it from moving unexpectedly.
- Before disconnecting electrical connections, disconnect the battery as prescribed by the manufacturer, including any specified waiting period.
- Carefully remove the trim panels and covers needed to access the harness. Do not pull the clips out by force.
- Note the wiring route, the position of the mounting points and the connections for each branch.
- Release the connector locks and disconnect the connectors by holding their housings; never pull on the wires.
- Gradually remove the harness from its holders and any grommets. Take care around nearby mechanisms and sealing elements.
- Compare the removed harness with the replacement side by side. If the connectors or branching differ, do not continue installation by forcing the parts to fit.
- Route the replacement harness along the original path, secure it and correctly seat any grommets. The wiring must not be stretched, pinched or within reach of moving parts.
- Connect the connectors and check that their locks are engaged. Before replacing the covers, check that no branch has been left disconnected.
- Restore any protective and sealing layers that were loosened during the work. Reconnect the battery according to the manufacturer’s instructions, check the functions and then complete the trim installation.
4) Post-installation checks and function testing
Test all door electrical functions that are actually fitted to the vehicle and connected through the harness being replaced. Repeat the checks with the door open to different positions: the functions must not cut out, and the wiring must not become stretched or caught. Also check that the trim and grommets are correctly seated. A functional test with the vehicle stationary is essential for a basic check of the door harness.
5) Common installation mistakes and how to avoid them
- Selecting based on the model alone: also compare the part numbers, connectors, contacts and branching.
- Pulling on the wires: disconnect connectors only after releasing their locks, and hold them by their housings.
- Incorrect routing or securing too tightly: preserve the original routing and allow sufficient slack for door movement.
- Connectors not fully engaged: check every lock before replacing the covers.
- Grommets and protective layers not seated correctly: restore them to their proper positions so the wiring is not exposed to water or abrasion.
Reasons why the part gets damaged
The following are the most common general causes of damage to door wiring harnesses:
- Repeated bending as the door opens, which can gradually cause wire fatigue and breakage.
- Abrasion or pinching of the wiring due to loose mounting or incorrect routing.
- Moisture entering the connectors, followed by corrosion of the contacts.
- Aging insulation, which can lose flexibility and crack.
- Improper repairs and interventions, such as unsuitable wire splices or damage to the connector locks.
- Electrical overload or a fault in a connected component, which can cause wires and contacts to overheat. It is important to address the original cause of the fault before replacement.