Description
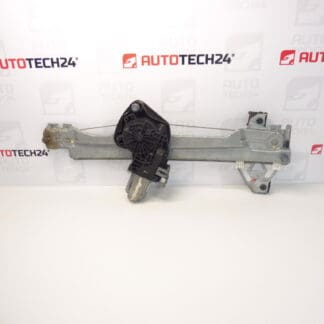
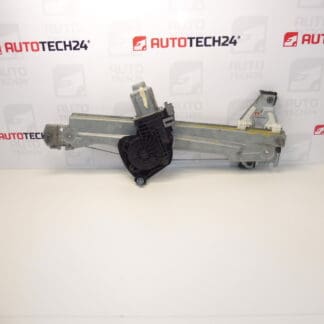
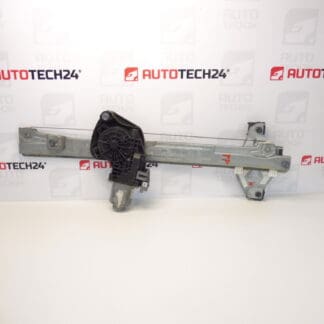
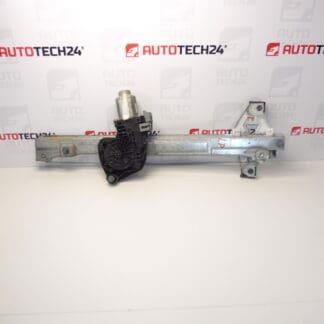
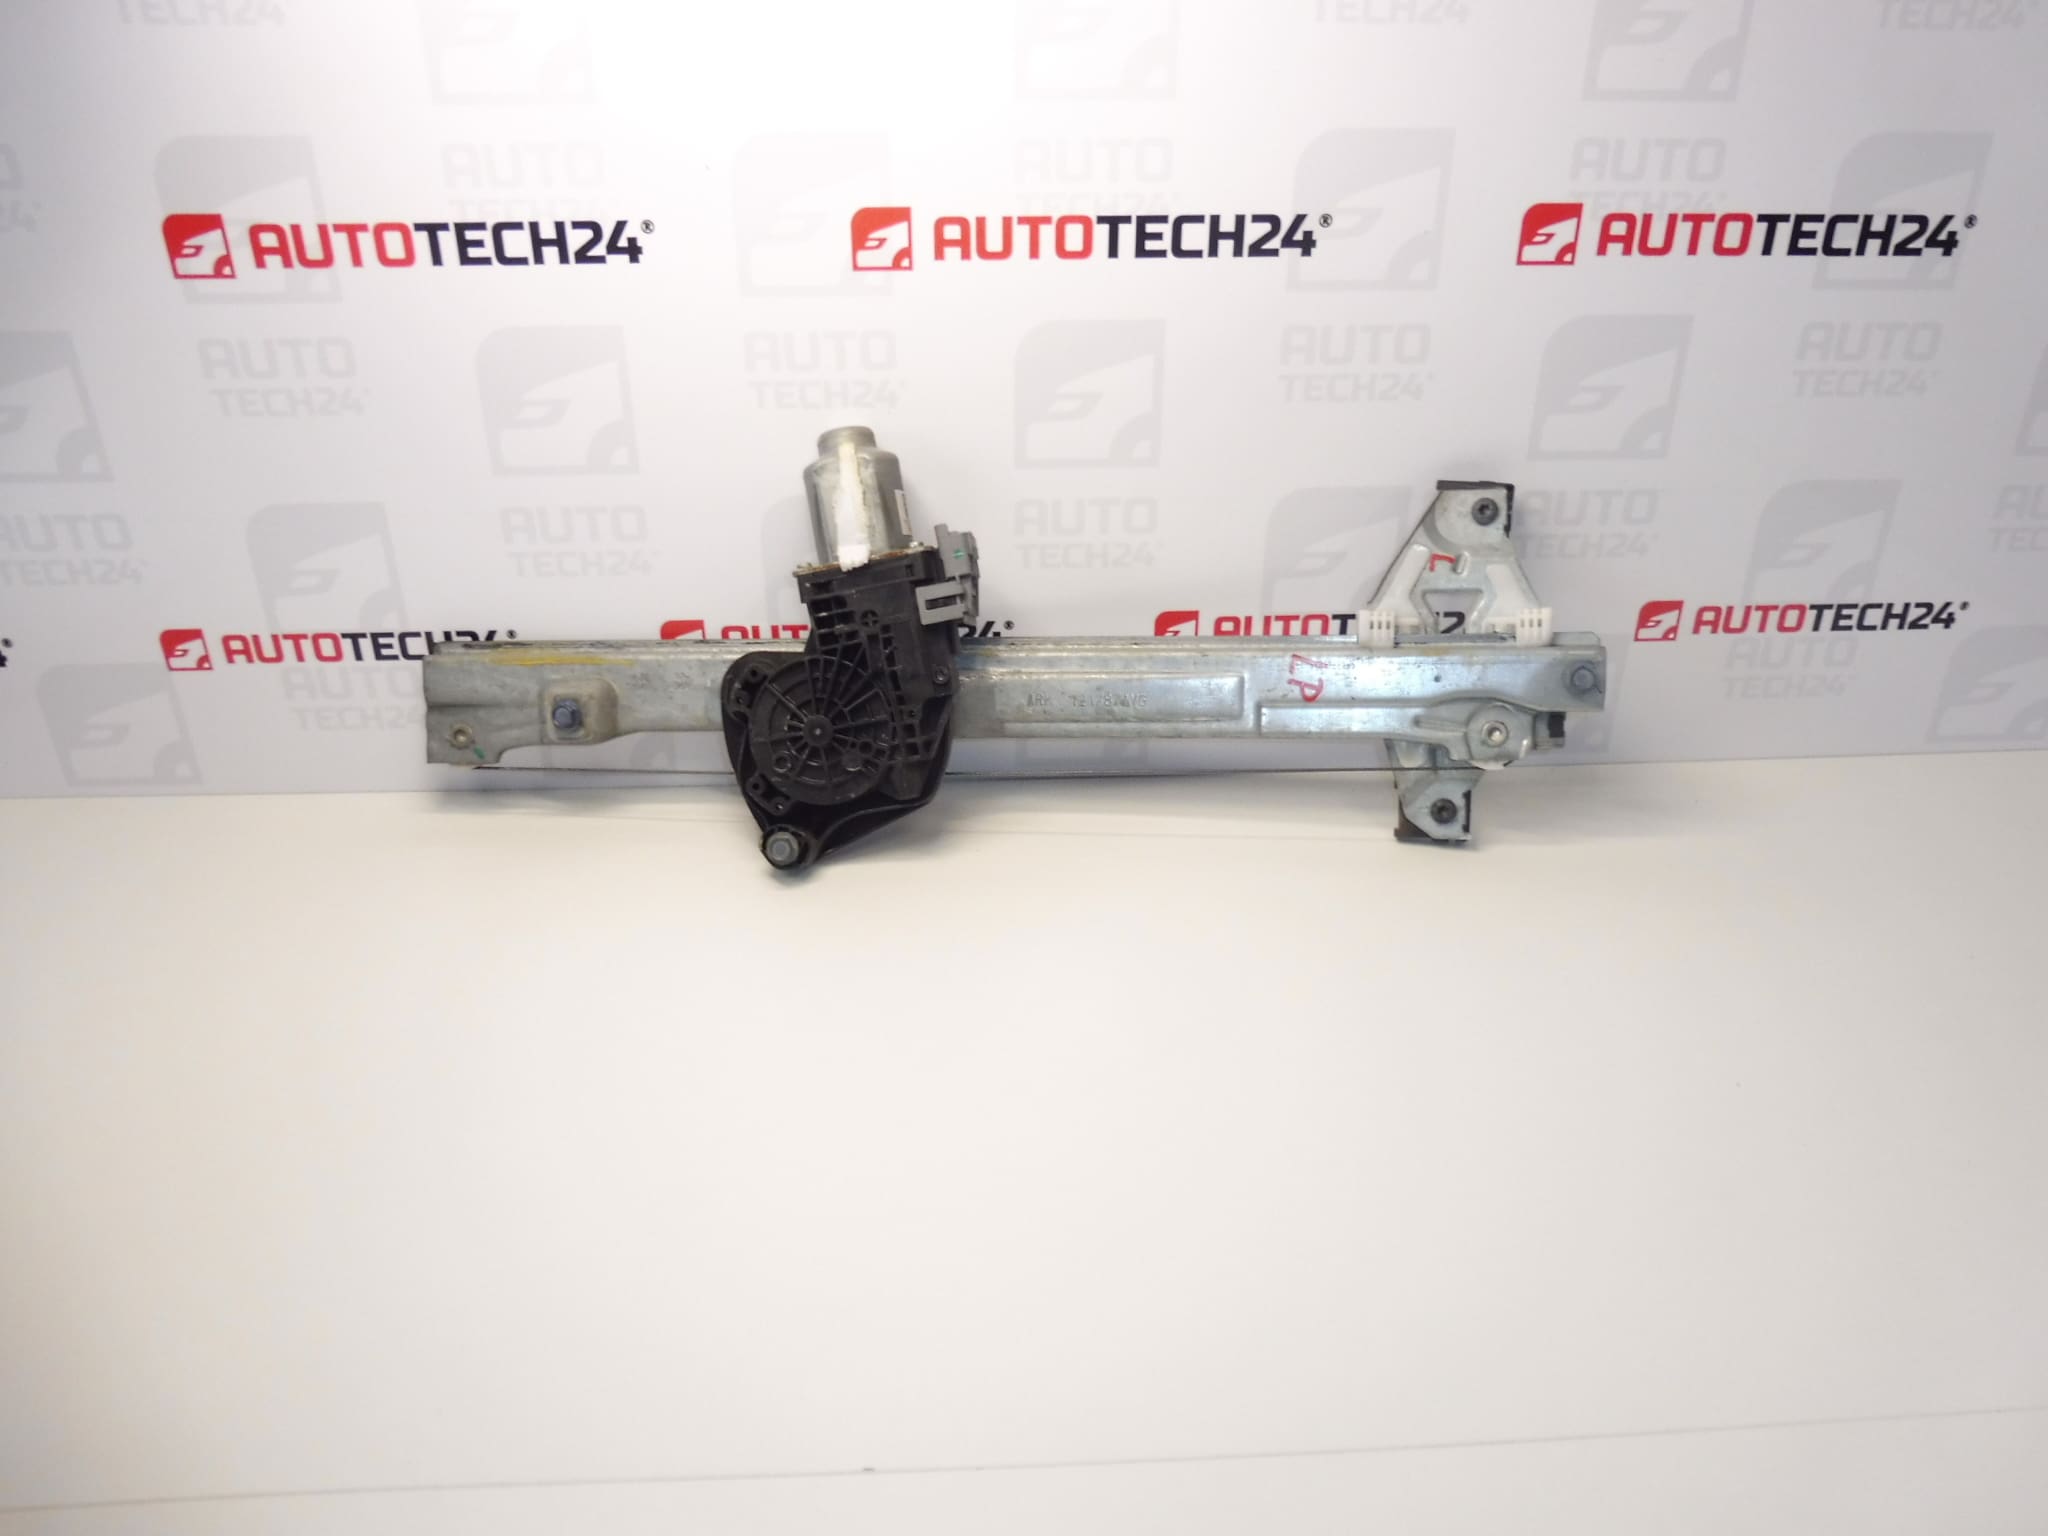
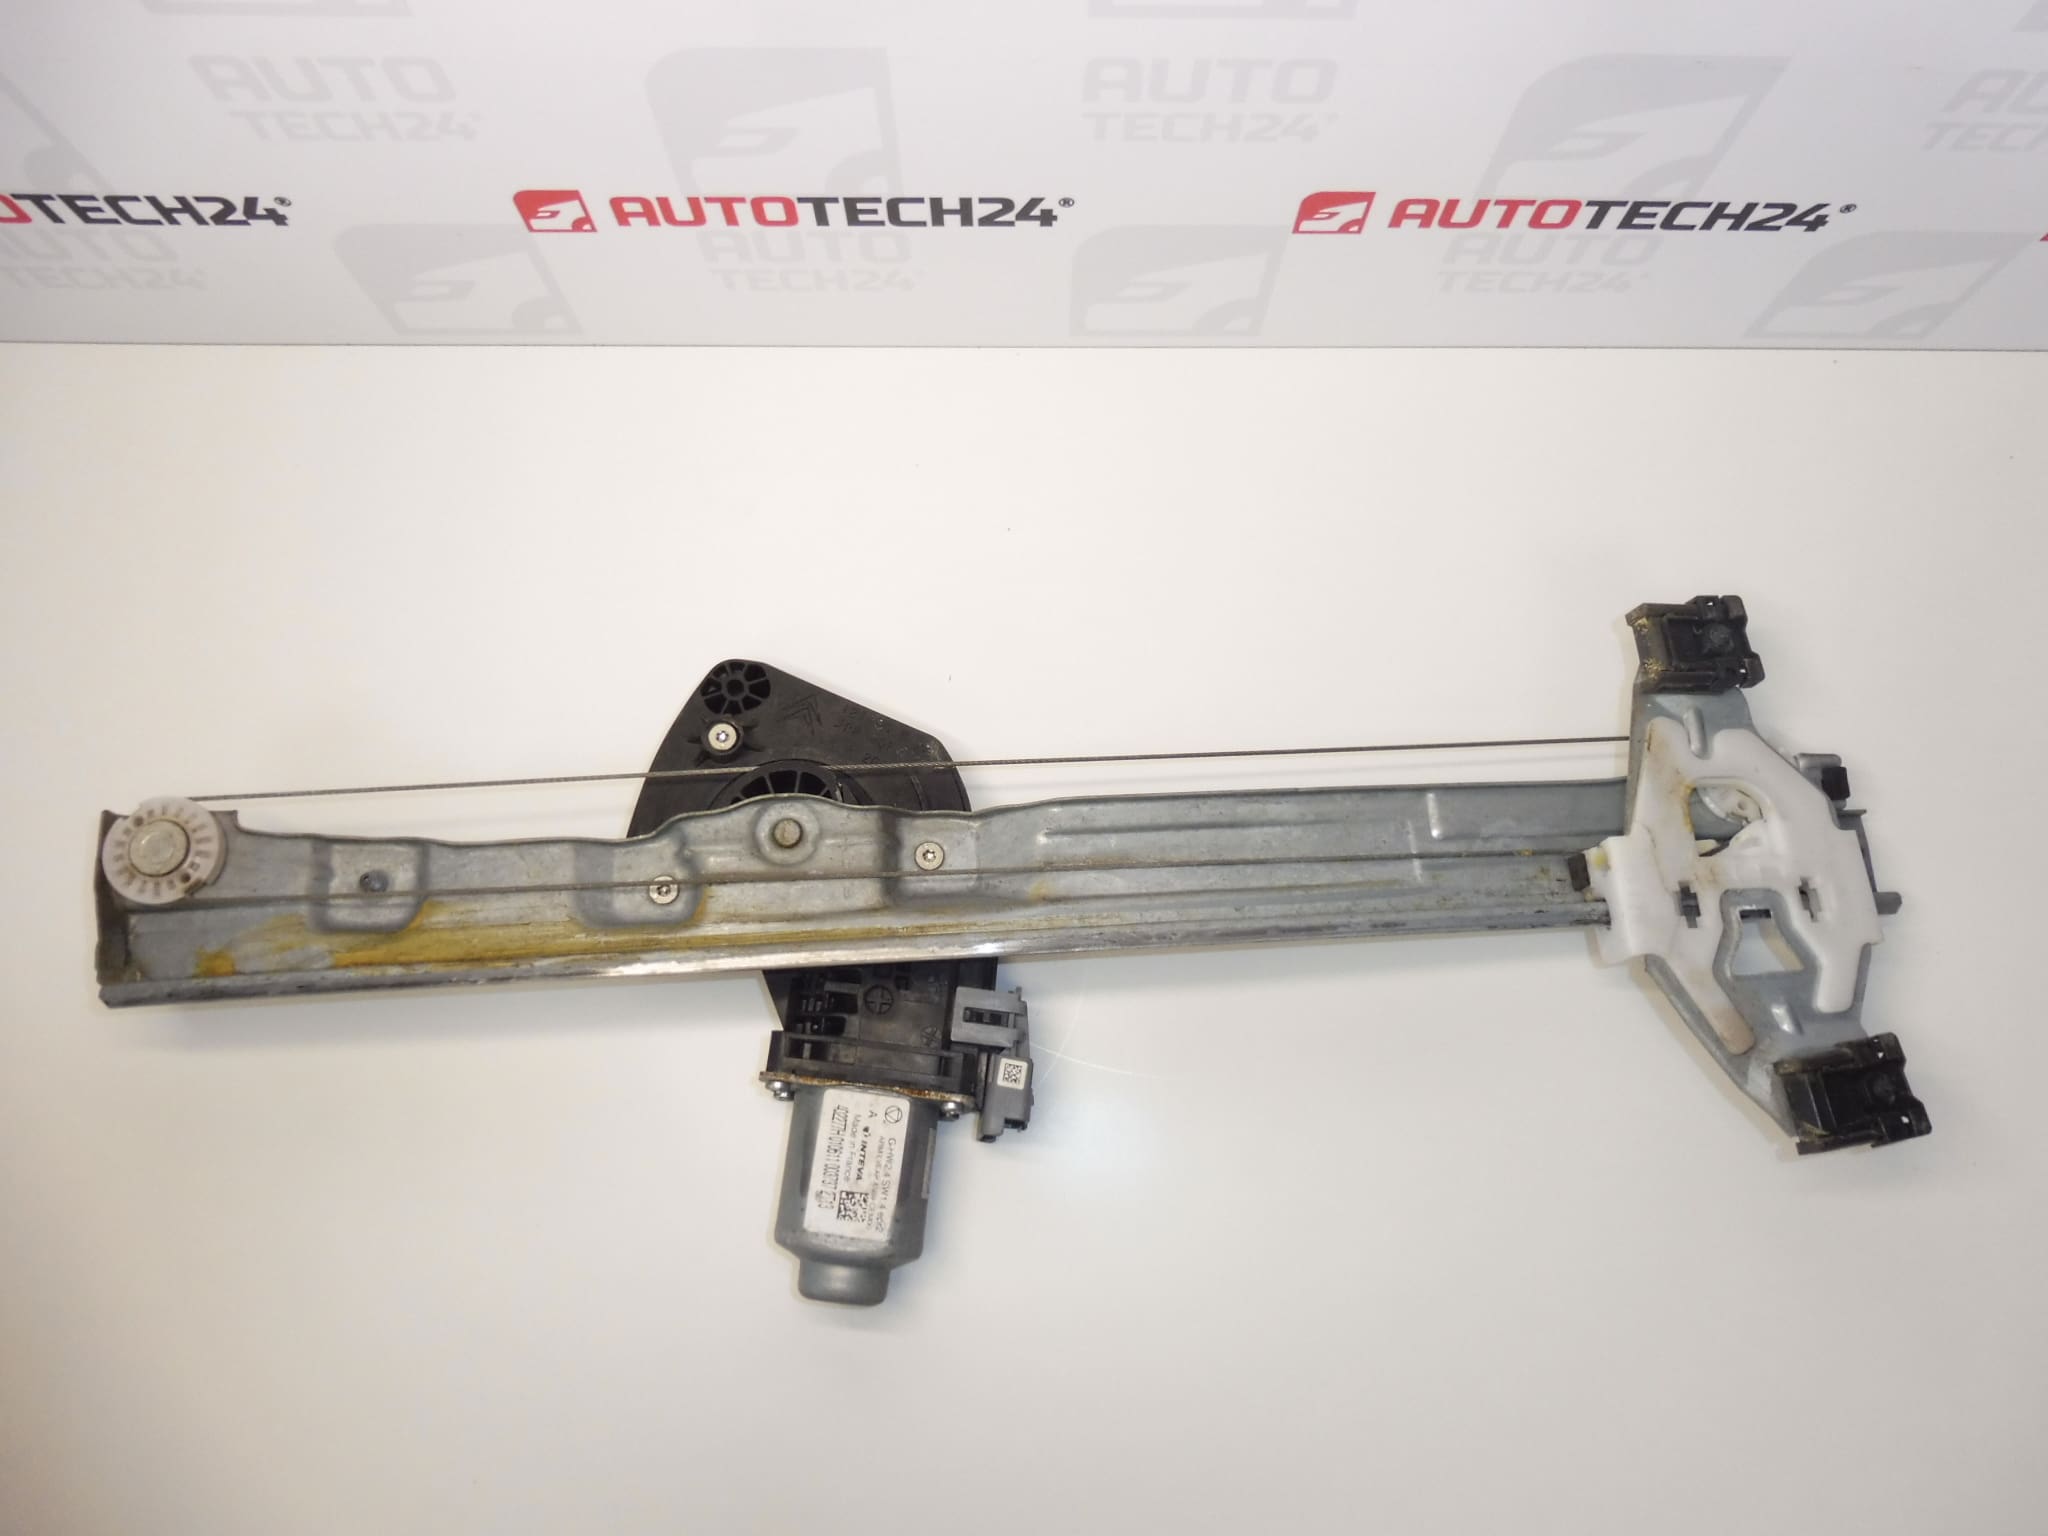
Electric left front window starter for CITROEN C4 B7 and DS4 cars
The plastic slider is cracked (common for most cars), but solid and fully functional
Driver’s door
Part description
Used Citroën C4 B7 and DS4 left front window electric lowering is used to lower and raise the glass in the driver’s door. When looking for a replacement mechanism, orient yourself primarily by the markings 9802531980 and 9221GR and the identical design of the original part.
Important Condition Information: The plastic slider is cracked, but according to the supplied description, it remains strong and fully functional. It is a used part with the specified damage, which should be taken into account during selection and assembly. During handling, it is necessary to prevent further stress on the cracked plastic.
Technical information
- Manufacturer: not specified; in the documents the label Stellantis CITROEN PEUGEOT.
- Model: Citroen C4 II; DS4. The part description mentions CITROEN C4 B7 and DS4.
- Type of part: electric starter / window retract mechanism.
- Location: left front door – driver’s door.
- Status: used; plastic slider cracked, according to the documents solid and fully functional.
- Other numbers: not specified.
- Scope of delivery and presence of electric motor: not specified.
Product codes
- Product codes: 9802531980, 9221GR.
Compare the numbers with the designation of the original mechanism. At the same time, check the mounting side, glass attachment, mounting points and any electrical connections; the model name itself does not replace the comparison of a specific design.
Installation recommendations
The following procedure is general for electric window winders. Exact removal of the trim, securing of the glass and method of fixing the mechanism depends on the specific model and design of the car. Follow the manufacturer’s service procedure.
1) Before assembly
- Verify the cause of the fault: a malfunctioning window may not only be caused by the mechanism, but also by the control, power supply, wiring or drive.
- Compare the product numbers, mechanism shape, mounting points, glass mounts and any connectors with the old piece.
- Inspect the guide parts, any cables, fixings and plastic slider. Pay particular attention to the cracks listed on this piece.
- If the slider is loose, deformed or no longer holds securely, do not install the part. Functionality data does not replace a pre-installation inspection.
- Prepare secure support or securing of the glass so that it cannot fall when released.
2) Necessary tools and materials
- Normal hand tools corresponding to the joints used and plastic tools for disassembling the lining.
- Suitable tools for securing the glass securely.
- Protective gloves, eye protection and clean towels.
- According to the design of the tool for the original fastening method and the material for restoring the tightness of the inner protective film or door membrane.
3) Step-by-step assembly procedure
- Stop the car safely and prepare the work area. If the control is functional, adjust the glass to the mounting position according to the service procedure.
- Turn off the ignition and disconnect the battery according to the vehicle manufacturer’s procedure before disconnecting electrical parts.
- Carefully remove the door trim. Release attached connectors and other bindings without pulling on wires or forcibly prying clips.
- Access the mechanism and peel off any protective film or membrane so that it can be properly sealed again.
- Reliably secure the glass against falling and only then release its connection with the puller according to the specific design.
- Disconnect any electrical connection to the mechanism, release the fastening and remove the original part. Note the wiring routing and mounting position.
- Check the glass guide and remove dirt or obstructions. Excessive glass resistance must be removed before putting the replacement mechanism into operation.
- Insert the replacement puller and fasten it according to the manufacturer’s instructions. Do not deform the mechanism and do not apply prying or point pressure to the cracked slider.
- Connect the glass to the mechanism without tension and check its correct seating in the guide. Secure the wiring away from moving parts.
- After securely fixing the glass, remove the auxiliary securing. Restore the electrical connection and connect the battery according to the manufacturer’s instructions.
- With your hands and tools out of the way of the mechanism, carefully verify the movement of the window. Interrupt the test immediately if there is glass crossing, unusual noise or irregular movement.
- After a successful inspection, re-tighten the door protective layer, install the trim and re-verify the window control.
-
4) Post-assembly checks and function verification
- Check the smooth lowering and raising of the glass, its proper seating and the absence of cracking, jerking or rubbing.
- If the car has the given function, carry out any initialization of the automatic coasting and check the protection against pinching exclusively according to the manufacturer’s instructions. Do not use body parts for testing.
- Check the fastening of the lining and the tightness of the renewed protective film or membrane. A short test drive may reveal vibrations or aerodynamic noise with the window closed.
5) The most common assembly mistakes and how to avoid them
- Insufficiently secured glass: always securely support or fasten it before disconnecting it from the mechanism.
- Forcible seating of the mechanism: first check the position of the attachment; the part must not be mounted under tension.
- Underestimation of a cracked slider: assess its strength before assembly and do not stress it further during handling.
- Leaving resistance in the glass line: replacing the puller will not fix the problem of a dirty or damaged line.
- Poorly routed wiring or leaky protective layer: secure the wires outside the mechanism and restore the original moisture protection.
Reasons why the part is damaged
In general, electric window winders are damaged mainly by wear and tear and increased resistance during the movement of the glass. The exact cause of the cracks in the slide of this piece is not stated in the documents.
- Aging of plastic parts: temperature changes and repeated loading can gradually reduce their strength.
- Contaminated or damaged glass guide: increases the forces transmitted to the slider and other parts of the mechanism.
- Frozen glass: attempts to electrically retract it may overload the mechanism.
- Wear of moving parts: for cable designs, also damage to cables or their routing.
- Incorrect installation: Crossing of the glass, deformation of the mechanism and stress on the plastic mounts can cause further cracking.
- Moisture and dirt: can contribute to corrosion and impaired operation of the mechanism.