Description
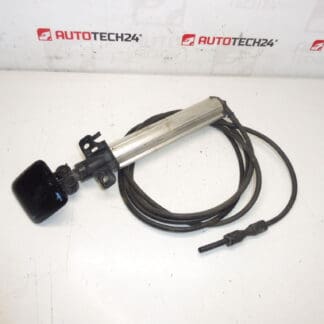
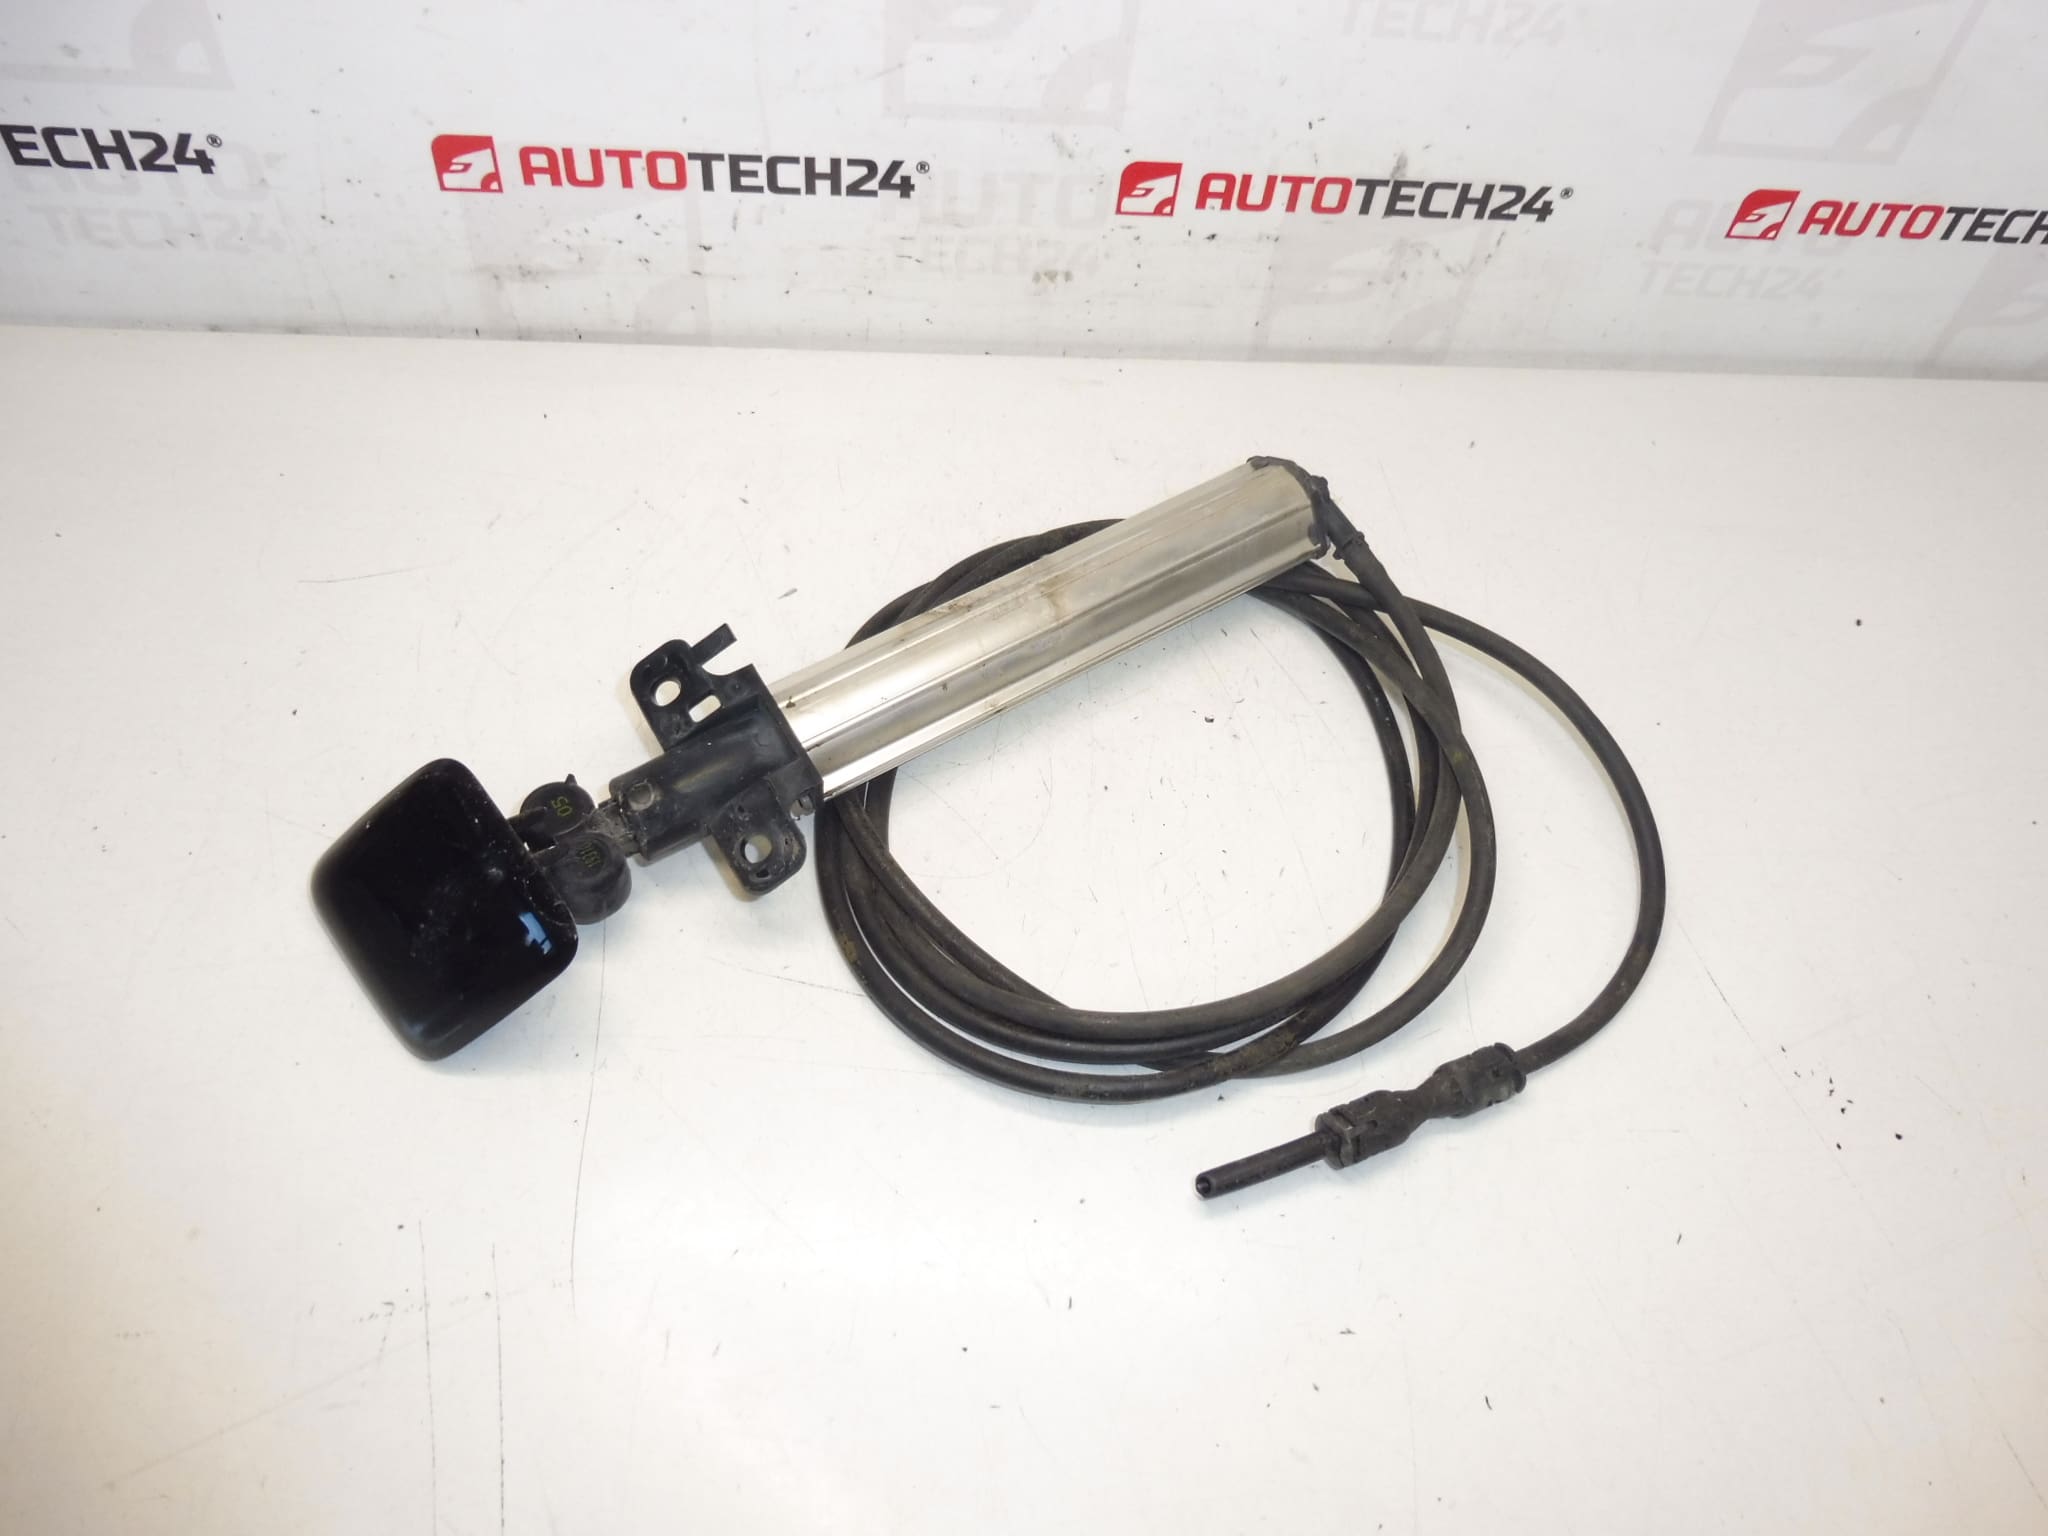
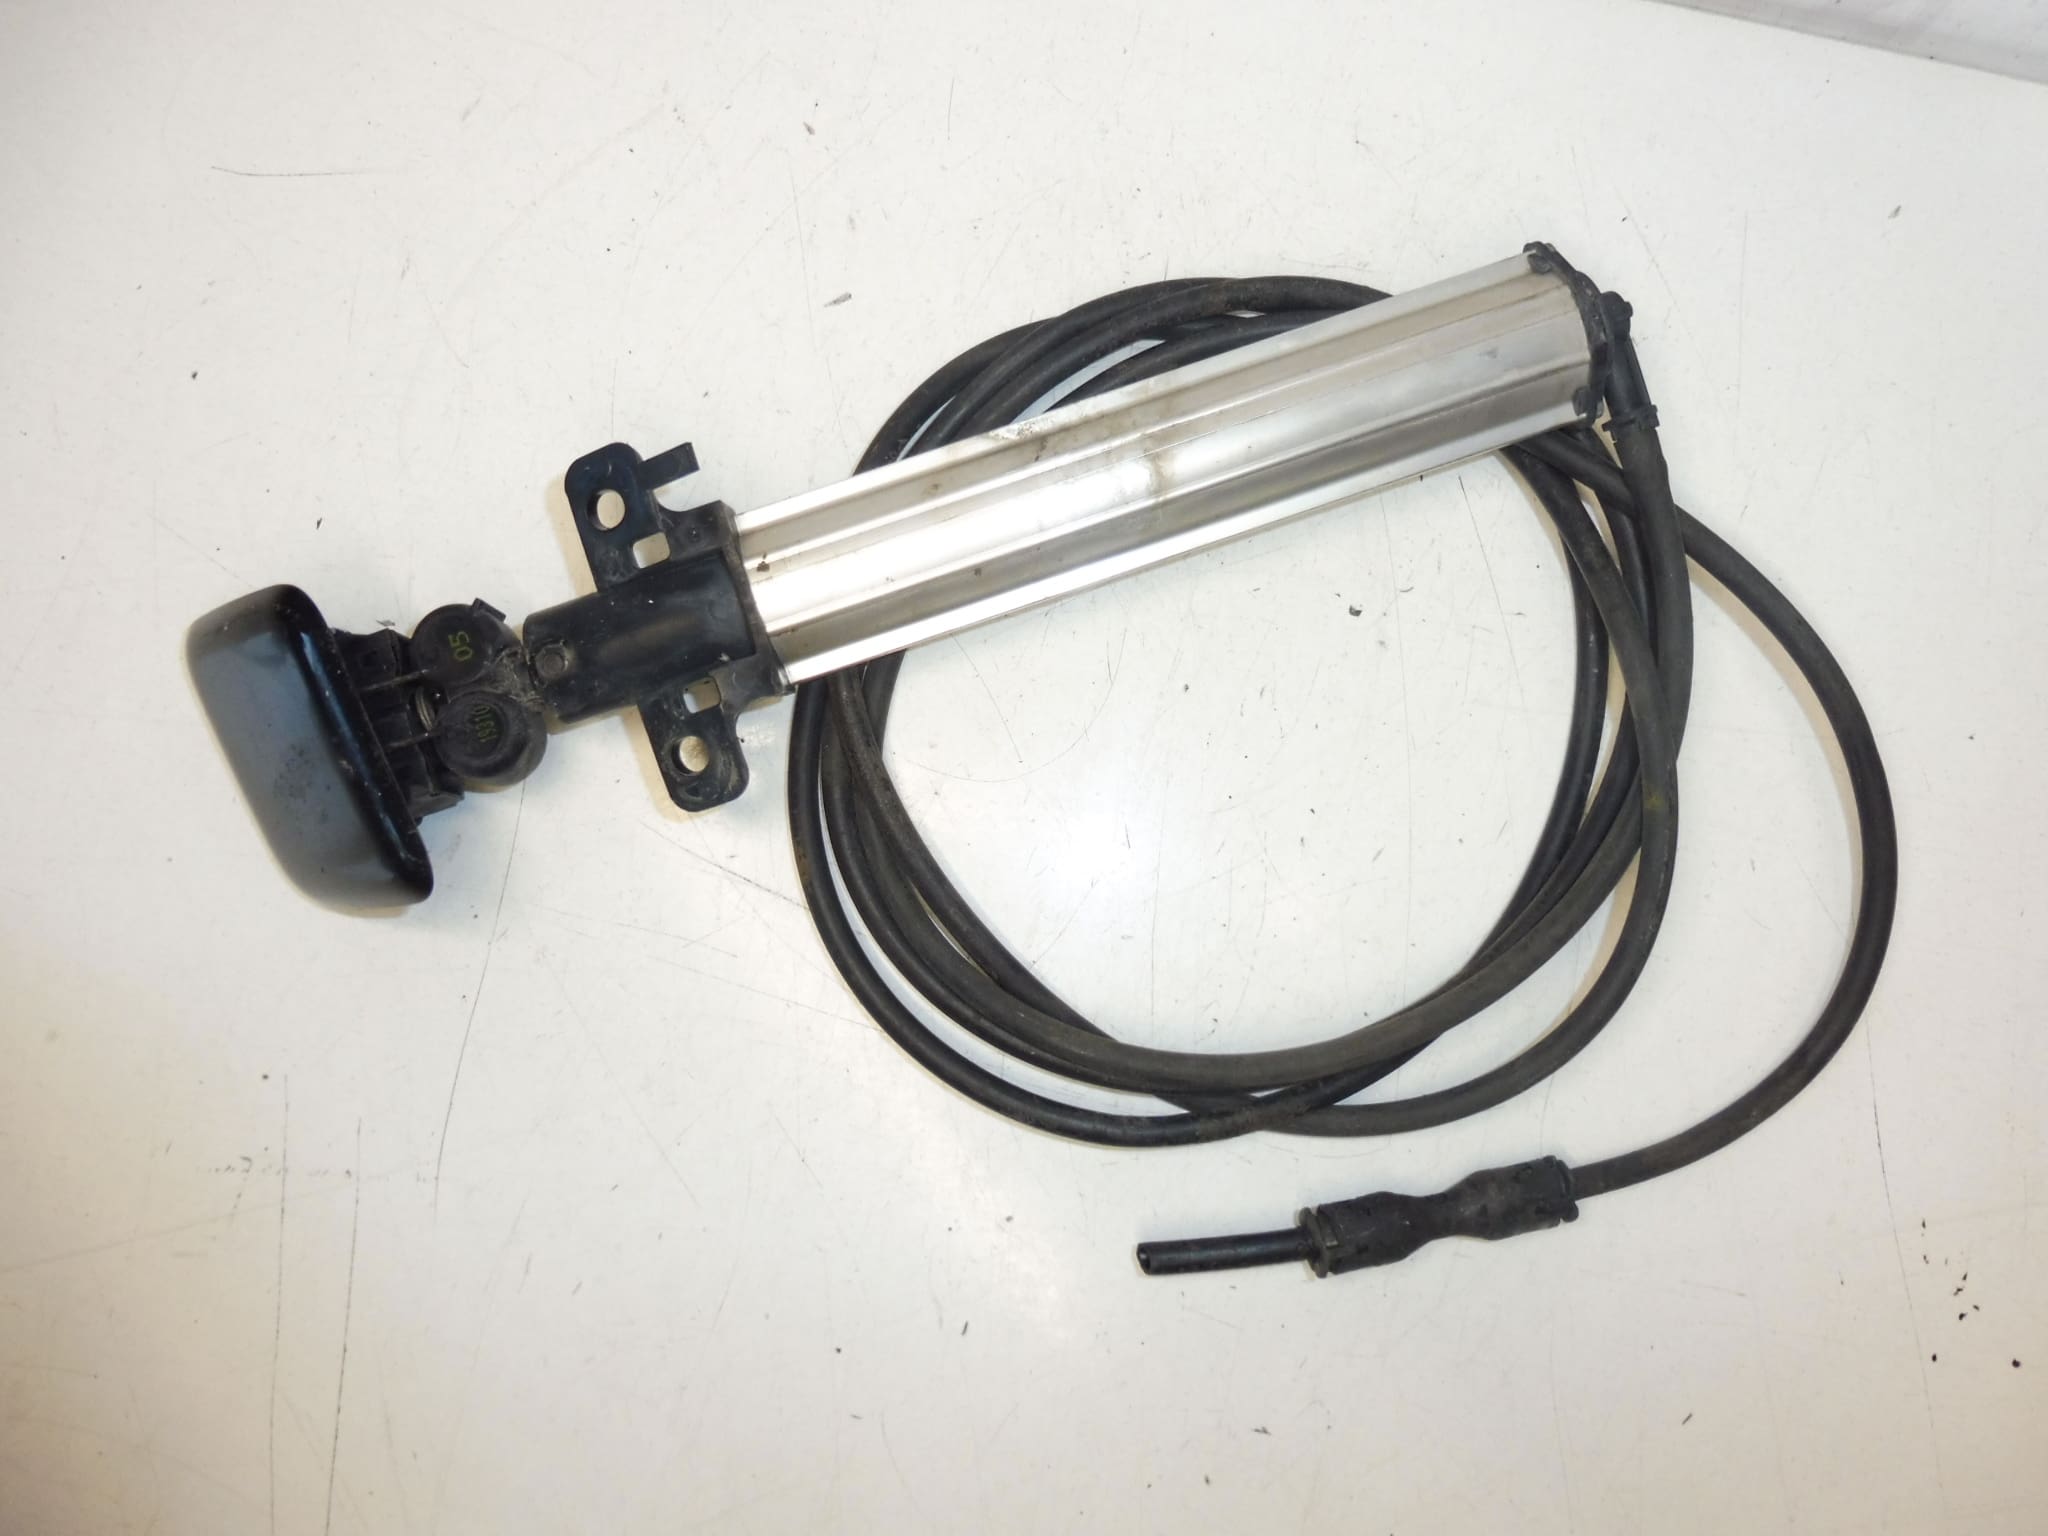
Left headlight washer nozzle with cover and hose for Peugeot 308 T7. Cover color KTV – Paint Black Perla Nera.
High-quality replacement left headlight washer nozzle designed for Peugeot 308 (T7). This complete unit includes the spray nozzle, painted cover cap and connecting hose, ready to install. Ideal for mechanics and DIY enthusiasts who search by product code—fitment and exact paint match help restore both function and appearance of the front lighting system. Compatible with original-style mounting and washer system, the nozzle ensures correct spray pattern and reliable cleaning of the headlamp lens.
Technical Information
- Manufacturer: Stellantis / Citroen / Peugeot
- Model: Peugeot 308 (T7)
- Product Codes: 6438Y7, 6438Z0
- Other Numbers: 6439H8, 6433C4, KTVD (cover/paint reference KTV)
- Included: Nozzle With Cover And Hose
- Cover Color: Black Perla Nera (Paint Code KTV)
Function And Application
The headlight washer nozzle is part of the windshield/headlamp washing system and is responsible for spraying washer fluid onto the left headlamp to remove dirt, salt and insects. Proper nozzle operation improves night visibility by keeping the lens clear and prevents haloing or streaking on xenon/LED units. The supplied painted cover provides an OEM visual match to the bumper.
Installation Recommendations
- Access: Gain access from behind the bumper or by removing the front bumper panel where necessary to reach the nozzle mounting point.
- Removal: Carefully depress retaining clips and pull the old nozzle out. Disconnect the washer hose by sliding off the quick connector or removing the clamp.
- Fitment: Connect the hose to the new nozzle, ensure a secure push-fit or clamp, then seat the nozzle into the bumper mount until clips engage. Check that the painted cover aligns flush with the bumper surface.
- Testing: After installation, operate the washer system to verify spray pattern, hose seal and that there are no leaks. Adjust nozzle orientation if spray is off-target.
- Tools: Basic hand tools, trim removal tools and a hose clamp plier may be required. Use care to avoid scratching painted surfaces.
Most Common Failure Reasons
- Clogging From Debris: Dirt, wax or mineral deposits inside the nozzle or hose restrict spray flow.
- Freeze Damage: In cold climates, fluid left in the line can freeze and crack the nozzle or hose.
- Impact Or Stone Damage: The cover or nozzle tip can be chipped or broken by road debris.
- Hose Deterioration Or Disconnection: Rubber hoses can harden or split, causing leaks or loss of pressure.
- Painted Cover Wear: Chips or paint damage from road wear affect appearance and may require replacement for visual match.
Replacement Frequency And Maintenance
There Is No Fixed Service Interval. Replace The Nozzle When Malfunctioning (Poor Spray, Leaks, Visible Damage Or Broken Cover). Regularly Flush The Washer System With Clean Fluid To Reduce Clogging. In Winter, Use Antifreeze Washer Fluid To Prevent Freezing Damage.
Notes For Search And Purchase
Search By Product Codes 6438Y7, 6438Z0, 6439H8 Or 6433C4 For Fast Identification. Ensure The Cover Paint Code KTV Matches Your Bumper Finish For Best Visual Fit. This Unit Is Supplied Complete With Hose And Cover For Direct Replacement On Peugeot 308 T7.
Why Choose This Part
Designed To Restore Both Function And Appearance Of The Left Headlight Washer System. A Straightforward Swap For Professional Workshops And Experienced DIYers Looking For A Precise Fit And OEM-Style Finish.