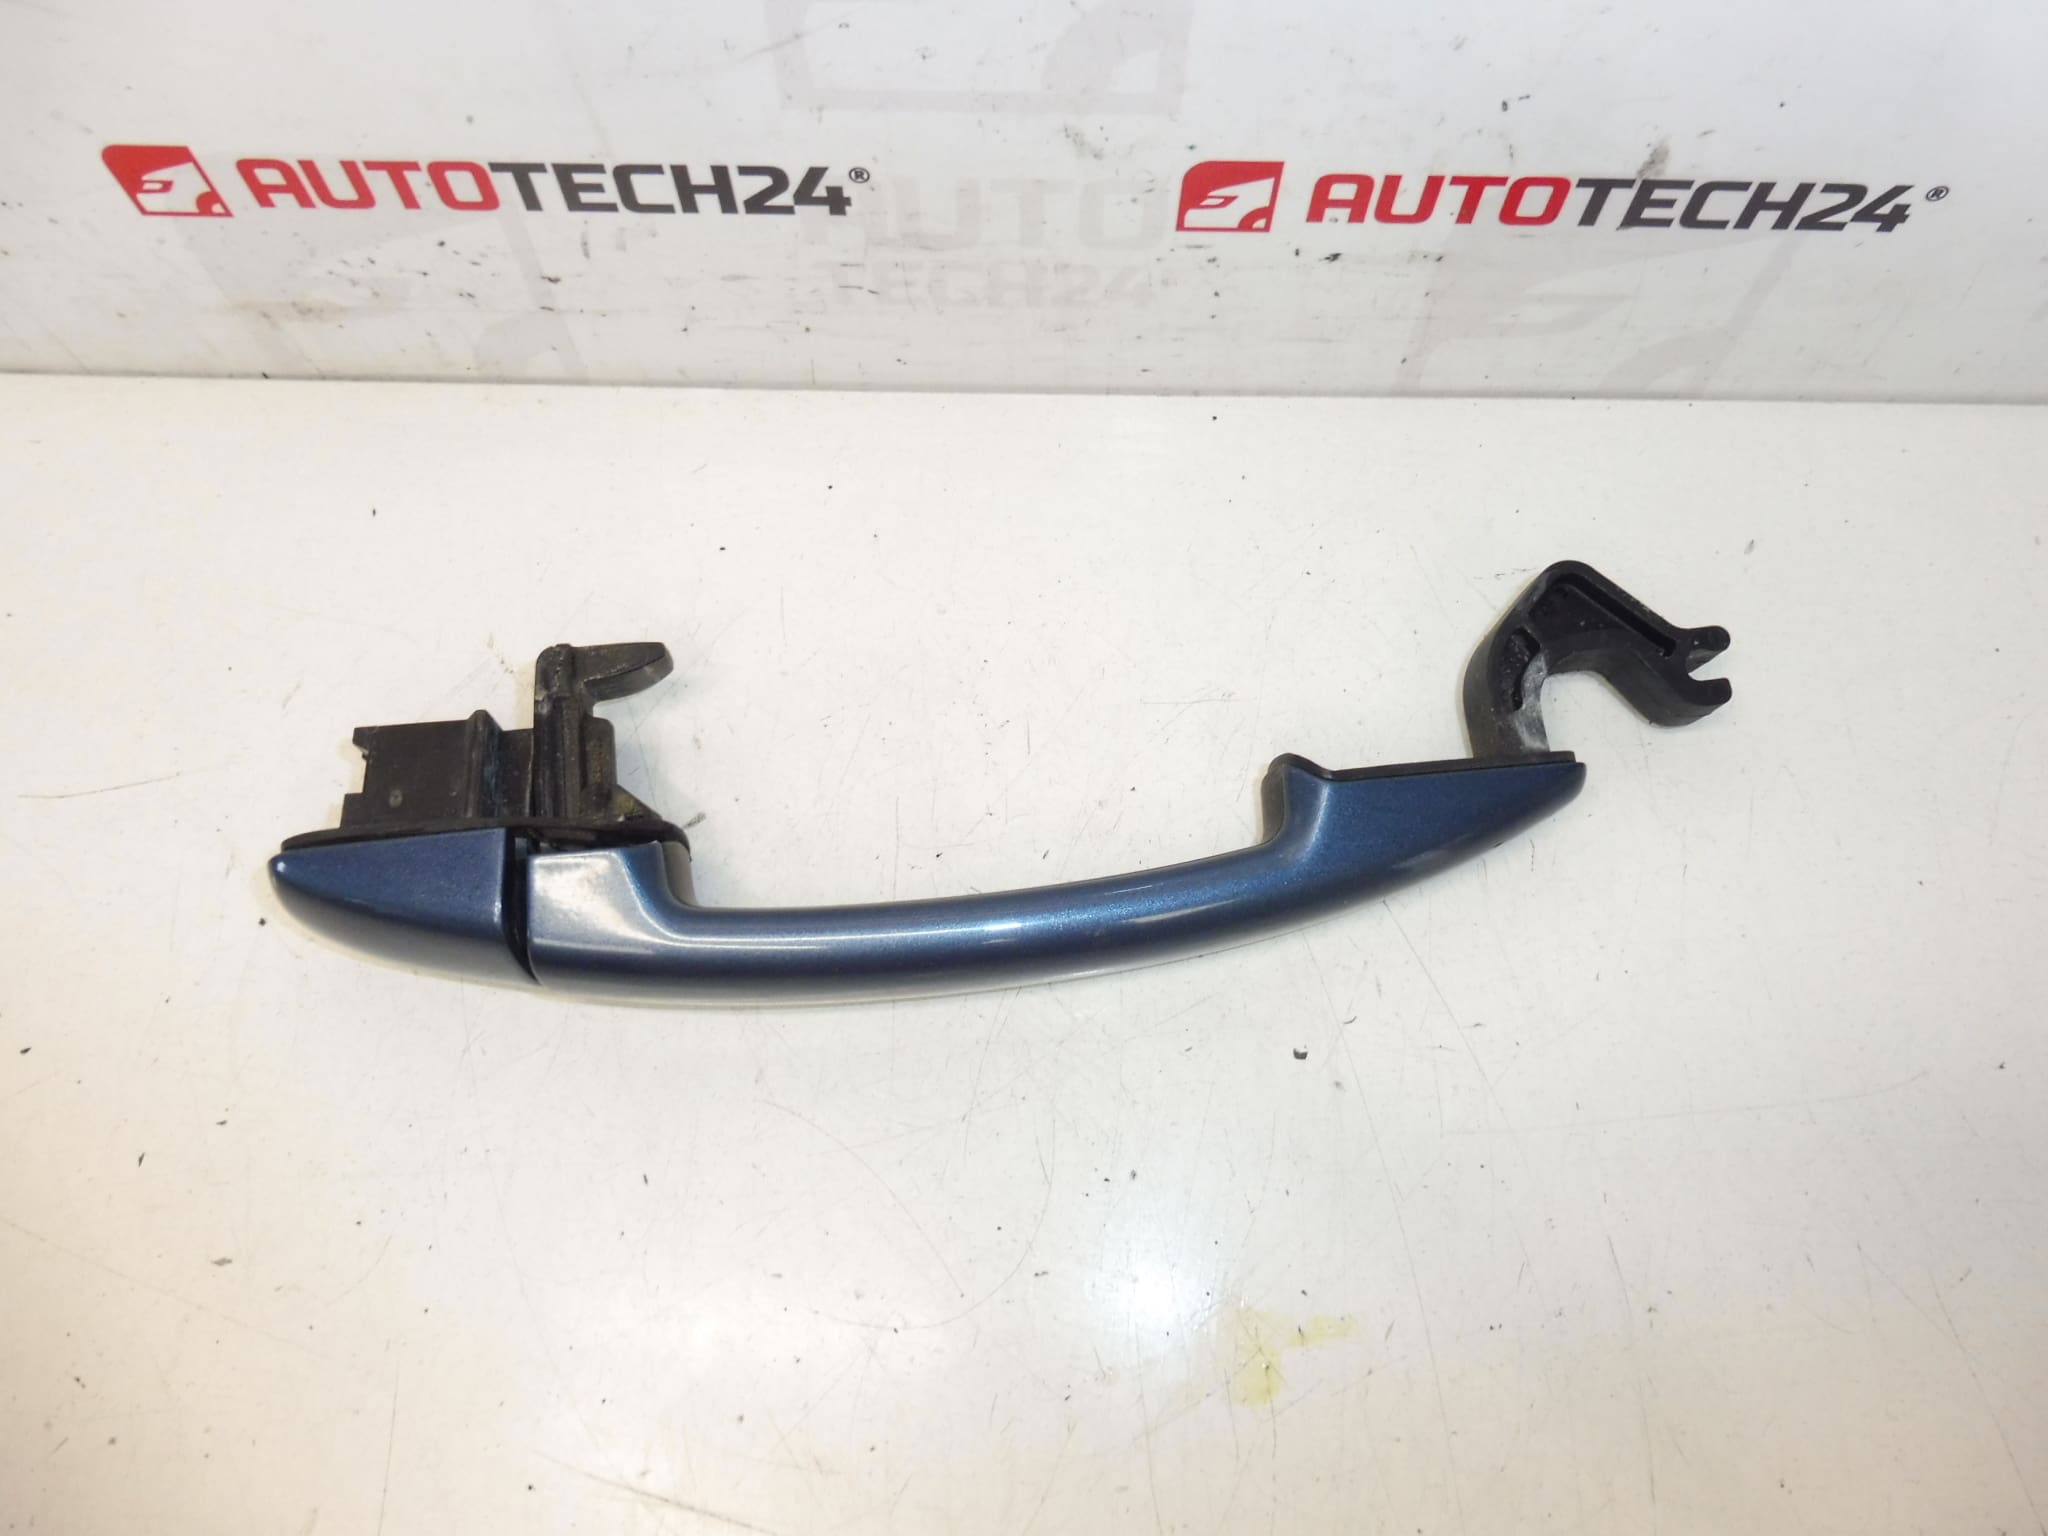
Description
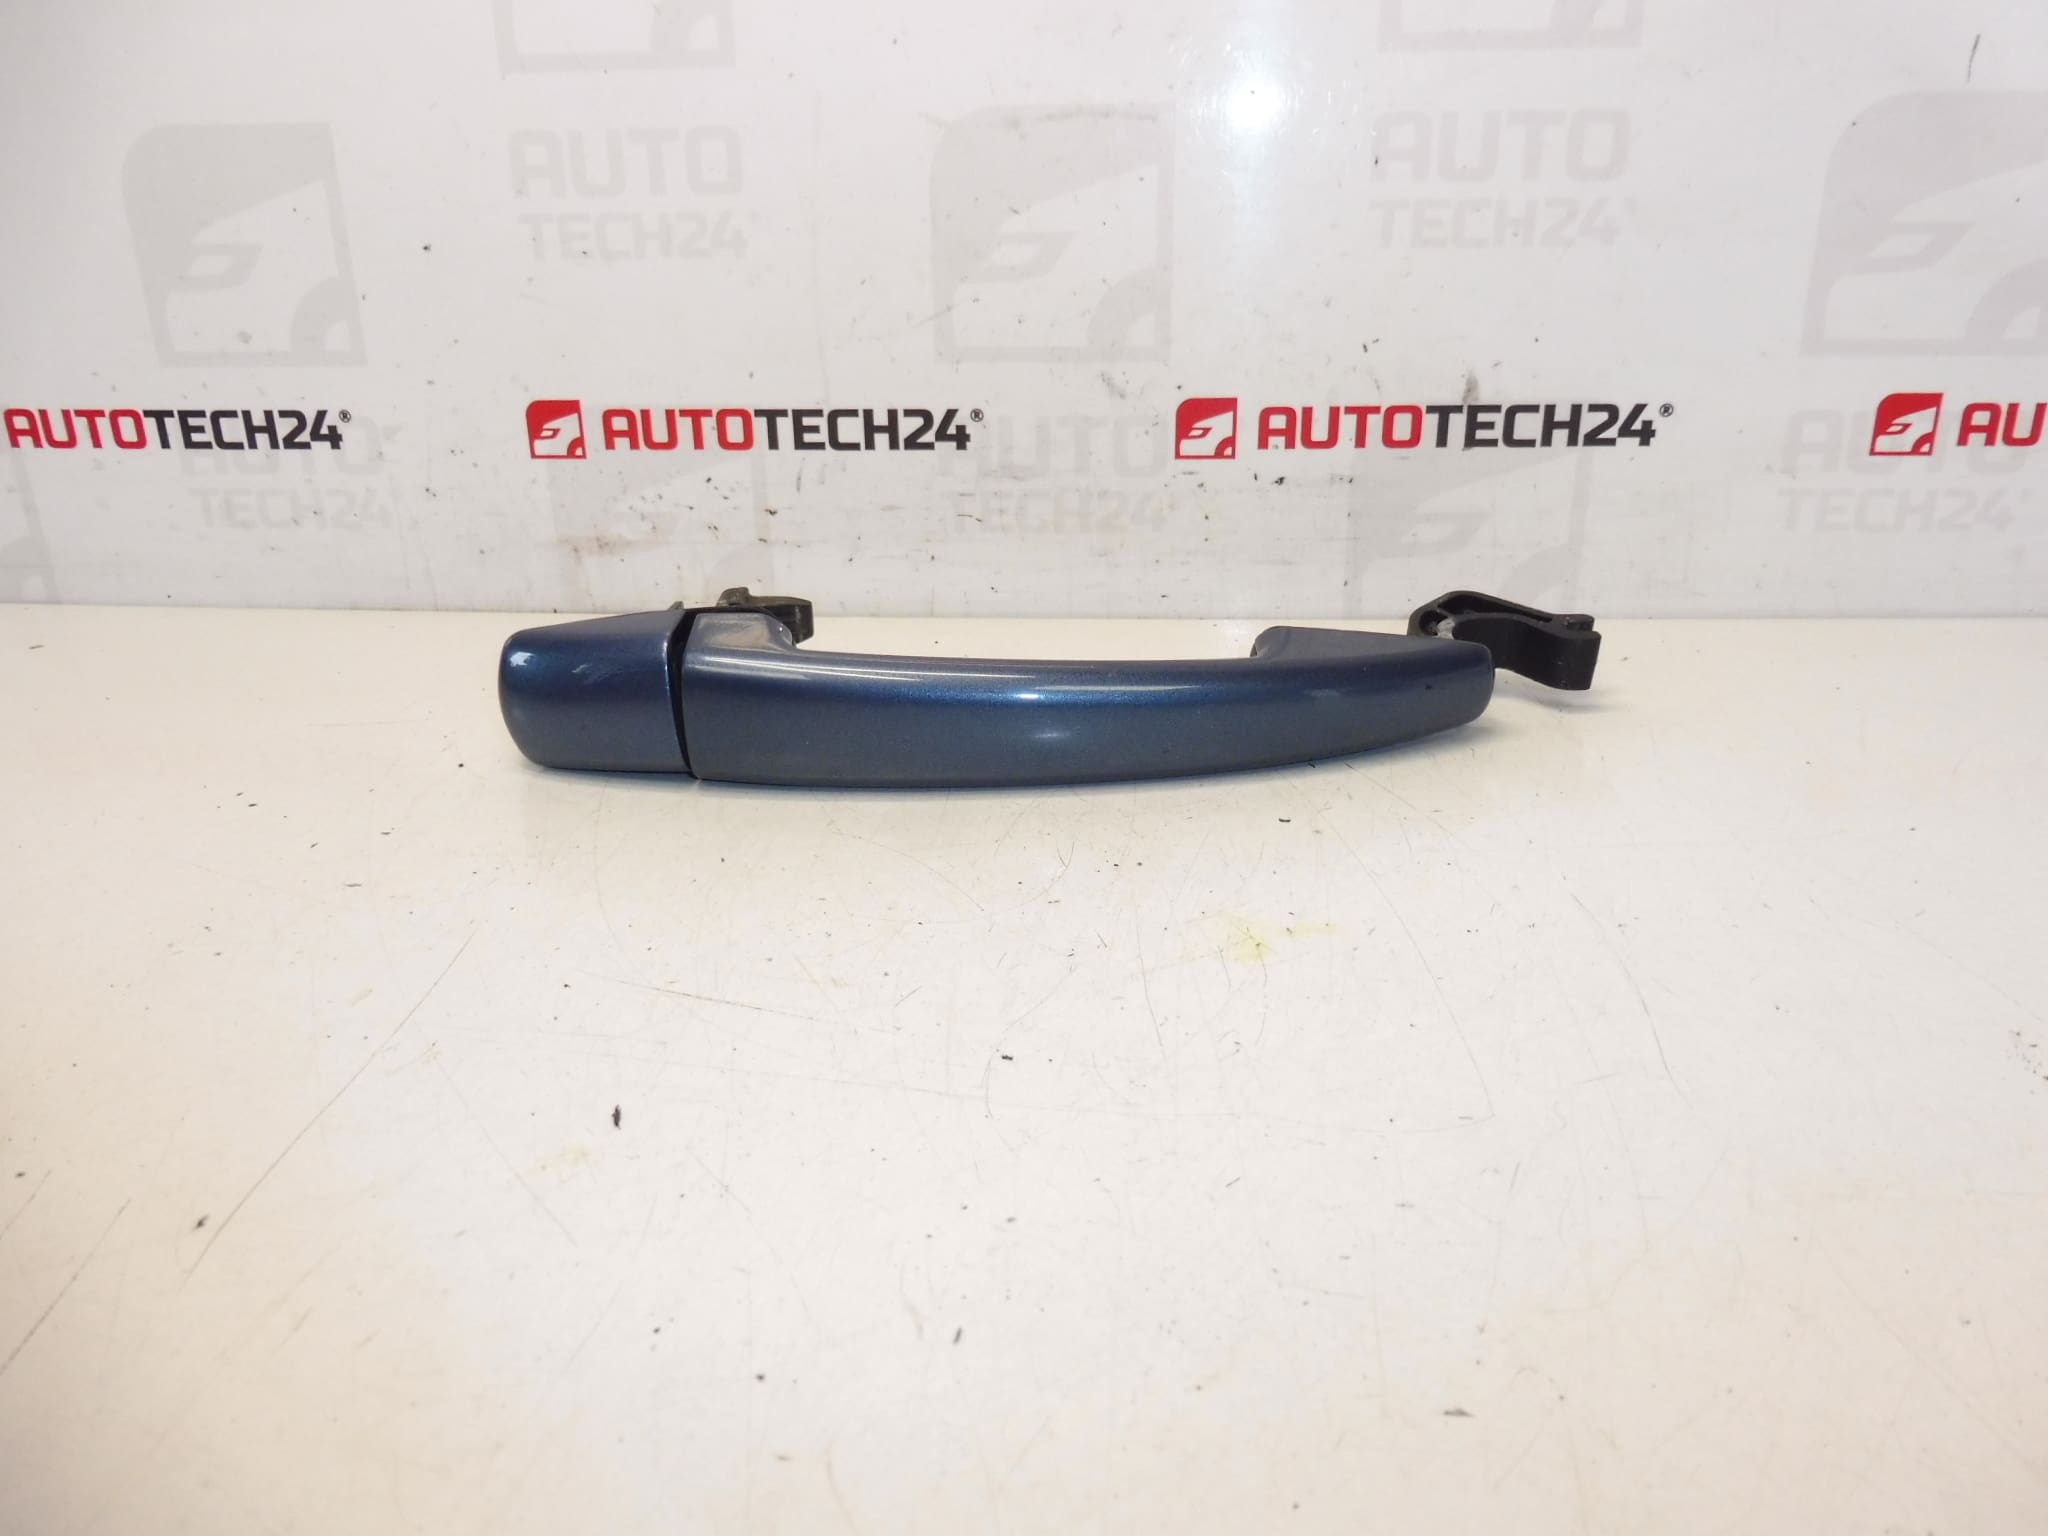
Left rear and right front and rear door handle for Citroën and Peugeot vehicles. Color KGQ – Kyanos Blue.
Product Overview
This exterior door handle is an aftermarket replacement designed for Citroën and Peugeot models, supplied in KGQ Kyanos Blue. Commonly referenced by part code 9101GH (KGQC), it is intended for use on left rear and right front/right rear doors depending on vehicle configuration. The robust design matches the exterior finish and mounting points of the original part to ensure proper fit and appearance. Ideal for professional workshops and DIY mechanics looking for a direct-fit, color-matched replacement.
Technical Information
- Manufacturer: Stellantis / Citroën & Peugeot
- Model: Various Citroën And Peugeot Models (See Fitment)
- Product Codes: 9101GH, KGQC
- Additional Numbers: Not Specified
Fitment
Compatible with a range of B‑segment and compact models from Citroën and Peugeot, including but not limited to:
- Peugeot 2008
- Peugeot 207
- Peugeot 308
- Peugeot Partner / Partner Tepee
- Citroën Berlingo (B9)
- Citroën C4 II / C4 Picasso
- Citroën/Peugeot Jumpy III / Expert III
Function
The door handle provides manual actuation of the door latch and integrates with the door’s locking mechanism. It transmits the user’s mechanical input to the latch assembly via linkages or cables and must maintain correct alignment and smooth movement to ensure reliable opening and locking.
Most Common Failure Causes
- Mechanical Wear: Repeated use can wear pivot points, weakening plastic clips or levers until they break.
- Impact Damage: Door hits, parking incidents, or forced entry attempts can deform or crack the handle.
- Corrosion And Environmental Damage: Salt, moisture and dirt ingress can seize linkages or corrode metal fixing points.
- Paint Fading Or Scuffs: Exterior exposure may affect the finish, especially on color‑matched parts.
- Internal Mechanism Failure: Linkage bushings, springs or the latch interface can fail, making the handle feel loose or non‑functional.
Mounting Recommendations
Follow these practical steps to replace the door handle safely and ensure long service life:
- Prepare Tools: Typical tools include trim removal tools, Torx or Phillips drivers, socket set and pliers.
- Remove Door Trim Carefully: Use proper trim tools to avoid breaking clips. Detach the inner door panel to access the handle retaining bolts and linkages.
- Disconnect Linkages: Note the orientation of rods and clips. Remove retaining clips gently to avoid damage.
- Fit Replacement: Align the new handle to the mounting points and secure fasteners to the manufacturer’s recommended torque where available.
- Reconnect And Test: Reattach linkages and test door operation (open, close, lock, and unlock) before refitting the door panel.
- Lubricate Moving Parts: Apply suitable grease to pivot points and linkages to reduce wear and prevent noise.
- Check Finish And Gaps: Ensure the handle sits flush and the paint match meets aesthetic expectations.
Advice For Installers
For professional fitment: Inspect the latch and internal linkages for wear when replacing the handle. Replace damaged clips or worn linkage components at the same time to avoid repeat visits. Keep spare retaining clips on hand—these are a common failure point during disassembly.
Why Replace This Part
Replacing a worn or broken door handle restores proper door operation and security, prevents further damage to the latch assembly, and keeps the vehicle exterior appearance factory‑correct when matched in KGQ Kyanos Blue. For technicians and DIYers, using a correct-fit handle with the right color code reduces rework and improves customer satisfaction.