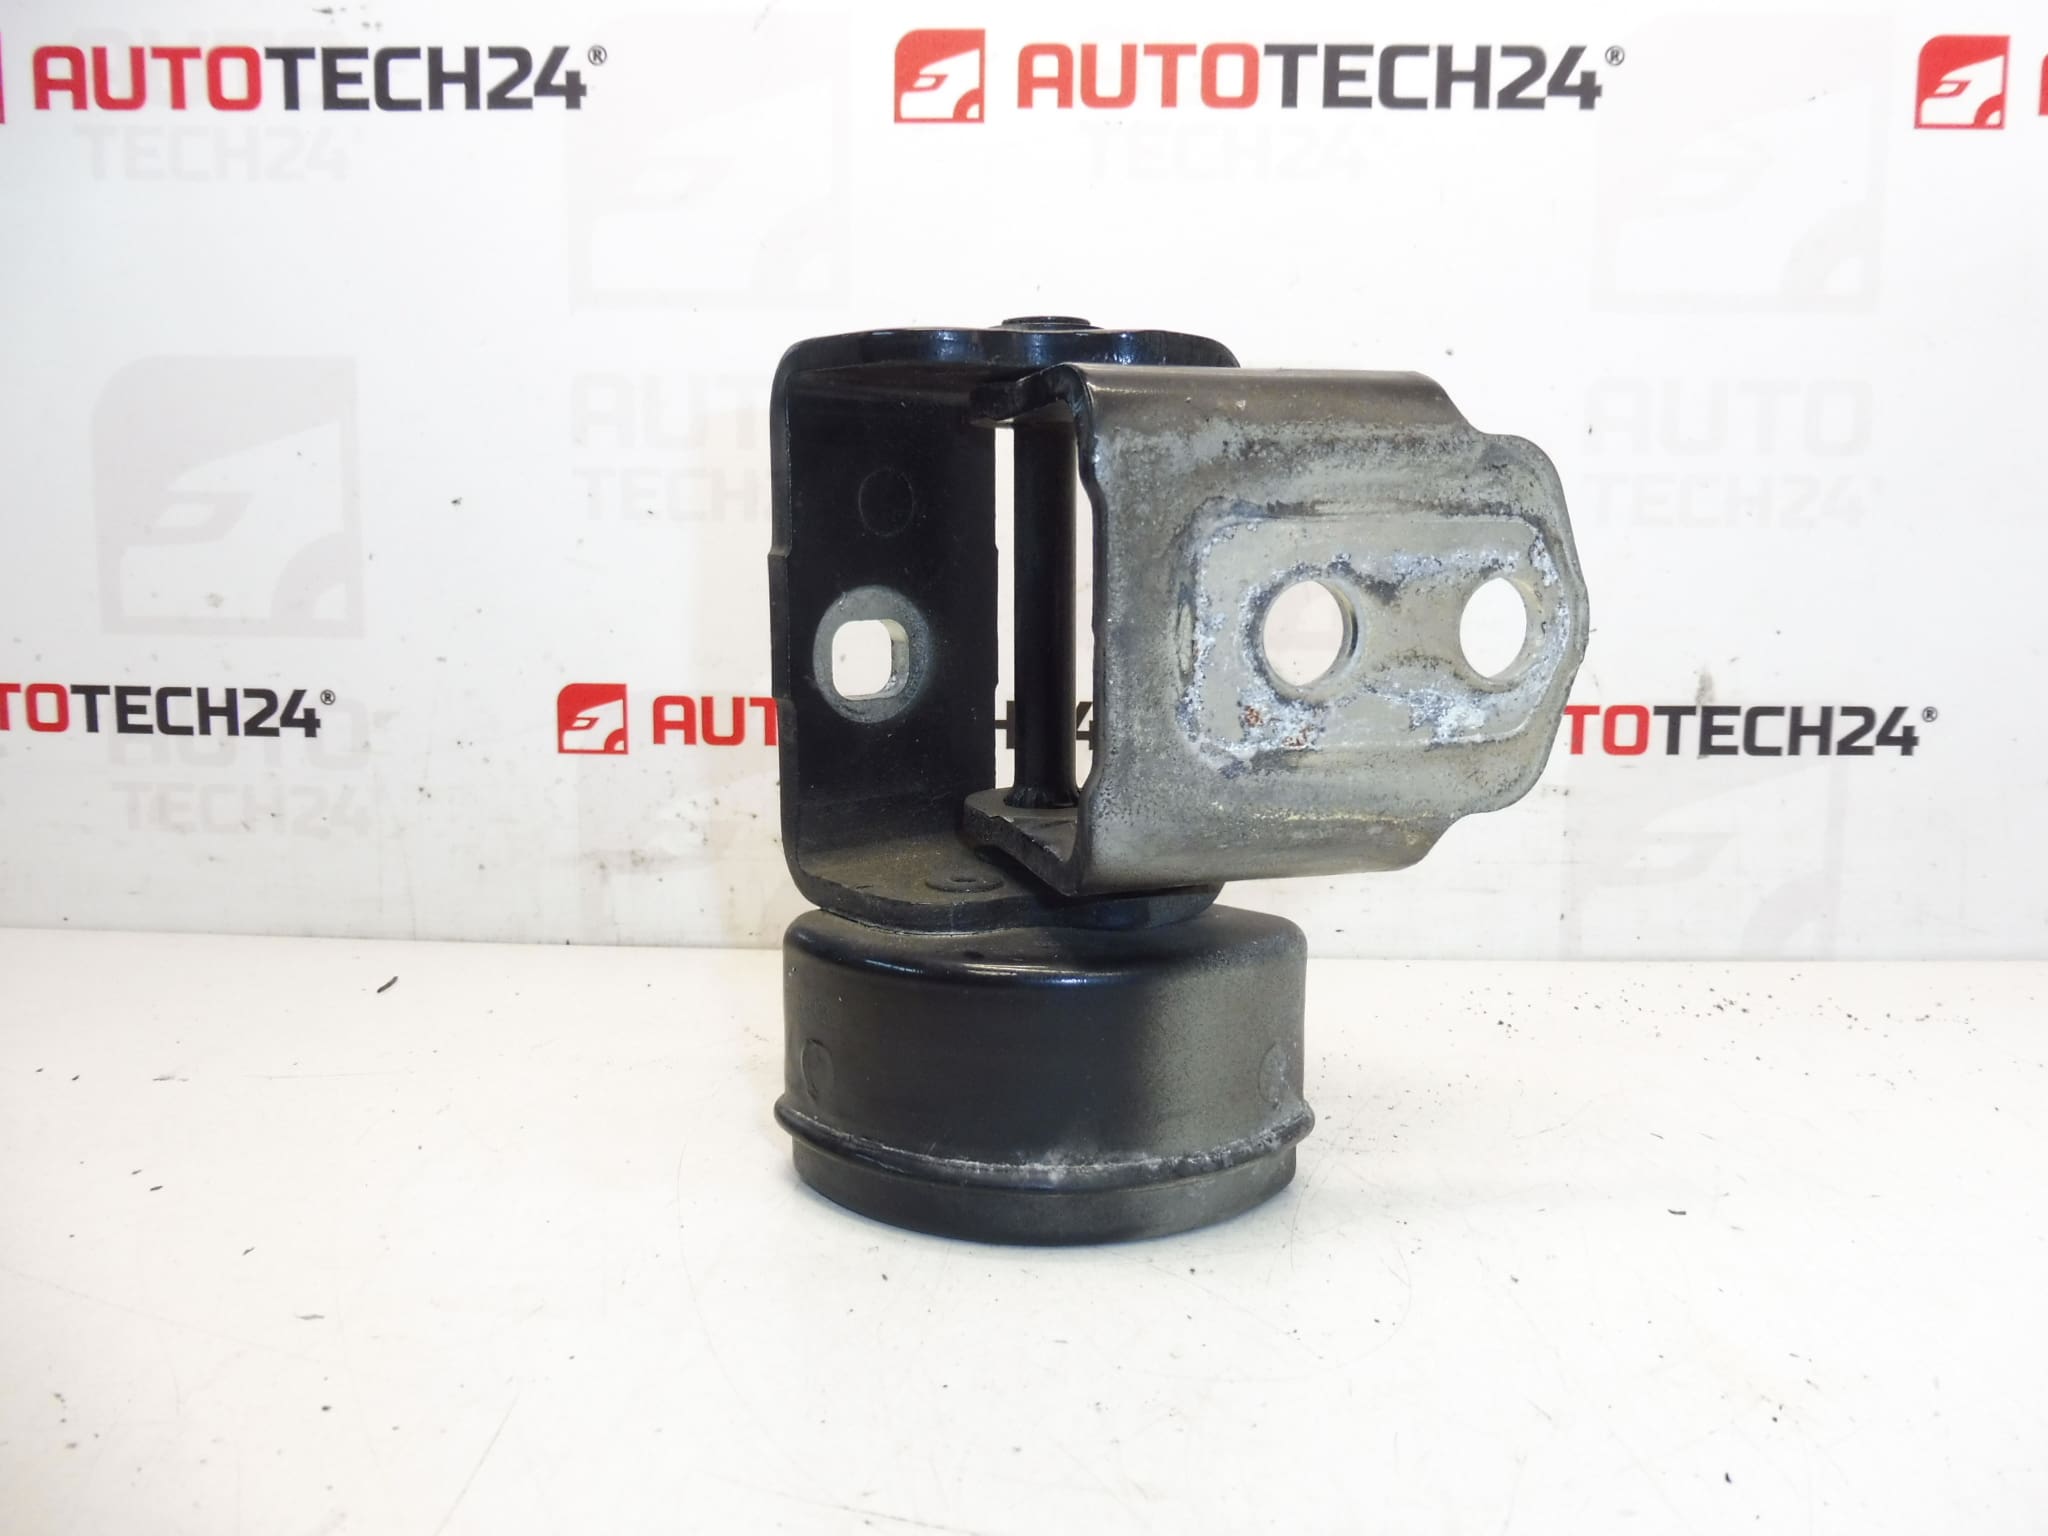
Description
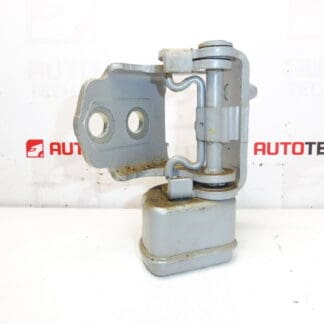
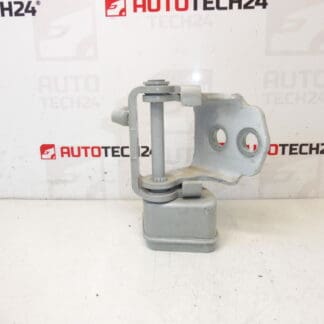
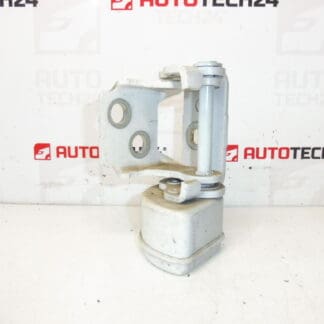
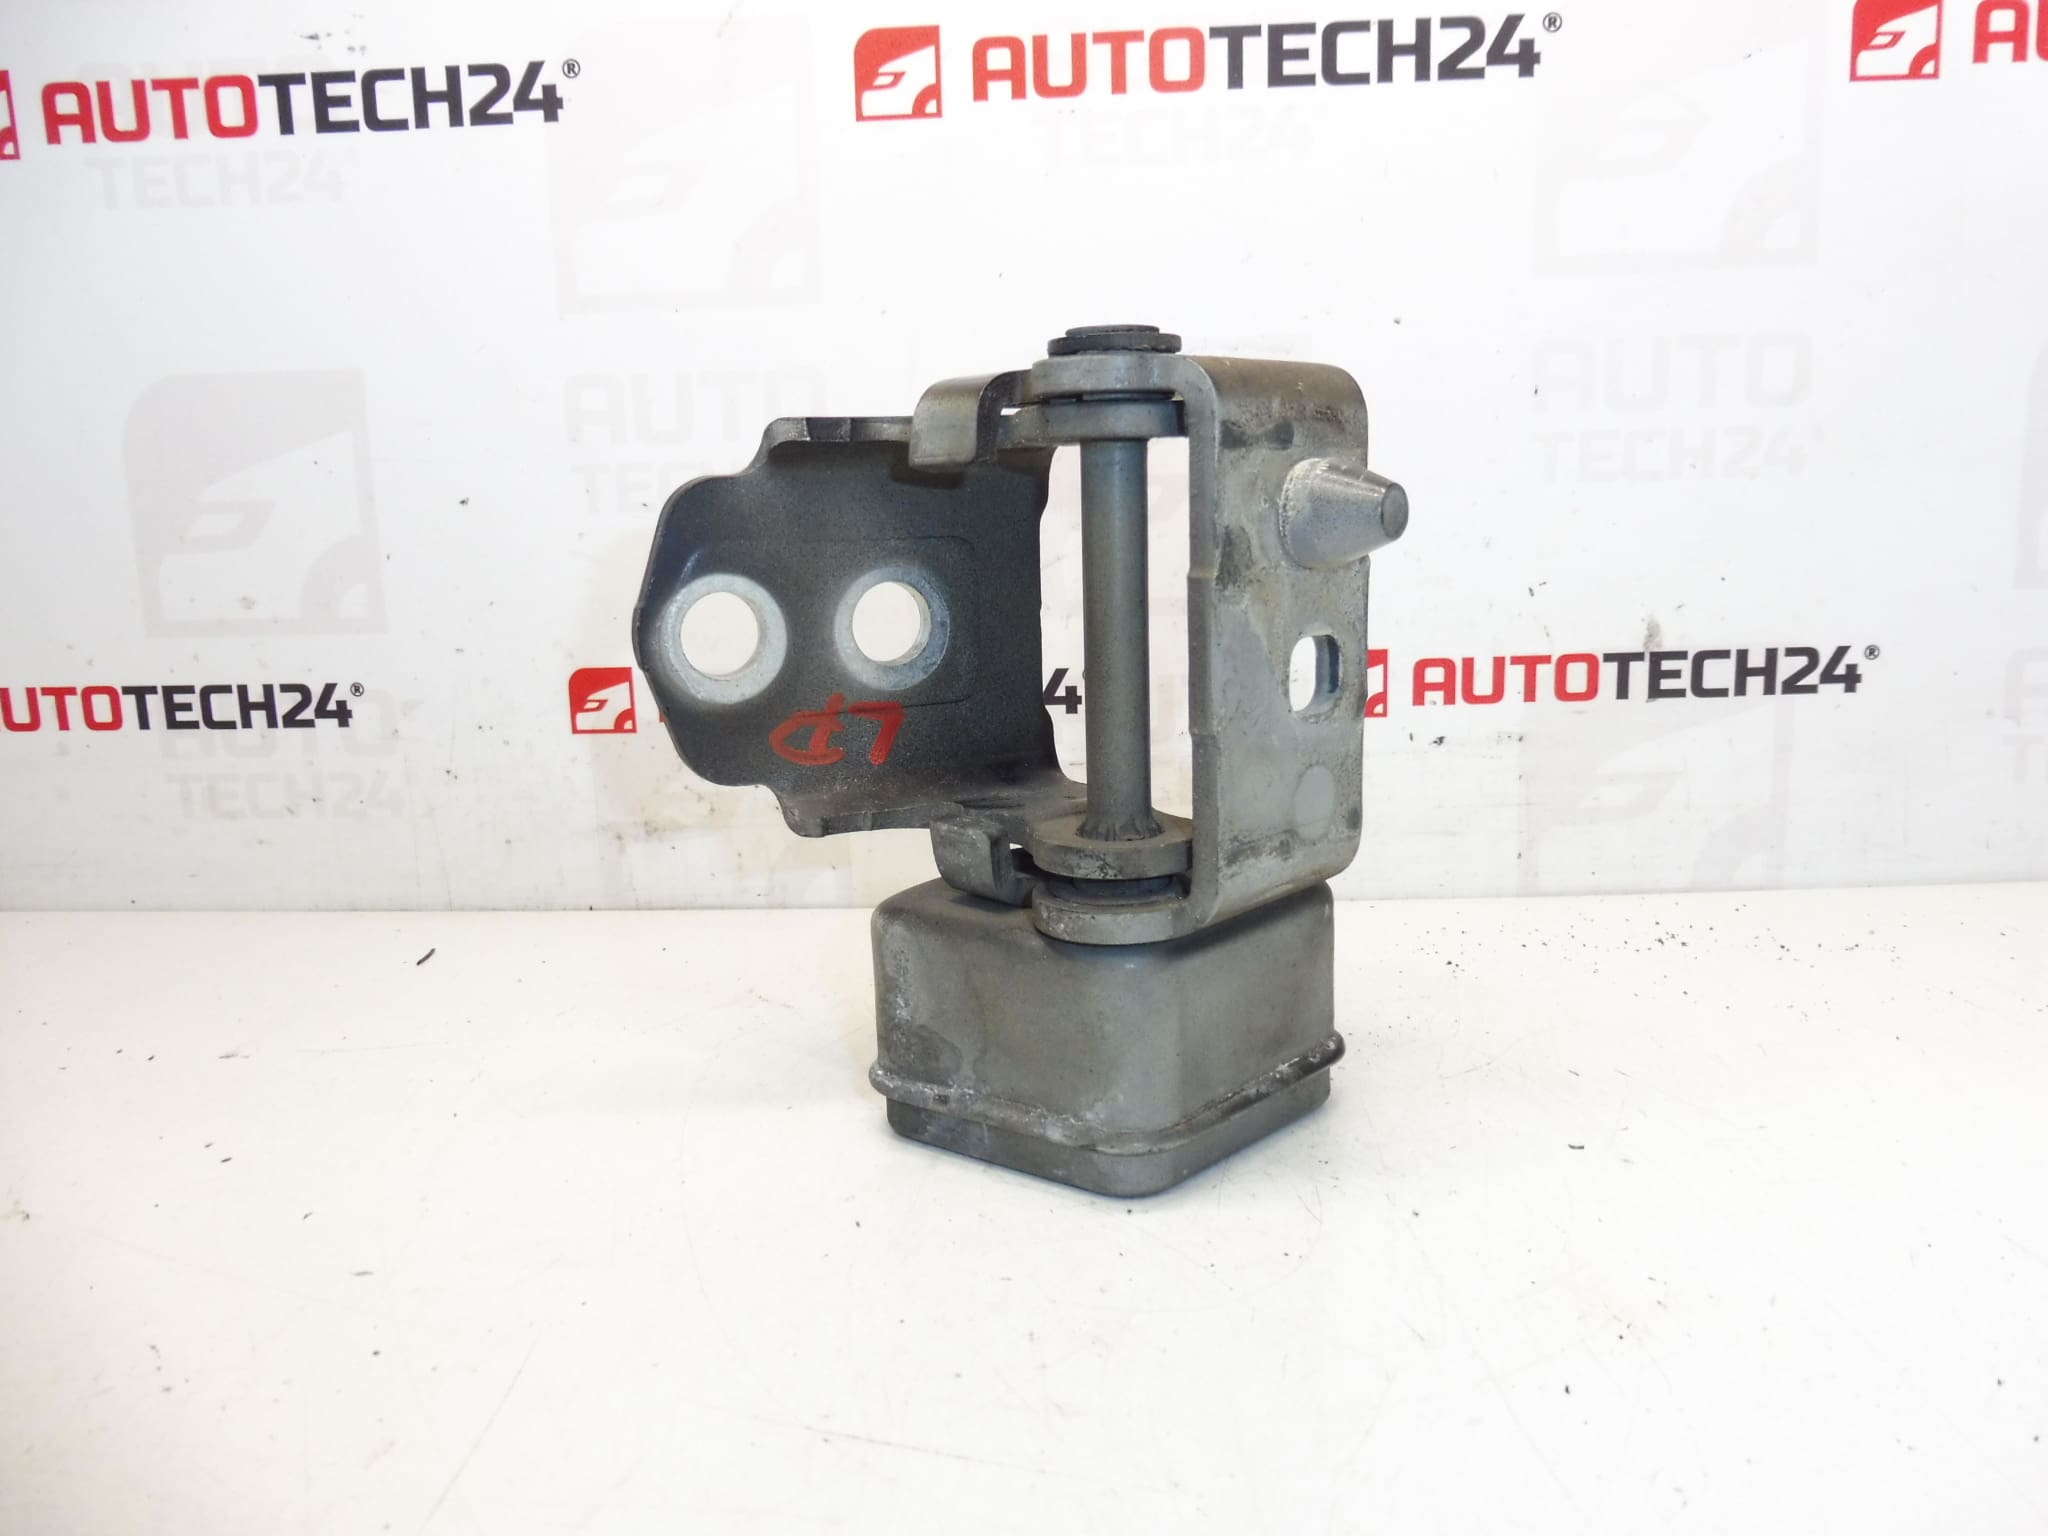
Door Check/Stop Hinge For Left Front Door For Peugeot 207. Color EXL – Obsidian Black Paint. Driver’s Door.
Product Overview
This Left Front Door Check/Stop Hinge (Driver’s Door) is an original-design replacement for Peugeot 207 models. It controls door travel, holds the door in set open positions and prevents over-rotation that can damage the door shell or adjacent bodywork. The EXL finish in Obsidian Black ensures a factory-matching appearance where the part is visible.
Why Choose This Part
- Direct Fit For Peugeot 207 — Designed To Match OE Mounting Points For Fast, Accurate Installation.
- Restores Proper Door Operation — Eliminates Excess Play, Slamming And Unreliable Door Retention.
- Durable Finish — Painted In Obsidian Black (EXL) To Match Factory Trim And Resist Corrosion.
- Suitable For Professional Garages And Self-Repair Enthusiasts — Commonly Searched By Part Number 9035T5.
Symptoms Indicating Replacement
Replace The Door Check/Stop If You Notice:
- Door Does Not Hold In Open Positions Or Falls Shut.
- Excessive Lateral Play Or Loose Feeling When Opening/Closing.
- Grinding, Clicking Or Unusual Noises From The Hinge Area.
- Visible Corrosion, Deformation Or Damage To The Check Strap/Bracket.
How The Part Fails And Typical Causes
The Most Common Reasons For Failure Are Wear Of The Pivot Or Check Mechanism, Corrosion From Moisture And Road Salt, Mechanical Damage From Impacts Or Repeated Slamming, And Fatigue Of Internal Components. Failure Leads To Poor Door Retention, Misalignment And Noise.
Replacement Guide
The following gives an overview of the replacement procedure for an experienced mechanic or a competent DIYer. Always Follow The Vehicle Manufacturer’s Service Manual For Exact Procedures And Torque Values.
- Support The Door Securely Before Starting To Prevent Dropping Or Misalignment (Use A Jack With Soft Support Or Assistant To Hold The Door).
- Open The Door To Access The Check/Stop Area And Remove Any Trim Or Protective Covers As Required.
- Unscrew The Fasteners That Secure The Door Check To The Body And Door (Keep Track Of Fastener Type And Position).
- Remove The Old Check Carefully, Inspect Mounting Holes And Surrounding Paint For Damage Or Corrosion.
- Install The New Unit In Reverse Order, Ensuring Correct Alignment. Tighten Fasteners To Manufacturer’s Specification.
- Check Door Operation Through Full Travel, Confirm That The Door Holds In Positions And That There Is No Unwanted Play Or Noise.
Installation Recommendations
- Always Support The Door To Avoid Stressing Hinges Or Wiring.
- Replace Fasteners If They Are Stretched, Corroded Or Damaged.
- Clean And Treat Mounting Surfaces To Prevent Future Corrosion.
- Adjust Door Alignment If Necessary After Installation To Ensure Even Gaps And Proper Latch Engagement.
Technical Information
- Manufacturer: Stellantis (Citroën / Peugeot)
- Model: Peugeot 207
- Product Codes: 9035T5
- Additional Numbers: EXLD; Color: EXL – Obsidian Black Paint; Position: Left Front (Driver’s Door)
Most Common Reason For Part Failure
The Part Typically Fails Due To Progressive Wear And Corrosion, Often Accelerated By Environmental Factors (Moisture, Road Salt) Or Mechanical Shock From Impacts And Repeated Door Slamming. Preventive Maintenance Includes Regular Inspection, Cleaning Of Mounting Areas And Prompt Repair After Any Door Impact.
Compatibility And Notes
This Item Is Intended For Use On The Left Front (Driver’s) Door Of Peugeot 207 Vehicles. Customers Frequently Search Using The Part Number 9035T5, So Confirm Fitment Against Vehicle Model And Year When Selecting Parts.