Description
Electronic Seat Belt Activation Unit For Citroën And Peugeot Vehicles
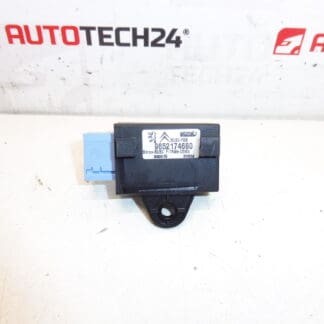
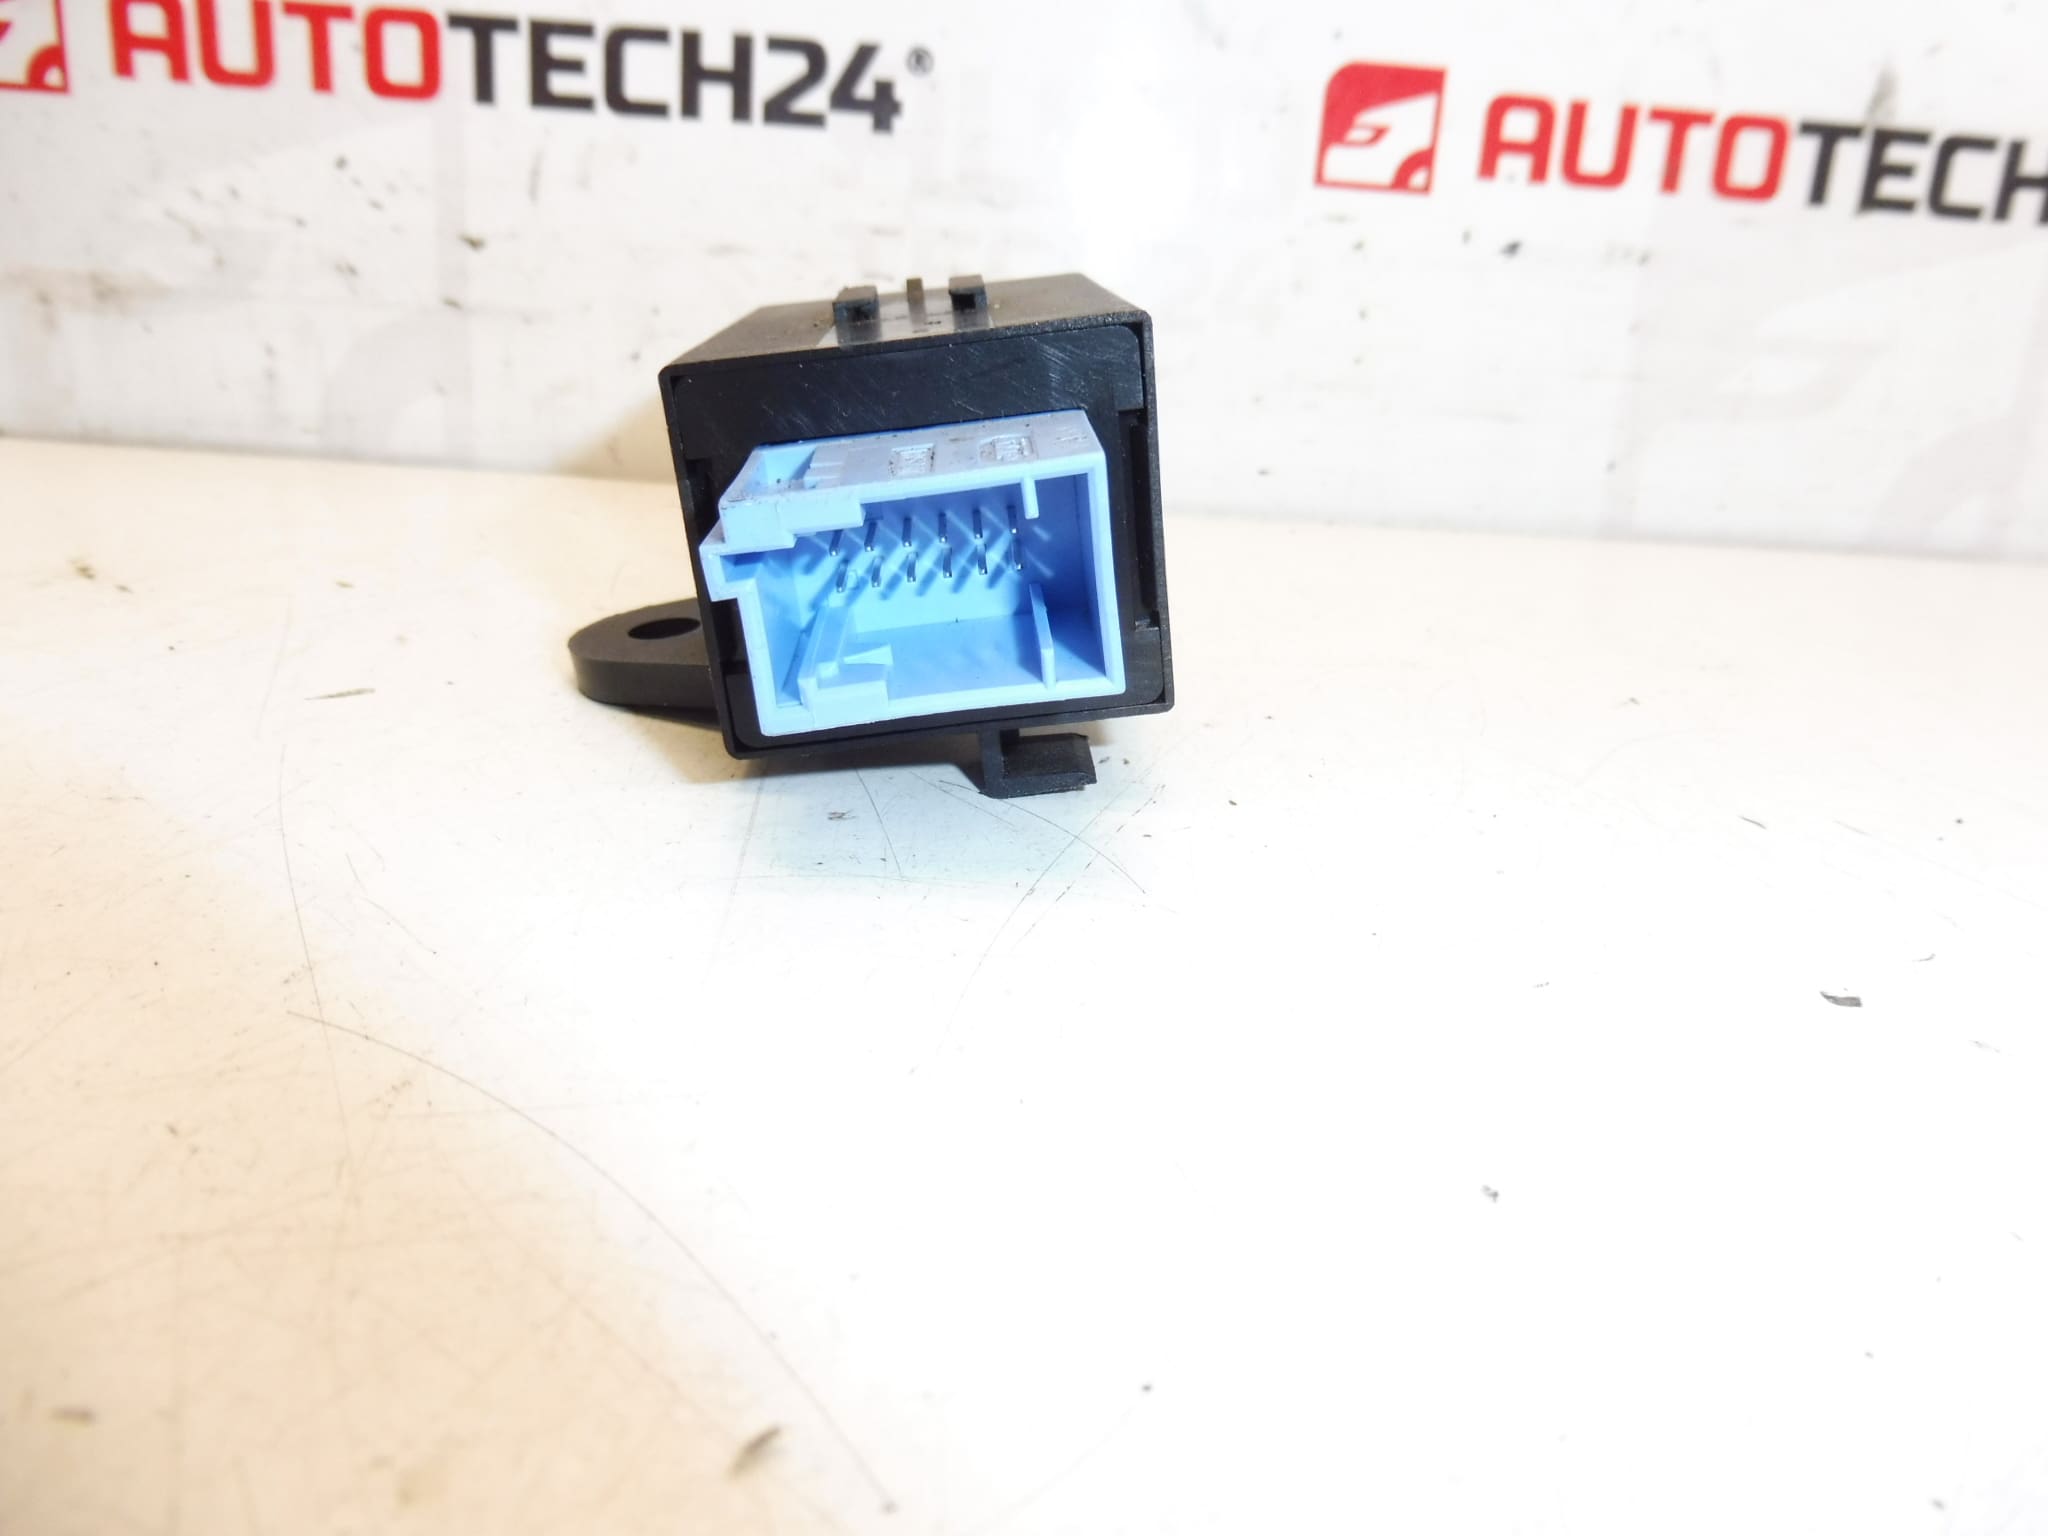
This electronic seat belt activation/relay unit (part numbers 9652174680 / 8914GH) is an OEM-style safety component used on various Citroën and Peugeot models, commonly fitted to vehicles such as the Peugeot 407. Designed for professional garages and experienced DIYers, the unit controls the seat belt reminder/activation circuitry and interfaces with the vehicle’s restraint systems to ensure correct belt status signalling. Replacing a faulty module restores correct seat belt warning behaviour and can clear persistent dash indications related to the belt system when combined with proper diagnostic reset.
Technical Information
- Manufacturer: Stellantis (Citroën / Peugeot)
- Model: Citroën And Peugeot Vehicles (Typical Fitment: Peugeot 407)
- Product Codes: 9652174680, 8914GH
- Additional Numbers: NFP
How To Replace
Location and removal procedure vary by model and equipment level. The unit is typically installed behind trim panels near seat belt anchor points, under the center console, or in a seat/footwell area. General replacement steps for a competent mechanic or experienced DIYer:
- Park vehicle on level ground, engage parking brake and remove ignition key.
- Disconnect the negative battery terminal and wait at least two minutes to allow any SRS capacitors to discharge.
- Remove the necessary trim panels to access the unit; keep fasteners and clips organised for reassembly.
- Unplug electrical connectors carefully, noting or photographing connector positions.
- Replace the unit with the new module, reconnect connectors and secure mounting bolts.
- Reinstall trim panels, reconnect the battery, and verify correct operation of the seat belt reminder and related indicators.
- Use a compatible diagnostic tool to read and clear any stored fault codes and confirm system status after replacement.
Installation Recommendations
- Always Disconnect The Battery Before Starting Work To Reduce Risk Of Electrical Damage Or Airbag Deployment.
- Handle Connectors And Wiring With Care To Avoid Damaging Pins Or Causing Poor Contacts.
- Inspect Wiring Looms, Grounds And Connector Pins For Corrosion Or Damage During Removal.
- After Fitment, Perform A Full System Check With A Diagnostic Tool To Confirm Proper Communication And Clear Fault Codes.
- Follow Manufacturer Torque Specifications For Fasteners And Refit All Trim Clips To Avoid Rattles Or Loose Panels.
Most Common Reasons For Failure
- Water Ingress And Corrosion: Moisture is a frequent cause of connector and module failure, especially in vehicles exposed to wet environments.
- Connector Oxidation Or Poor Contact: Intermittent electrical contact can produce fault codes or prevent correct signalling to the instrument cluster.
- Electrical Surges Or Short Circuits: Battery faults, jump-starting errors, or accessory wiring issues can damage internal electronics.
- Mechanical Damage From Accidents: Impact can damage seat belt anchorage electronics or trigger irreversible changes in the restraint system.
- Age And Thermal Stress: Over many years, solder joints or electronic components may degrade and fail.
Search By Part Number When Ordering: Buyers commonly look up this type of component by product codes 9652174680 or 8914GH. Matching the part number ensures correct fitment and reduces downtime in the workshop.
Suitable For Professional Workshops And Skilled DIYers: The unit is intended for users familiar with vehicle electrical systems and who can access the required trim and diagnostic tools. If in doubt about diagnostic procedures, consult factory service literature or a qualified technician.