Description
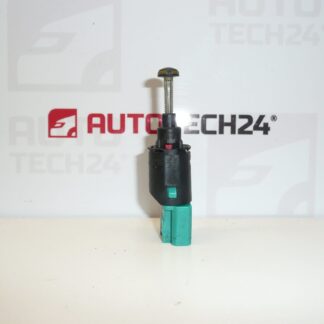
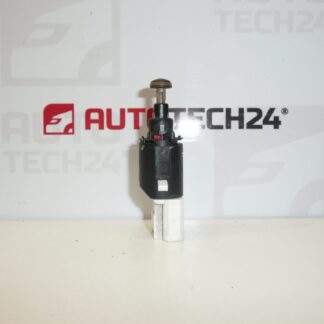
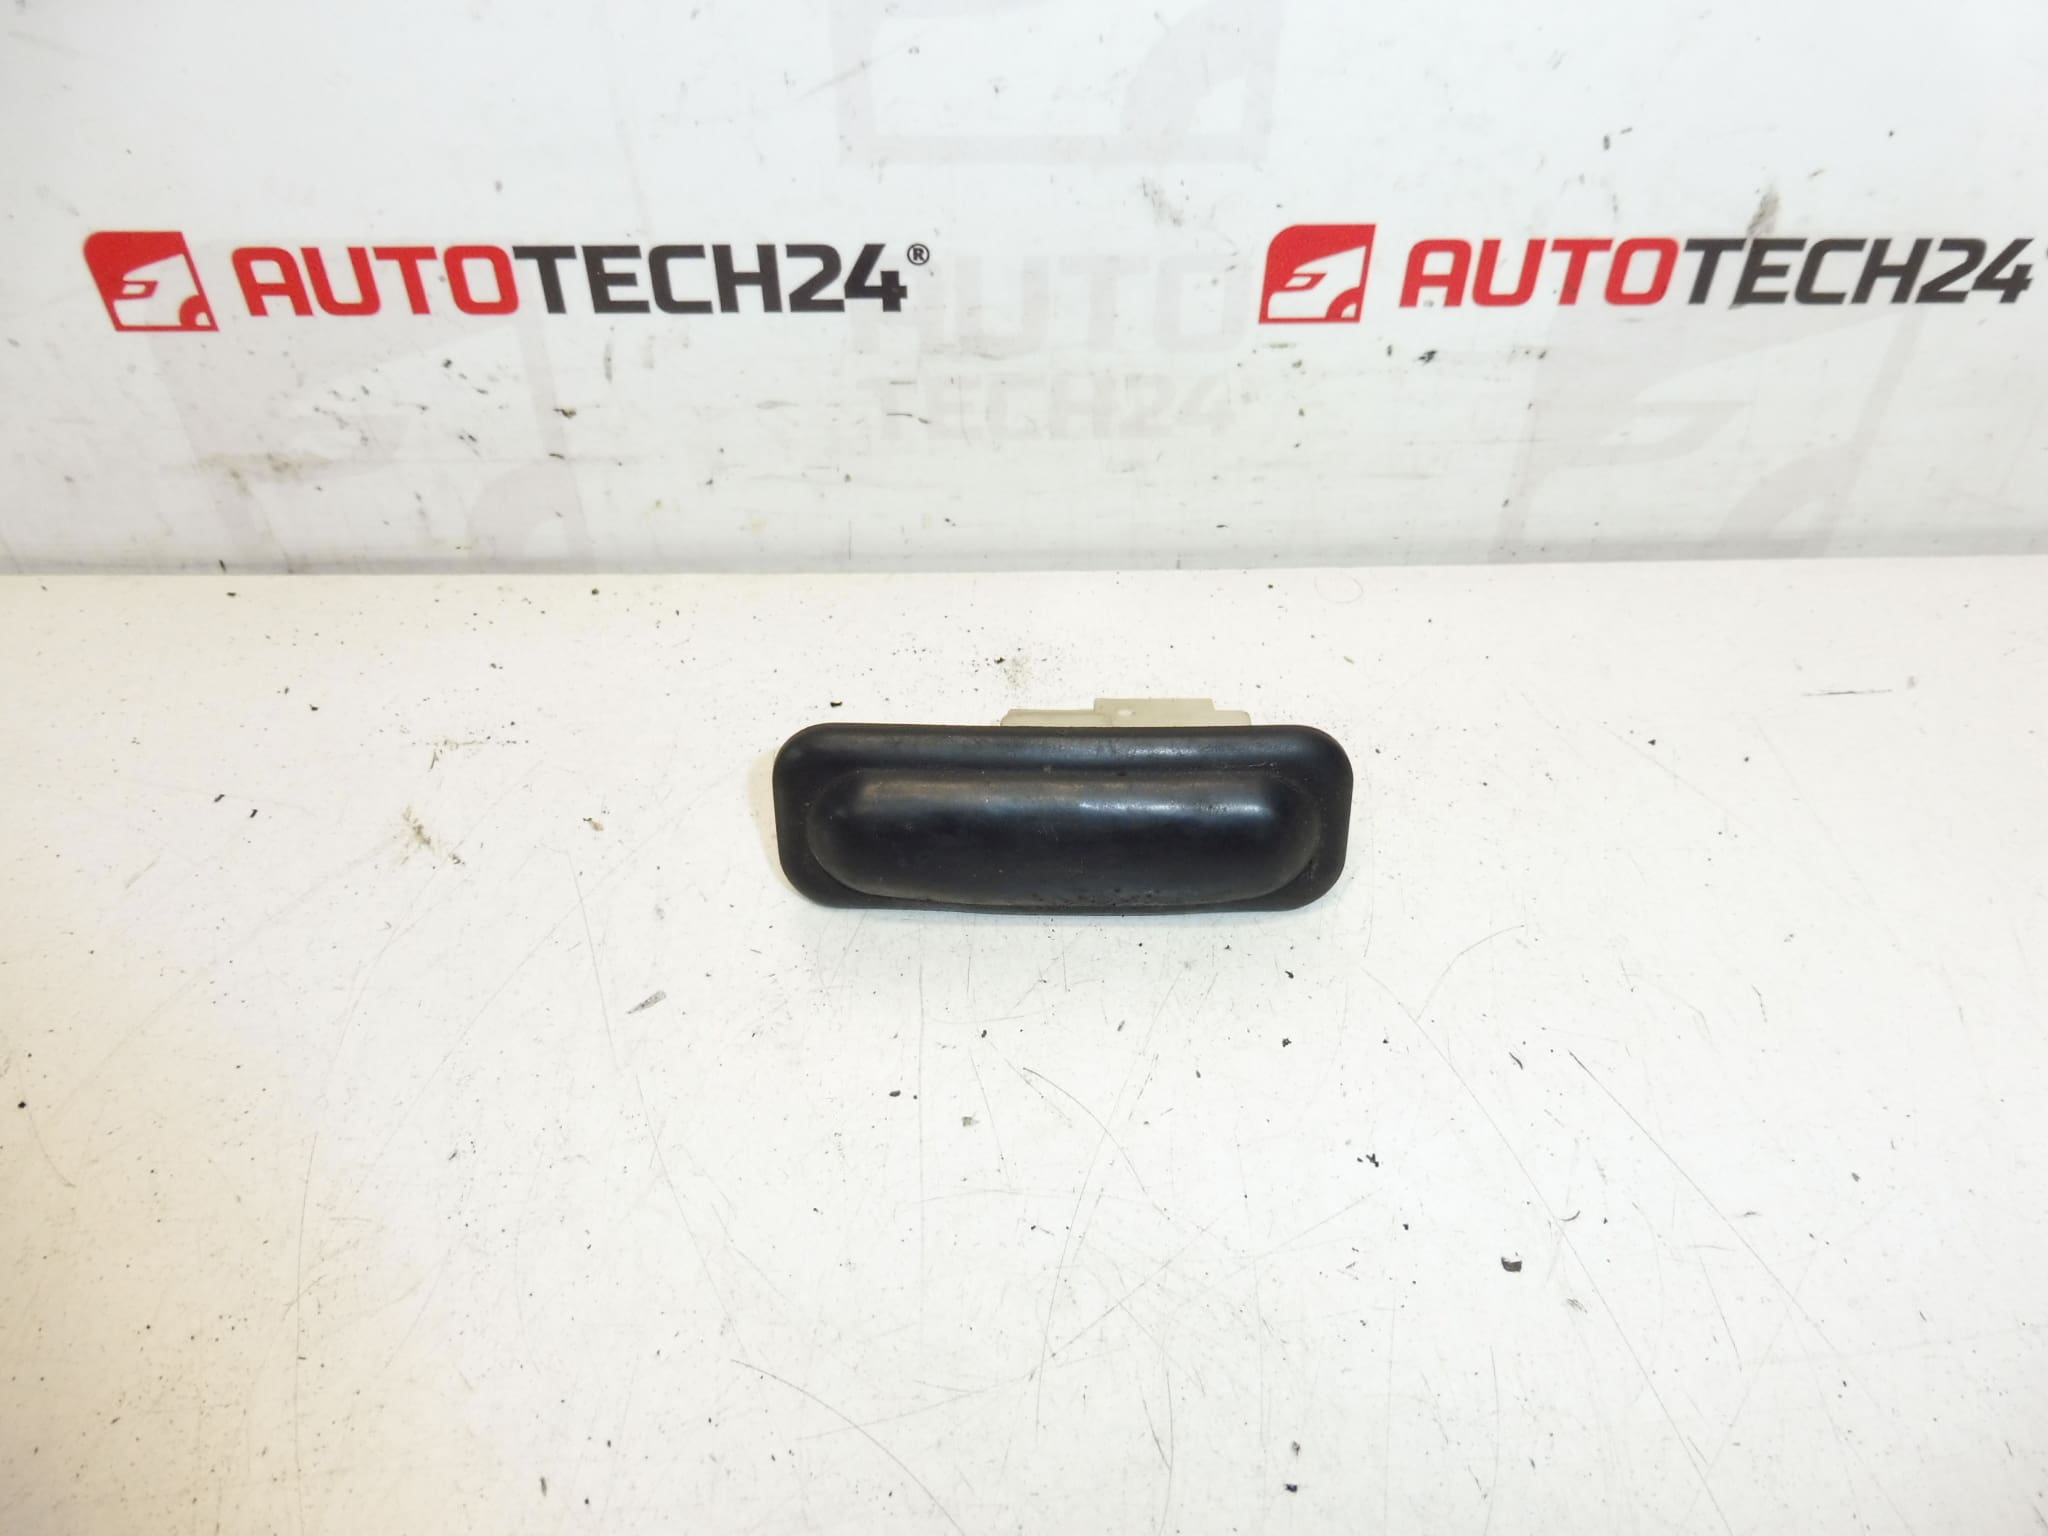
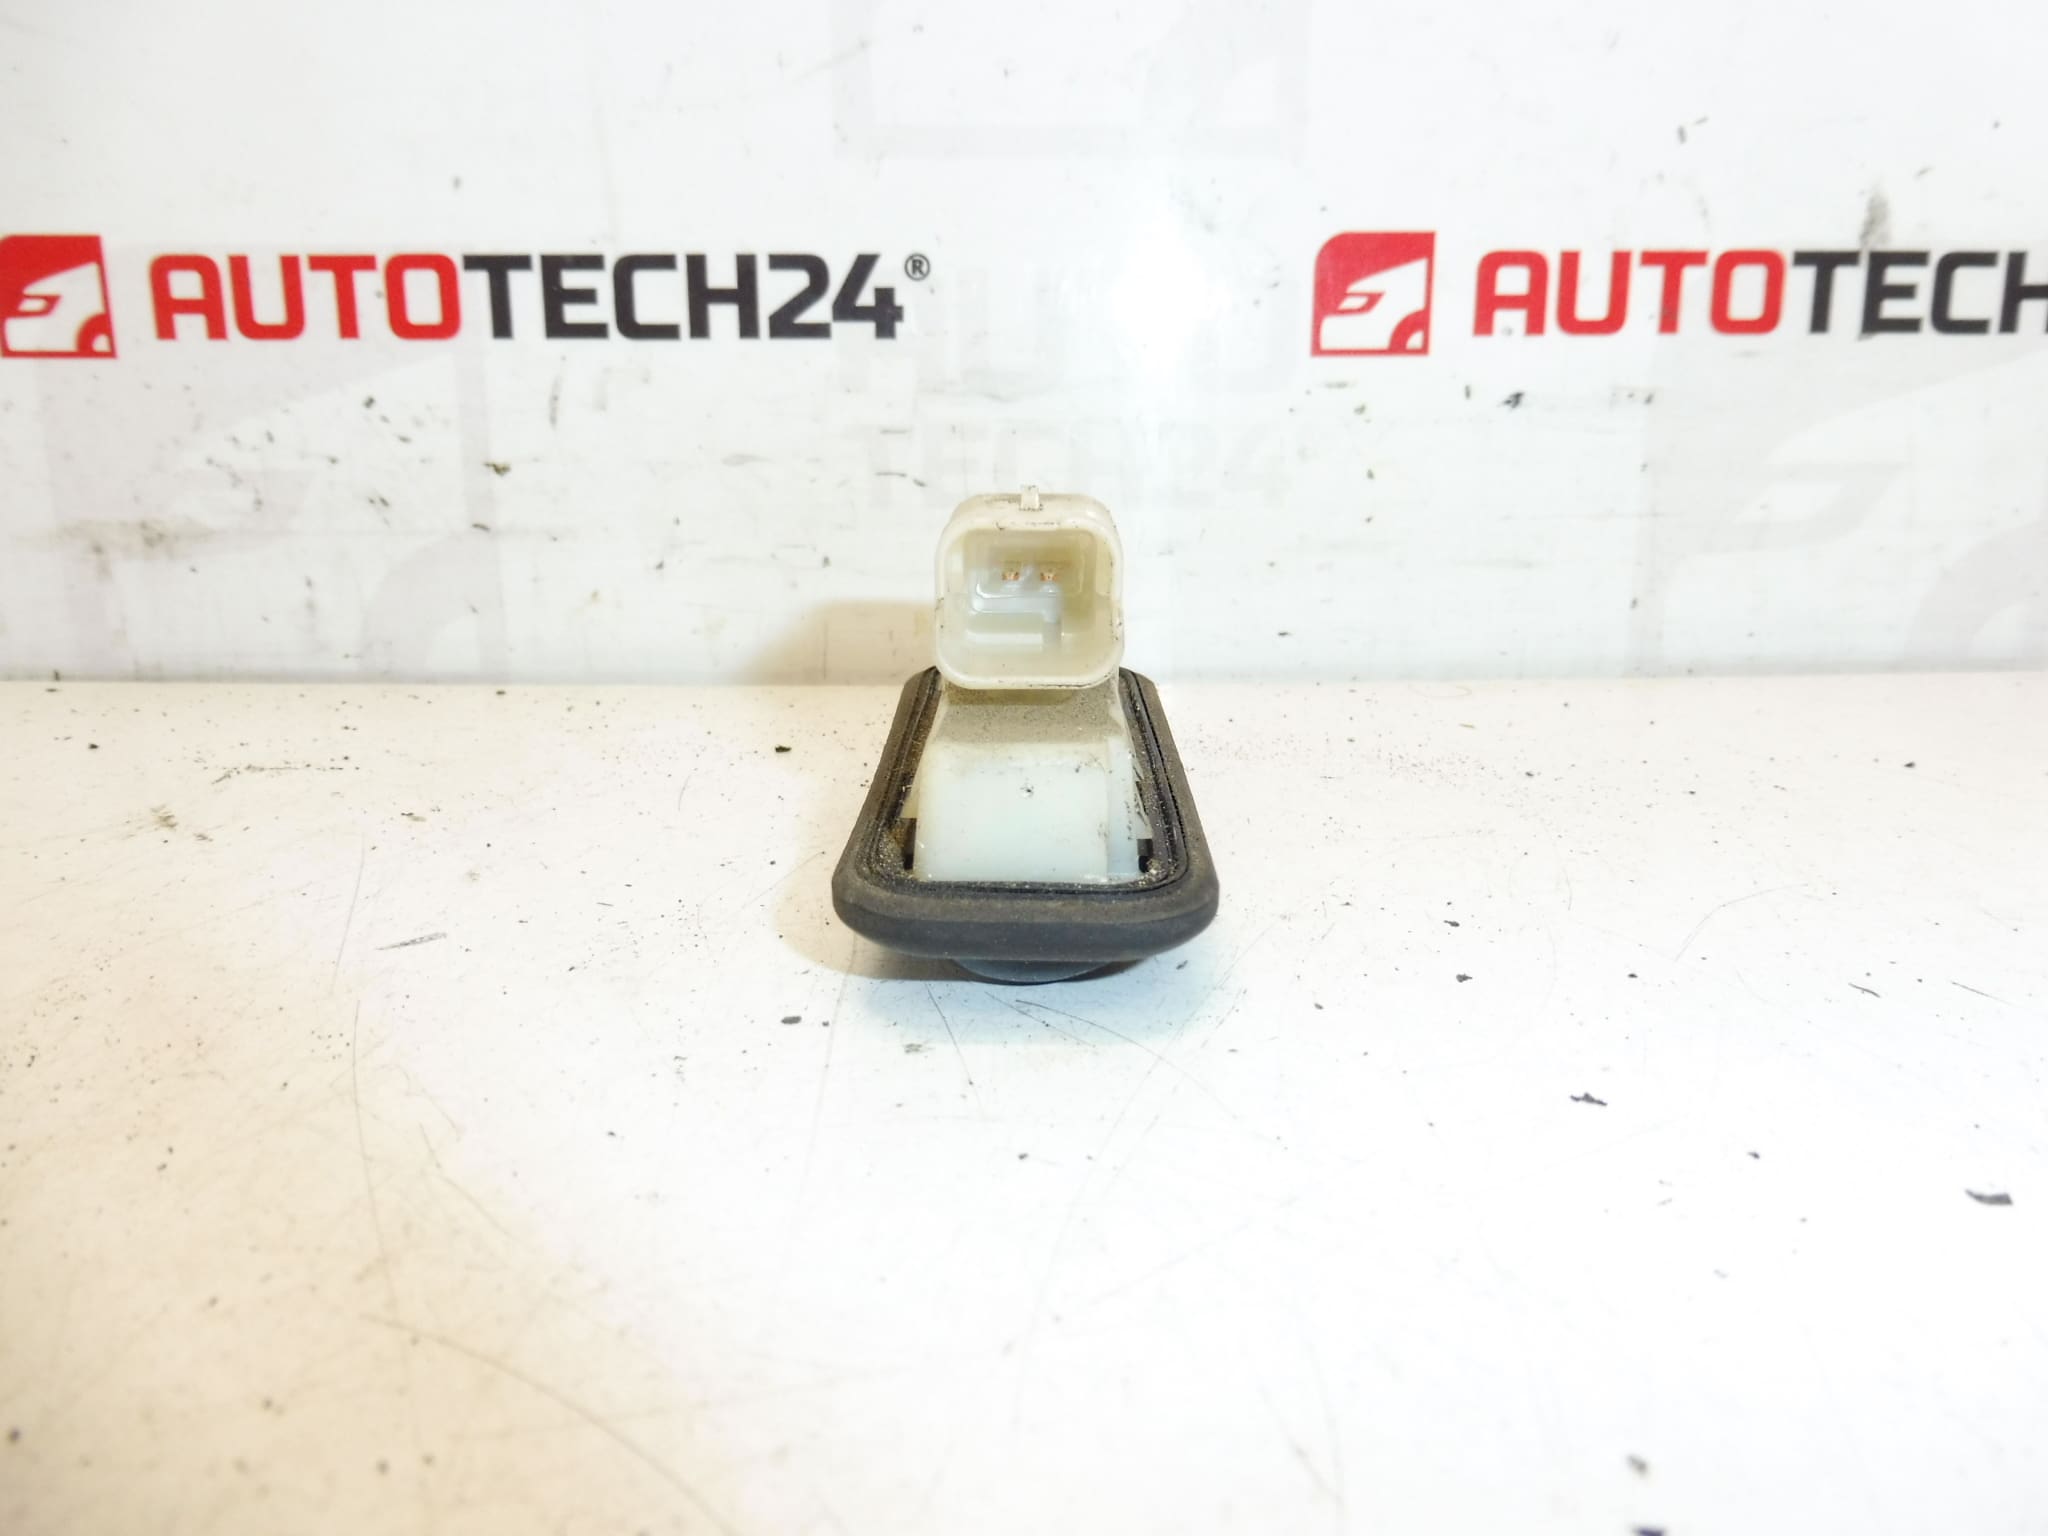
Tailgate Release Switch For Citroën C3 II A51 And DS3
This tailgate release switch (part code 6490CN) is a direct-fit replacement designed for the rear hatch of Citroën C3 II (A51) and Citroën DS3 models. Built to restore reliable opening and closing of the tailgate, the switch is suitable for professional workshops and experienced DIY mechanics who require an OE-style component for fast-fit repairs. The switch is commonly referenced by code 6490CN in parts catalogs and service diagrams.
Technical Information
- Manufacturer: Stellantis / Citroën
- Model: Citroën C3 II (A51); DS3
- Product Codes: 6490CN
- Additional Numbers: 6490CN
Function And Benefits
- Controls the electrical release mechanism for the tailgate latch, allowing the hatch to open when actuated.
- Provides a tactile, reliable switching action to prevent accidental openings and ensure secure closure.
- Direct-fit design simplifies replacement without the need for additional modifications or adapters.
- Restores central locking/tailgate convenience functions when the original switch has failed.
Fitment And Compatibility
Fits Citroën C3 II (A51) and Citroën DS3 models where the original equipment is referenced by code 6490CN. Always verify that the physical connector and mounting points match the vehicle’s tailgate assembly before installation.
Recommended Installation Procedure
- Park vehicle on level ground and engage parking brake.
- Before starting, disconnect the negative battery terminal to prevent short circuits when working with electrical components.
- Open the tailgate and remove the interior trim panel using appropriate trim tools to avoid damaging clips and plastic parts.
- Locate the switch assembly on the tailgate edge or inside the trim, remove retaining screws or clips, and gently release the module from its mounting.
- Disconnect the electrical connector by pressing the locking tab and pulling straight out. Inspect the connector for corrosion or bent pins.
- Fit the replacement switch, reconnect the electrical plug, secure the module with fasteners, and refit the trim panel.
- Reconnect the battery and test the tailgate release function several times to confirm correct operation before finishing the job.
- Use non-marring tools and avoid overtightening plastic fasteners to prevent damage to trim components.
Why This Part Most Commonly Fails
- Mechanical Wear: Repeated use leads to wear of internal contacts and plastic actuators, producing intermittent or failed operation.
- Moisture And Corrosion: Tailgate switches are exposed to humidity and water ingress, which can corrode electrical contacts or cause short circuits.
- Impact Or Misuse: Damage from loading cargo, slamming the tailgate, or accidental impact can crack the switch housing or deform the actuator.
- Connector Problems: Loose or oxidised wiring connectors at the switch can result in unreliable signals and intermittent faults.
Maintenance Tips
- Inspect the switch and connector during routine service intervals for signs of corrosion or wear.
- Keep the tailgate drain channels clear to reduce the chance of water reaching the switch area.
- If contact corrosion is present, clean connector pins with suitable electrical contact cleaner and protect with dielectric grease.
Notes For Professionals And DIY Mechanics
Part code 6490CN is commonly used in parts lookups and service manuals for the listed models. This replacement switch is intended for technicians comfortable with interior trim removal and basic electrical diagnostics. After replacement, verify full function of central locking and any linked convenience features.