Description
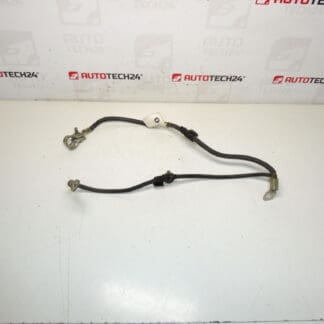
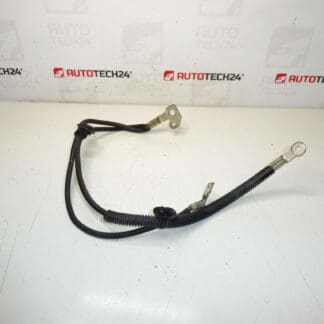
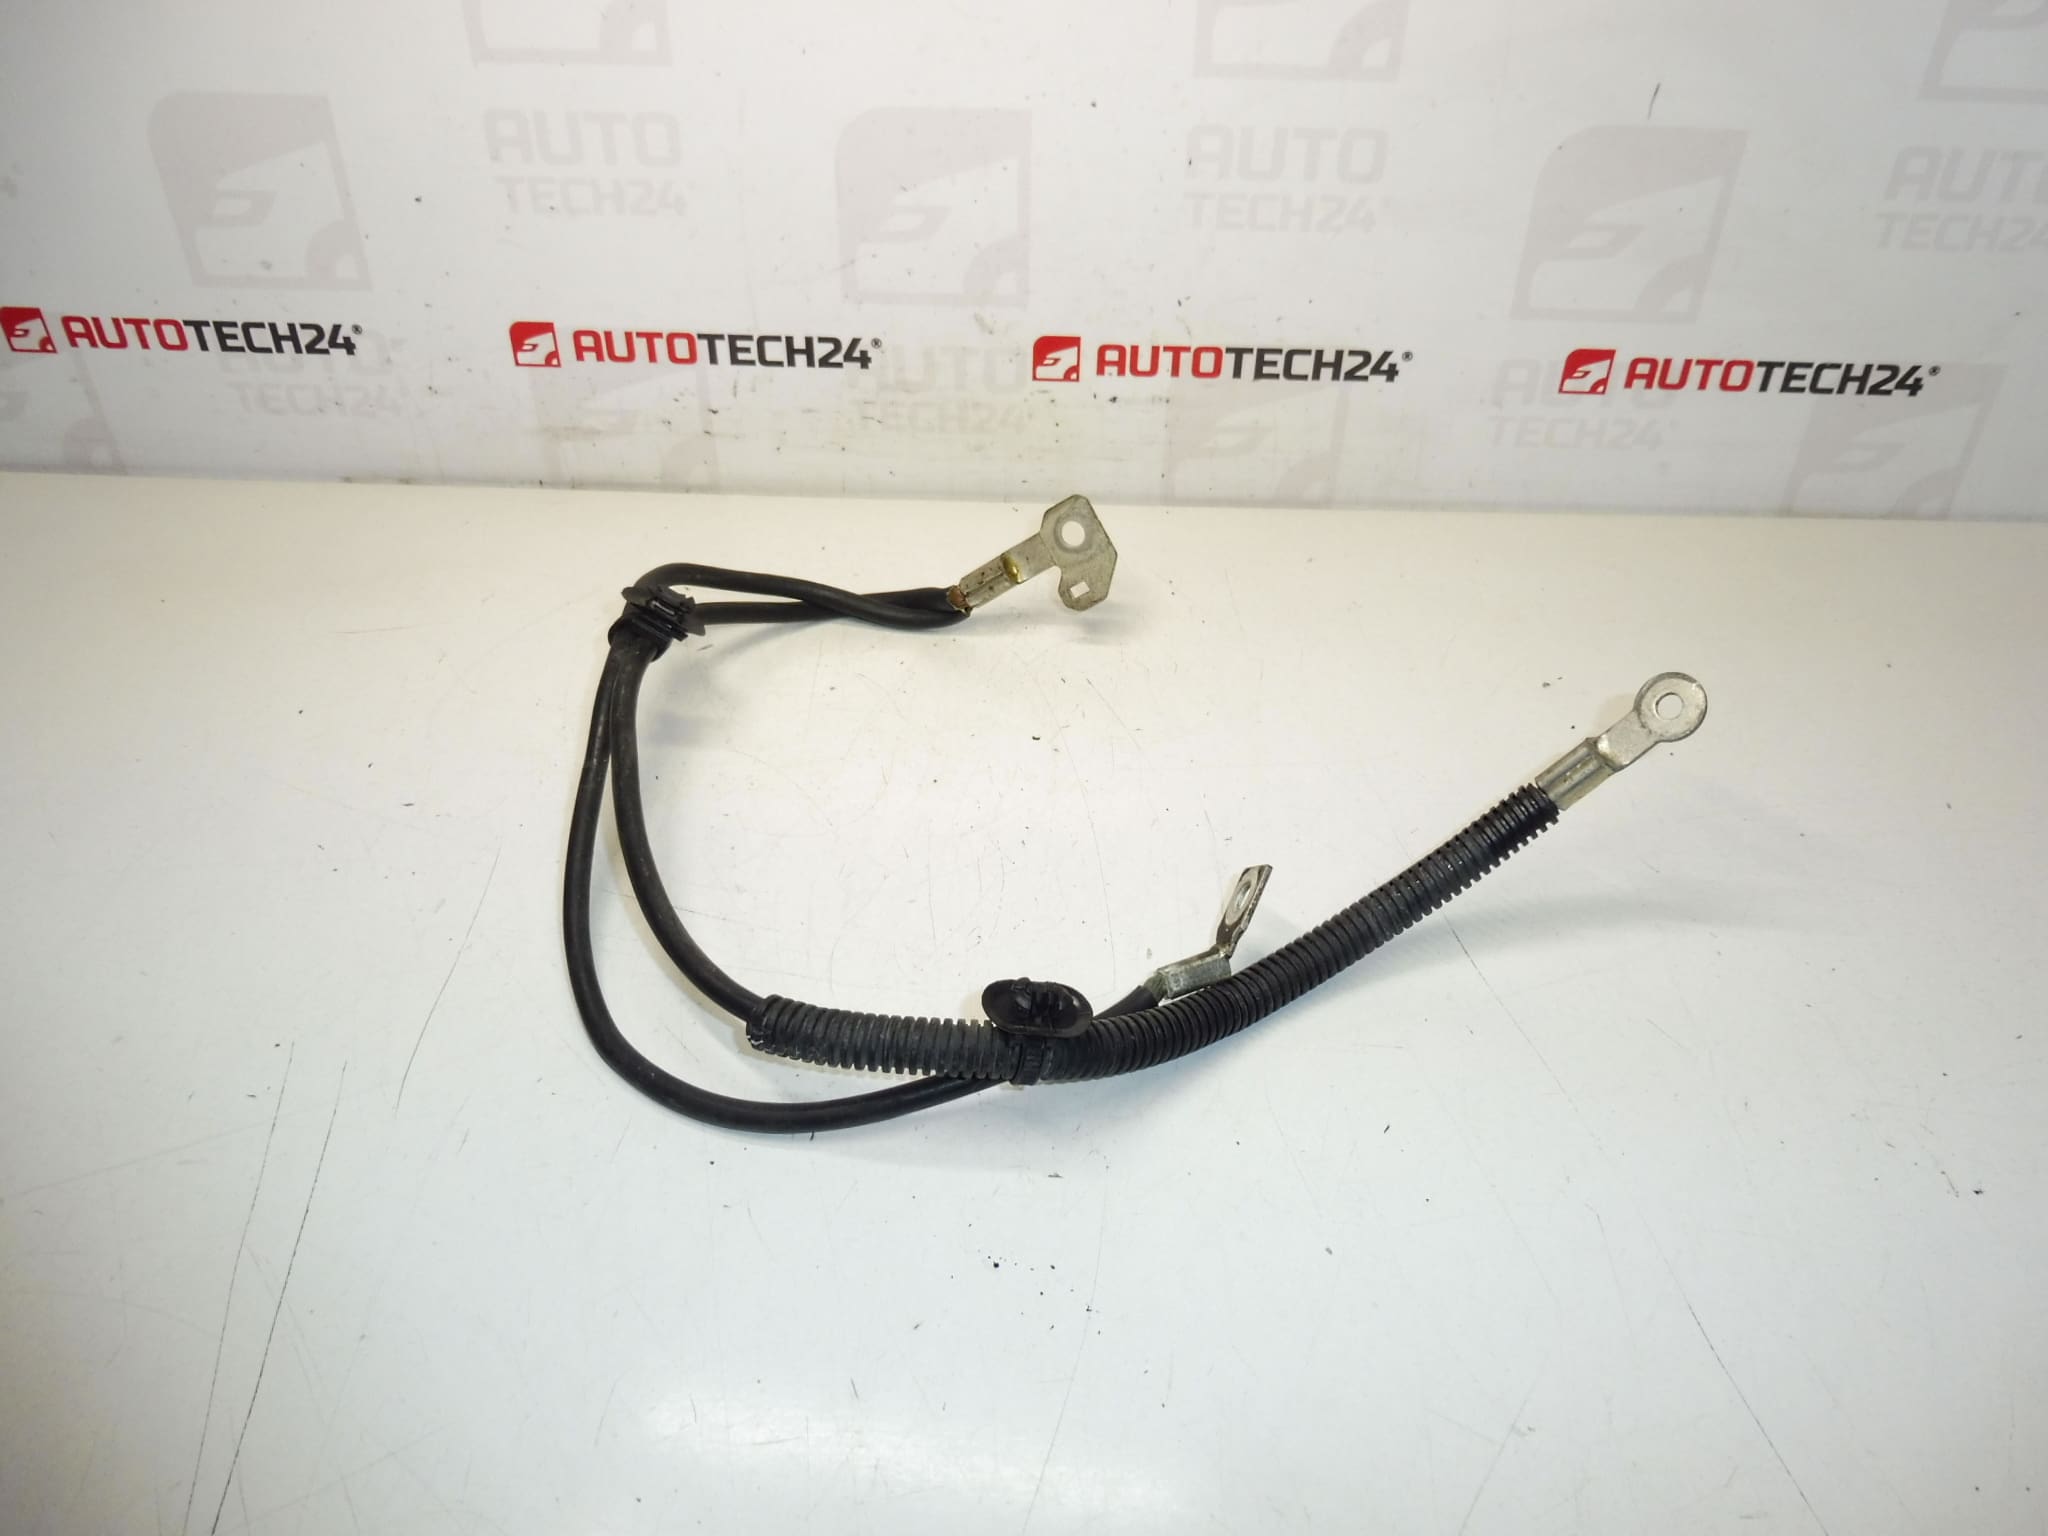
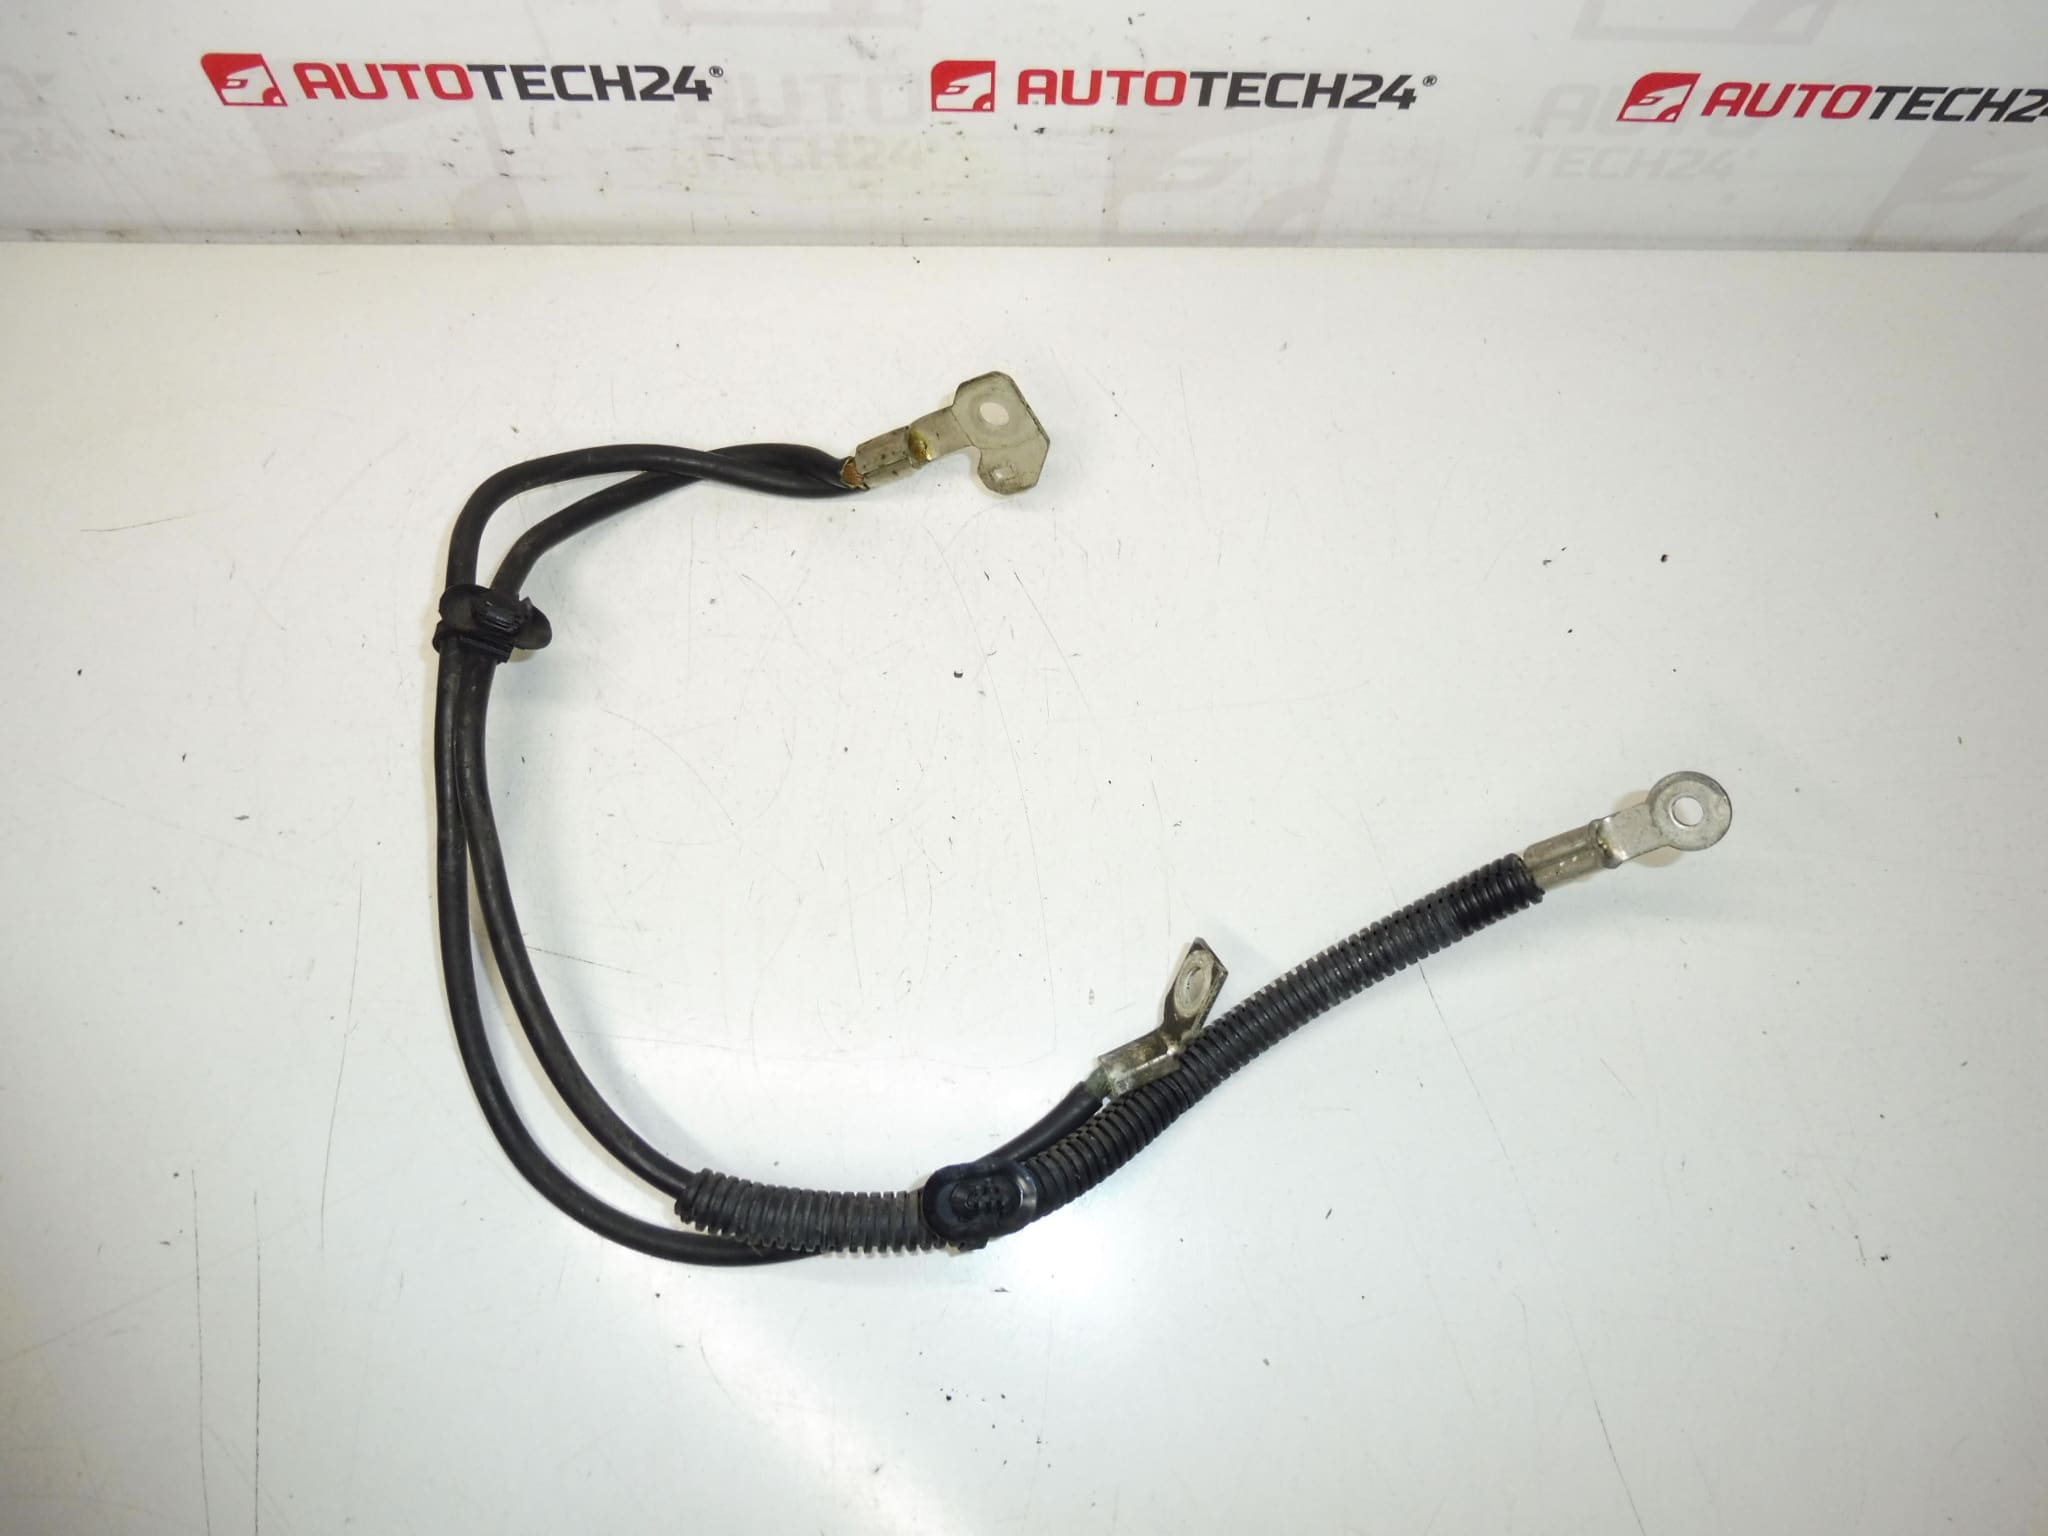
Engine wiring harness for the negative battery terminal for Citroën and Peugeot vehicles. Without Battery Charge State Unit – can be purchased separately: 6500KT.
This battery negative/ground engine harness is an OE‑style replacement designed for Citroën and Peugeot applications. It secures the negative pole of the battery to the engine block and chassis ground, ensuring reliable return paths for starter, alternator and vehicle electronics. Supplied under part numbers 9676811780 / 9802871580 / 5638PN, this harness is commonly used on smaller petrol and diesel engines and is a direct-fit option where the original cable assembly has failed, corroded or been damaged by heat and mechanical wear.
Key Benefits
- Direct replacement for OE harnesses with matching routing and connector interfaces.
- Restores Good Grounding And Electrical Stability For Starting And Charging Systems.
- Compatible With Vehicles Equipped With 1.4 16V, 1.4 HDi And 1.4 VTi Engine Variants (See Compatibility).
- Allows Optional Fitment Of Battery Charge State Unit (6500KT) If Required.
Function
The harness provides the main negative connection between the battery, engine block and vehicle chassis. A solid, low‑resistance ground is essential for starter motor performance, alternator charging regulation and stable operation of all onboard electronics. The assembly typically includes lug terminals, insulated cable sections and attachment points designed to match factory routing.
Compatibility / Typical Applications
Fits Various Citroën And Peugeot Models Including, But Not Limited To, Citroën C4 II And Other Small‑Platform Vehicles Equipped With 1.4‑L Engines (1.4 16V, 1.4 HDi, 1.4 VTi). Searchable By OE Numbers: 9676811780, 9802871580, 5638PN.
Technical Information
- Manufacturer: Stellantis / Citroën / Peugeot
- Model: Compatible With Multiple Citroën And Peugeot Models (See Compatibility Section)
- Product Codes: 9676811780, 9802871580, 5638PN
- Additional Numbers: 6500KT (Battery Charge State Unit – Sold Separately)
Installation Recommendations
- Always Disconnect The Battery Before Starting Work To Avoid Short Circuits And Damage.
- Follow Factory Routing And Secure All Clips And Fasteners To Prevent Chafing And Heat Exposure.
- Clean The Grounding Points To Bare Metal Before Reattaching The Lug; Ensure Good Mechanical Contact.
- Tighten Terminals According To Manufacturer Specifications And Protect Exposed Connections From Corrosion.
- If The Vehicle Uses A Battery Charge State Unit, Install The Unit (6500KT) Where Applicable And Ensure Connectors Are Correctly Seated.
- After Installation, Check Starter Crank Behavior And Charging Voltage To Confirm Proper Operation.
Why The Part Fails
Most Failures Are Caused By Corrosion At Terminals, Mechanical Damage Or Heat Exposure. Road Salt, Moisture And Battery Acid Can Accelerate Deterioration Of The Cable Ends And Lugs. Repeated Current Loads And Vibration May Cause Fractures Or Loss Of Contact, Leading To Hard Starts, Intermittent Electrical Faults Or Irregular Charging.
Signs You Need Replacement
- Difficult Engine Cranking Or Slow Starter Response.
- Intermittent Electrical Faults, Flickering Lights Or Erratic Sensors.
- Visible Corrosion, Melted Insulation Or Loose Terminals On The Negative Pole.
- Voltage Drop Under Load When Tested With Multimeter.
Fitment Notes
Part Numbers Are Common Search Terms For Mechanics And DIY Enthusiasts: 9676811780, 9802871580, 5638PN. Verify Physical Match With The Existing Harness (Connector Shapes, Lengths And Attachment Points) Before Final Installation. Do Not Use If Any Connector Or Insulation Appears Compromised.
Warranty And Quality
This Harness Is Supplied As A Replacement Component Intended To Restore Proper Grounding And Electrical Function. It Is Manufactured To Fit Factory Specifications For The Listed Part Numbers. For Long‑Term Reliability, Ensure Proper Installation And Protection Against Corrosion.