Description
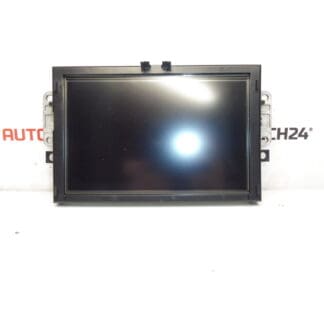
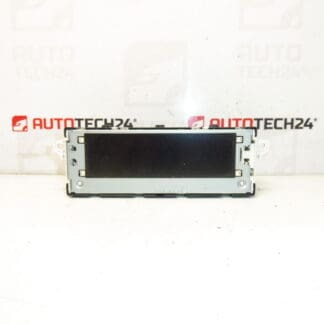
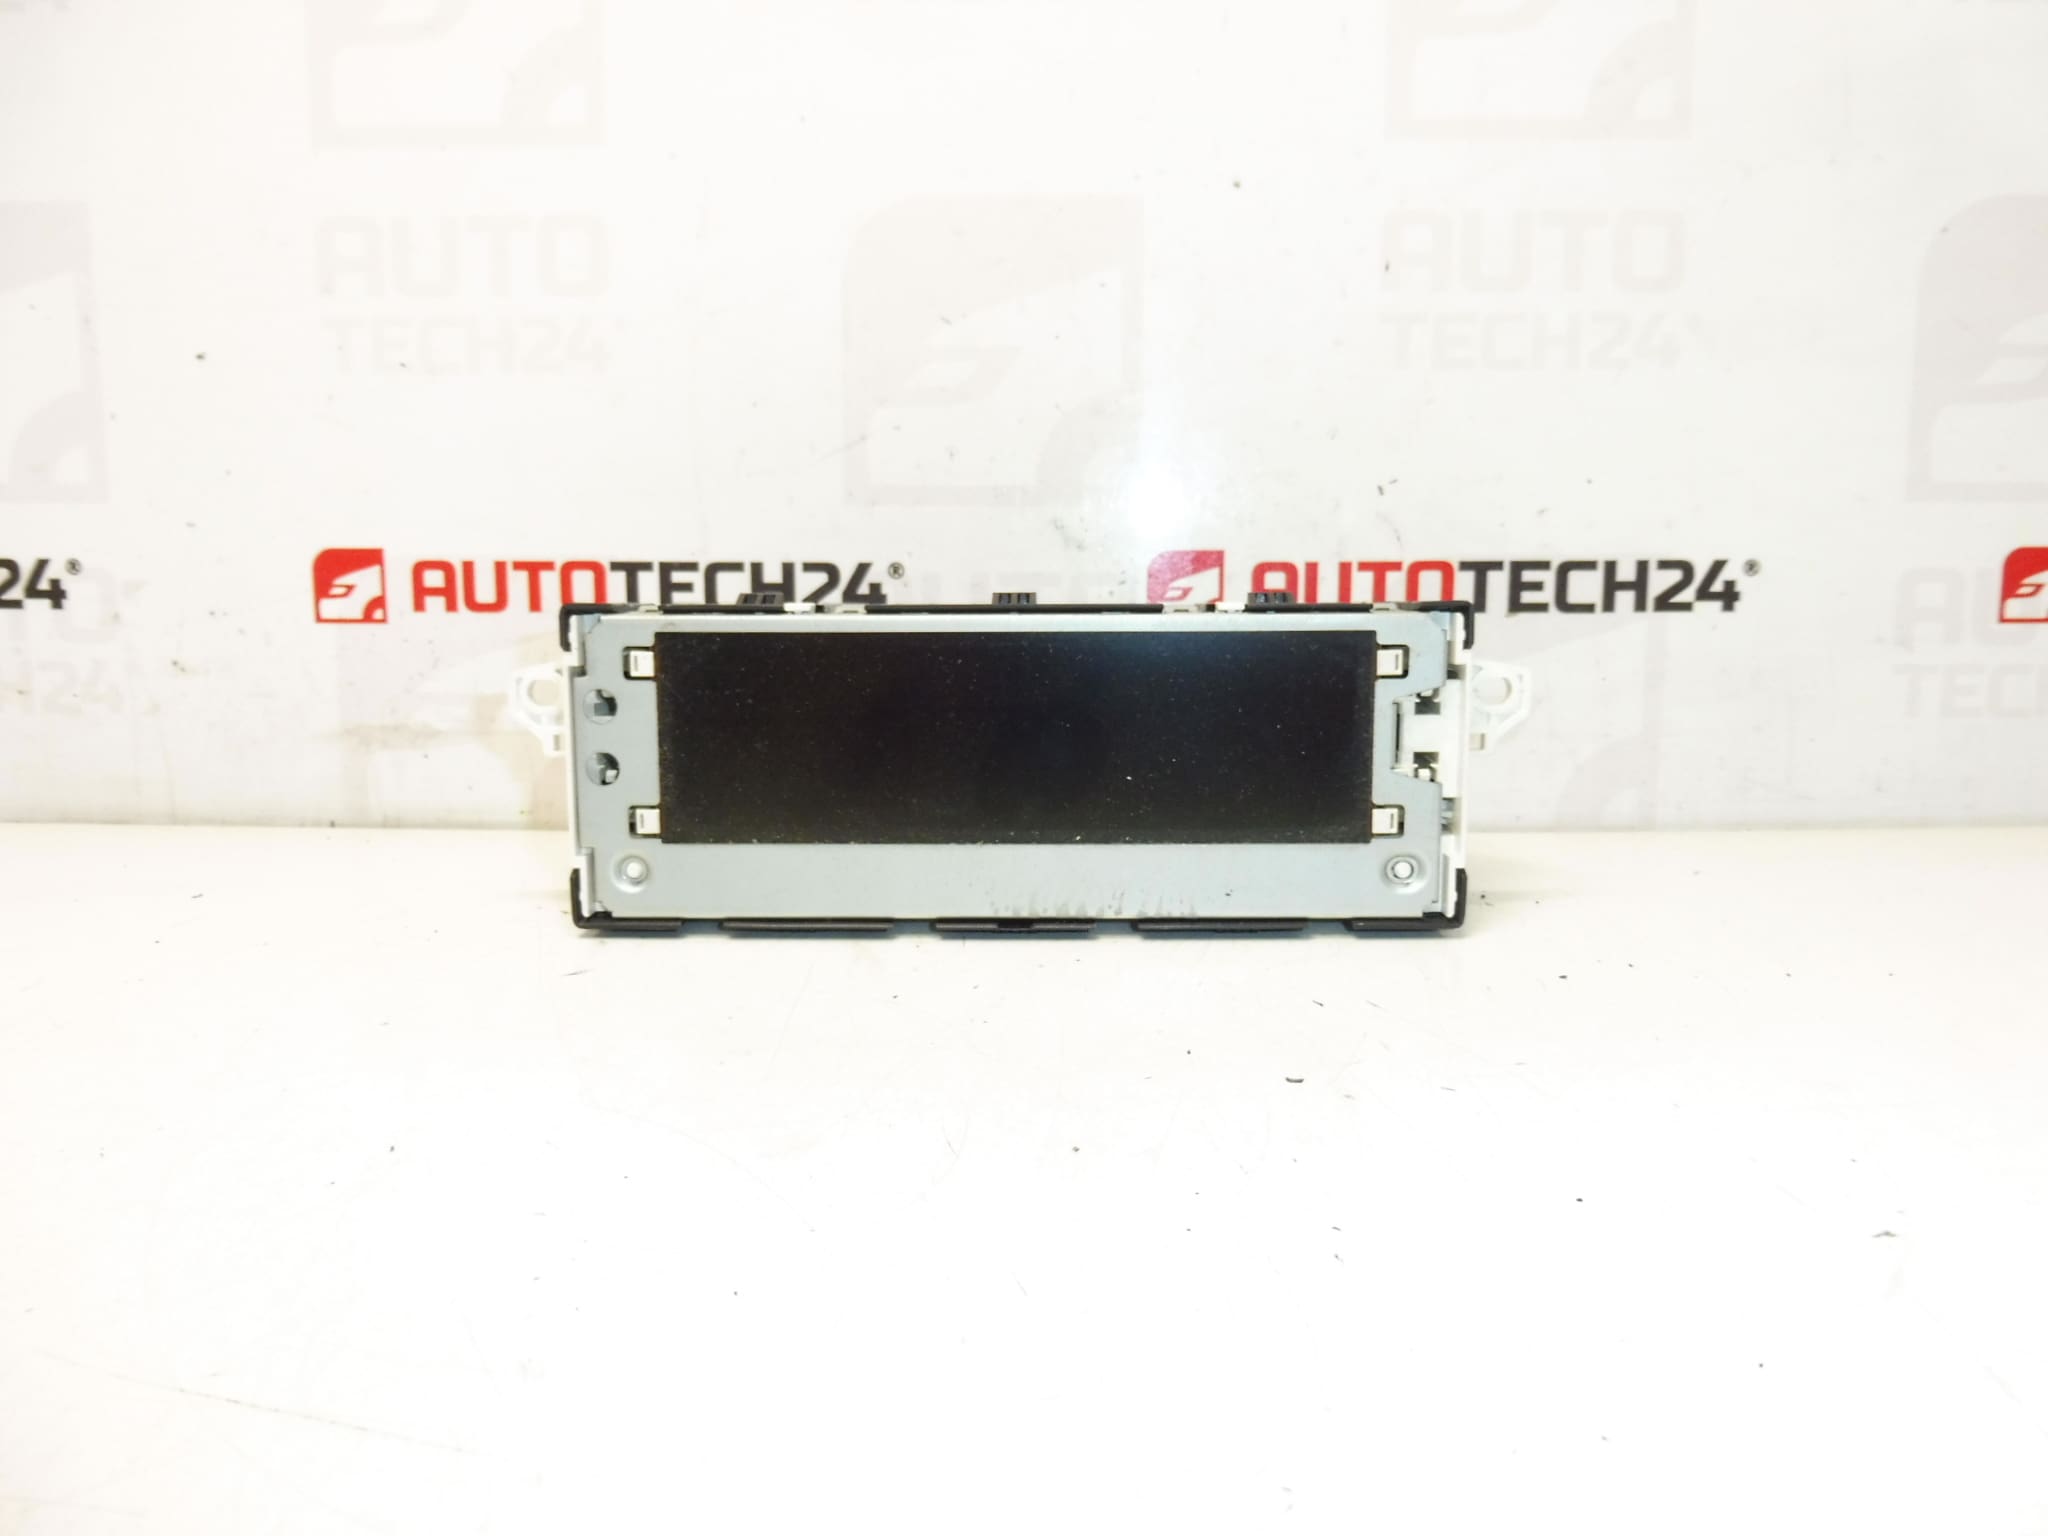
Multifunction display for Citroën C4 B7 vehicles. Tested, fully functional. Some functions may need to be configured to the vehicle via diagnostics.
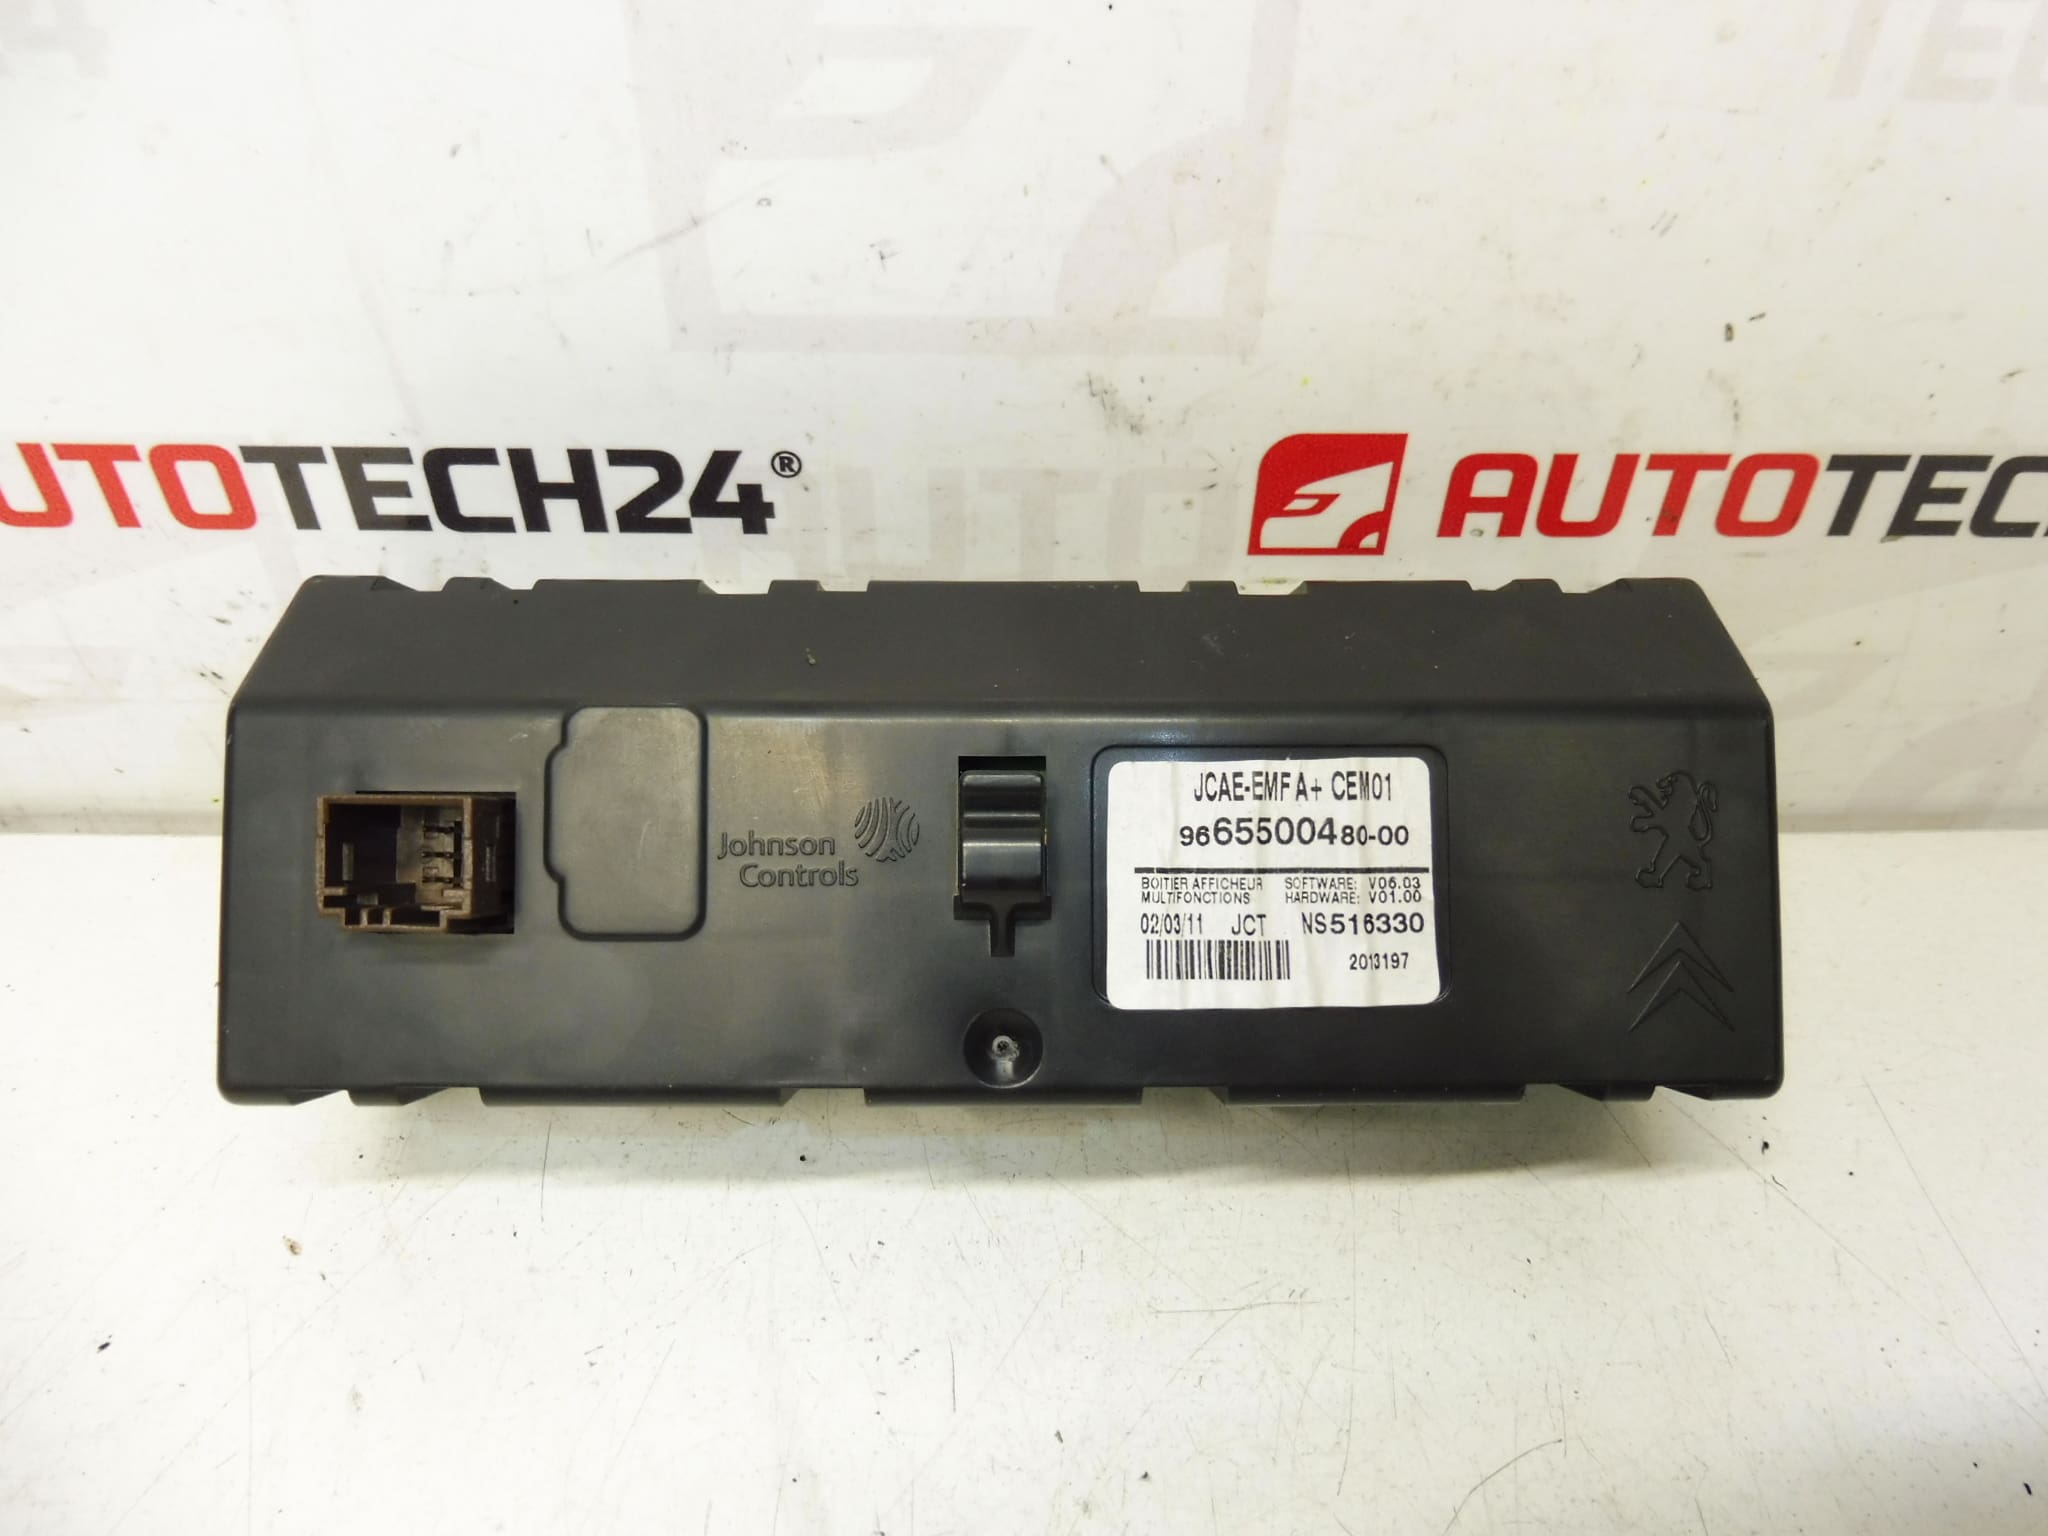
This multifunction display unit is a direct-fit replacement for Citroën C4 II (B7) models and is commonly referenced by OEM numbers 9665500480, 6155HT and 6155HV. Designed for professional workshops and competent DIYers, the unit restores visual output for the onboard computer, infotainment prompts and vehicle messages. Because many customers search by part number, these references are included to help you find the correct unit quickly.
The display provides the driver with trip computer readouts, vehicle warnings and menu information for settings and audio sources depending on the vehicle configuration. Fitment and available features depend on the vehicle equipment level; some functions may be locked until the unit is configured to the vehicle via a diagnostic tool.
Replacement Procedure
Replacement is straightforward for a trained technician: disconnect the negative battery terminal, remove the central fascia trim, unscrew the display housing and carefully unplug the electrical connectors. Install the replacement unit, reconnect the plugs and reassemble the trim. After mechanical installation, perform a diagnostic session to configure menus and enable all functions that require coding. Observe anti-static precautions and avoid forcing connectors to prevent damage.
Technical Information
- Manufacturer: Stellantis / Citroën / Peugeot
- Model: Citroën C4 II (B7)
- Product Codes: 9665500480, 6155HT, 6155HV
- Other Numbers: 6155HT/6155HV
Installation Recommendations
Work Safely: Disconnect the battery before starting and keep metal tools away from live connections. Use a plastic trim tool to avoid damaging the fascia. Inspect connector pins and wiring for corrosion or damage; clean contacts if necessary. After fitting, run a diagnostic tool to confirm software version and to program any vehicle-specific settings. If you are unsure about coding or adaptation procedures, a professional workshop with Stellantis diagnostic equipment is recommended.
Most Common Failure Causes
Display units typically fail due to thermal stress, backlight degradation, moisture ingress or connector corrosion. Software glitches and interrupted power supply events (for example during central electronics faults) can also cause loss of function. Regular inspection of interior seals and prompt repair of any water leaks will reduce the risk of premature failure.
Purchase this display if you need a correct-fit replacement for Citroën C4 II (B7) vehicles and want to restore onboard display functions. The included product codes make it easy to locate the right part for workshop inventory and online searches.