Description
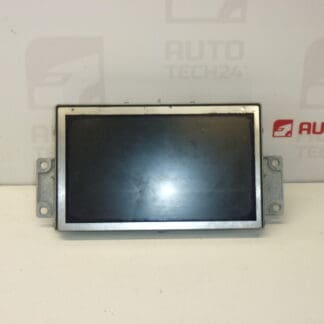
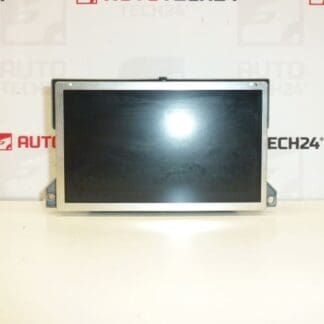
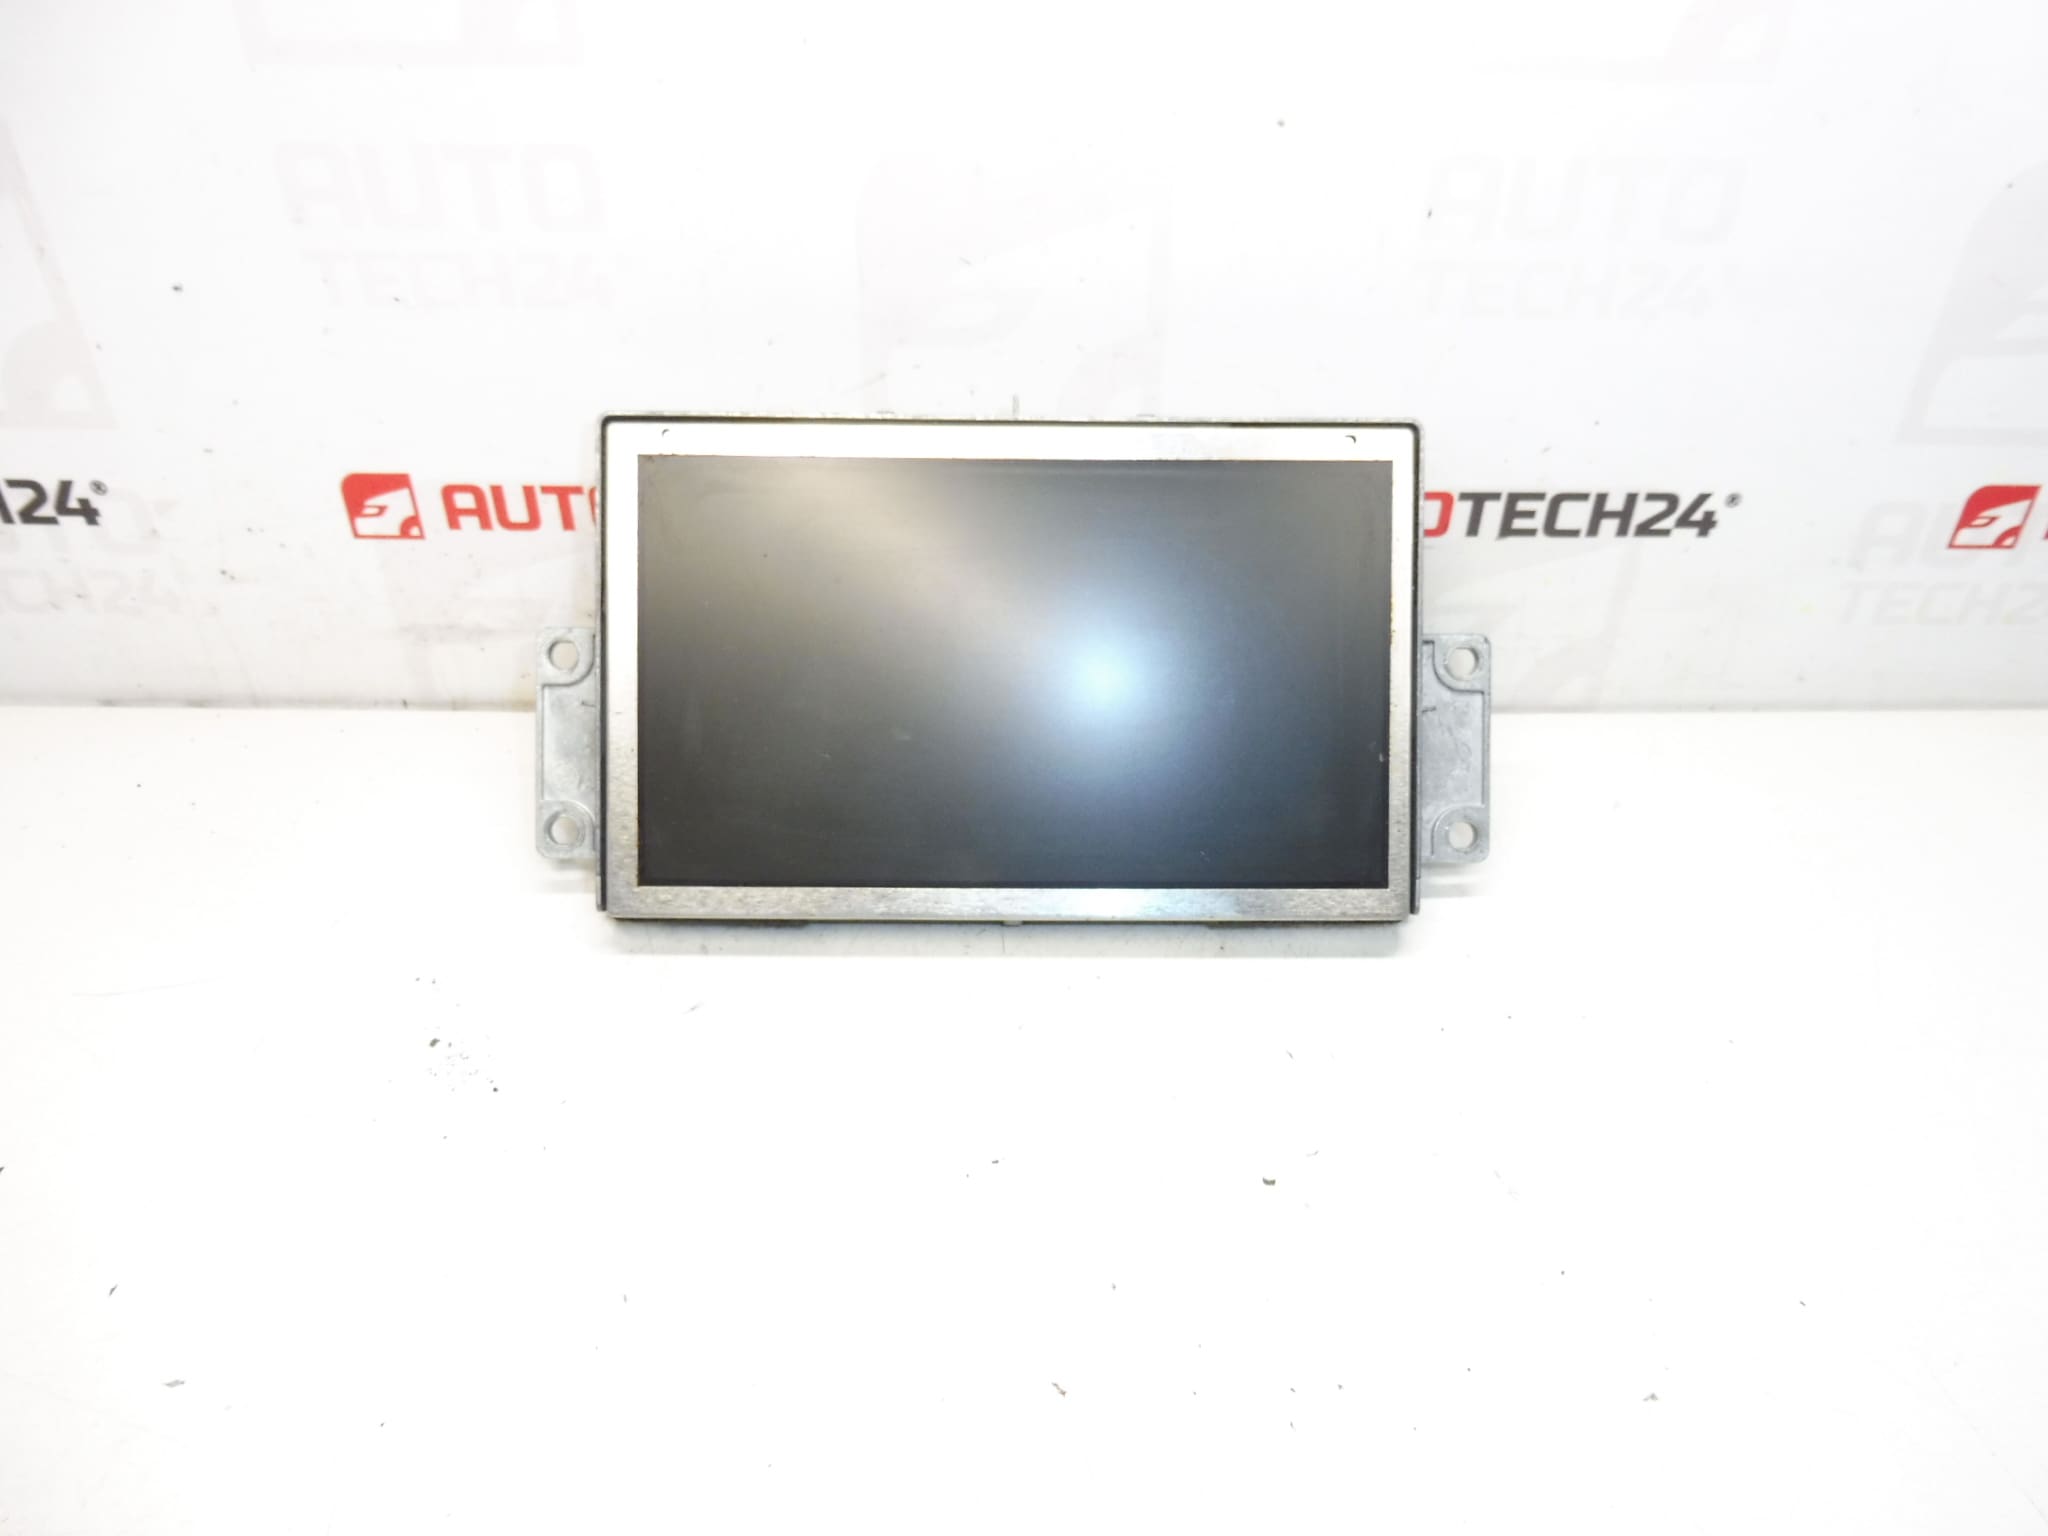
Display for Radio, Navigation and Climate Control from PEUGEOT 407 Facelift; Possibly Compatible With Citroën C5 X7. During Installation It Is Necessary To Pair The Unit With The Vehicle Software. It Is From A 2008 PEUGEOT 407.
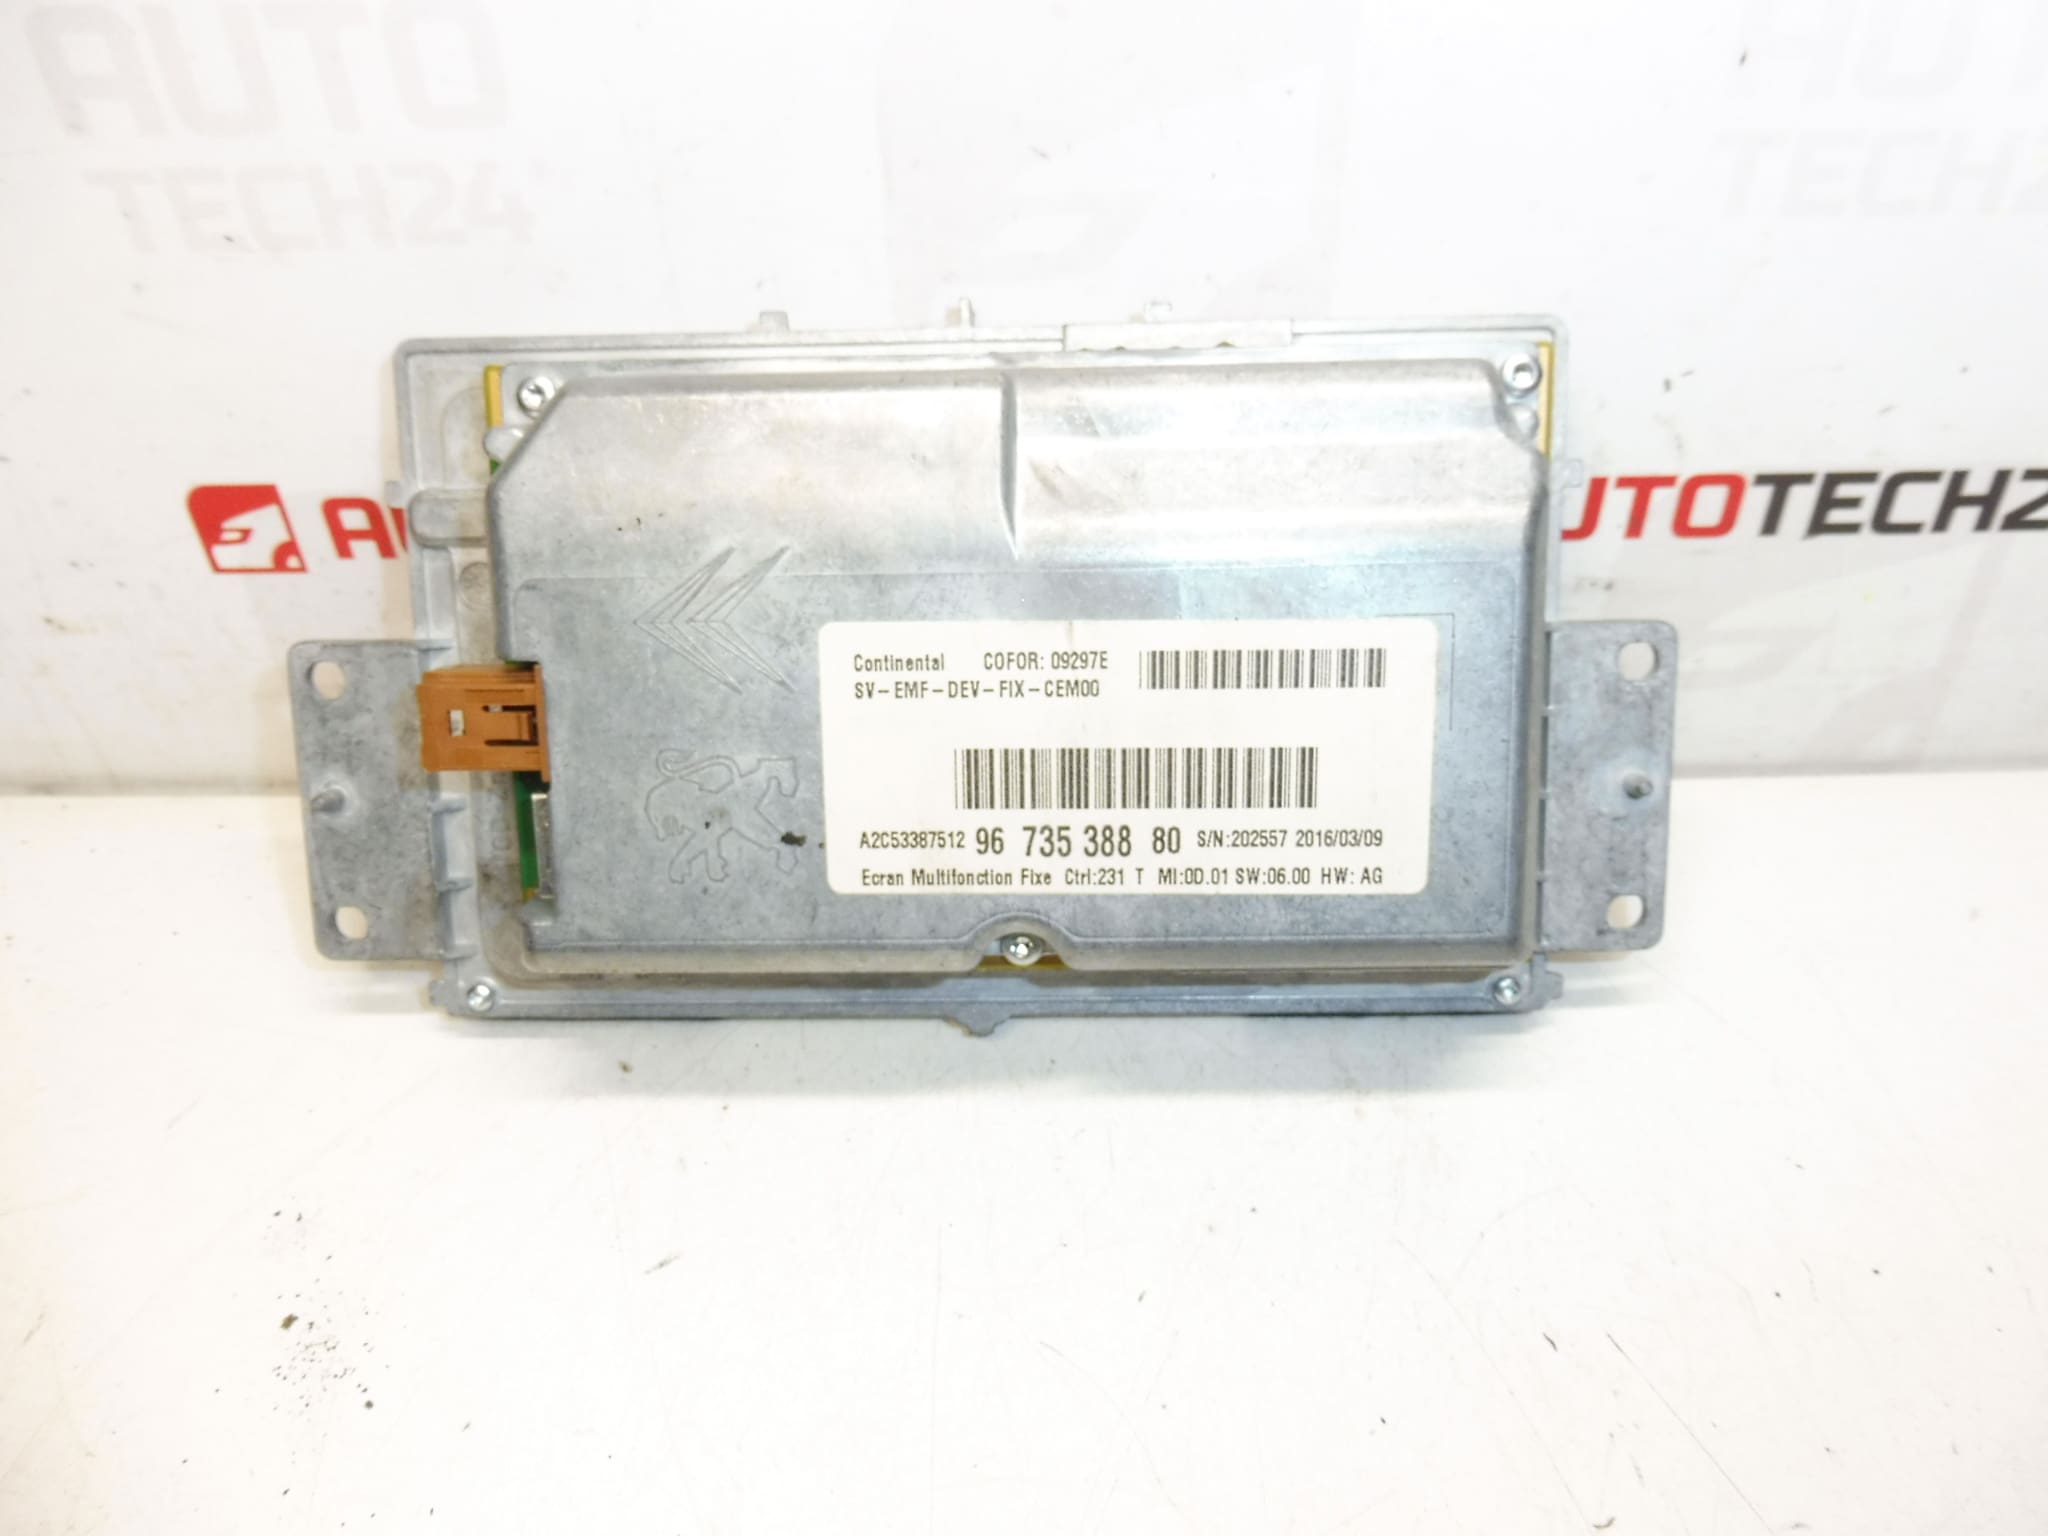
This central multimedia display is a direct-fit component for many Peugeot 407 facelift vehicles and can also be used as a replacement in some Citroën C5 X7 installations. It handles radio and navigation visualization and presents climate control information on one panel. The unit is frequently searched by part numbers 9673538880, 659371 or 6593Q4, so listing these codes will help you find the correct item quickly.
Key Benefits
Robust OEM-style display that Restores Full Visual Interface For Radio, Navigation And Climate Functions. Ideal For Professional Workshops And Experienced DIY Enthusiasts Who Need A Reliable Replacement Screen For Peugeot 407 Systems.
Technical Information
- Manufacturer: Peugeot (Stellantis)
- Model: Peugeot 407 (Facelift); Possible Fit: Citroën C5 X7
- Product Codes: 9673538880, 659371, 6593Q4
- Other Numbers: 659371 (Also Listed As Alternative Reference)
Compatibility And Fitment
Primary fitment is for Peugeot 407 facelift models, year 2008 origin. Some Citroën C5 X7 models share the same dashboard architecture and may accept this display, but mechanical fit and connector layout should be checked during installation. Use the product codes when searching parts catalogs to confirm physical compatibility.
Installation Recommendations
- Disconnect The Negative Battery Terminal Before Starting To Avoid Short Circuits And Protect The Vehicle Electronics.
- Remove Surrounding Trim Panels Carefully To Access The Radio/Display Unit. Use Appropriate Trim Tools To Avoid Damage.
- Unscrew The Head Unit Mountings And Gently Slide The Unit Out Far Enough To Reach The Connectors.
- Unplug All Electrical Connectors And Antenna Leads; Note Connector Orientation To Ensure Correct Reassembly.
- Install The Replacement Display, Reconnect All Plugs And Fasten The Unit Securely.
- Perform Software Pairing/Programming With A PSA Diagnostic Tool (For Example DiagBox Or Equivalent) To Ensure The Unit Is Recognised By The Vehicle And Navigation/Climate Functions Operate Correctly.
- After Pairing, Verify Radio, Navigation, Display Backlight, And Climate Menus; Refit Trim Panels And Reconnect The Battery.
Handle Connectors And PCB Areas With Care, Avoid Static Discharge, And Do Not Force Connectors Into Place. If The Unit Requires Firmware Matching, Use A Suitable Professional Diagnostic Interface.
Most Common Causes Of Failure
- Backlight Or LCD Panel Degradation Causing Dim Or Dark Screen.
- Broken Ribbon Cables Or Loose Connectors Resulting In Intermittent Image Or No Display.
- Cold Solder Joints On Internal Boards Leading To Flicker Or Loss Of Function After Thermal Cycling.
- Moisture Ingress Or Corrosion From Condensation Accelerating Electronic Faults.
- Software Or Communication Errors Between The Display Unit And Vehicle Control Modules If The Unit Is Not Properly Paired.
Typical Symptoms Include Blank Or Flickering Screen, Distorted Or Partial Image, Unresponsive Menus, Or Loss Of Navigation Data Display. Addressing Mechanical Connections And Performing Correct Software Pairing Resolves Many Issues.
If You Are A Mechanic Or A Competent DIYer, This Display Provides A Practical Replacement Path For Restoring Full Visual Control Of Radio, Navigation And Climate Systems In Applicable Peugeot 407 Vehicles. Use The Listed Product Codes To Locate The Correct Unit Quickly.