Description
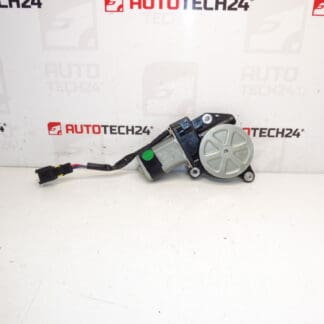
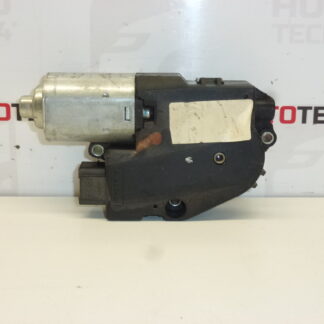
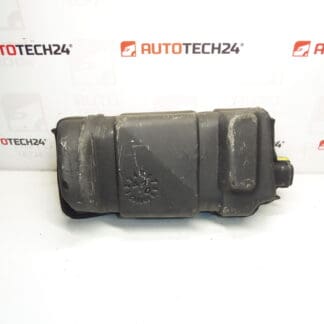
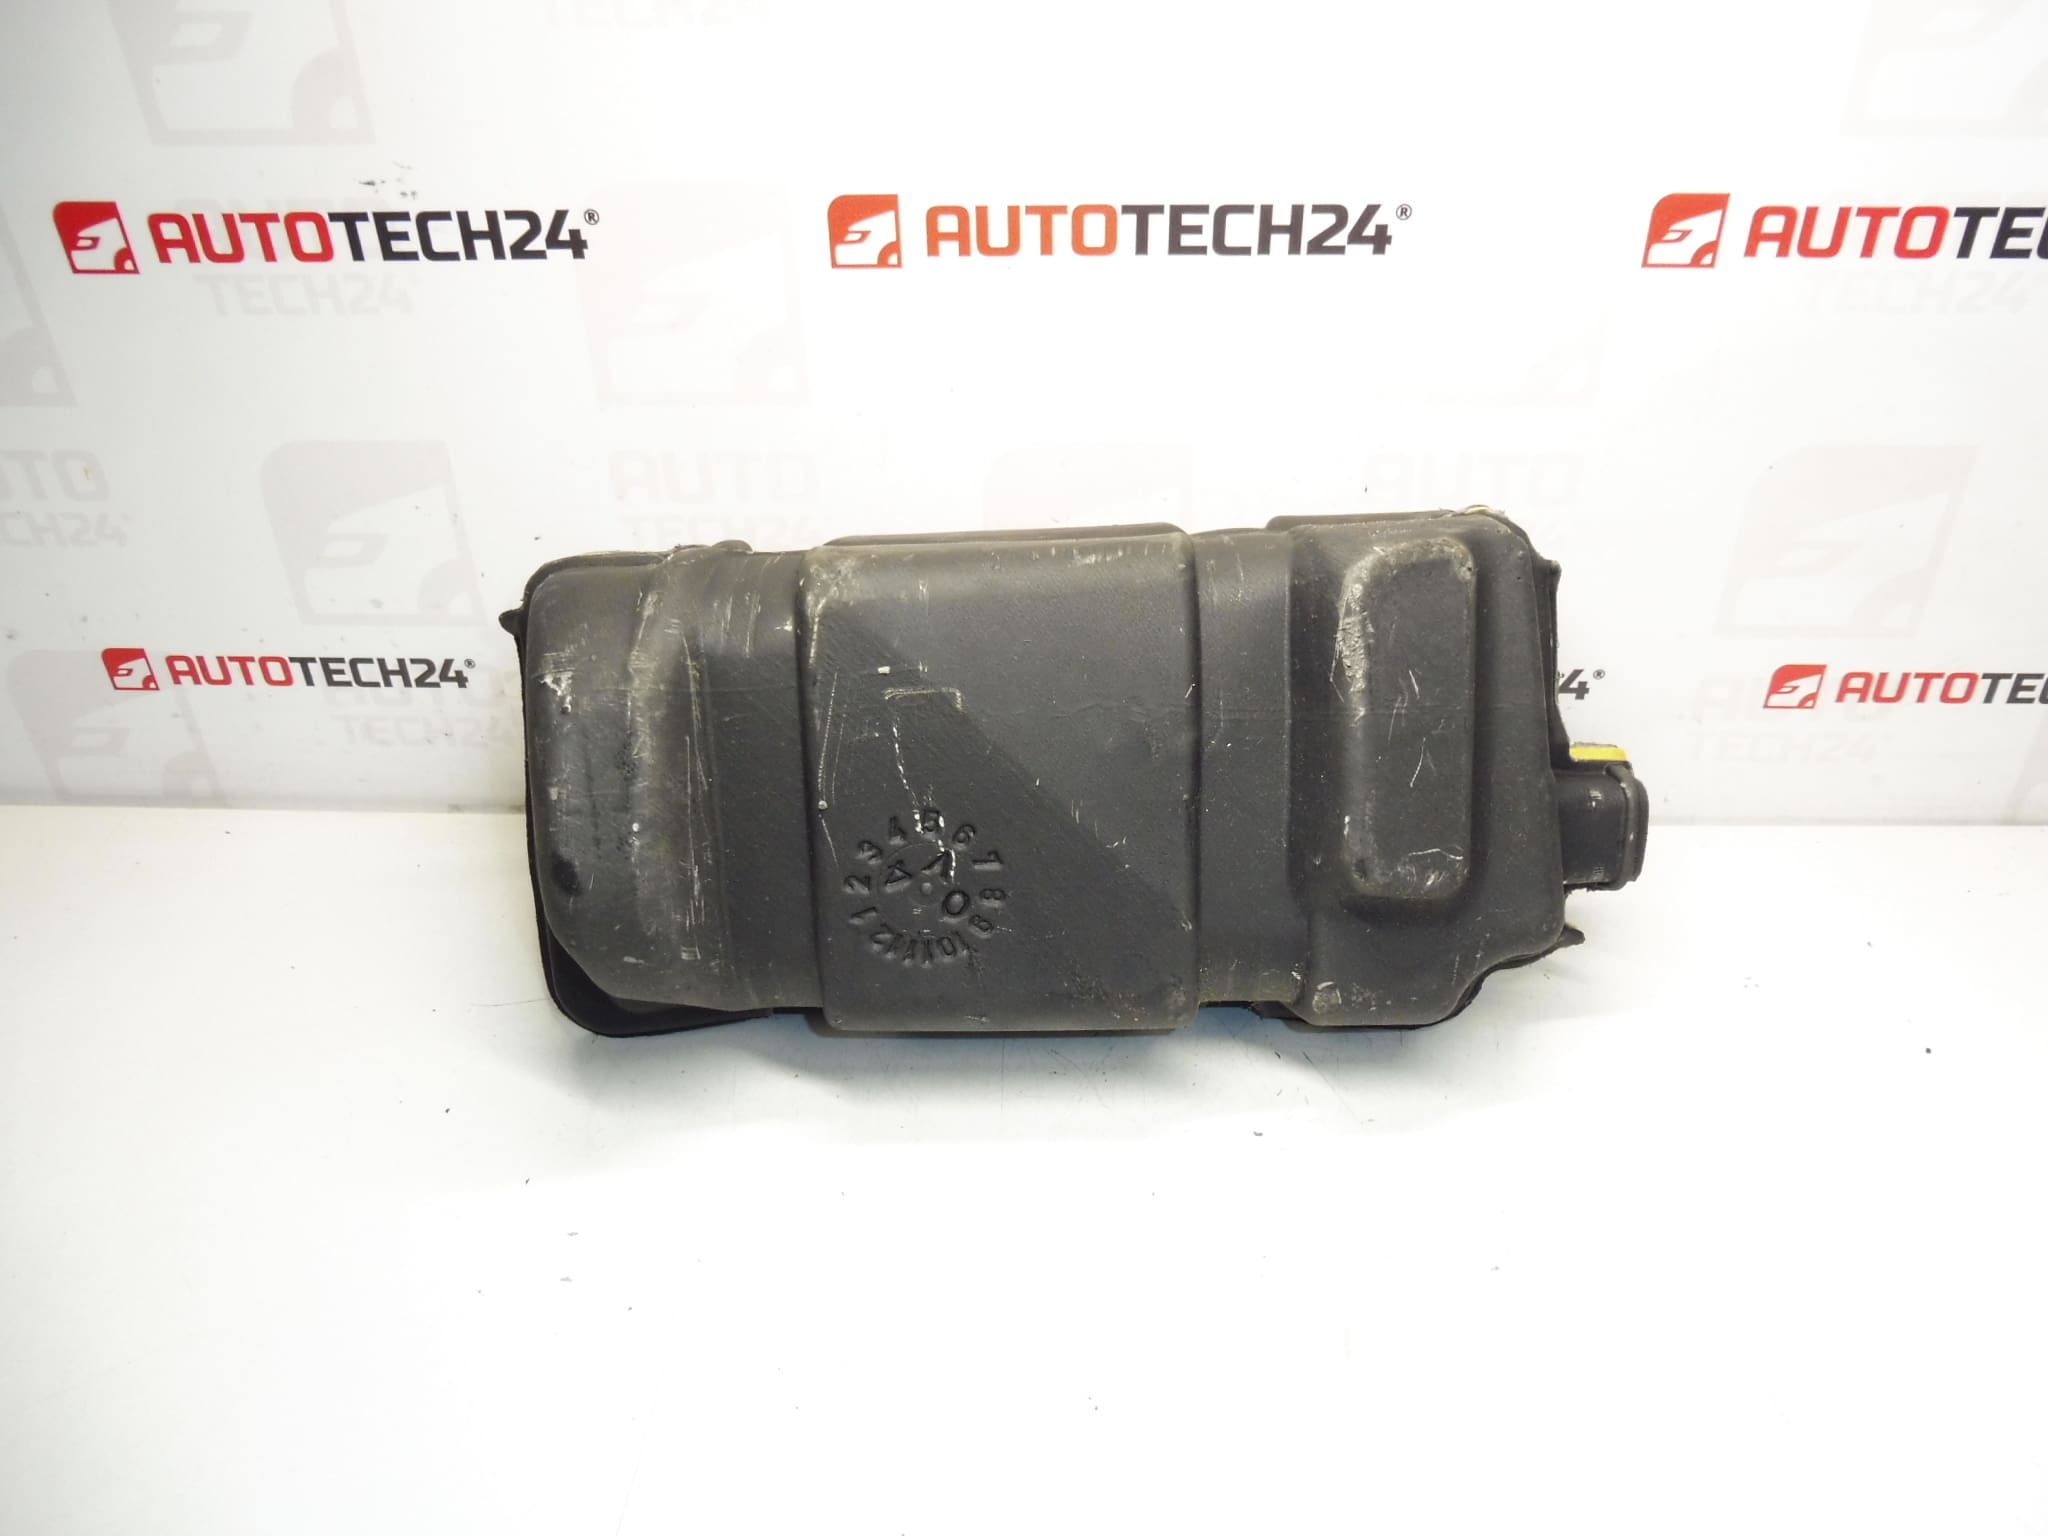
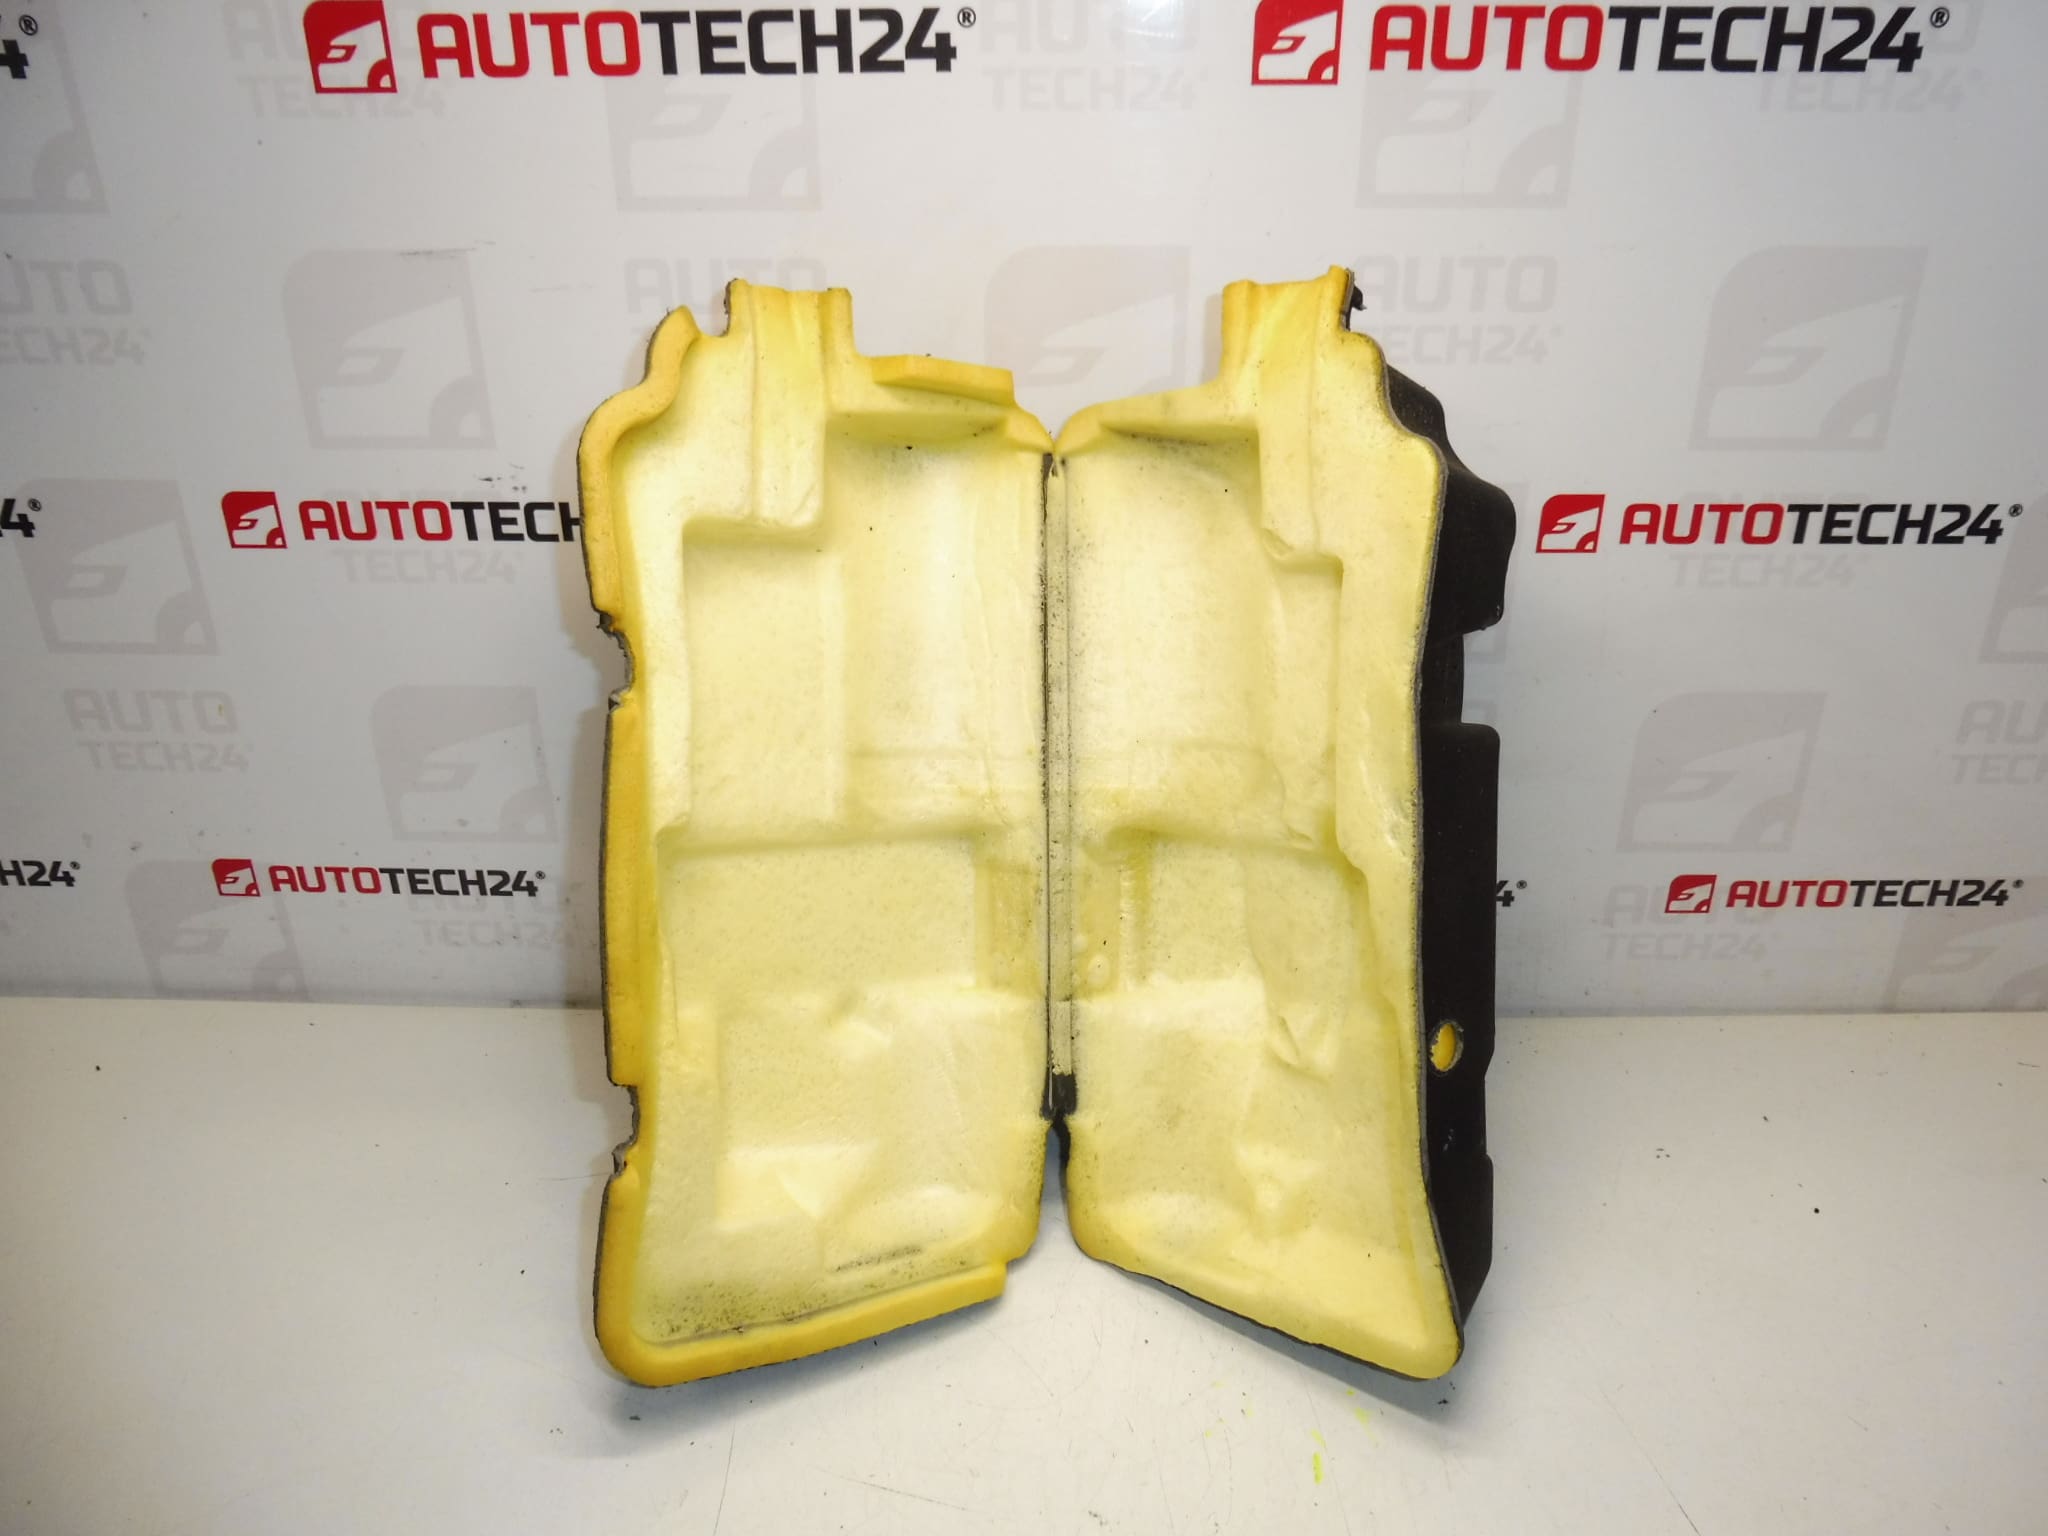
Set Of Sound Insulation For The Hydraulic Pump Of The Electric Folding Roof For Peugeot 307 CC.
Keep Cabin Noise Down And Protect The Hydraulic Pump With A Purpose-Made Insulation Kit. This sound insulation set is designed to reduce rattles and acoustic transmission from the hydraulic pump of the electric folding roof on the Peugeot 307 CC. It Helps To Improve Comfort During Roof Operation And Can Extend Component Life By Reducing Vibration And Dampening Impact Noise.
Technical Information
- Manufacturer: Stellantis (Citroën / Peugeot)
- Model: Peugeot 307 CC
- Product Codes: 8484F6
- Other Numbers: 8484F6 NFP
Application And Compatibility
Intended For Use On Peugeot 307 CC Convertible Models With The Electric Folding Roof Hydraulic System. Frequently Searched By Part Number 8484F6, Which Makes This Kit Easy To Find For Mechanics And DIY Enthusiasts Performing Roof Or Pump Repairs.
How The Part Works And Why It Matters
The Insulation Wraps Around The Hydraulic Pump To Absorb Vibrations And Block Structure-Borne Noise From Reaching The Passenger Compartment. Besides Noise Reduction, The Material Offers Minor Protection Against Abrasion And Helps Keep The Pump Mounting Area Quieter As The Roof Mechanism Operates.
Typical Failure Modes
Insulation Degrades Primarily Due To Age, Oil Contamination, Heat Cycling And Constant Vibration. When The Material Becomes Compressed, Torn Or Saturated With Hydraulic Fluid, Its Acoustic Performance Falls Off And Rattles Or Humming Become Noticeable During Roof Operation. Mechanical Wear Or Mounting Looseness On The Pump Can Also Increase Noise, Which The Insulation Masks Less Effectively Over Time.
Installation Recommendations
- Disconnect The Vehicle Battery Before Starting Work On The Roof Hydraulic System.
- Access The Pump By Removing The Appropriate Trunk/Boot Trim Panels; Keep Fasteners Organized For Reassembly.
- Inspect The Pump And Hydraulic Lines For Leaks Or Loose Mounts While The Trim Is Off; Repair Any Faults Before Fitting New Insulation.
- Clean The Pump Surface Of Dirt And Oil To Ensure Good Adhesion Or Fit Of The Insulation Material.
- Fit The Insulation Securely Around The Pump According To Shape And Fastening Points; Avoid Pinching Hydraulic Hoses.
- Reassemble Trim Panels, Reconnect Battery, And Test Roof Operation To Confirm Noise Reduction And Proper Function.
When To Replace
Replace The Insulation When You Notice Increased Noise From The Roof Mechanism, See Visible Damage To The Insulation, Or When You Service Or Replace The Hydraulic Pump. Many Workshops Replace The Insulation As A Preventive Measure During Pump Replacement Or When Diagnosing Roof Noise.