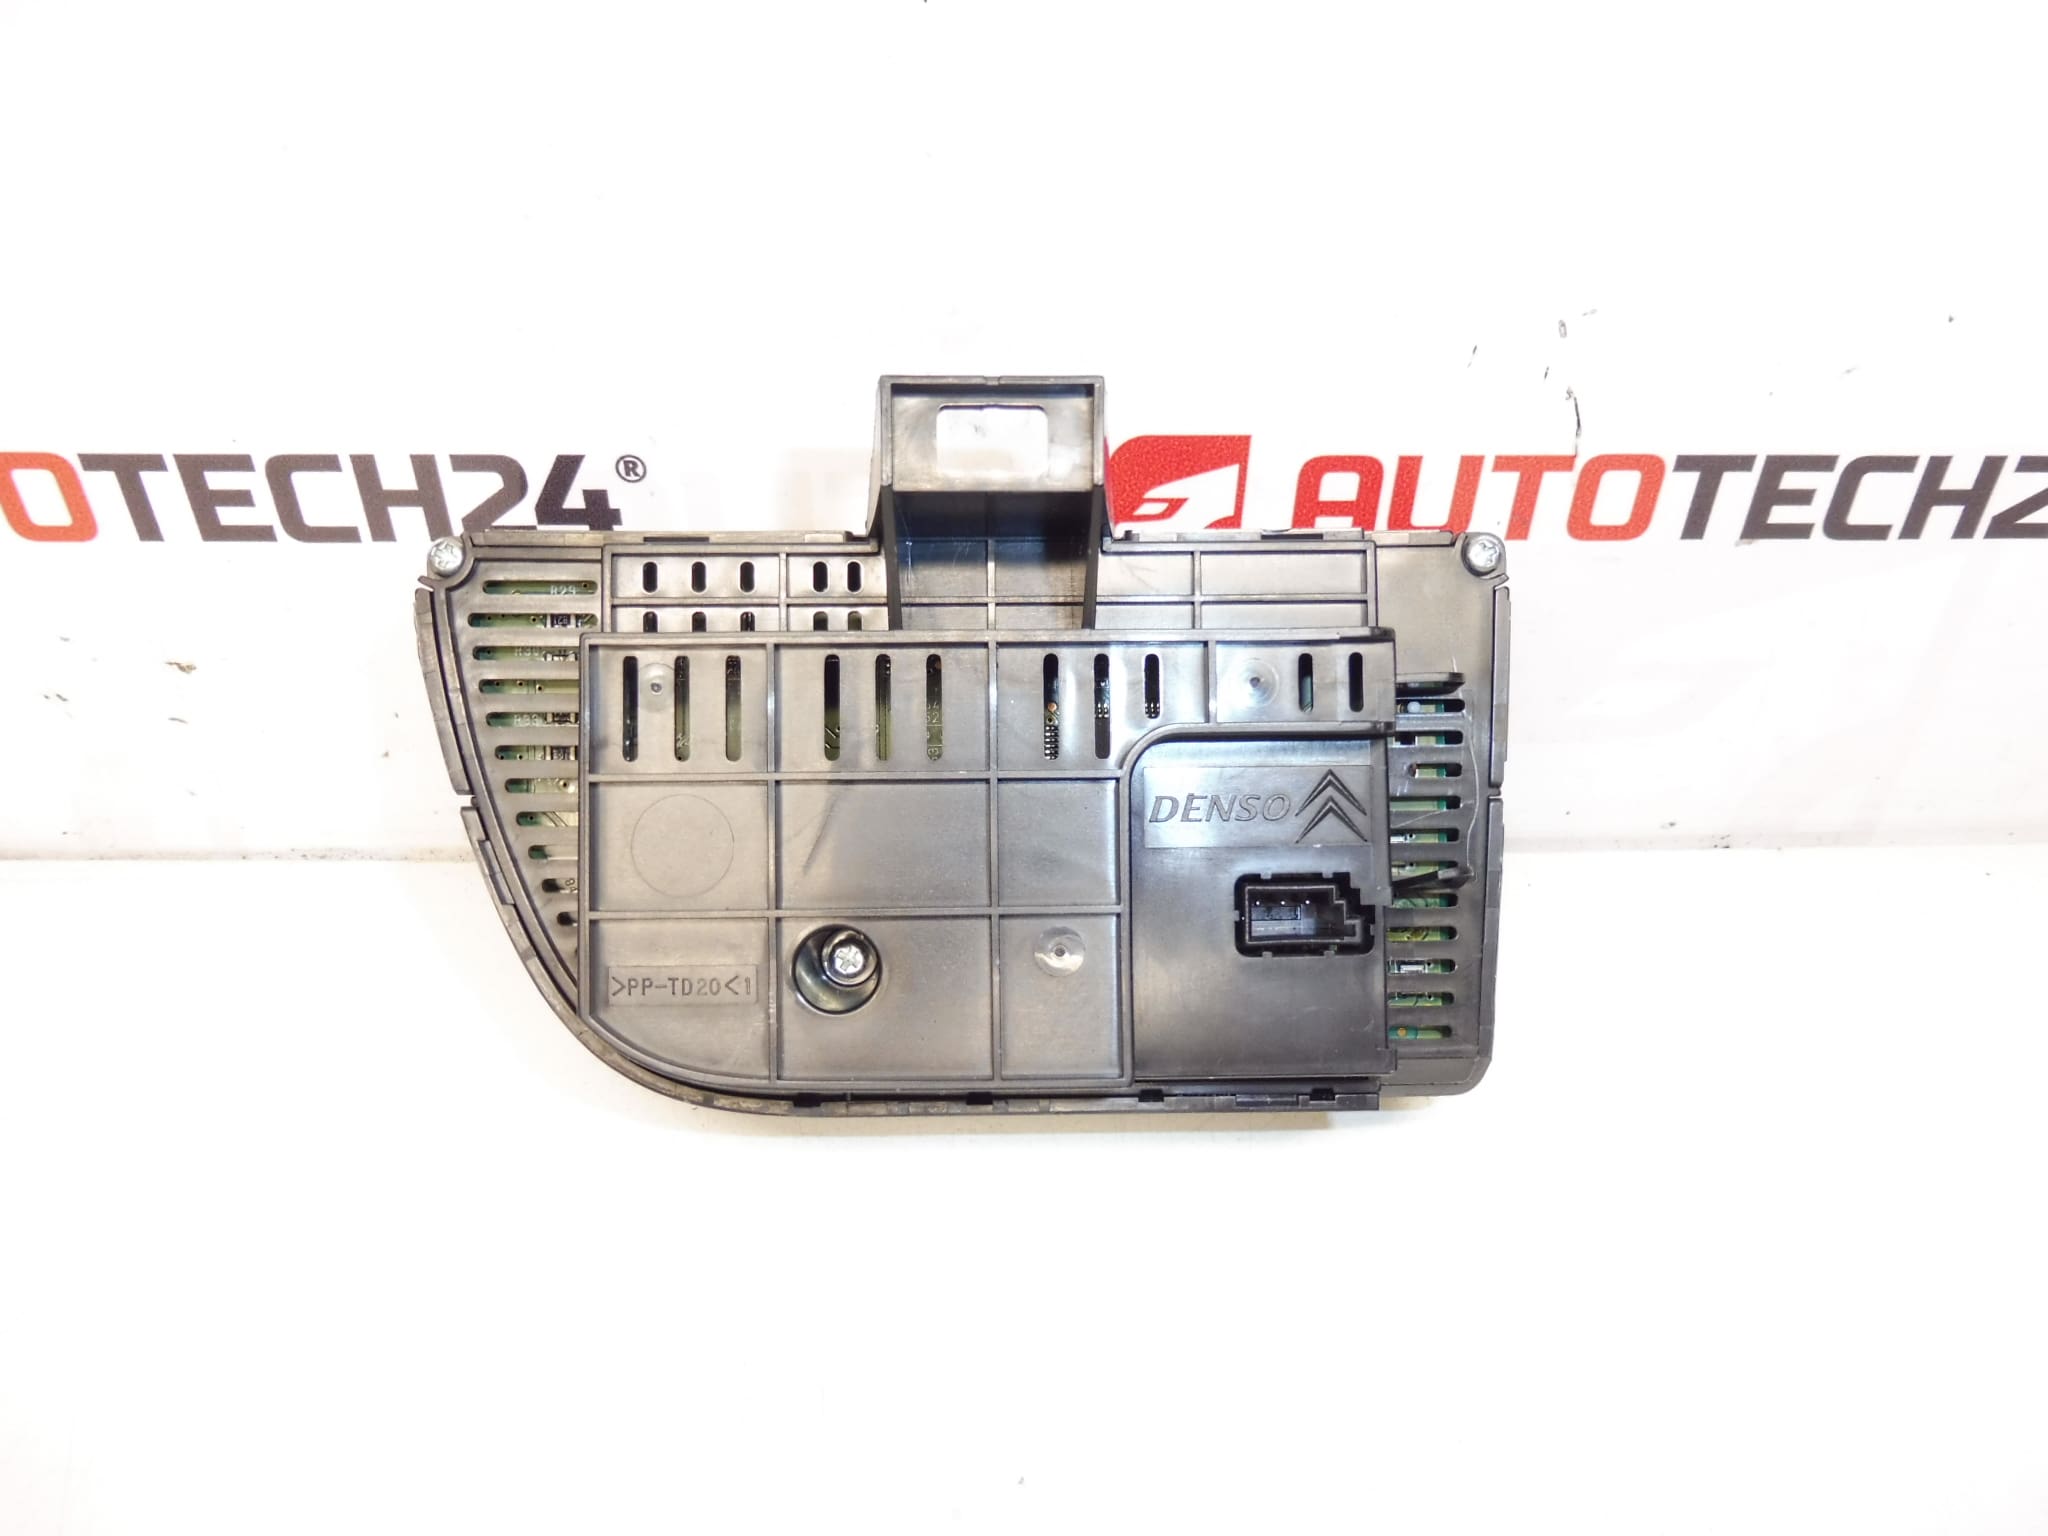
Description
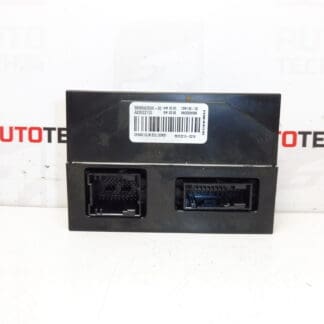
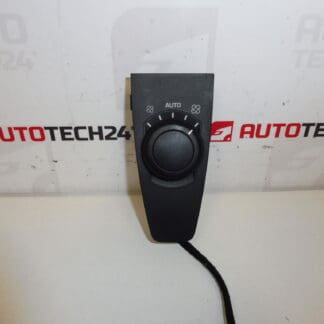
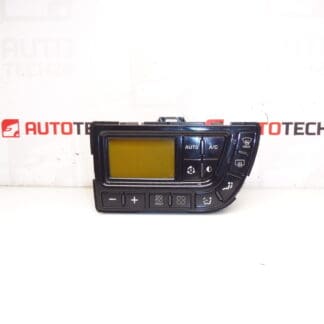
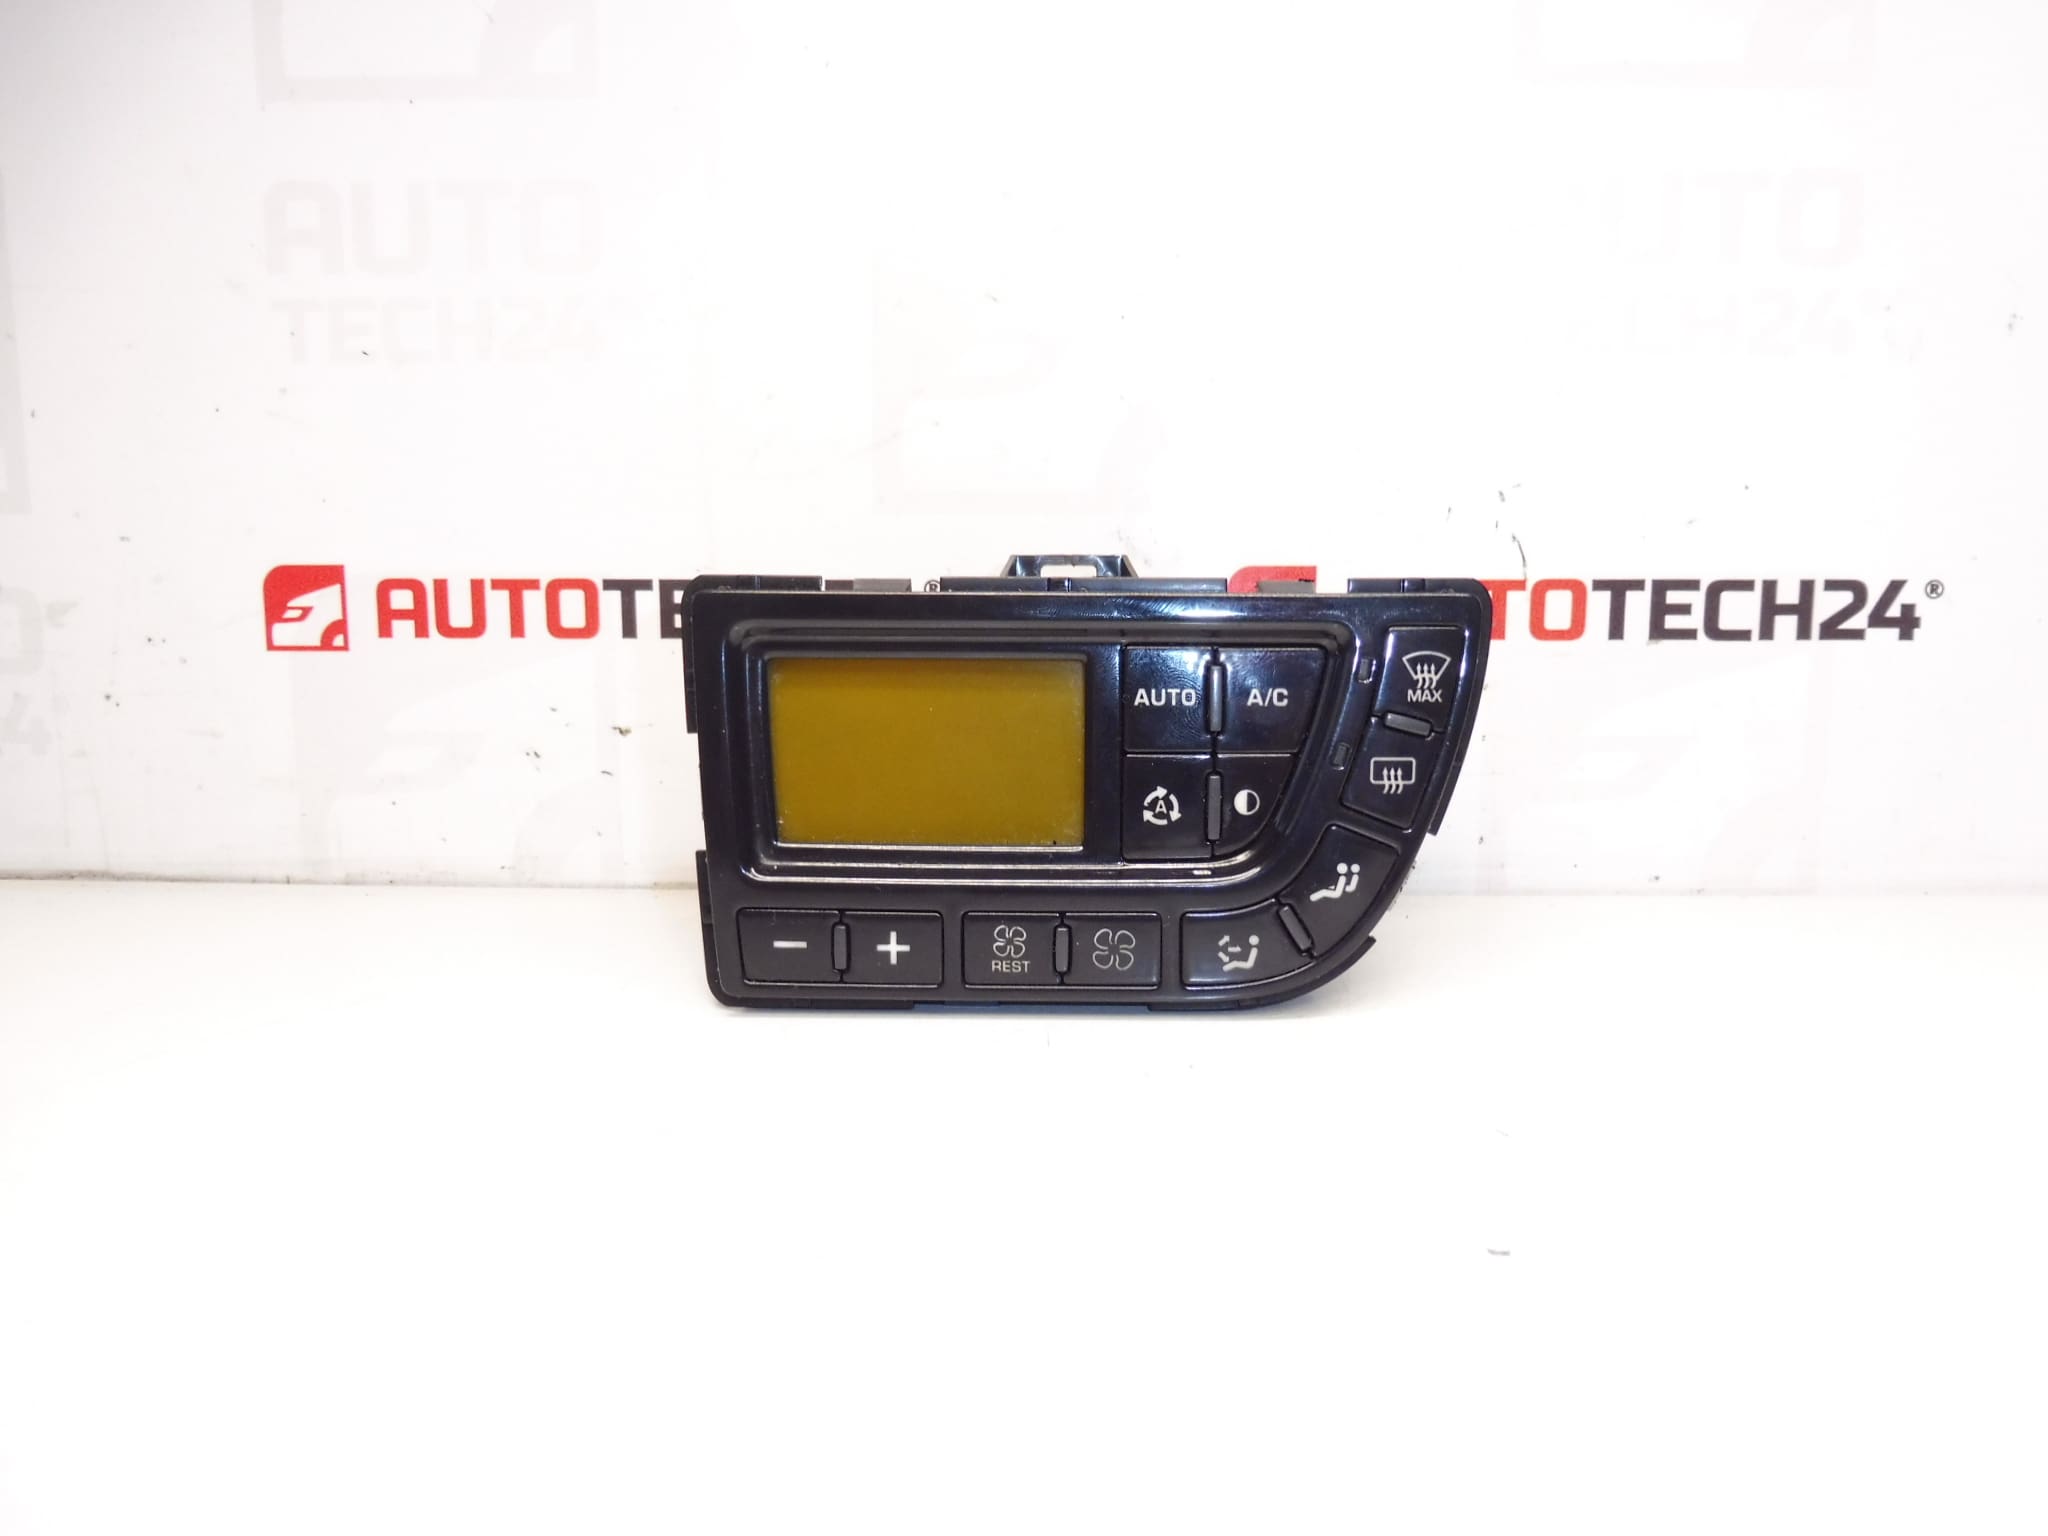
DENSO climate control unit for Citroën C4 Picasso and Grand up to 2013. Tested – functional. Software 7.0. Hardware 6.0.
High-quality DENSO HVAC control panel designed for Citroën C4 Picasso platforms. This original-style control unit manages heating, ventilation and air conditioning functions, offering reliable control of blower speeds, temperature regulation and mode selection. Ideal for professional workshops and experienced DIY mechanics searching by part numbers (e.g. 9659627577, 6451WT), the unit restores full climate control functionality when the original panel becomes unresponsive or displays errors. Clear part references and compatibility details below make it easy to find the correct replacement for vehicles up to 2013.
Technical Information
- Manufacturer: Denso
- Model: Citroën C4 Picasso / Grand C4 Picasso (up to 2013)
- Product Codes: 9659627577, 9659627577-00, 9659627677-00, 6451WT
- Additional Numbers: 6451WT | 9659627577 | 9659627577-00 | NFP
Compatibility
Suitable For Citroën C4 Picasso And Grand C4 Picasso Models Produced Up To 2013 (First Generation). Always verify the part numbers printed on the original unit match the numbers listed above before installation.
Function
This control unit operates the vehicle’s HVAC system: it controls blower motor speed, distributes airflow between vents, activates A/C compressor request signals, and sets target cabin temperature via internal control algorithms. The unit communicates with other vehicle modules to manage automatic climate functions and defrost modes.
How To Replace
- Disconnect The Negative Battery Terminal Before Any Work To Prevent Short Circuits Or Unwanted Airbag/Module Errors.
- Use Trim Removal Tools To Carefully Pry Off The Center Fascia Surrounding The Climate Panel To Avoid Damage.
- Remove Fasteners Securing The Climate Control Unit (Typically Small Screws) And Gently Pull The Unit Forward.
- Unplug All Electrical Connectors And Any Bowden Cables Or Vacuum Lines If Present. Note Connector Locks And Release Tabs.
- Install The Replacement Unit By Reconnecting All Plugs, Securing Screws And Refitting Trim. Reconnect The Battery And Perform Functional Checks (Blower Speeds, Temperature Changes, A/C Engagement).
- If The Vehicle Exhibits Any Fault Codes Or Limited Function After Replacement, Check Fuses, Ground Connections And Connector Pins For Corrosion Or Damage.
Installation Recommendations
- Avoid Excessive Force On Plastic Clips And Trim During Disassembly. Use Proper Trim Tools.
- Observe Basic ESD Precautions When Handling The Unit—Avoid Touching Component Leads Or PCB Tracks.
- Verify Connector Orientation And That All Secondary Fasteners Are Tight To Prevent Rattles And Poor Electrical Contact.
- After Installation, Cycle Through All Climate Settings And Check For Proper A/C Compressor Request And Vent Actuator Response.
Reason Why Part Most Commonly Fails
Failures Typically Result From Long-Term Use, Thermal Cycling And Humidity Exposure. Common Symptoms Include Non-Responsive Buttons, Intermittent Display Or Backlight Failures, Erratic Fan Control And Fault Codes. Moisture Ingress Or Corrosion Of Connector Pins And Solder Joints Can Accelerate Electronic Failures. Wear Of Tactile Switches And Encoders From Frequent Operation Is Also A Typical Cause.
Practical Notes For Workshops And DIYers
Search By Part Number For Fast Identification—The Listed Codes (9659627577, 9659627577-00, 9659627677-00, 6451WT) Are Commonly Used In Parts Databases. If The Panel Replaces A Unit In Service, Inspect Related Components (Blower Motor, Fuses, Vent Actuators) To Rule Out Secondary Causes Of Climate Faults.