Description
Heating servo motor for CITROEN C2, C3 and PEUGEOT 1007
Part description
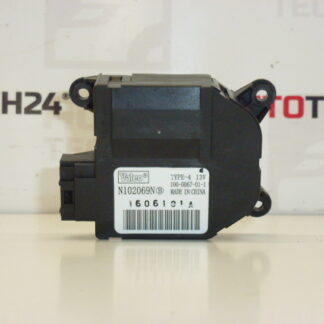
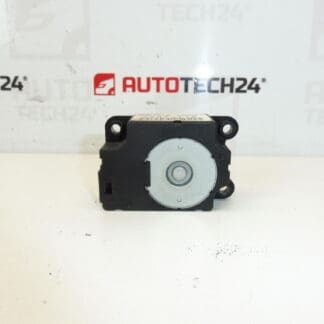
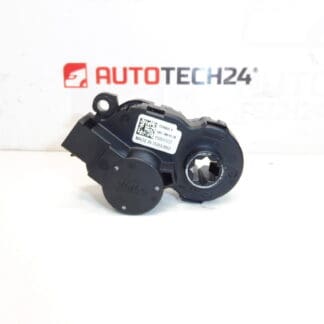
Used Valeo heating servo motor (Stellantis / Citroën Peugeot) designed to control flaps in the heating/air conditioning system. If you do not manage to regulate the temperature or the direction of the air flow correctly in the car, the servo motor is often the cause. Thanks to the search by designation, this part is easy to find even when ordering by number.
The part is suitable for the cars listed in the documents (Citroën C2, Citroën C3 and Peugeot 1007).
Technical information
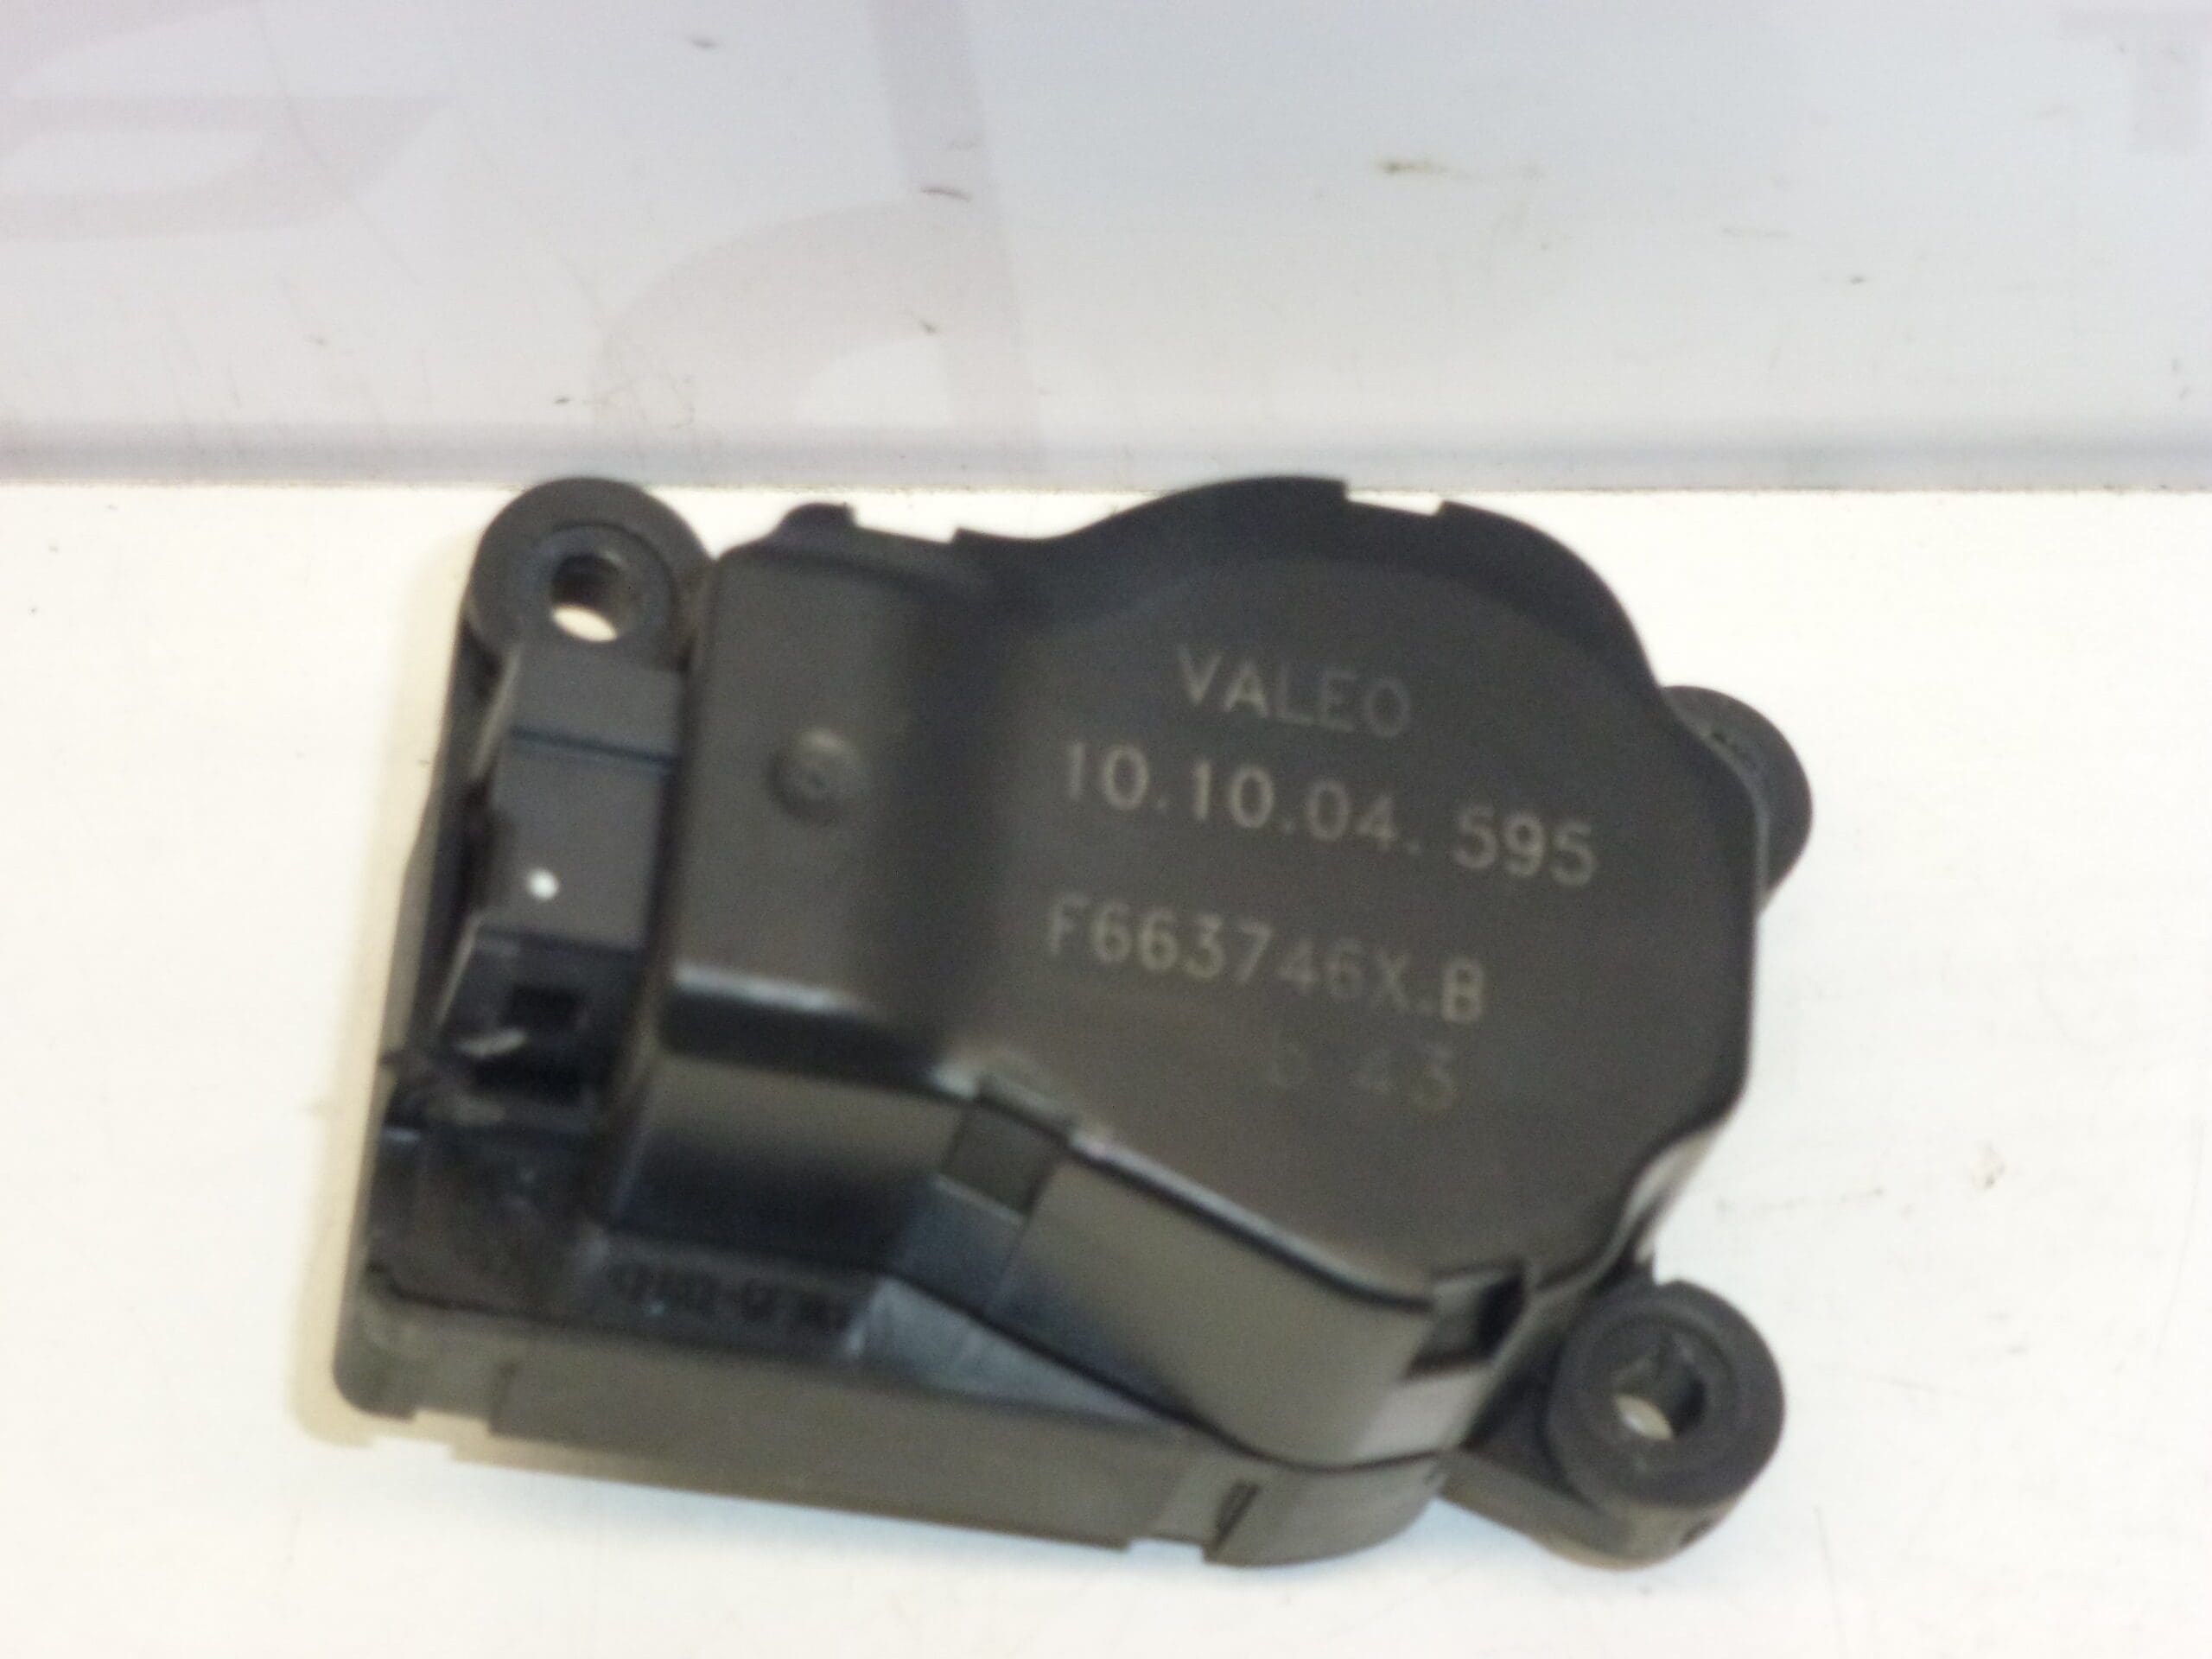
- Manufacturer: Valeo
- Model: Citroën C2; Citroën C3; Peugeot 1007
- Other numbers: Stellantis; Citroën Peugeot
Product codes
- Product codes: F663746X.B, 6447NL
Installation recommendations
Generally/Typically for Heater Servo Motors Exact location and access varies by specific car version and equipment. The procedure below is a practical general guide.
1) Before assembly
- Compare the new (used) part with the old part: same connectors, mounts, body shape and markings (F663746X.B / 6447NL).
- Check for damaged connector pins, cracked plastic mounts, or squeezed seating surfaces.
- If the original servo motor was stiff, check the flap/rod mechanics as well (the servo motor often goes out secondary to a stuck flap).
2) Necessary tools and materials
- Basic set of screwdrivers and sockets
- Plastic pry bar for removing covers/linings
- Flashlight
- Electrical contact cleaner (optional)
3) Step-by-step assembly procedure
- Turn off the ignition and disconnect the battery to be safe (minimizing the risk of short circuits and system errors).
- Get access to the servo motor by removing the necessary covers/trimming parts (depending on the car model).
- Disconnect the electrical connector – release the connector lock and pull out without prying the cables.
- Unscrew the servomotor mounting screws/screws.
- Carefully remove the servo motor from its housing; note the position relative to the flap control axis.
- Check the bearing and control axis of the damper: it must not be cracked, run out or blocked.
- If necessary, gently clean the connector and the surrounding area from dust (so that the servo motor seats properly).
- Place the new servomotor in the correct position so that it engages properly in the flap mechanism and seats without force.
- Screw the fastening – tighten evenly so that the part does not deform.
- Connect the electrical connector and check that the fuse of the connector clicks.
- Reinstall all removed covers/trims.
- Connect the battery and turn on the ignition.
-
4) Post-assembly checks and functional test verification
- Try changing the heating/ventilation settings (temperature, flow direction) and see if the change takes effect.
- Listen for unusual noises (clicking/skipping) which may indicate a bad fit or valve problem.
- If diagnostics are available, perform an air conditioning/heating system check to see if any errors are reported.
5) The most common assembly mistakes + how to avoid them
- Exchanging a similar servo (different mount/connector) – always compare numbers F663746X.B / 6447NL and physical design.
- Not solving the cause (stuck flap) – the new servo motor then leaves again; check the smooth operation of the mechanism.
- Damage to the connector when pulling on the cables – always release the fuse and pull by the body of the connector.
- Stiffened or dirty flap mechanics heating/ventilation – the servo motor is overloaded.
- Gear wear in the servomotor (typically symptoms such as clicking or skipping).
- Electrical defect (voltage fluctuations, bad contacts in the connector, oxidation of pins).
- Moisture and dirt in the HVAC area, which gradually deteriorate operation and contacting.
- Mechanical damage during previous disassembly (broken handles, cracks in the body of the part).