Description
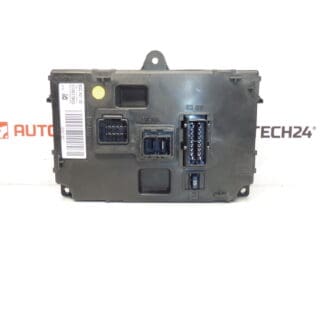
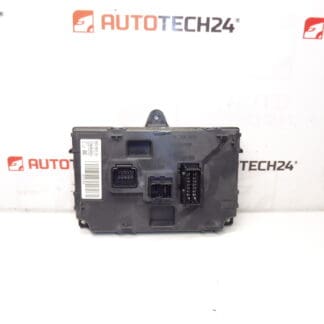
BSC A02-00 SIEMENS VDO for CITROEN and PEUGEOT
cars
It is from a PEUGEOT 407
Part description
Used electrical part BSC A02-00 Siemens VDO designed for Citroën and Peugeot cars. This part comes from a Peugeot 407, which is important information when comparing with the existing part in your car. Parts of this type are often searched by production and stock numbers, so we recommend always comparing the markings on the label of the original piece.
The advantage is the original design from the manufacturer Siemens VDO, which is suitable for repairs when it is necessary to maintain the appropriate type of fitting and marking. For car mechanics and home repairs, this part is a suitable choice wherever the conformity of codes and physical design is crucial.
Technical information
- Manufacturer: Siemens VDO
- Model: BSC A02-00
- Other numbers: 9656148080, S120017003I, 6580S9, 6580XF, 9688EL
Product codes
- Product codes: 9656148080, S120017003I, 6580S9, 6580XF, 9688EL
- Models listed in the documents: Peugeot 407
Installation recommendations
Because the documents do not contain the exact assembly procedure for a specific car design, below is a general procedure typically for replacing an electrical part / control module of this category. Exact steps may vary by model, trim, and specific location in the vehicle.
1) Before assembly
- Check that it matches BSC A02-00 and compare all numbers on the label with the old part.
- Compare the type and number of connectors, the shape of the body of the part, the attachment and any holders.
- Inspect the connectors for damage, oxidation or mechanical deformation.
- Check that the used part is not cracked, has a loose packaging or traces of overheating or moisture.
2) Necessary tools and materials
- Basic set of hand tools
- Screwdrivers and common assembly tools
- Cleaning agent for electrical connectors
- Clean cloth or lint-free cloths
- Protective gloves and possibly a flashlight
3) Step-by-step assembly procedure
- Park the car in a safe place, turn off the ignition and secure the vehicle against movement.
- Disconnect the battery and wait for the car’s electrical system to come to rest.
- Access the area with the original part so as not to damage the surrounding wiring or plastic parts.
- Before disassembly, visually check the connection of the connectors and their position for correct reassembly.
- Carefully disconnect the electrical connectors. Do not use excessive force and release all connector locks in the correct manner.
- Dismantle the original part from the holder or attachment and compare it next to the new part according to the label and design.
- If necessary, gently clean the contact surfaces and connectors, but without aggressively interfering with the electrical installation.
- Place the used part in place of the original piece and check that it fits without tension and fits correctly in the holder.
- Connect all connectors in the correct position and verify that they are fully engaged.
- Check the wiring to make sure it is not pinched, stretched or in contact with other parts that could damage it.
- Reconnect the battery after assembly is complete.
- Turn on the ignition and watch for any abnormal behavior of the electrical systems after installation.
-
4) Post-assembly checks and test drive / function verification
- Verify the basic functionality of the systems that are related to the part.
- Check that the connectors are firmly attached and nothing is loosened by vibration.
- After a short test drive or operational verification, recheck the correct seating of the part and the condition of the wiring.
- If there is a defect, compare the markings and connections again with the old part.
5) The most common assembly mistakes + how to avoid them
- Exchanging a part based on similar appearance – the exact designation and numbers on the label always decide.
- Assembly without disconnecting the battery – there is a risk of damage to the electrical system or the part itself.
- Damage to the connectors during disassembly – release the connectors carefully and in the correct direction.
- Insufficient checking of the condition of the cabling – the defect may not be only in the module itself, but also in the leads or connectors.
- Assembling a part with a mismatched marking – always compare all available codes before fitting.
Reasons why the part is damaged
- Voltage fluctuations in the vehicle’s electrical system
- Moisture, oxidation of contacts and pollution of connectors
- Mechanical damage during careless disassembly or assembly
- Overheating, long-term load or poor contact in the connectors
- Damage to the cabling, which will then negatively affect the part itself