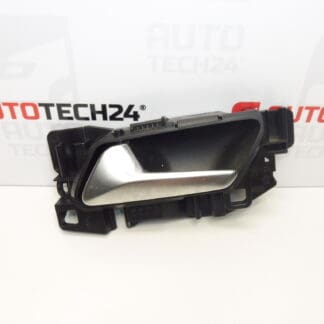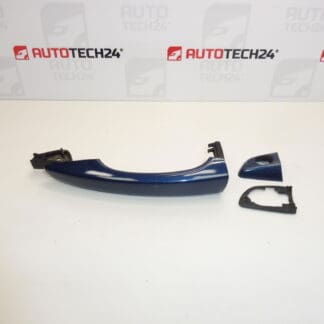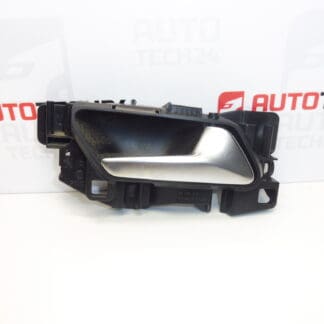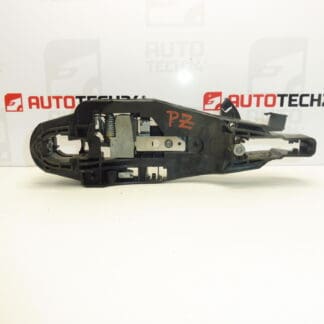
Description
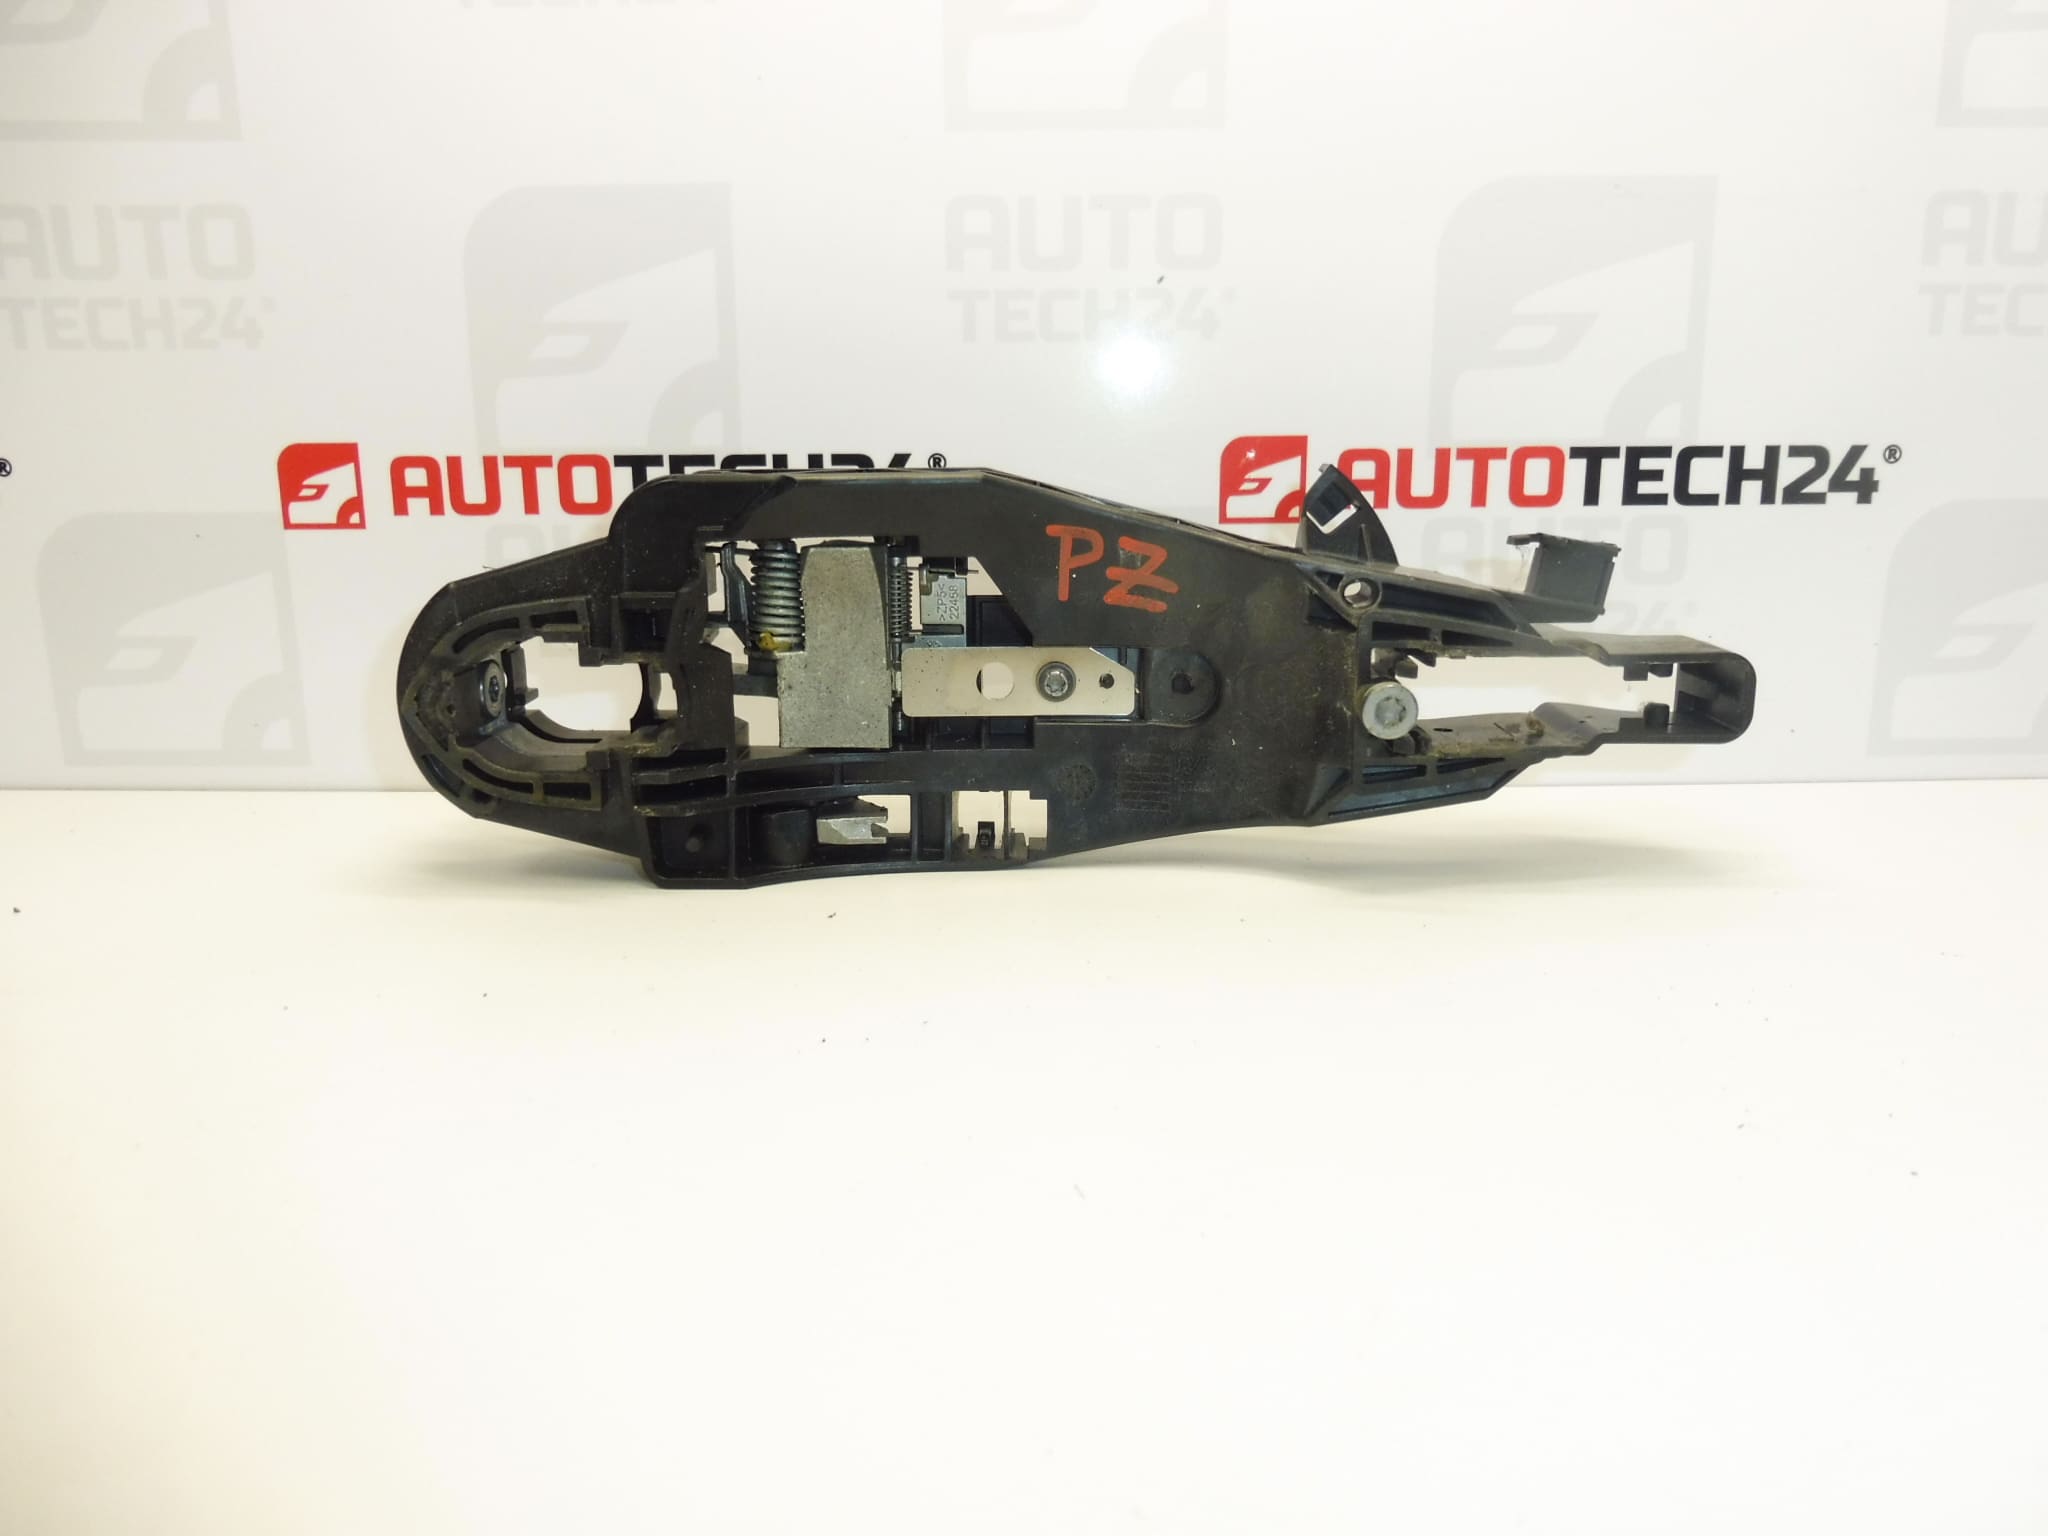
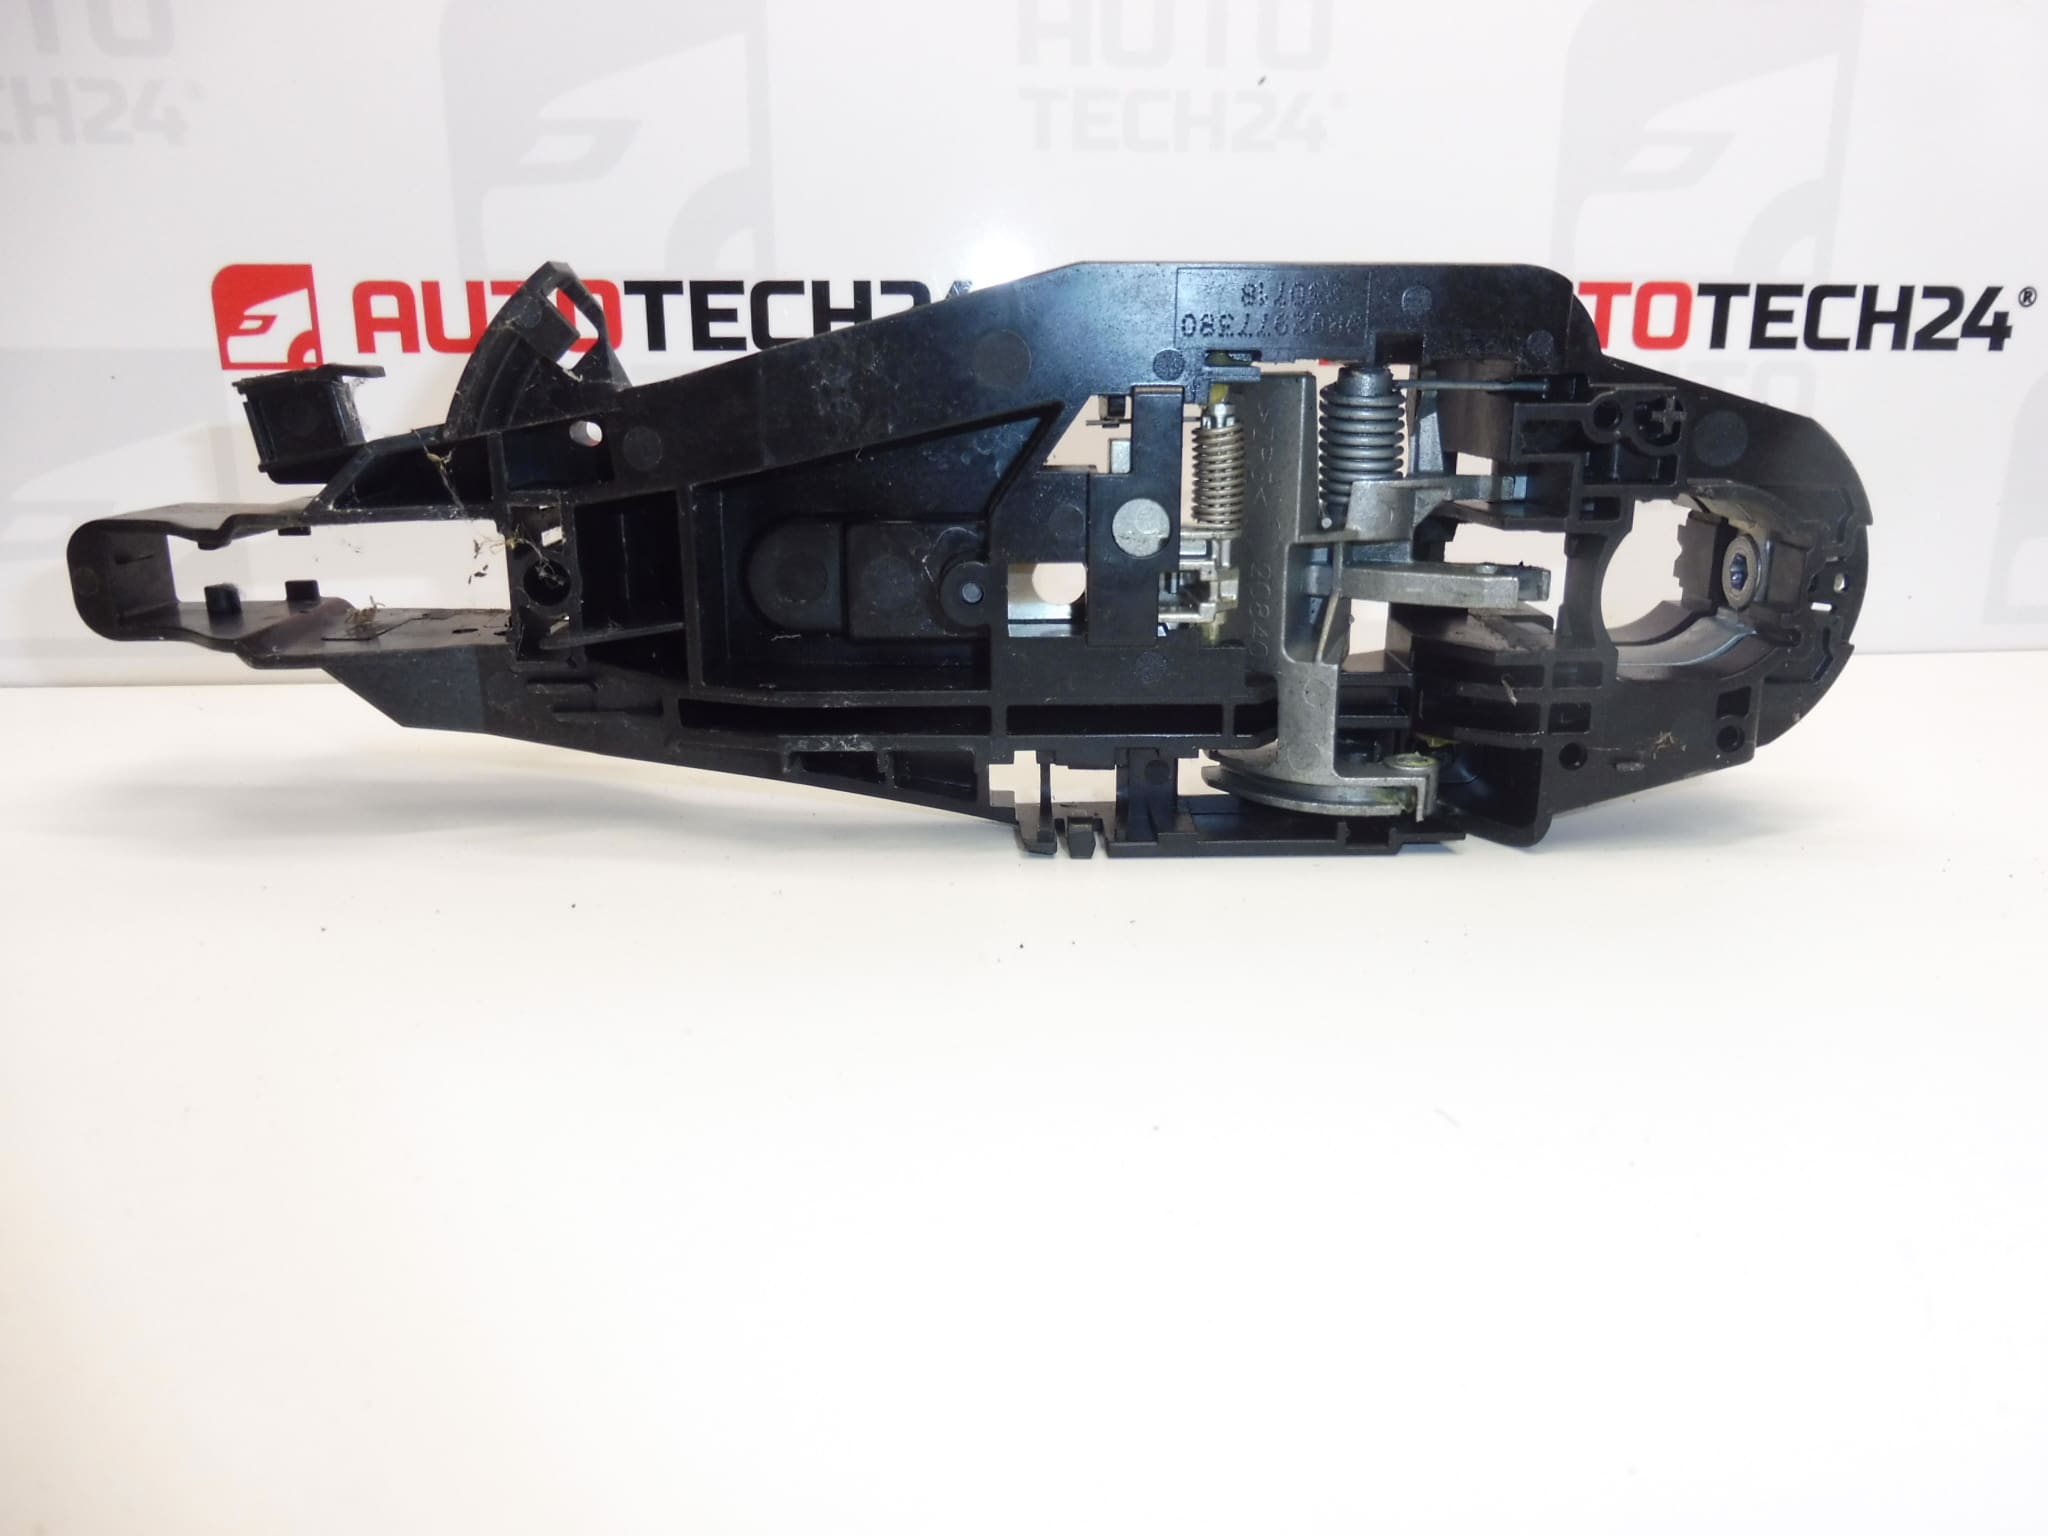
Door handle mounting bracket for the left front and right rear doors of Stellantis group vehicles CITROEN PEUGEOT OPEL FIAT TOYOTA
Part description
Door handle mounting bracket 9802977380 is a used mounting bracket designed for the left front and right rear doors. It secures the door handle and keeps it firmly in place. If the original bracket is damaged, this part may be a suitable repair solution for a loose or incorrectly seated handle, provided the other parts of the mechanism are still functional.
The part is listed in the source materials for the Citroën Berlingo K9, PEUGEOT PARTNER III, PEUGEOT RIFTER, OPEL COMBO E K9, FIAT DOBLO III and Toyota ProAce City models. When selecting a part, compare the product number 9802977380, bracket shape and mounting point configuration with the original part. The model name alone may not distinguish between all versions of the door mechanism.
Technical information
- Manufacturer: not specified
- Model: Citroën Berlingo K9; FIAT DOBLO III; OPEL COMBO E K9; PEUGEOT PARTNER III; PEUGEOT RIFTER; Toyota ProAce City
- Part type: door handle mounting bracket
- Fitment: left front and right rear doors
- Condition: used part
- Other numbers: not specified
Product codes
- Product codes: 9802977380
Number 9802977380 is the primary identifier for finding this door handle mounting bracket and comparing it with the marking on the original part.
Installation recommendations
The following procedure is a general guide to replacing a door handle mounting bracket. The exact access to the mounting points, extent of disassembly and method of securing the handle depend on the specific vehicle model and configuration. Follow the manufacturer’s service procedure.
1) Before installation
- Compare the product number, shape, dimensions, mounting points and contact surfaces with the original bracket.
- Inspect the used part, especially around the holes, clips and locking features. It must not have cracks, deformation or damage that would prevent secure mounting.
- Also check the handle and connected mechanism. Replacing the bracket alone will not fix a faulty lock or damaged control linkage.
- Before disassembly, take photos of the position of accessible components and how they are connected.
2) Tools and materials required
- Hand tools suitable for the fasteners used.
- Plastic trim removal tools if the trim or covers need to be released.
- A flashlight, protective gloves, protection for painted surfaces and a container for small parts.
- A clean cloth and a product suitable for gently cleaning the contact surfaces.
3) Step-by-step installation procedure
- Secure the vehicle against movement, switch off the ignition and secure the open door so it cannot move unexpectedly.
- Cover the painted surfaces around the handle to prevent damage from tools or loose parts during handling.
- Access the handle mounting points according to the service procedure. Release covers and any trim using suitable tools and without force.
- If access requires handling electrical connectors, disconnect the power supply in accordance with the vehicle manufacturer’s instructions.
- Note the position of the bracket, fasteners and any control linkages. Hold the handle in place before releasing it.
- Release the locking feature according to the mechanism’s design and remove the damaged bracket. Do not lever it against the edge of the painted sheet metal.
- Clean the contact surfaces and inspect the surrounding mounting points, handle and connected mechanism. Repair any damage found before reassembly.
- Compare the two brackets side by side and position the used replacement part correctly. It must fit without being forced into place.
- Restore the mounting and reconnect any control linkages that were disconnected. Tighten the fasteners according to the manufacturer’s procedure; do not overtighten them, as this could deform the bracket.
- Before refitting the covers, check that the handle is correctly seated, moves smoothly and returns to its resting position. Check that all disconnected connections are secured.
- Refit any covers and trim that were removed, restore the power supply if applicable according to the manufacturer’s procedure, and perform a final functional check.
4) Post-installation checks and functional verification
First, with the door open, check that the handle is firmly seated, does not stick and returns to its resting position. Close the door carefully for the first time, but only after checking that the mechanism is connected correctly. Then test opening from both outside and inside, as well as locking and unlocking, several times. Before driving, make sure the door stays securely closed. For the door handle mounting itself, a functional check with the vehicle stationary is essential.
5) Common installation errors and how to avoid them
- Confusing different versions: before installation, compare the part number, geometry and all mounting points.
- Forcing the part into place or overtightening the fasteners: if you encounter resistance, check the part’s position again; do not use greater force to compensate for incorrect seating.
- Incorrectly connecting the control mechanism: refer to the photos taken before disassembly and check that each connection is secured.
- Overlooking a damaged handle or lock: inspect the entire related mechanism before reassembly.
- Closing the door too soon: first check that the handle moves freely and is assembled correctly to reduce the risk of the door becoming jammed.
Reasons why the part may become damaged
For door handle mounting brackets, possible causes of damage generally include:
- Repeated mechanical stress from using the handle, especially if the mounting has already become loose.
- Pulling the handle sharply, for example when the door is frozen shut or the mechanism is stiff.
- Incorrect previous installation, overtightened fasteners or forcibly releasing locking features.
- Impact or deformation of the door, which changes the handle’s position and puts stress on its mounting.
- Increased resistance in the connected mechanism, which transfers greater force to the bracket.
When replacing the bracket, also check the cause of the original fault. A correctly seated handle and a freely operating mechanism help reduce further stress on the replacement bracket.