Description
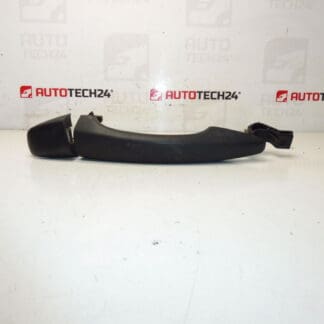
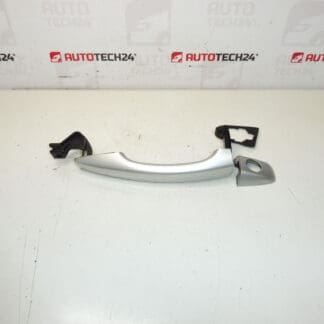
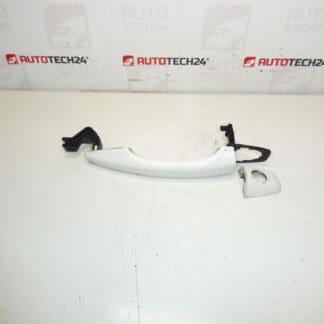
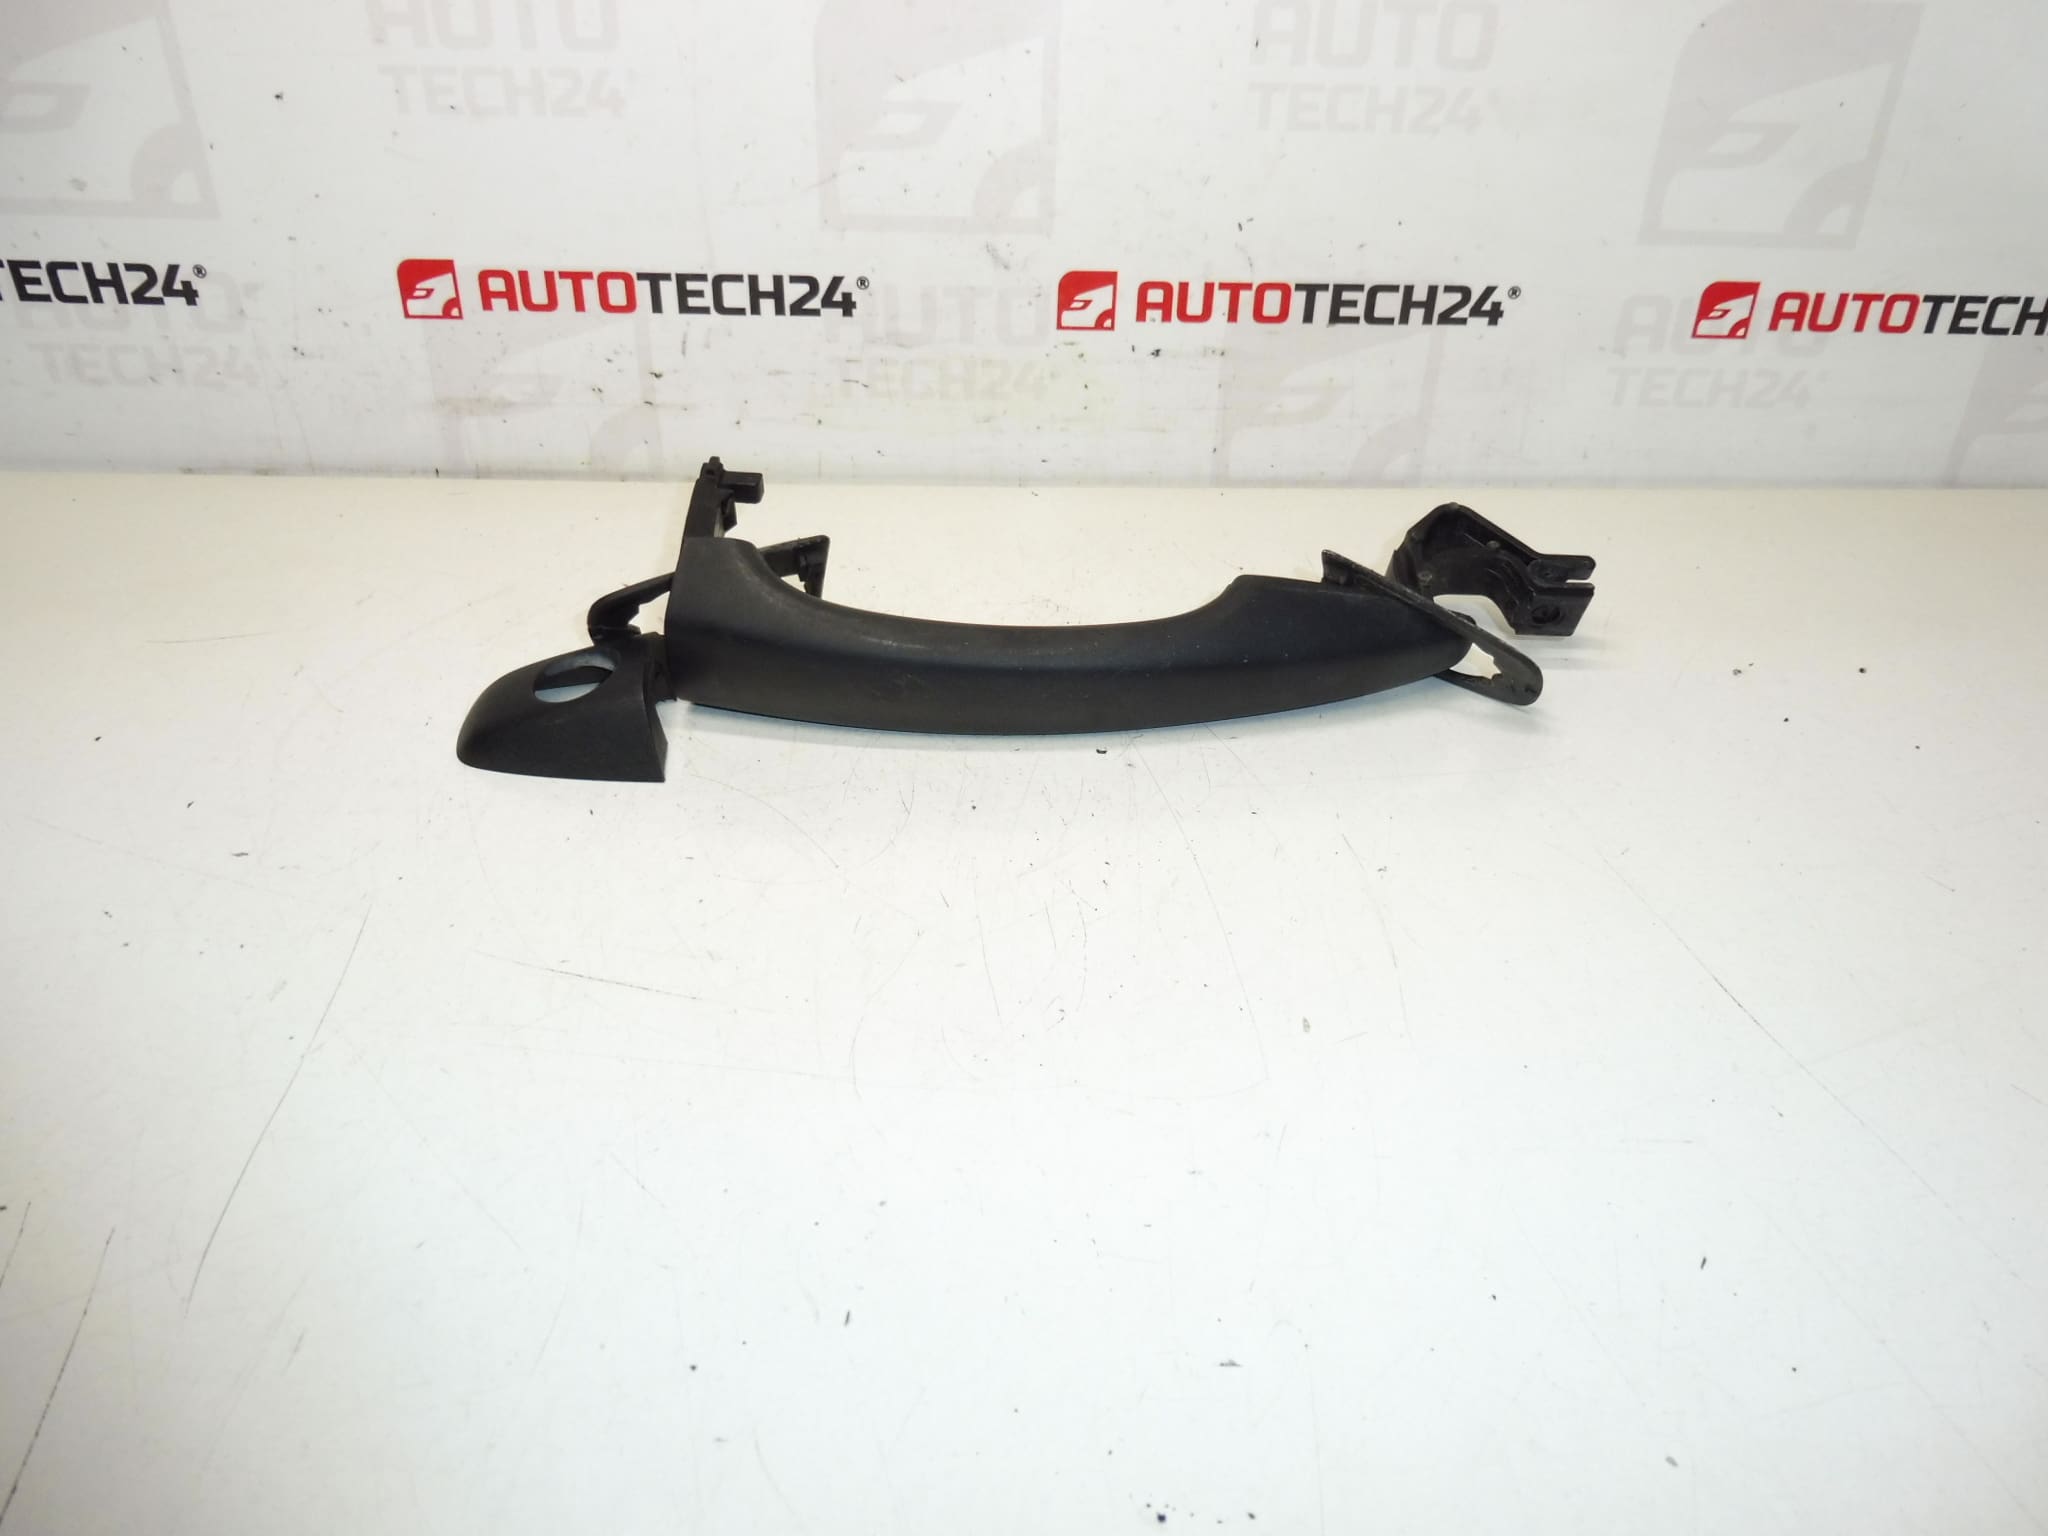
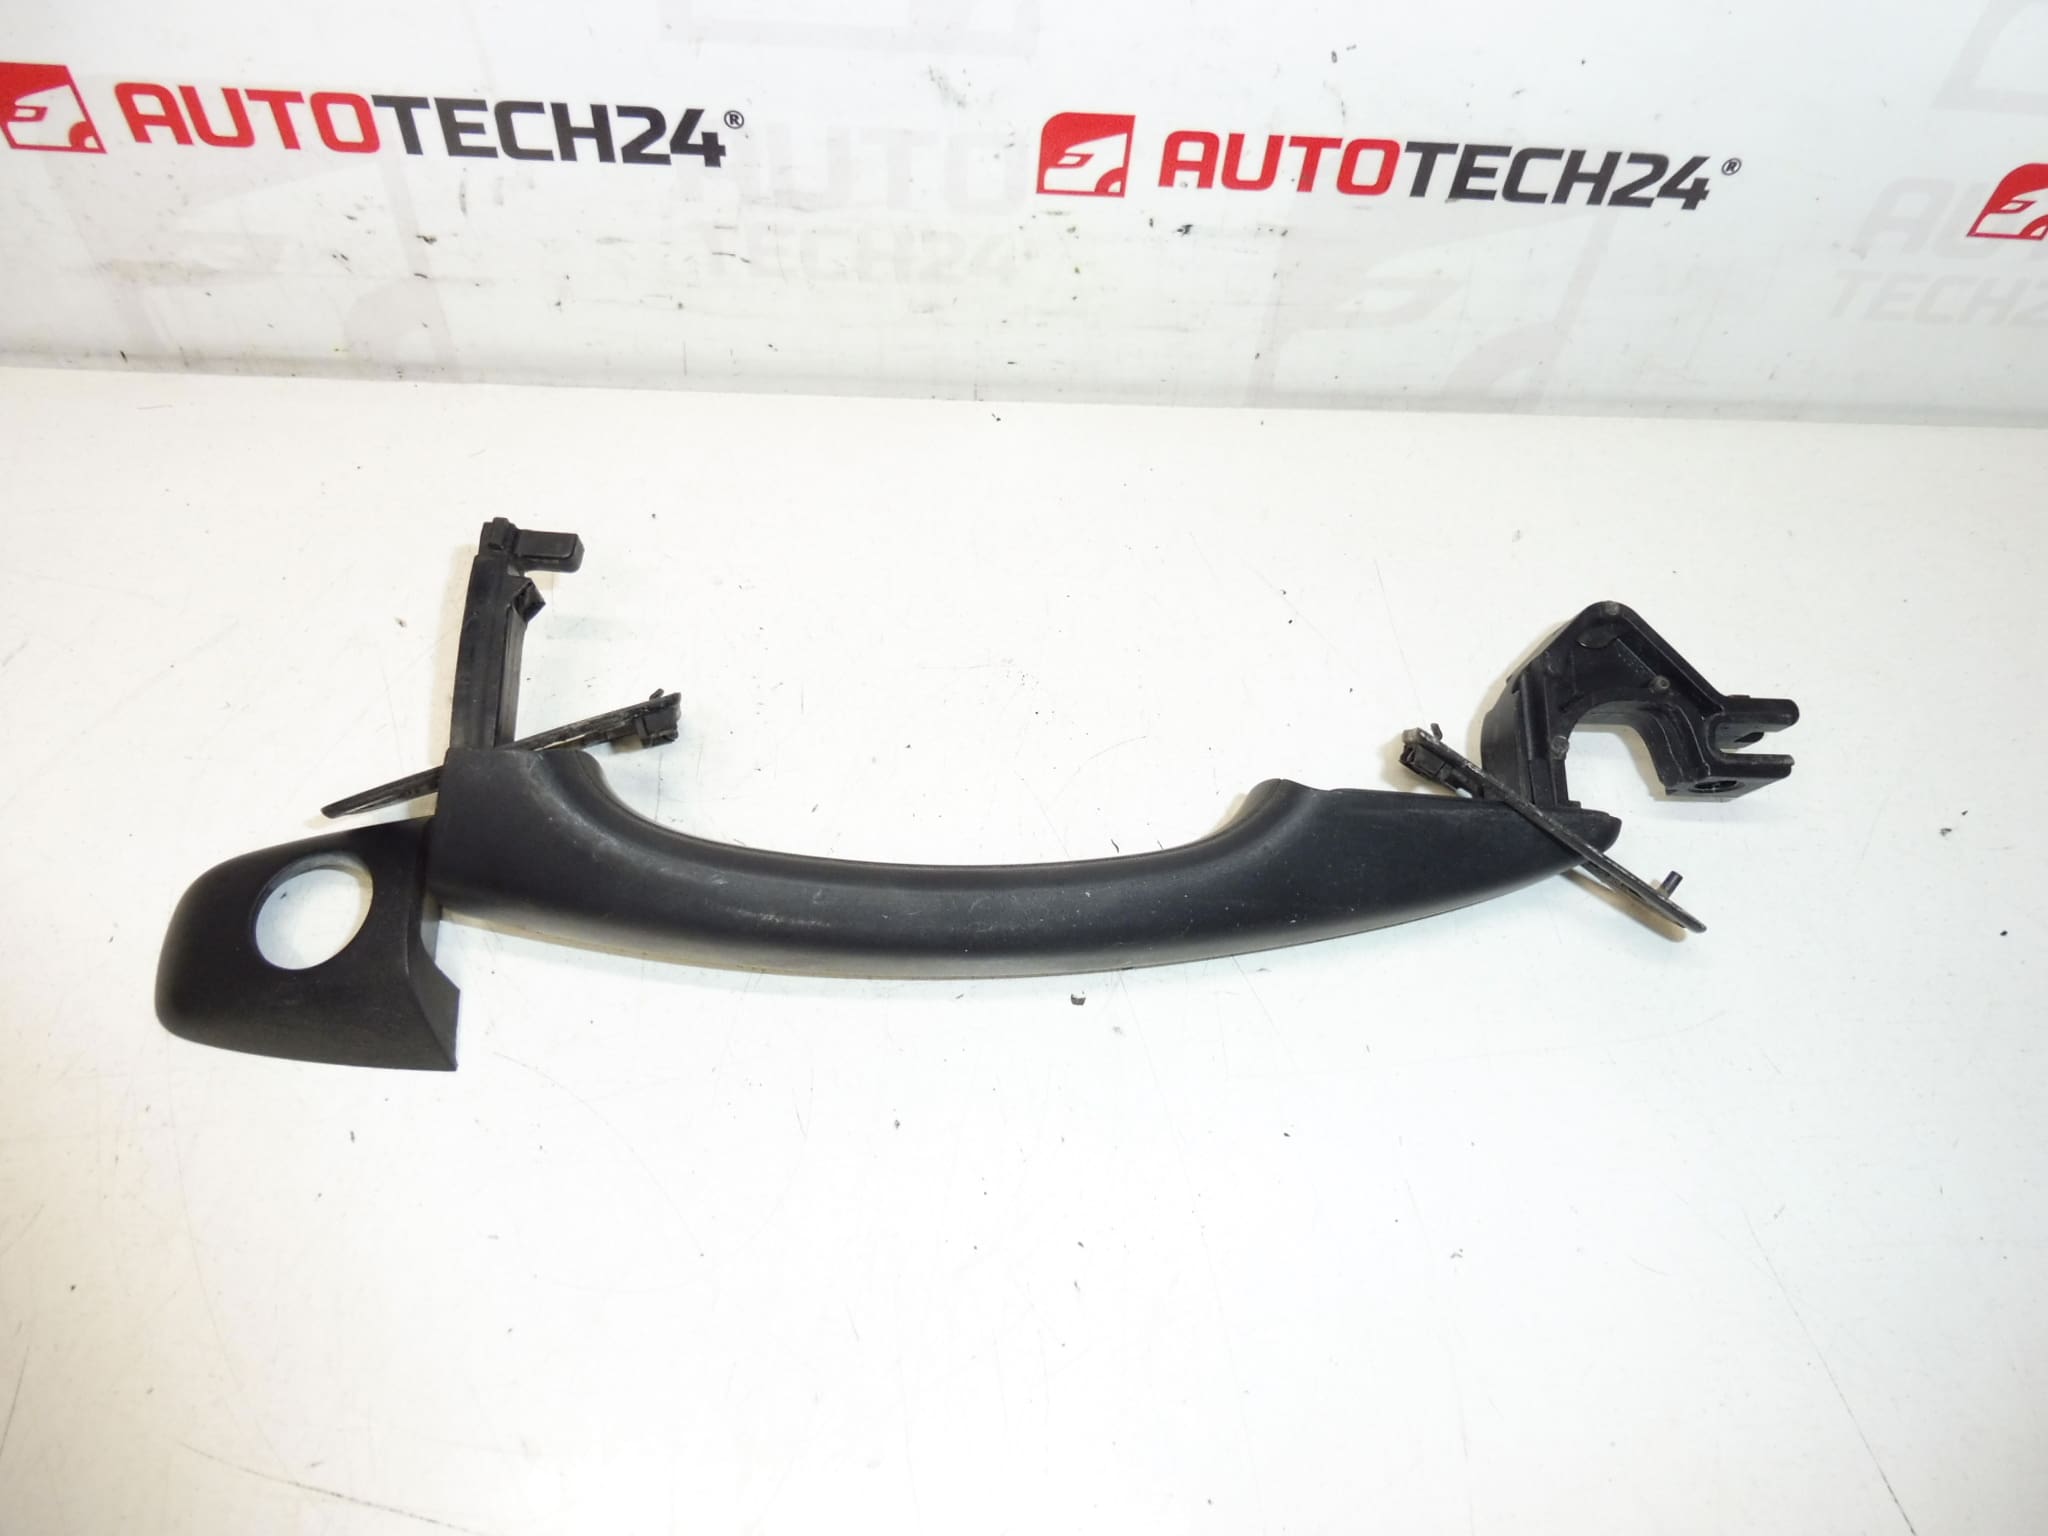
Left front door handle CITROEN C4 II B7, C-Elysée, DS4, Peugeot 301
Color FXT – BLACK CORNELIA
Driver’s door
Part description
The used driver’s door handle for Citroën and Peugeot cars is suitable as a replacement for a damaged or non-functional original part. It is the outer handle of the left front door in the FXT – BLACK CORNELIE design, which visually corresponds to the standard serial design of these cars.
This car part is often searched by serial number, so the codes 96868964XT and 9101LX are particularly important. It is a practical choice for car mechanics and DIYers when repairing a damaged handle, a problem with opening a door or when replacing a worn part after normal use.
Technical information
- Manufacturer: Stellantis Citroën Peugeot
- Model: Citroën C4 II B7, Citroën C-Elysée, DS4, Peugeot 301
- Other numbers: 9101LX, 96868964XT
Product codes
- Product codes: 9101LX, 96868964XT
- Models from labels/background: Citroen C-Elysée, Citroen C4 II, DS4, Peugeot 301
Installation recommendations
This part involves replacing the outer door handle. The exact procedure may vary depending on the specific model and make of the car, but in general the following recommendations apply for this type of part.
1) Before assembly
- Check that the new used part matches the old part in shape, fit, color and design for the left front door.
- Compare the markings 9101LX and 96868964XT if available on the part or packaging.
- Check the condition of the attachment points, the surface of the handle, the play in the mechanical part and any signs of cracks or deformation.
- Before dismantling, check that the original fault is really related to the handle and not to the pull, lock or other part of the door mechanism.
2) Necessary tools and materials
- Basic set of screwdrivers and ratchets
- Plastic pry bar for panel removal
- Cleaning agent for degreasing dirt
- Fine cloth
- Possibly, work gloves and a flashlight
3) Step-by-step assembly procedure
- Secure the vehicle against movement and open the relevant door to a comfortable working position.
- If the vehicle design requires it, carefully remove the inner door trim or service cover to gain access to the handle attachment.
- Remove the old crank fasteners and set them aside for reuse if they are OK.
- Carefully release the old handle from the door without damaging the paintwork or the surrounding plastic parts.
- Check the condition of the pulls, holders and associated mechanical parts of the door lock.
- Clean the mounting surface and the area around the mounting hole from dust, grease and dirt.
- Insert the new crank into the correct position and verify that it fits without tension and without forcing it into place.
- Connect or seat the subsequent mechanical parts in such a way that the smooth operation of the opening is maintained.
- Tighten the fasteners evenly and carefully to avoid damaging the plastic or painted parts.
- Before reassembling the trim, test the function of the handle and the operation of the mechanism several times.
- Reinstall all removed covers, gaskets and door trim.
- Do a final check of the fit and appearance of the handle in both closed and open doors.
-
4) Post-assembly checks and test drive/function verification
- Try opening the door from the outside repeatedly in different positions of the door.
- Verify that the crank operates smoothly, does not jerk back, and does not have excessive play.
- Check that the door holds properly after closing and that the mechanism is not under tension.
- After a short period of use, check again that the handle has not come loose and that everything fits without any unwanted noises.
5) The most common assembly mistakes + how to avoid them
- Swapping part side – always compare the design for the left front door before assembly.
- Door panel damage – use suitable plastic tools and do not work with brute force.
- Incorrect seat of the handle – check the correct position and free movement before tightening.
- Overlooking a defect in the lock mechanism – if the problem persists even after replacing the handle, check the subsequent parts.
- Too strong tightening – proceed with sensitivity to avoid cracking the brackets or damaging the surface.
Reasons why the part is damaged
- normal wear from frequent opening and closing of doors,
- mechanical damage due to careless handling,
- cracking or squeezing of the attachment due to the age of the material,
- damage after minor impact or contact with an obstacle,
- wear of the surface layer and deterioration of appearance due to traffic and weather.