Description
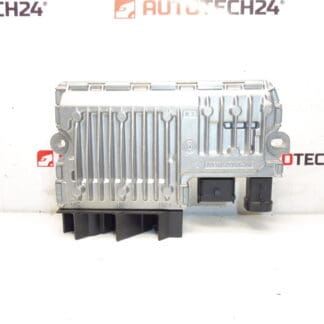
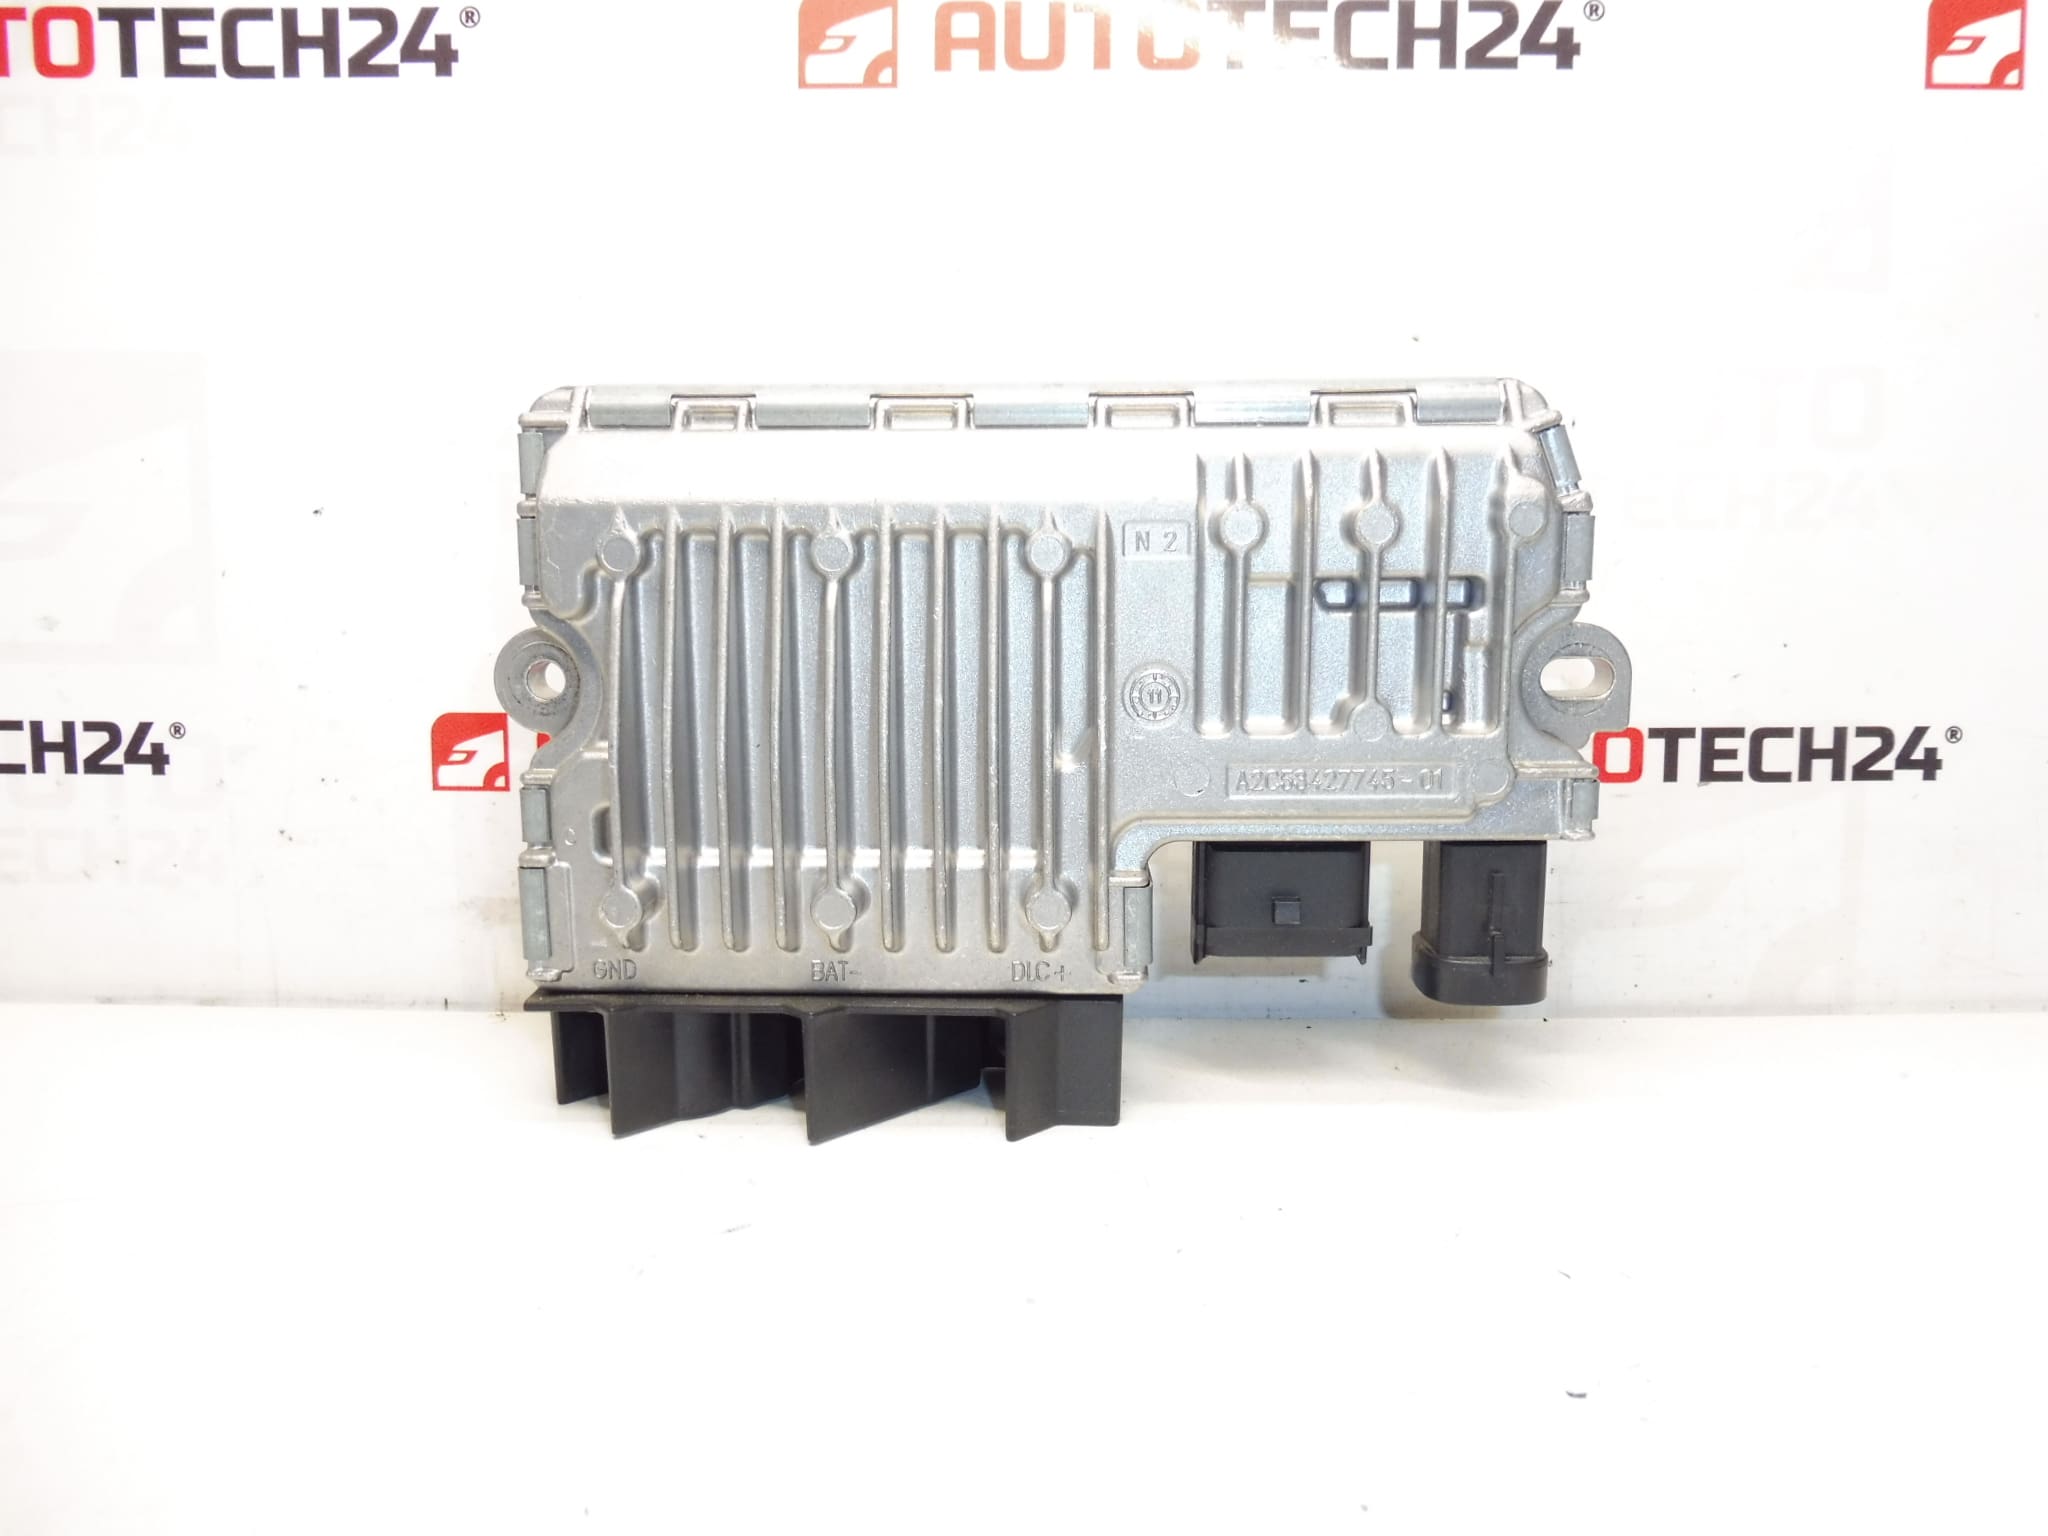
Start-Stop System Inverter Unit for Citroën and Peugeot Vehicles.
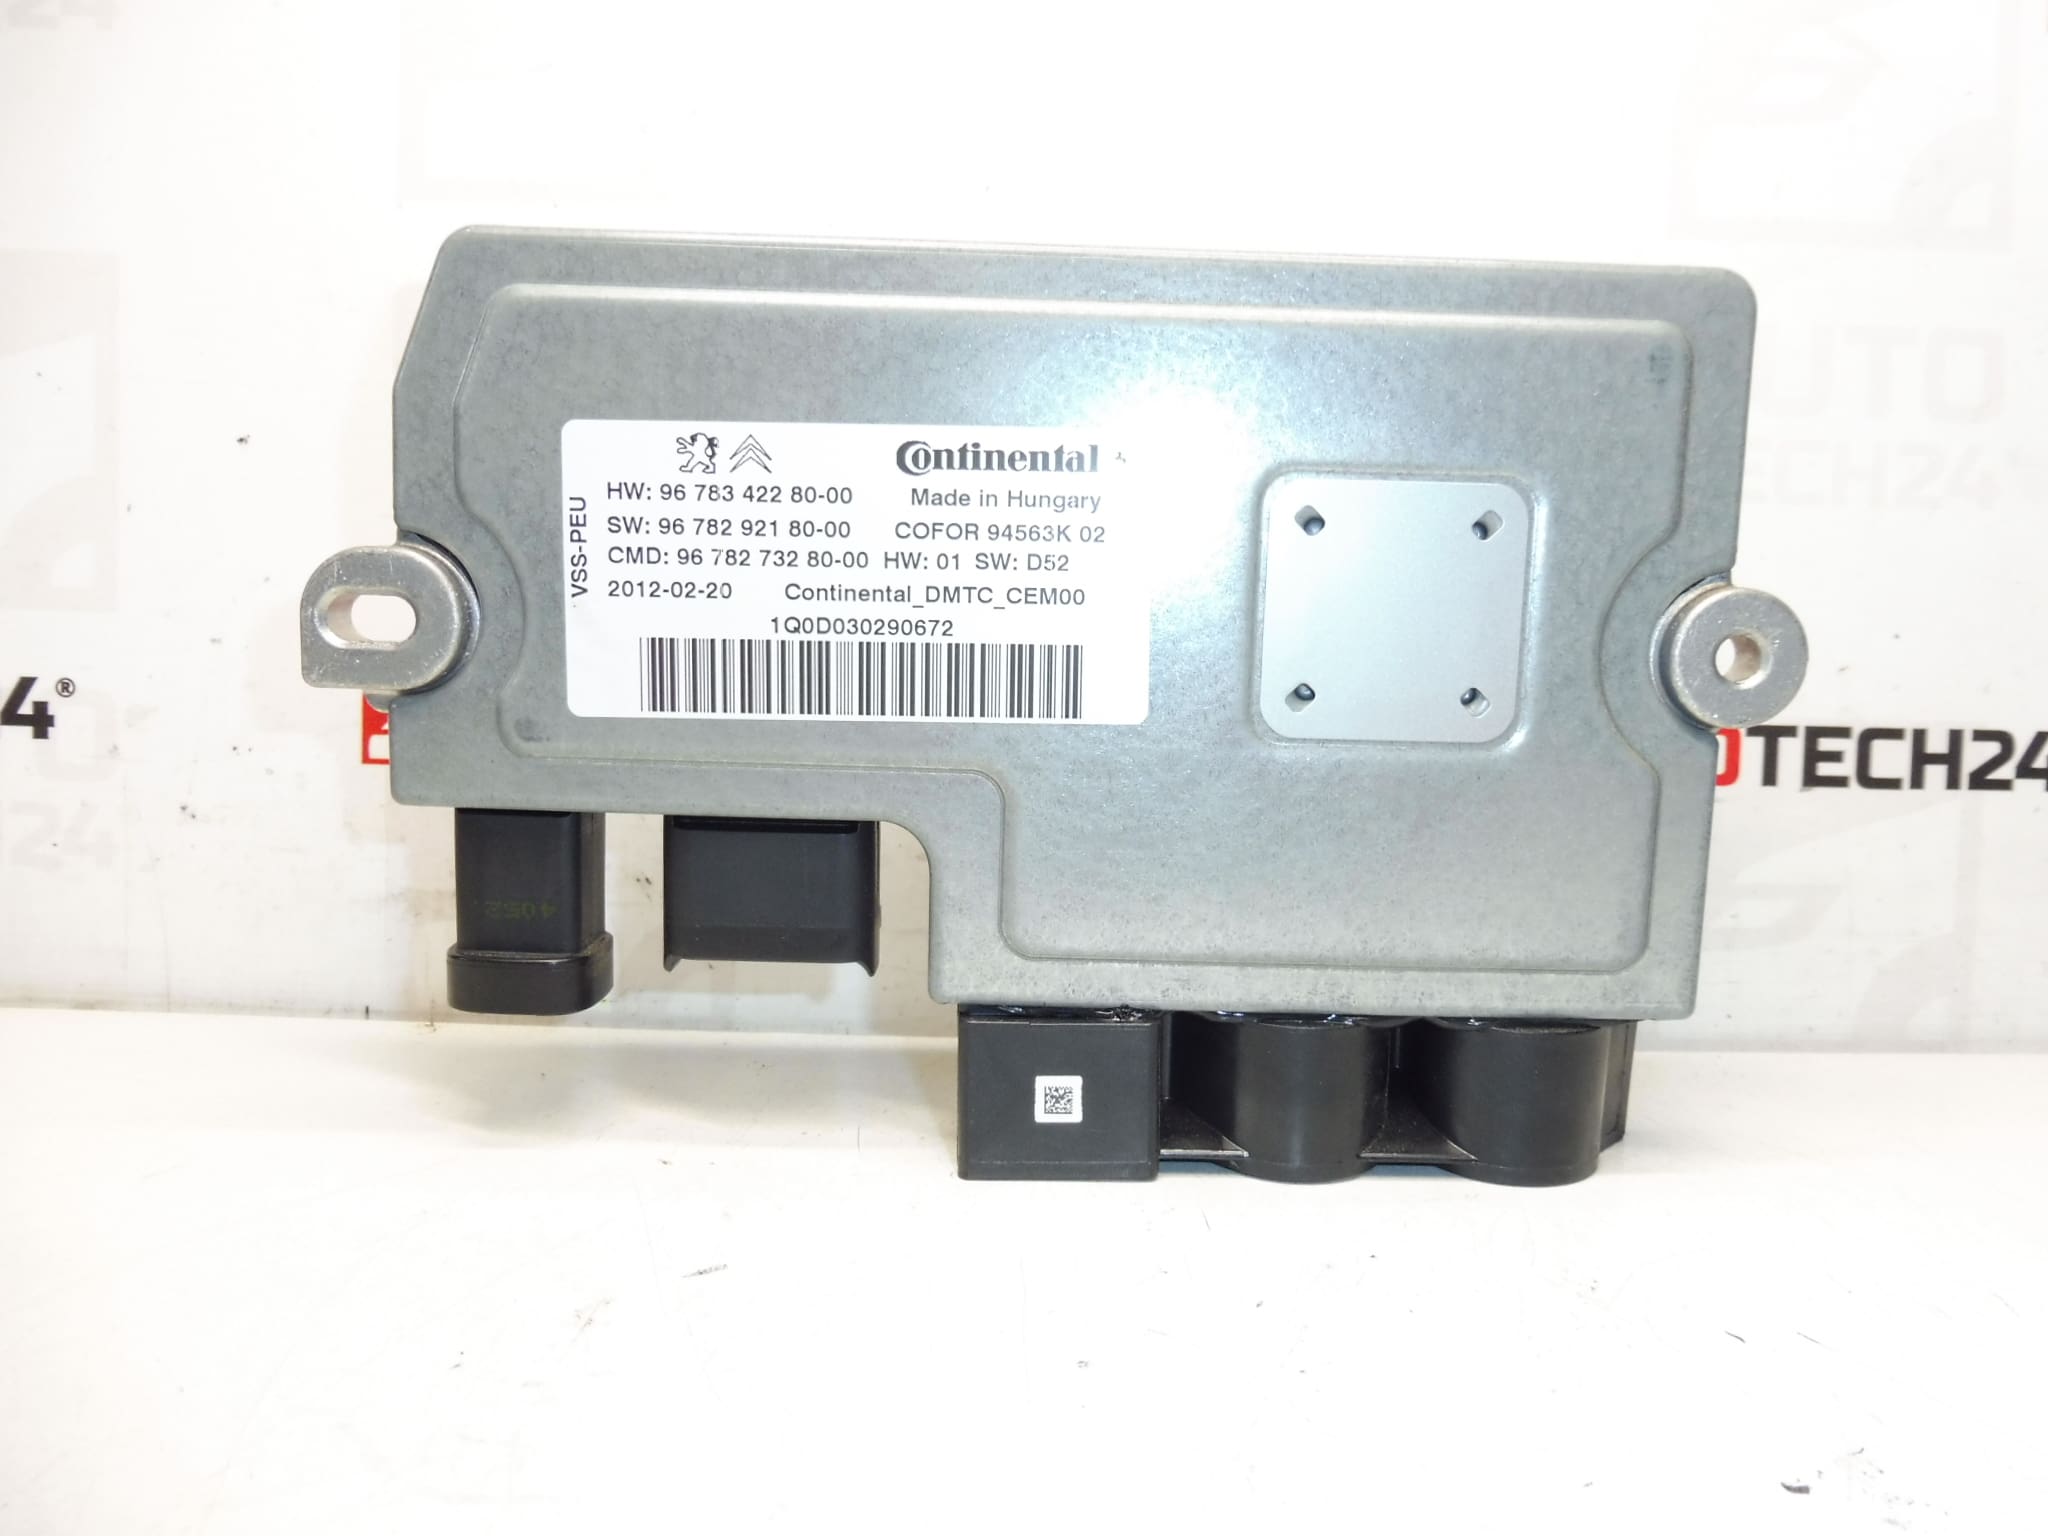
This Continental Start-Stop inverter unit is designed for Citroën and Peugeot vehicles equipped with start-stop technology, enabling fuel savings and reduced emissions by managing the engine restart cycle. It is suitable for professional workshops and experienced DIY mechanics who search by OE numbers such as 9678342280 or 9678292180. The unit controls the transition between engine off and engine on states, ensuring smooth restarts and coordinating with the vehicle electrical system and battery management.
Technical Information
- Manufacturer: Continental
- Model: Start-Stop Inverter Unit
- Product Codes: 9678342280, 9678342280-00, 9678292180, 9678292180-00
- Additional Numbers: 9678273280, 9805721280
- Compatible Models: Citroën Berlingo B9, Citroën C4, Citroën C4 Picasso, Jum, Peugeot 208, Peugeot 308, Peugeot Partner III
Function
The inverter unit manages the electrical and control logic required to perform engine stop and restart sequences. It communicates with the engine control module and vehicle battery management to cut fuel and ignition during stops and to provide a reliable restart when the driver releases the brake or presses the accelerator. Proper function reduces idling fuel consumption and lowers CO2 emissions while maintaining user comfort.
Common Failure Causes
- Moisture Ingress And Corrosion: Exposure to water or road salts can corrode connectors and internal components.
- Thermal Stress: Repeated heat cycling accelerates wear of electronic components and solder joints.
- Electrical Overstress: Voltage spikes from a weak battery, faulty alternator, or jump-starting can damage the inverter electronics.
- Connector Or Wiring Damage: Loose or corroded connectors cause intermittent faults and communication errors.
Replacement And Installation
General replacement steps for experienced technicians or competent DIYers:
- Ensure Vehicle Is Safe: Park on a level surface, engage parking brake, and follow shop safety procedures.
- Disconnect Battery: Always disconnect the negative battery terminal before starting work to prevent short circuits and protect electronics.
- Access The Unit: Remove any protective covers or trim blocking access to the inverter unit. Keep fasteners organized.
- Unplug Connectors: Carefully release all electrical connectors and note their positions. Inspect connectors for corrosion or damage.
- Remove Mounting Fasteners: Unbolt the unit and lift it clear. Compare the replacement unit with the original to verify matching part numbers.
- Install New Unit: Fit the unit, secure mounting bolts to their original locations, and reconnect electrical plugs firmly.
- Reconnect Battery And Check: Reconnect the battery, clear any stored fault codes if present, and perform a functional test of the start-stop system.
Recommendation For Installation
Always Disconnect The Battery Before Work. Clean And Inspect Connectors; Apply Suitable Contact Protection If Needed. Verify Vehicle Electrical Health—Battery State Of Charge And Charging System Condition—Before Assuming Unit Failure. After Installation, Monitor For Fault Codes And Start-Stop Behavior; Some Vehicles May Require Initialization Or Adaptation Using A Diagnostic Tool.
Reason Why The Part Most Often Fails
In practice, failures are most commonly caused by environmental exposure (moisture and corrosion) and electrical stress related to aged batteries or charging system faults. Preventive checks of the battery condition and ensuring clean, dry electrical connections will extend the life of the inverter unit.