Description
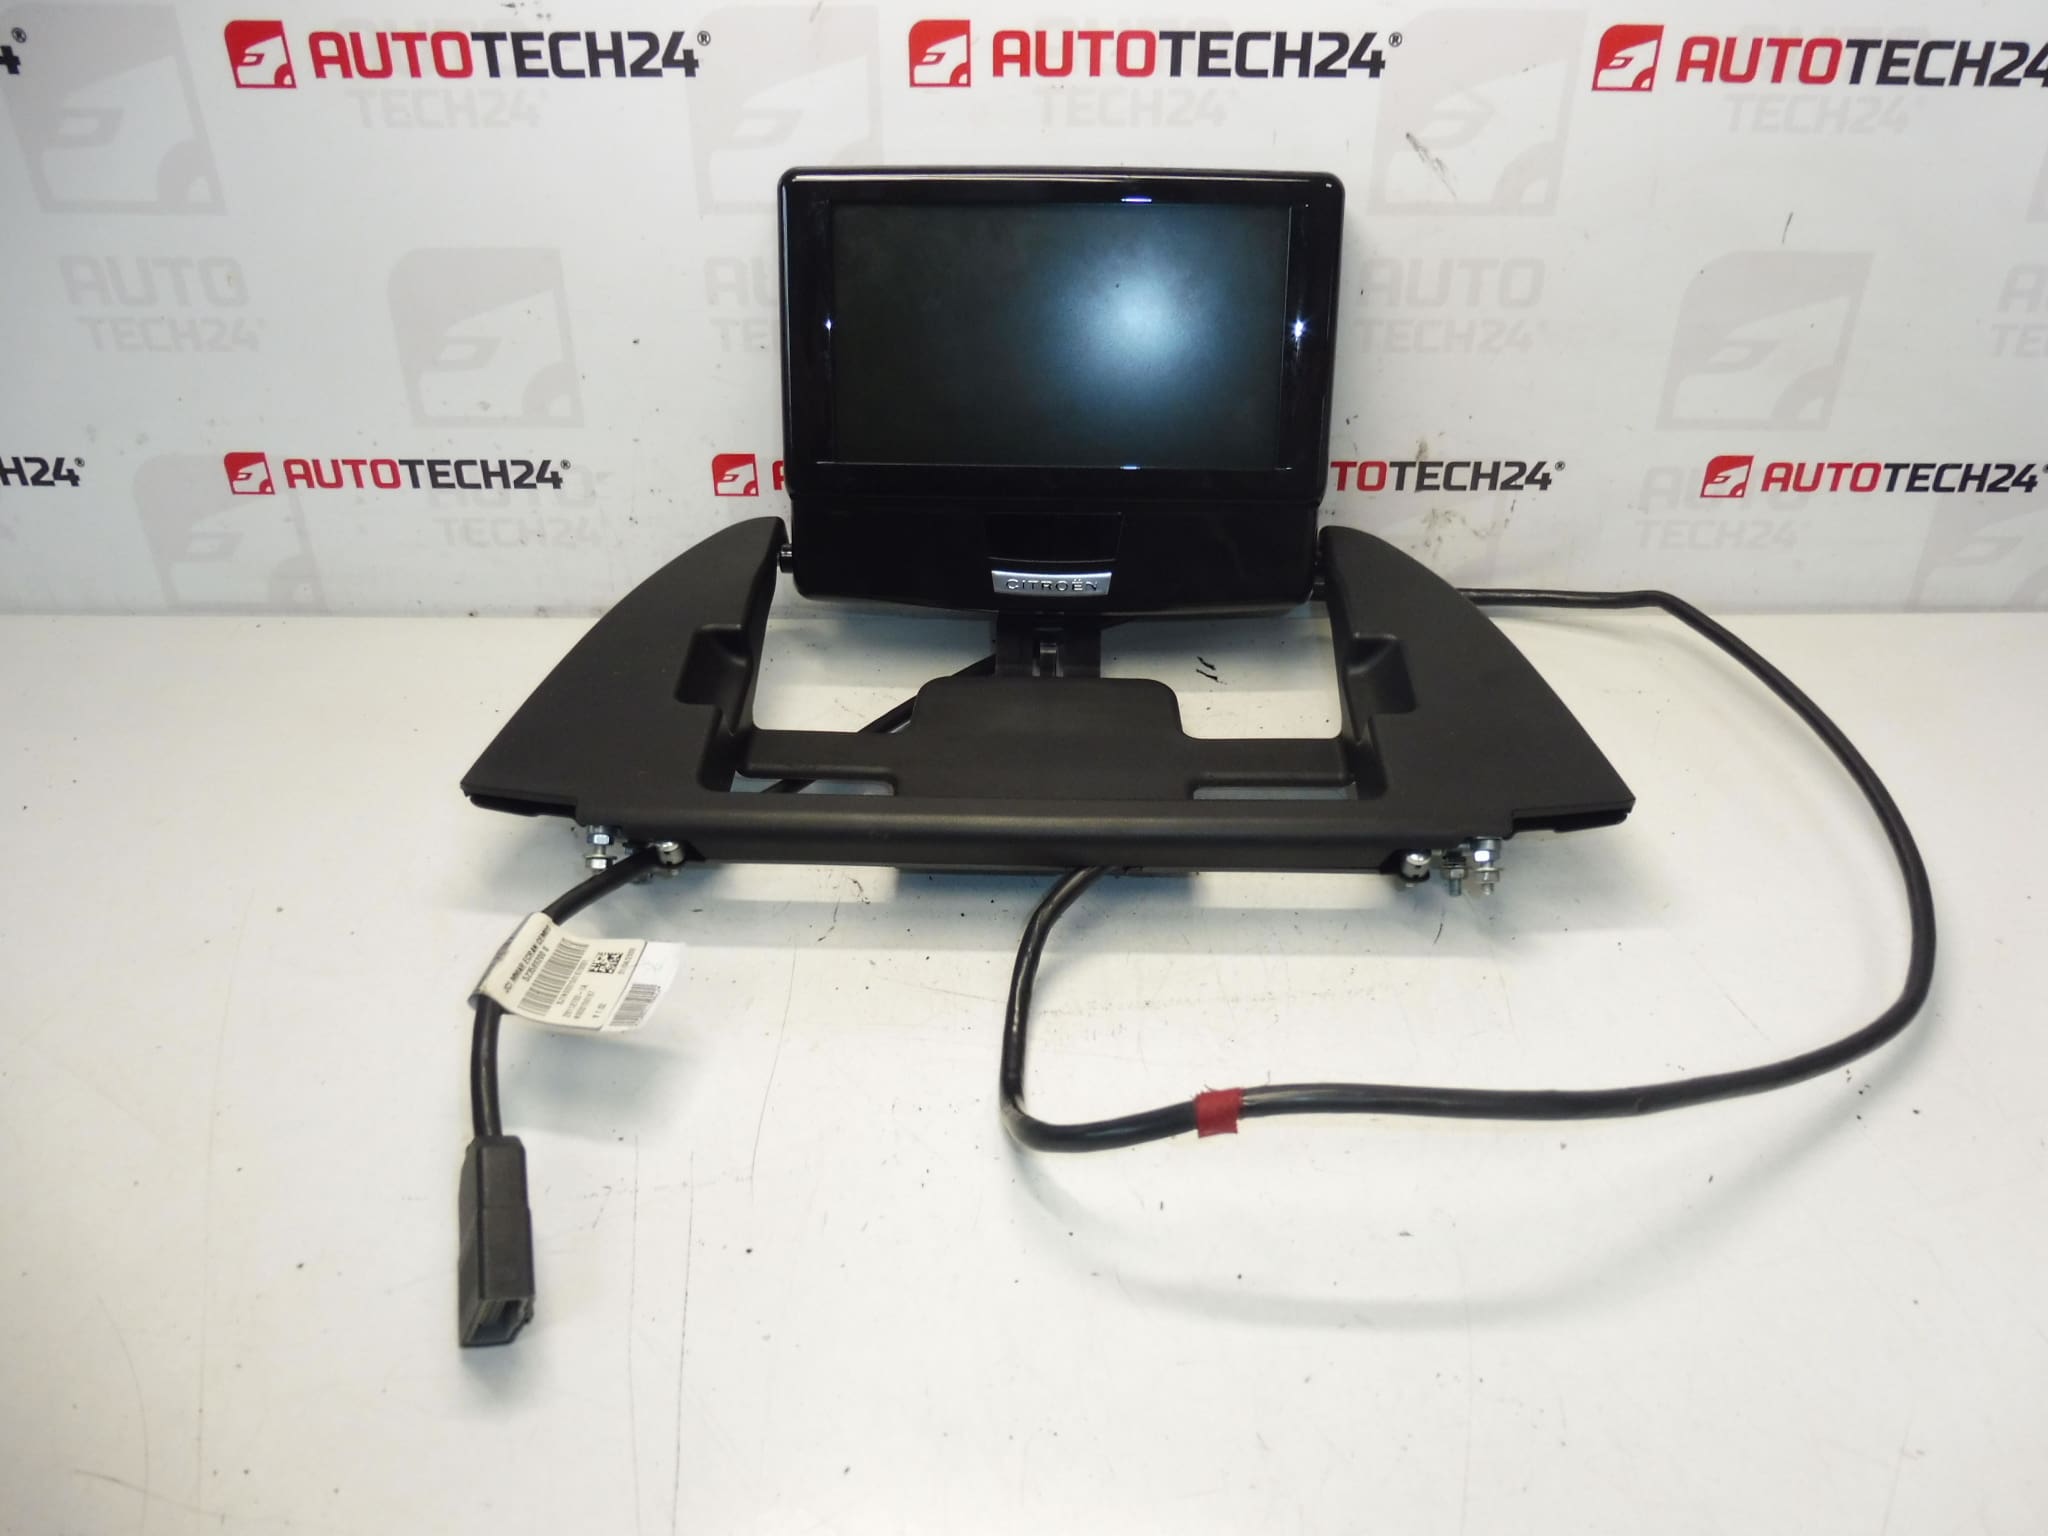
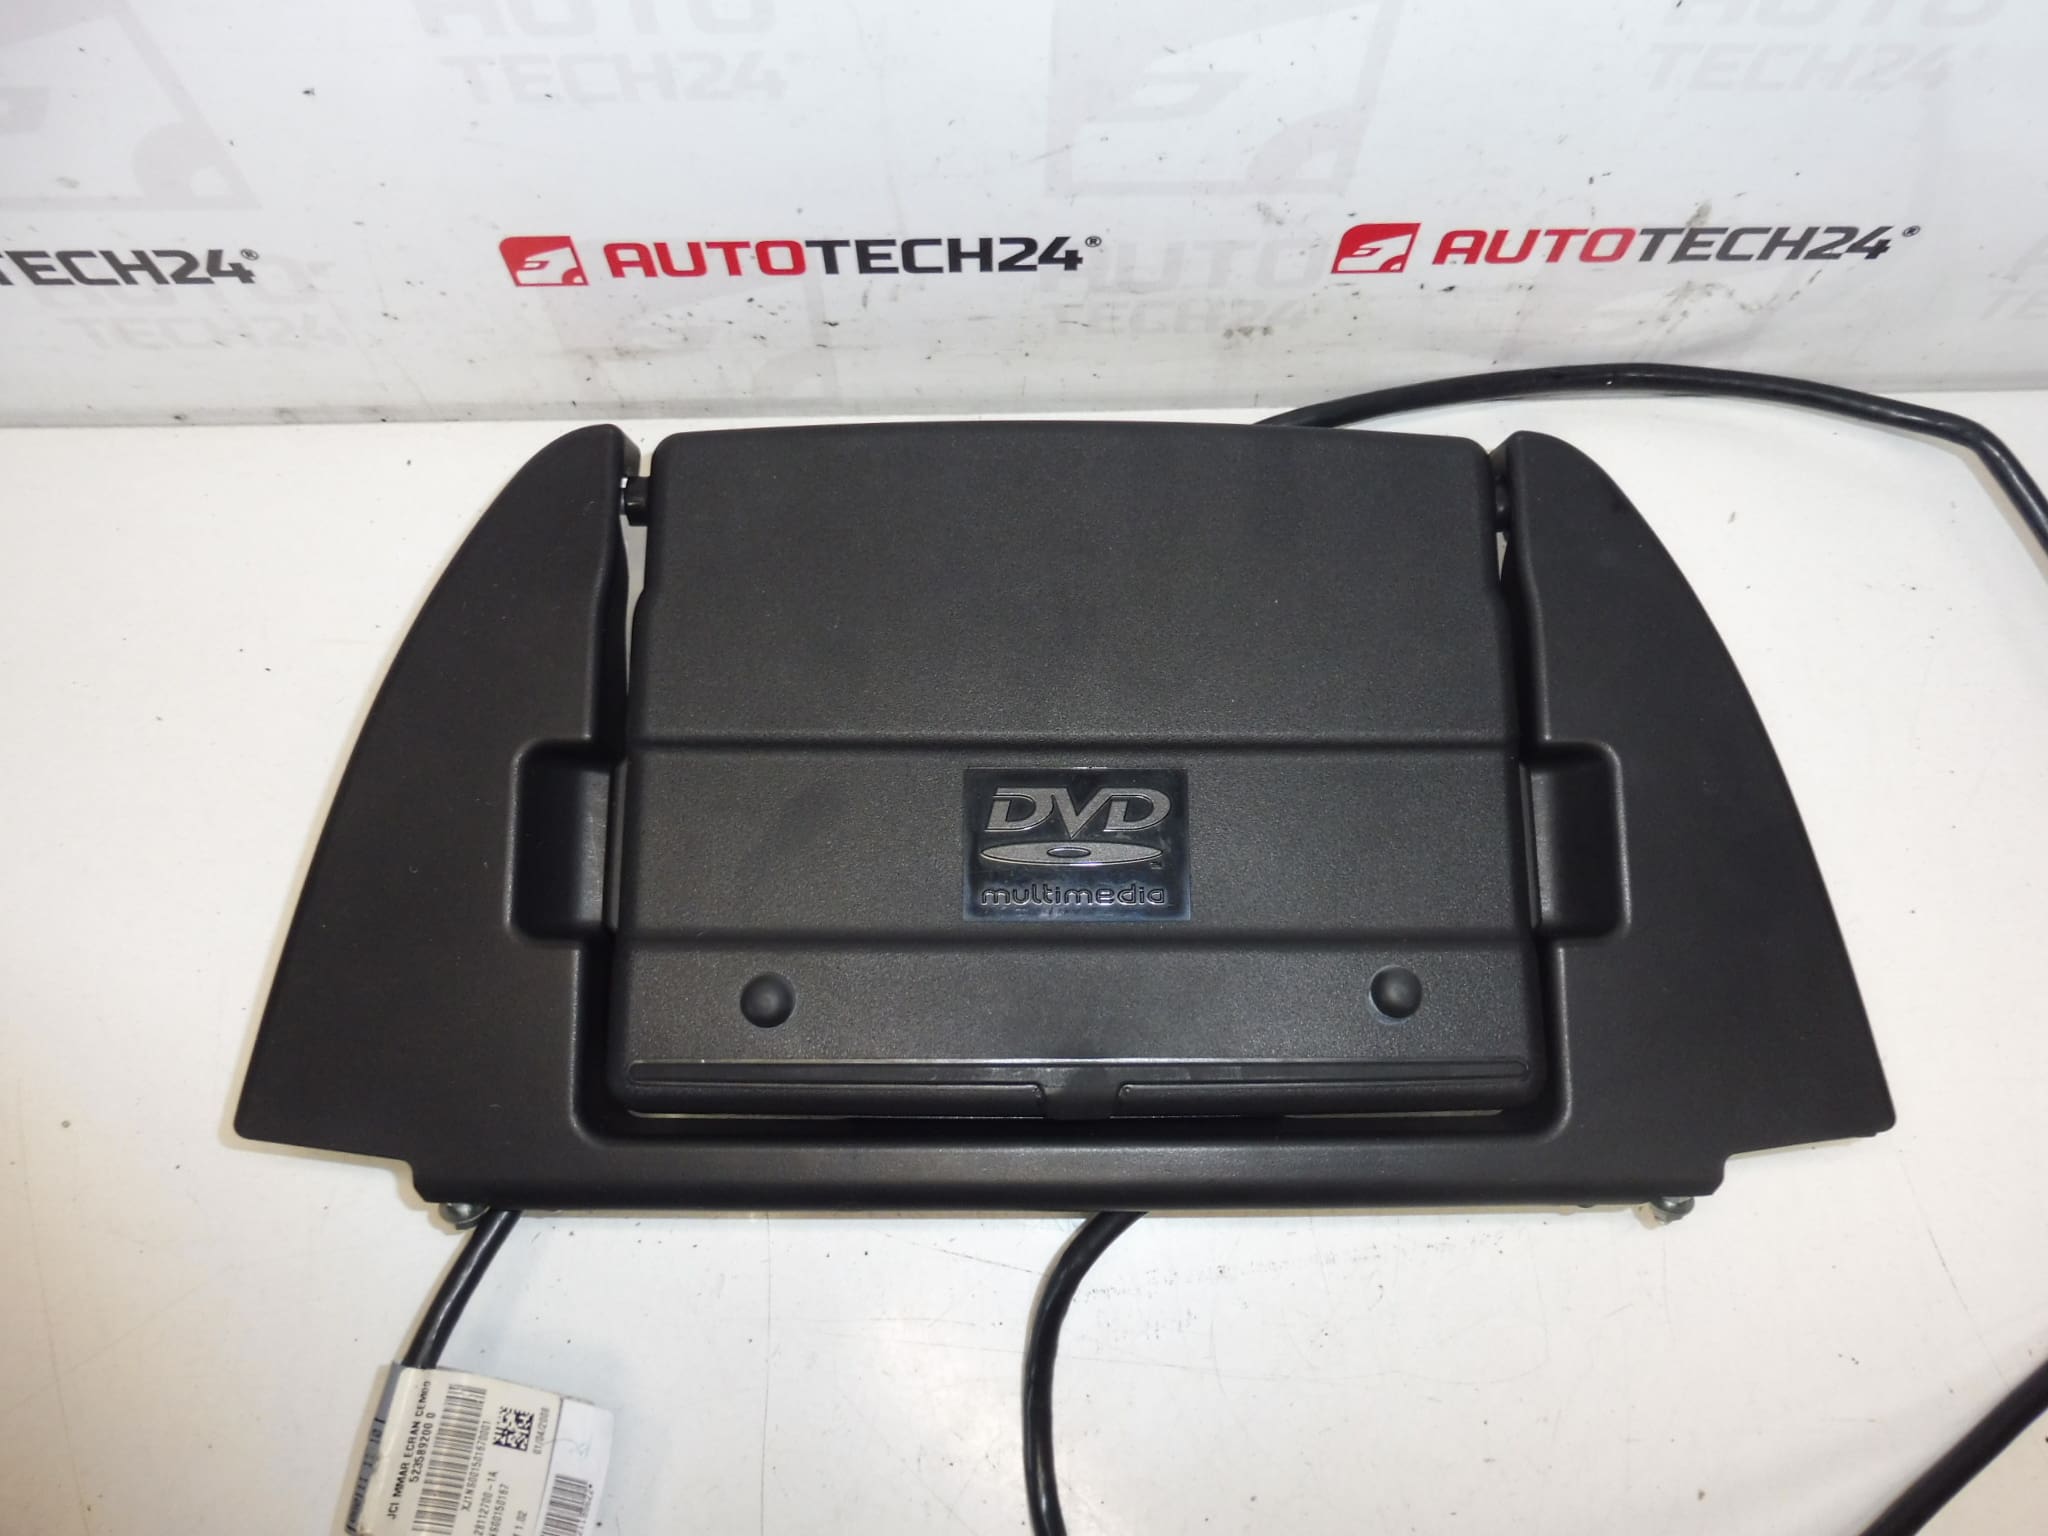
Multifunctional Video Display For Citroën And Peugeot Vehicles
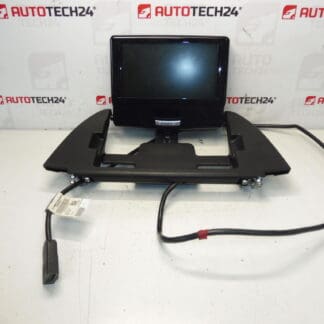
High-quality multifunctional video display engineered as a direct replacement for selected Citroën and Peugeot infotainment systems. Designed for professional workshops and DIY mechanics, this unit is often searched by product codes 28112700-1A and 6574A9 and provides the visual interface for navigation, media playback and camera systems. Installing a reliable display restores central vehicle functions, improves diagnostics speed and delivers a clear, crisp image for reversed-camera, map and system menus.
Key Features
- Direct Fit For Compatible Citroën And Peugeot Vehicles
- Multifunctional Display For Navigation, Media And Camera Views
- OEM Reference Numbers For Fast Identification: 28112700-1A, 6574A9
- Suitable For Use By Professional Technicians And Knowledgeable DIY Mechanics
- Helps Restore Full Infotainment Functionality And Improves Workshop Turnaround
Technical Information
- Manufacturer: Stellantis
- Model: Citroën C4 Picasso (Also Used In Selected Citroën And Peugeot Models)
- Product Codes: 28112700-1A
- Other Numbers: 6574A9
Installation Recommendation
Before Starting Work, Always Disconnect The Vehicle Battery To Avoid Short Circuits And Protect Electronic Modules. Use Plastic Trim Tools To Remove Surrounding Panels To Prevent Damage To Interior Trim. Carefully Release Mounting Clips And Unscrew Fasteners Holding The Display Unit. Disconnect All Electrical Connectors By Pressing The Locking Tabs; Inspect Connectors For Corrosion Or Bent Pins And Clean If Necessary. When Installing The New Unit, Reconnect Connectors Firmly, Secure Mounting Screws And Refit Trim Panels Gently.
Replacement Procedure
- Park Vehicle On A Level Surface, Switch Off Ignition And Disconnect Battery Negative Terminal.
- Remove Dashboard Trim Surrounding The Display Using Plastic Pry Tools.
- Unscrew Mounting Screws And Gently Pull Display Forward.
- Disconnect All Electrical Connectors And Any Ribbon Cables; Note Their Position For Reassembly.
- Install Replacement Display In Reverse Order, Reconnect Battery And Perform Function Tests (Screen Image, Camera, Buttons/Menus).
Typical Replacement Time: 30–90 Minutes Depending On Model And Workshop Experience.
Common Failure Causes
- Backlight Or LCD Panel Degradation Due To Age And High Operating Hours.
- Physical Damage From Impact Or Pressure On The Screen.
- Moisture Ingress Or Condensation Leading To Short Circuits And Corrosion.
- Loose Or Corroded Connectors Causing Intermittent Or No Image.
- Software Glitches Or Incompatible Firmware Requiring System Reinitialization Or Update.
Practical Tips
- Test The Unit Before Final Reassembly To Ensure Display, Camera Input And Menu Navigation Work Correctly.
- Inspect Wiring Harnesses For Wear Or Damage While The Unit Is Removed.
- If Image Issues Persist After Mechanical Replacement, Check For Software Updates Or System Initialization Steps Specific To The Vehicle.