Description
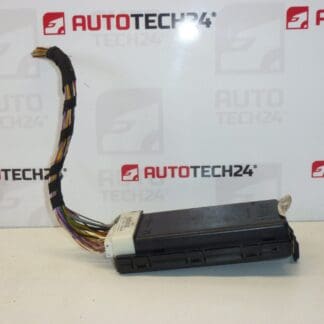
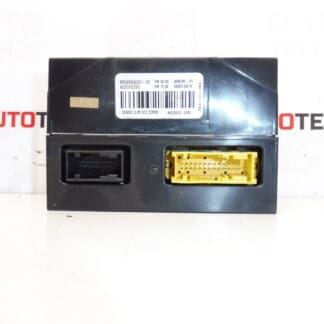
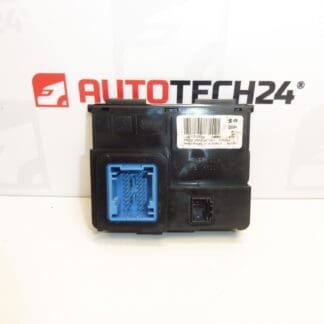
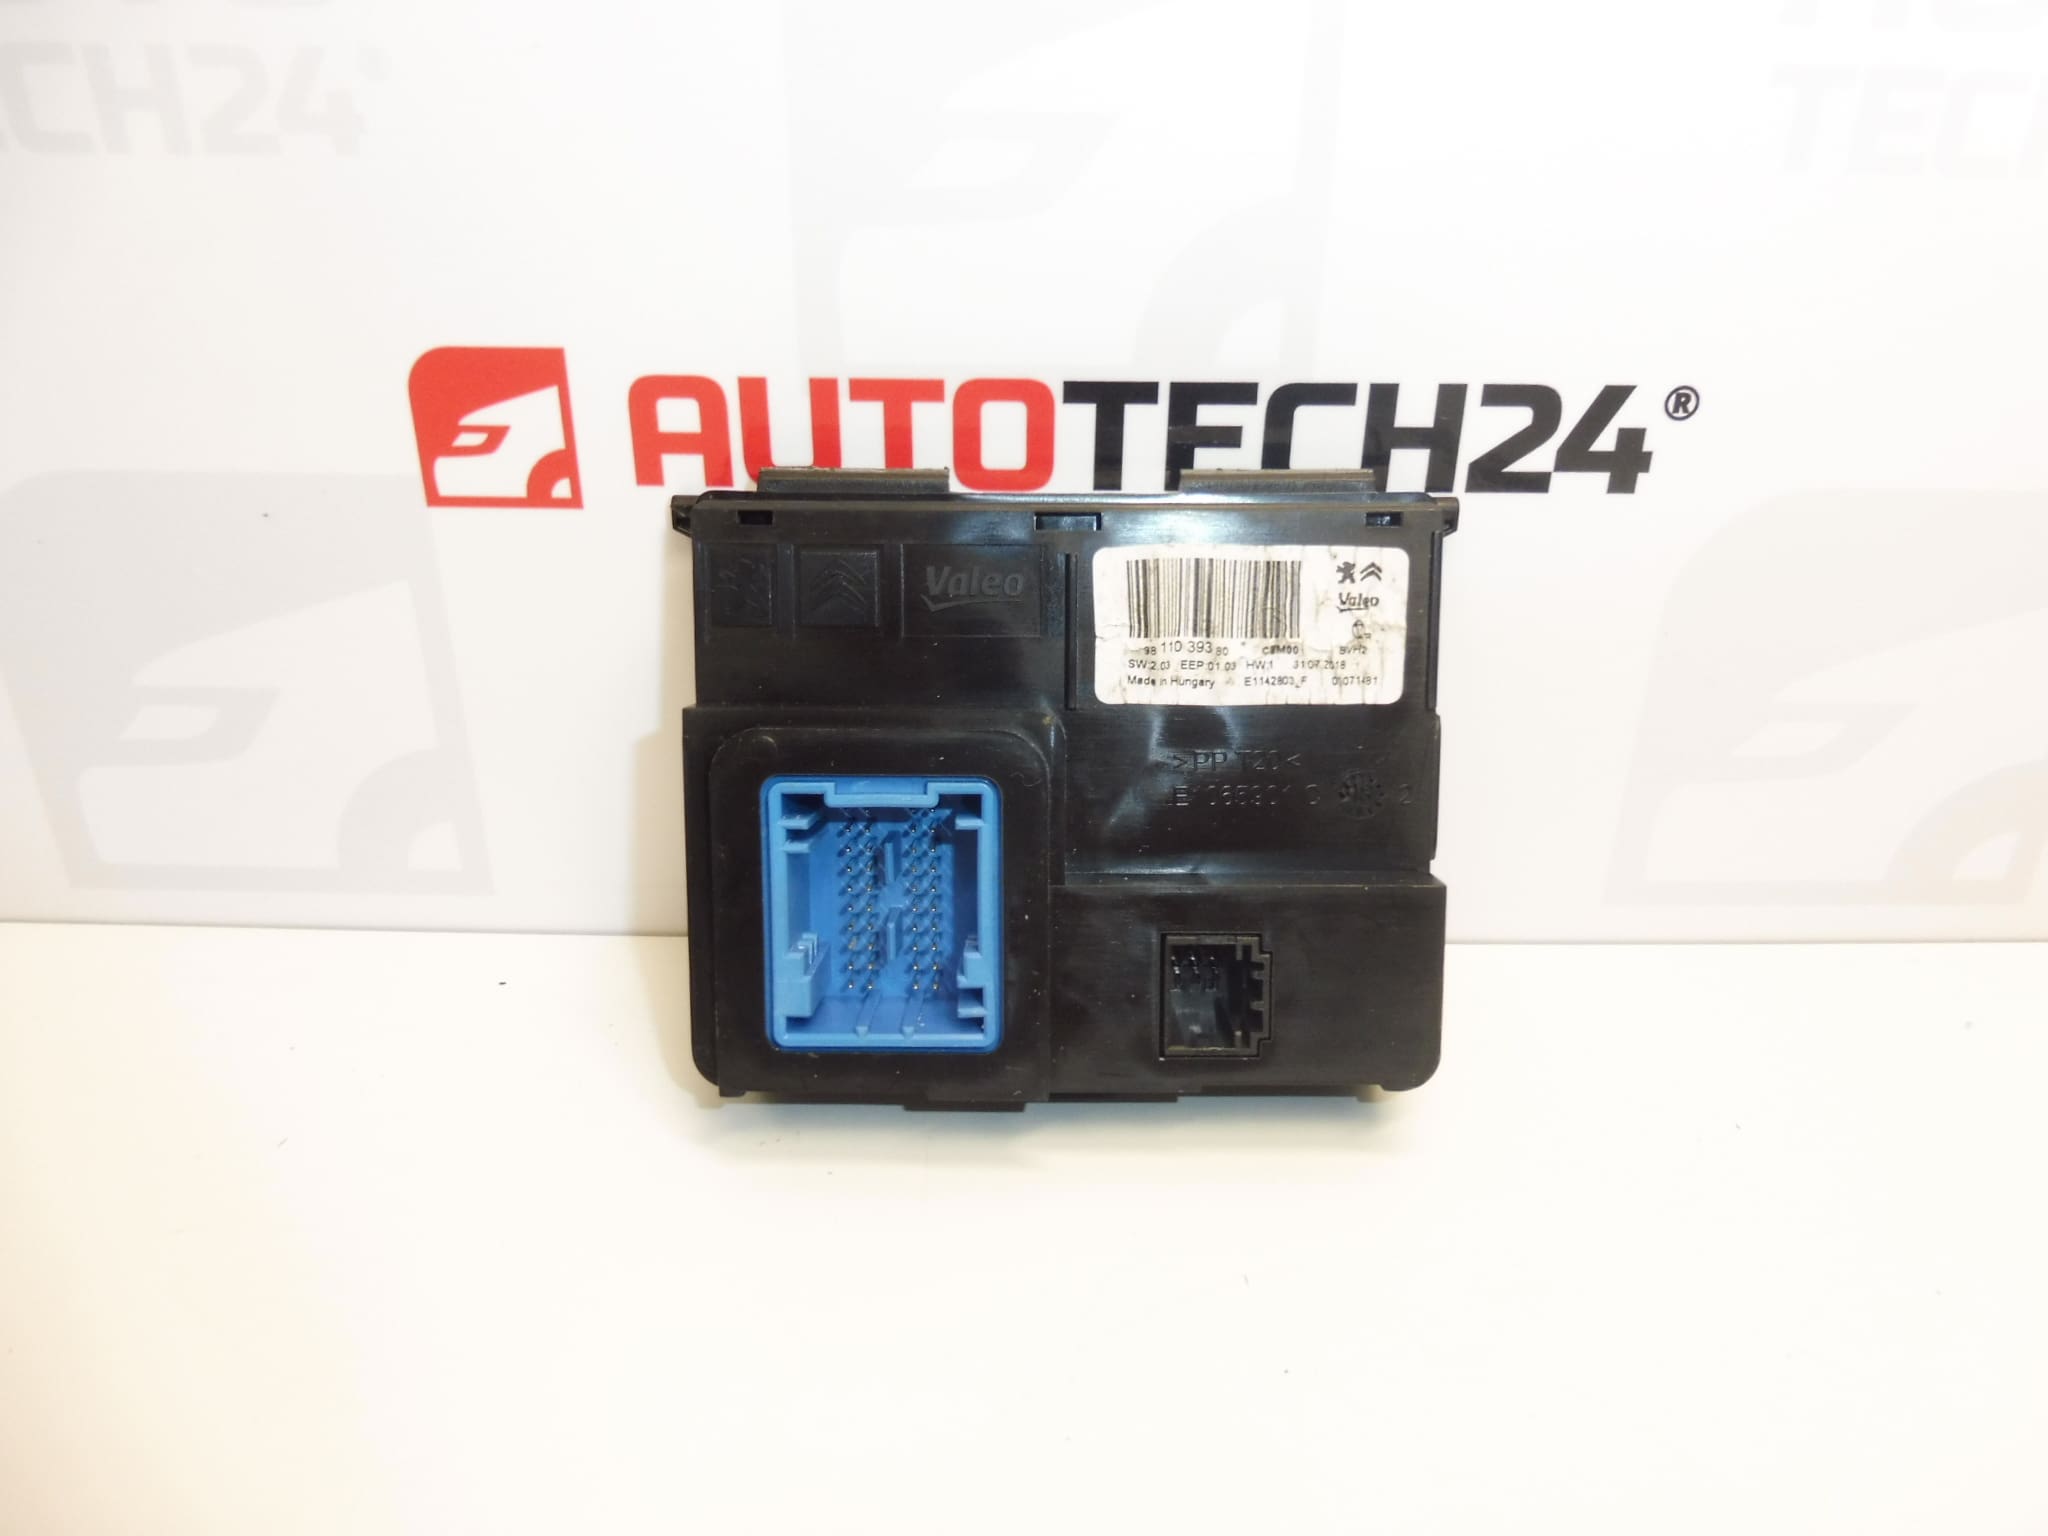
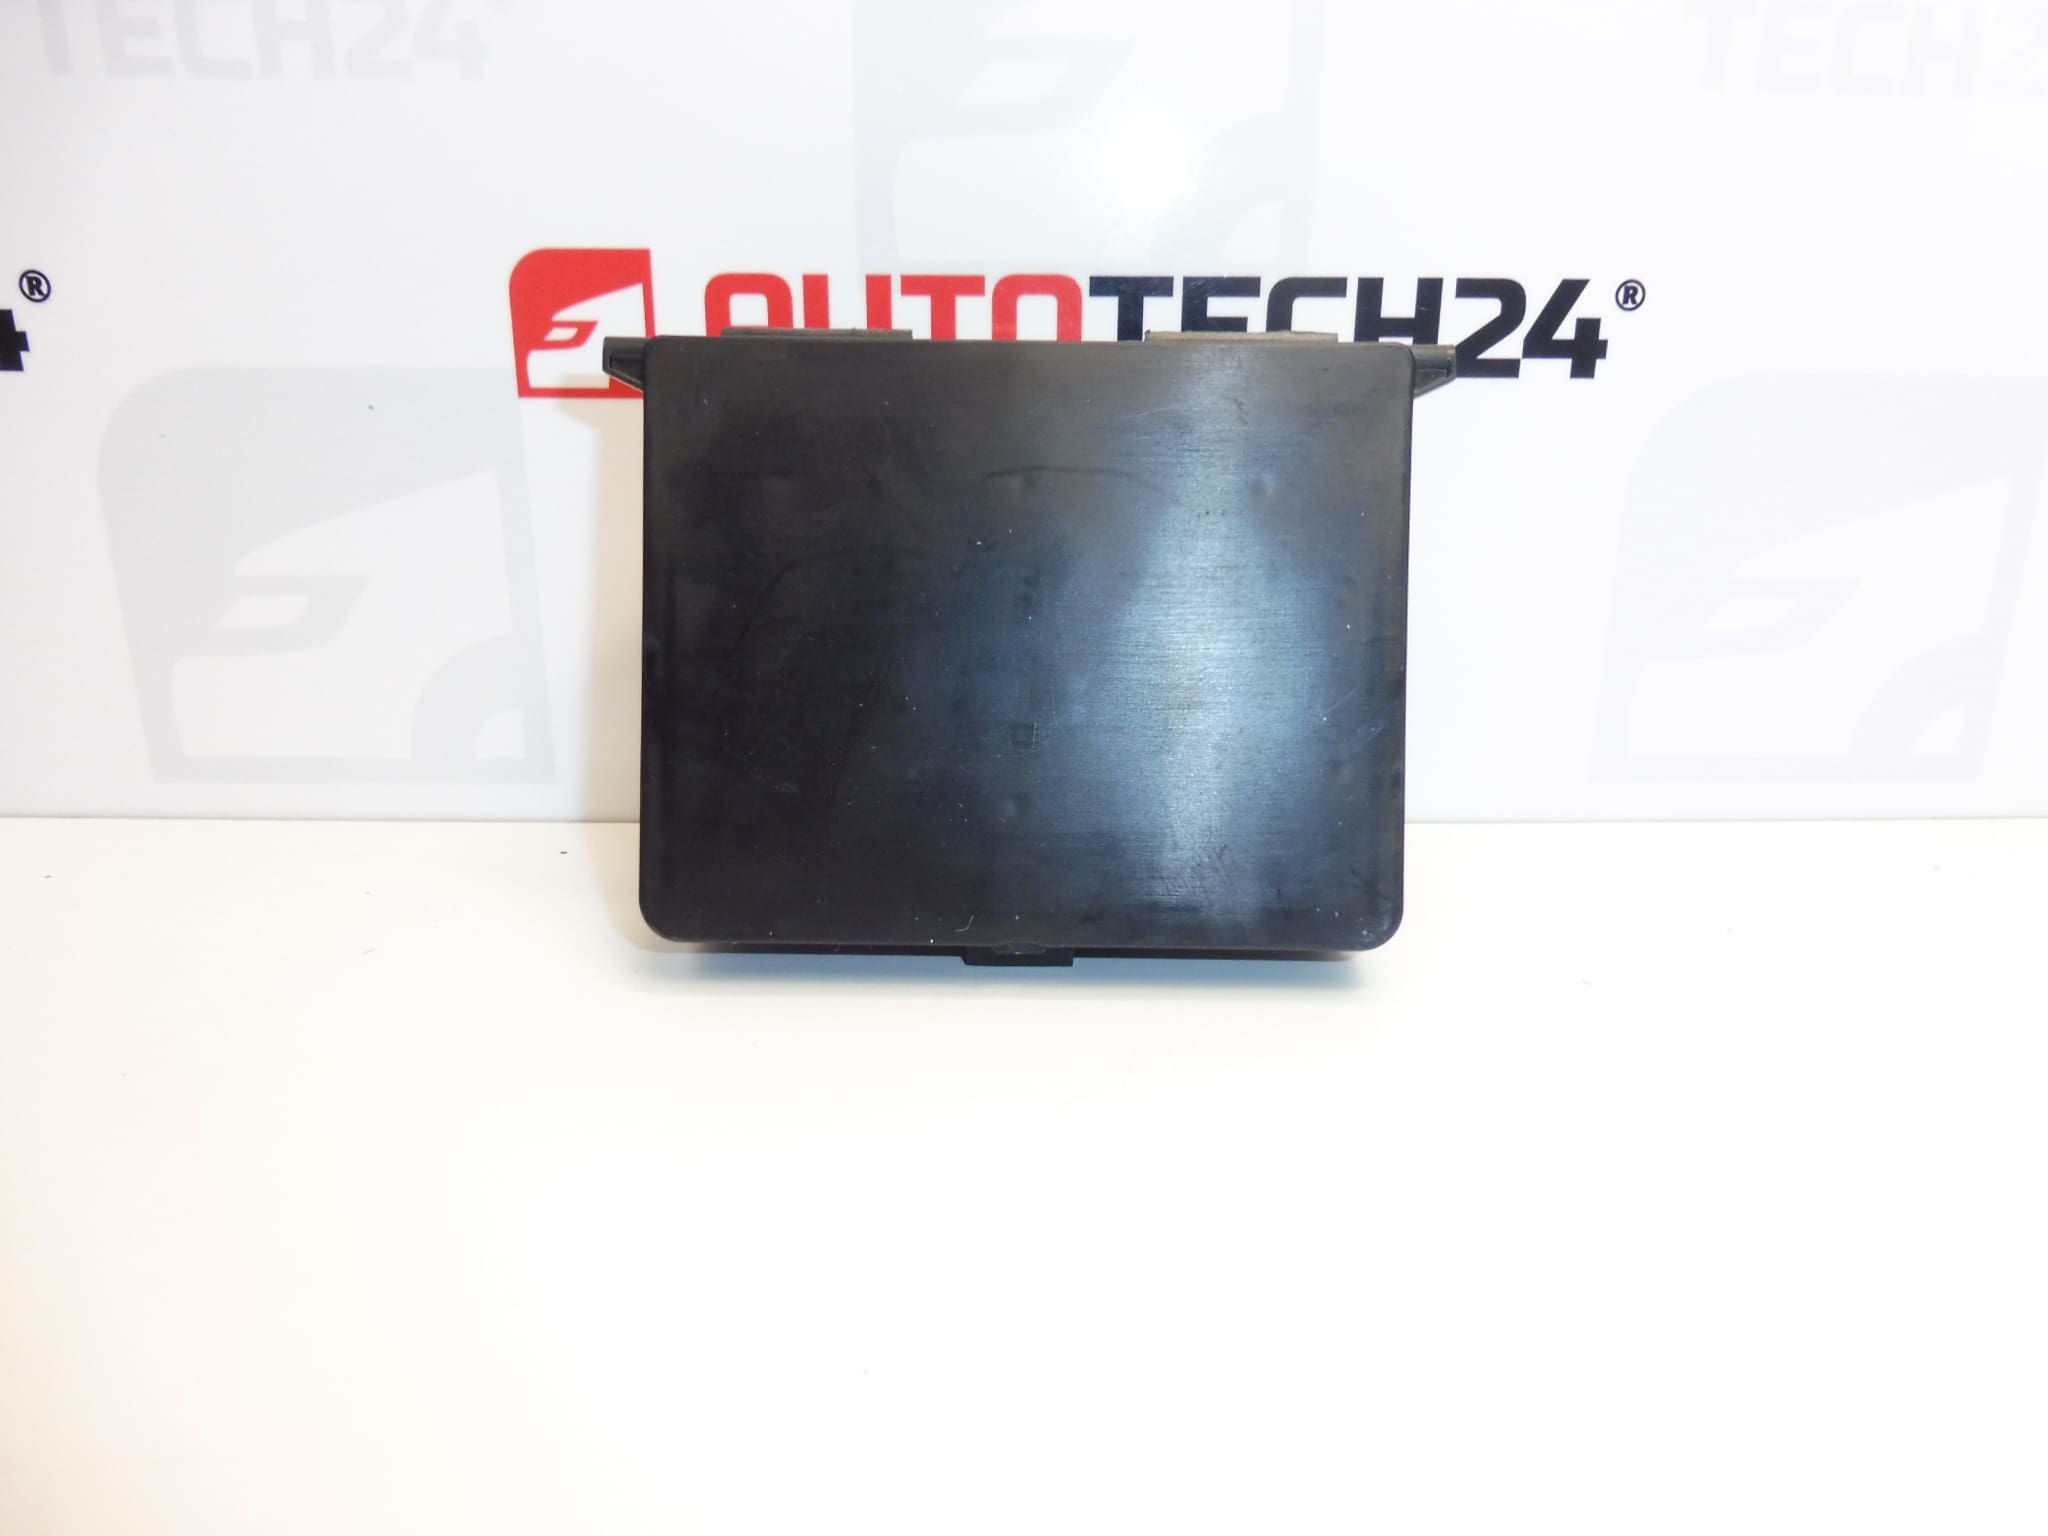
Valeo Air Conditioning Control Unit for Stellantis Group Vehicles CITROEN PEUGEOT OPEL FIAT TOYOTA
It is from a 2020 Citroen Berlingo K9
Part Description
The used Valeo air conditioning control unit is an electronic part designed to control air conditioning functions. The unit offered comes from a 2020 Citroën Berlingo K9. The product numbers 9811039380, 1638190580 and 1690042680 are particularly important when looking for a replacement.
Replacing the unit may be a solution if a fault in its electronics has been confirmed. Before purchasing, compare the markings, connectors and design with the original part. The fact that the vehicle model matches does not in itself guarantee that the unit is compatible with the specific air conditioning equipment. This used part offers a repair option without having to purchase a new unit.
Technical Information
- Manufacturer: Valeo
- Model: CITROEN BERLINGO III; Citroën Berlingo K9; OPEL COMBO E K9; PEUGEOT PARTNER III; PEUGEOT RIFTER — names shown on the product labels.
- Part origin: Citroën Berlingo K9, year 2020.
- Part type: air conditioning control unit.
- Condition: used part.
- Additional numbers: 1690042680.
The year 2020 indicates the vehicle the part came from, not the full range of the part’s applicability. The specific air conditioning design and any requirements for configuring the unit are not specified in the information provided.
Product Codes
- Product codes: 9811039380, 1638190580, 1690042680.
These numbers are used to identify and search for the part. Their being listed with the product does not in itself confirm that they are interchangeable across all vehicle configurations.
Installation Recommendations
The following procedure generally applies to this type of electronic part. The exact access to the unit, power disconnection method and any required configuration depend on the specific vehicle model and equipment. Follow the manufacturer’s service procedure.
1) Before installation
- First, use diagnostics and inspect the electrical system to confirm that the fault is actually related to the control unit, rather than the power supply, wiring or another part of the air conditioning system.
- Compare the product numbers, housing design, mounting points, number of connectors and their mechanical keying with the original unit.
- Inspect the used unit: check for cracks, damaged clips, bent contacts, corrosion and signs of moisture or overheating.
- If possible, record the diagnostic data and original settings before removal. Check the service documentation to see whether replacement requires configuration or initialization.
2) Tools and materials required
- Standard hand tools, depending on the actual mounting design.
- Plastic trim removal tools if covers or trim need to be released.
- A diagnostic tool suitable for the specific vehicle and, if necessary, a multimeter for checking the power supply according to the wiring diagram.
- Lighting, a clean, dry work surface and tools for labeling connectors.
3) Step-by-step installation procedure
- Park the vehicle safely, switch off the air conditioning and ignition, and secure it against unintended movement.
- Follow the manufacturer’s procedure for allowing the electronics to shut down and disconnecting the battery. Do not work on the unit’s connectors while they are live.
- Access the unit according to the service documentation. Release covers and clips without forcing them.
- Before disconnecting anything, photograph the wiring routing and connector connections, or label them if necessary.
- Release the connector locks and disconnect them by pulling on the connector body, not the wires.
- Release the fasteners and carefully remove the original unit without straining the surrounding wiring.
- Inspect the connectors and mounting area. Any water ingress, corrosion or damaged wires must be addressed before installing the replacement part.
- Compare the two units again. If the connectors or mounting differ, stop the installation; do not modify the connectors.
- Position and secure the replacement unit according to the service procedure. The housing must not be subjected to mechanical stress.
- Connect the connectors until their locks engage. Route the wiring so that it is not pinched, stretched or in contact with moving parts.
- Restore the power supply according to the manufacturer’s instructions. If configuration or initialization is specified for this version, perform it using suitable diagnostic equipment.
- Check that the system works and, once the check is successful, reinstall the covers that were removed.
4) Post-installation checks and function verification
- Test how the air conditioning responds to setting changes and the available modes, depending on the vehicle’s equipment.
- Check the diagnostics and assess any faults; simply clearing the records does not address their cause.
- Verify that the function remains stable after switching the ignition off and on again.
- If it is safe to do so, check during a short test drive that the fault does not return. The driver must not operate diagnostic equipment while driving.
5) Common installation mistakes and how to avoid them
- Replacing the unit without verifying the cause: first check the power supply, wiring and related components.
- Selecting a part based only on the vehicle model: also compare the unit’s markings and design, as well as the requirements of the specific equipment.
- Disconnecting while powered: always follow the prescribed shutdown and battery disconnection procedure.
- Forcing the connectors: check their orientation, contacts and locks; a correct connection requires no modifications.
- Overlooking any required configuration: check the requirements in the service documentation before starting the replacement.
- Failure to address moisture or an electrical system fault: eliminate the cause to prevent damage to the replacement unit.
Reasons Why the Part May Be Damaged
The following factors can generally cause damage to electronic air conditioning control units. This is not a description of the condition found on this particular unit.
- Moisture and water ingress, which can cause contact corrosion or damage to the electronics.
- A short circuit or unstable power supply in the associated electrical system.
- Long-term thermal stress and component aging, which can lead to intermittent failures.
- Vibration and mechanical damage, for example during careless removal or incorrect mounting.
- Damaged or loose connectors, which can cause interruptions and contact overheating.
- Improper handling, especially working with connectors while they are live or using unsuitable measurement methods.