Description
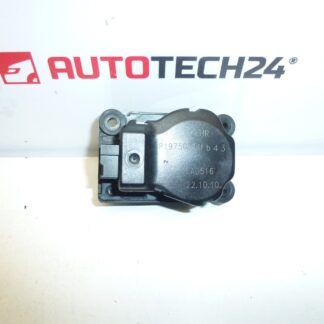
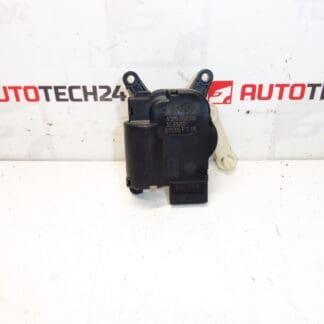
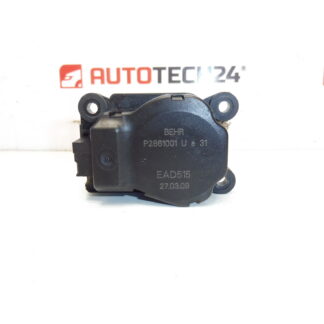
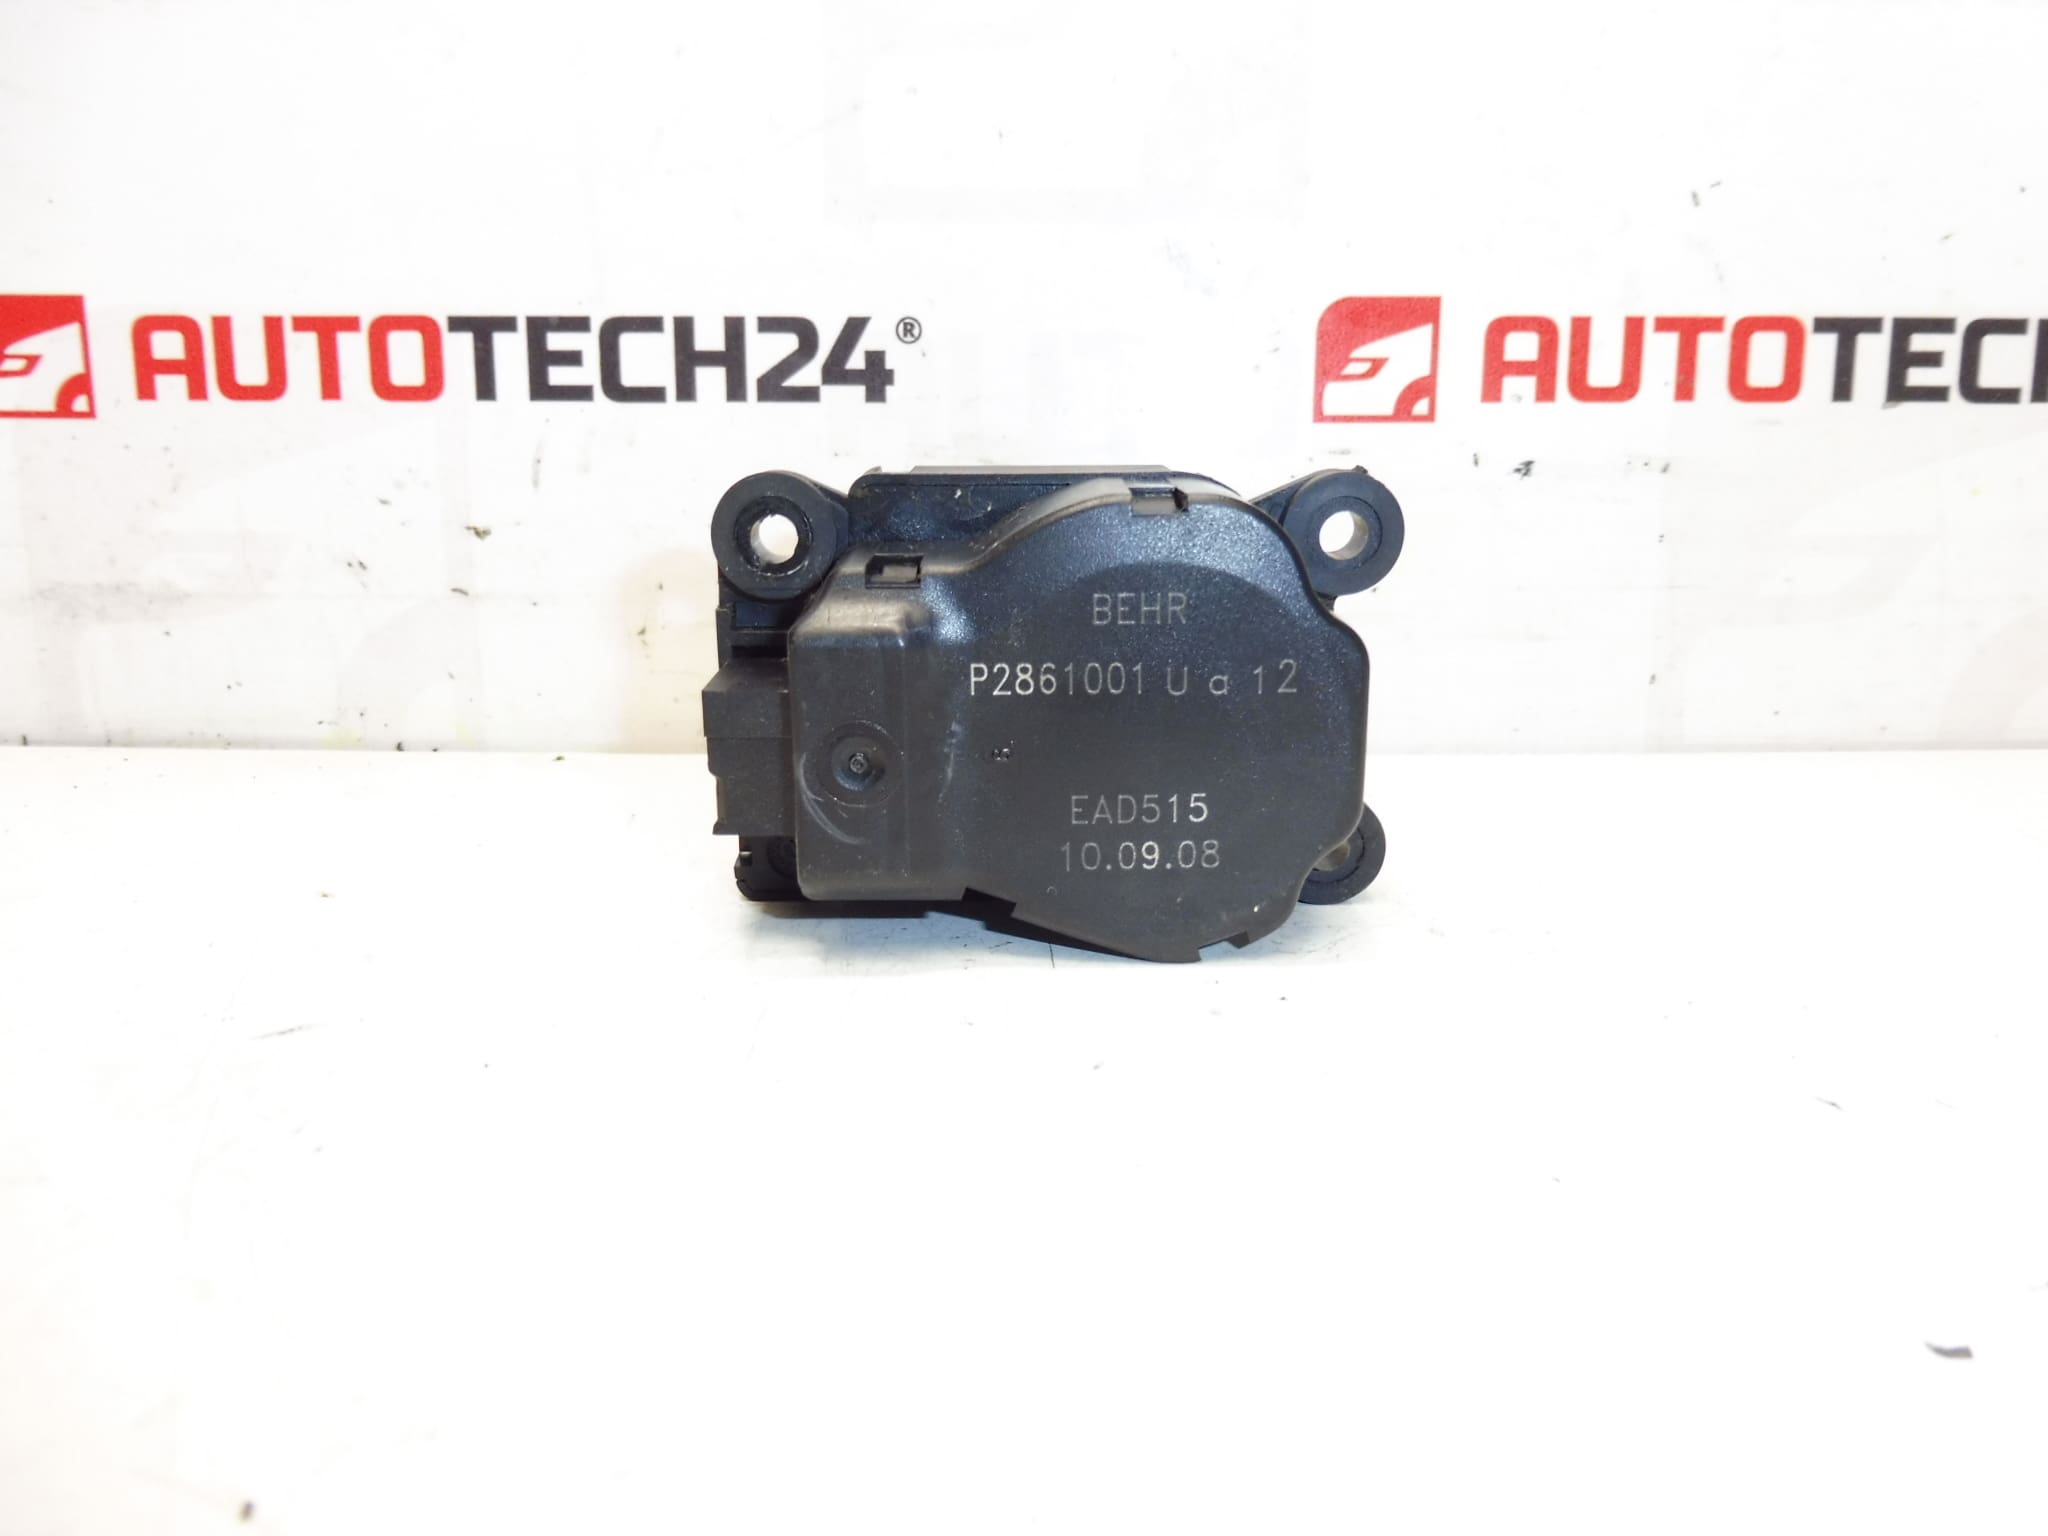
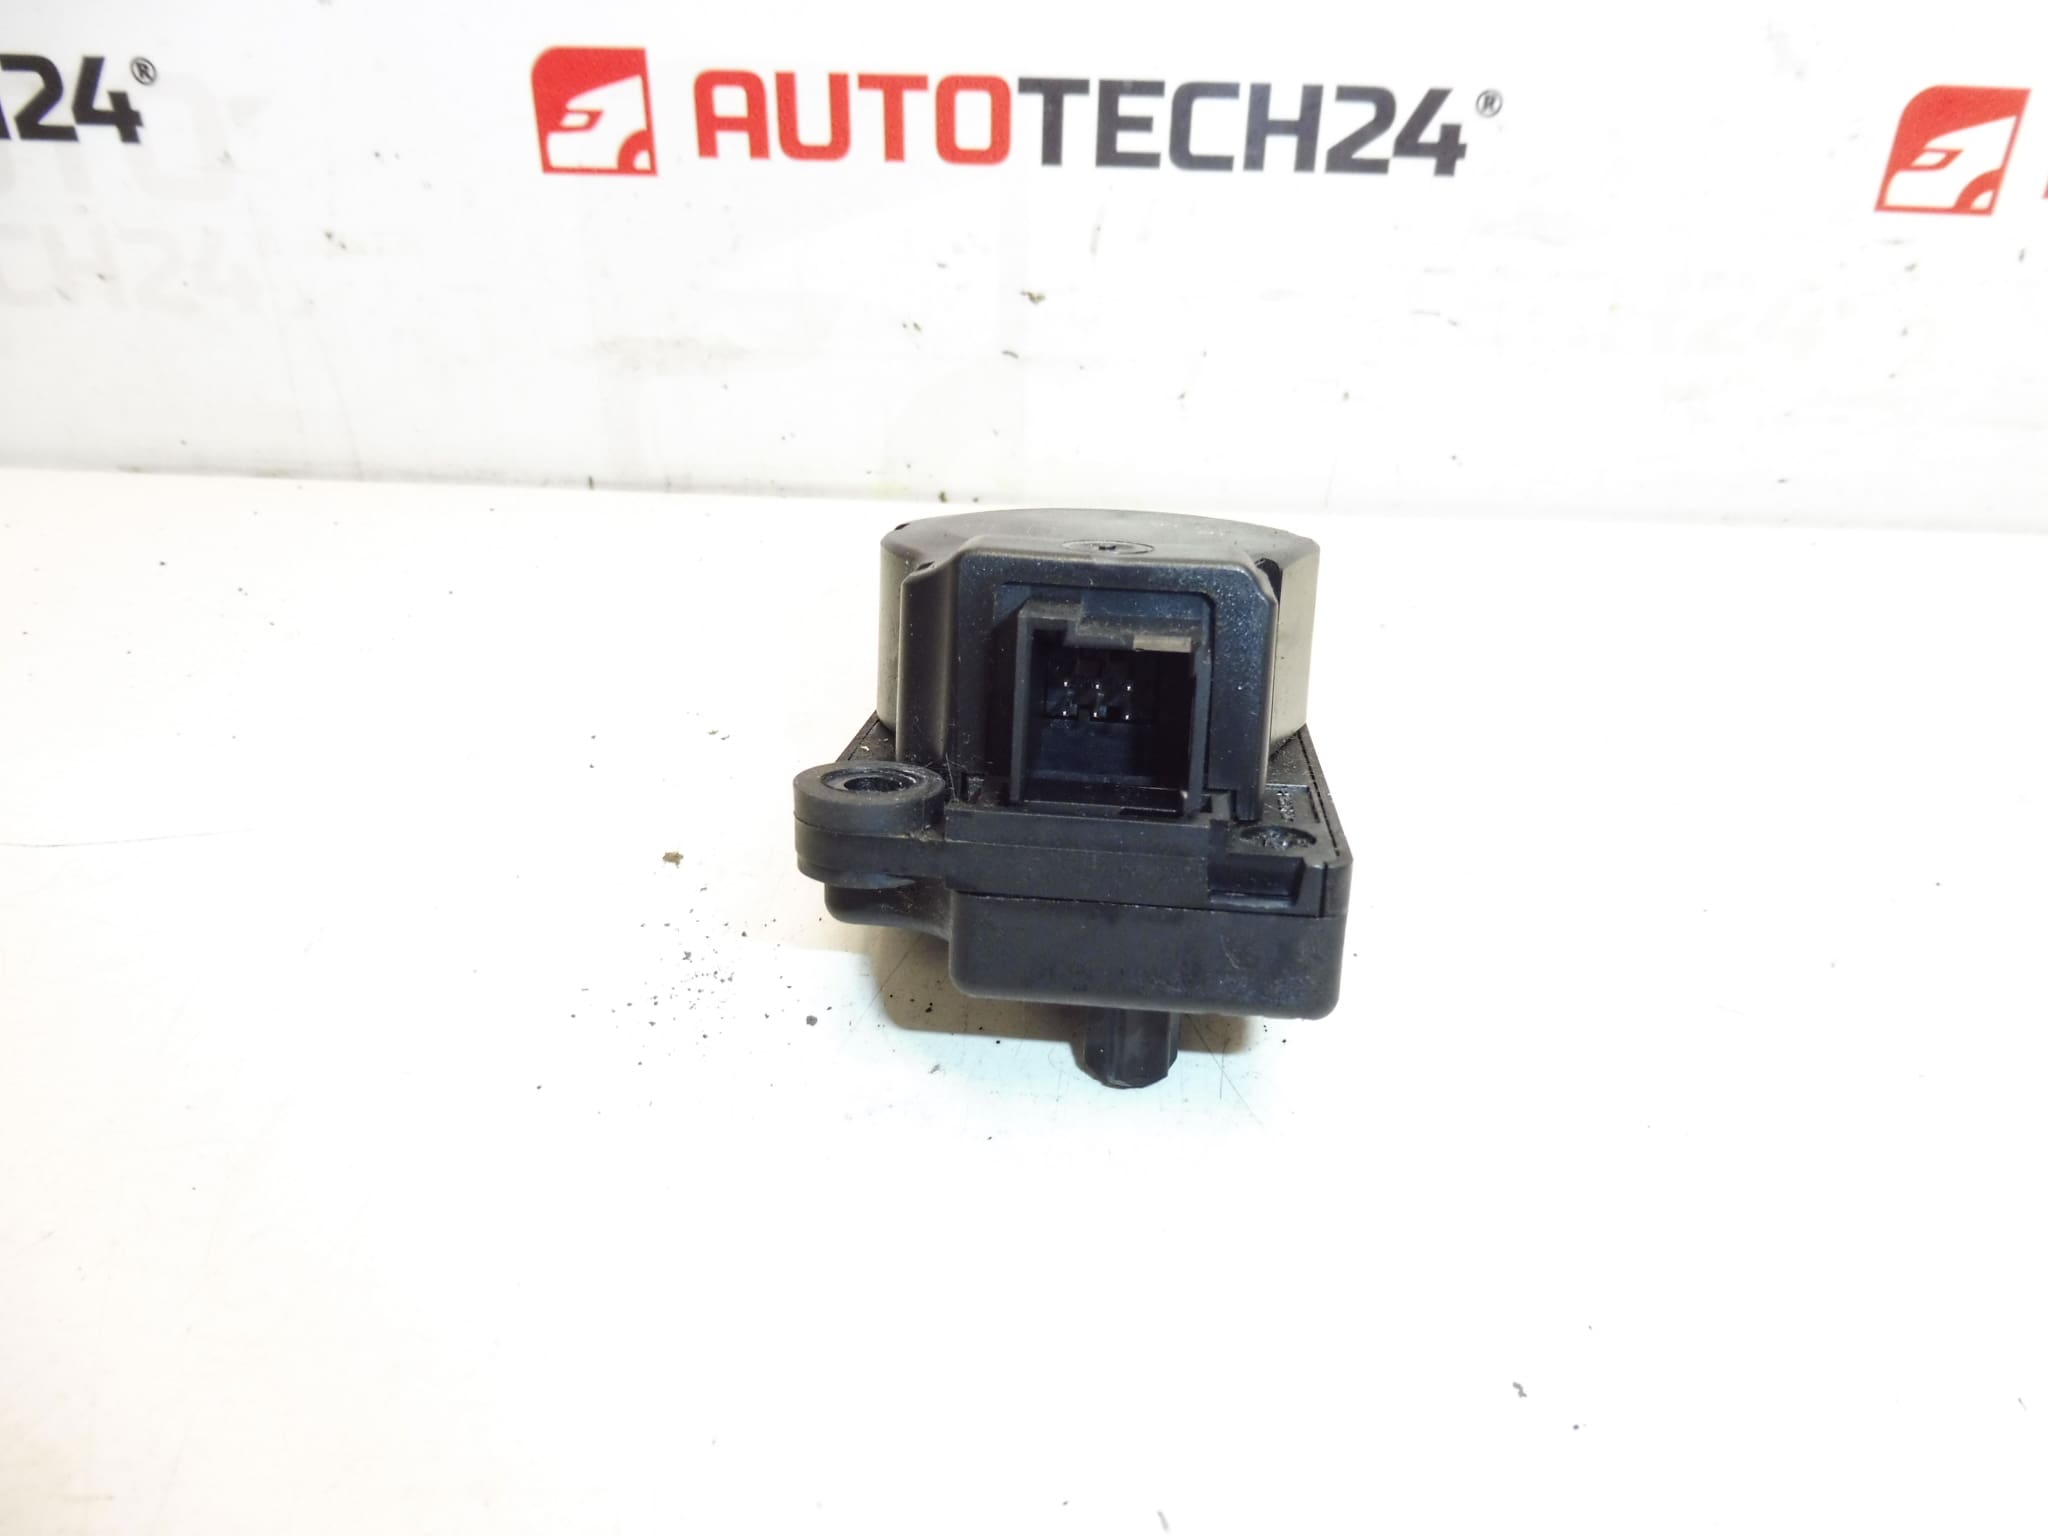
BEHR heater servo motor for Citroën C5 X7 and Peugeot 407 (facelift)
This BEHR heater servo motor is a direct-fit HVAC actuator designed for Citroën C5 X7 and Peugeot 407 facelift models. It restores precise control of temperature and airflow distribution in the cabin, eliminating issues such as incorrect temperature mixing, stuck flaps or unusual HVAC noises. Ideal for professional workshops and competent DIY mechanics who look up parts by product number—this unit is commonly referenced under codes EAD515, P2861001U and 12 647947.
Technical Information
- Manufacturer: BEHR
- Model: Citroën C5 X7; Peugeot 407 (Facelift)
- Product Codes: EAD515, P2861001U
- Additional Numbers: 12 647947, 647947
Function
The servo motor (heater actuator) operates the HVAC flaps inside the ventilation unit to regulate air temperature and distribution between heater core and vents. By rotating internal gears, the actuator moves blend doors and distribution flaps so the climate control system can deliver the requested cabin temperature and airflow direction.
Applications
Intended for use in Citroën C5 X7 and Peugeot 407 facelift HVAC systems. It is used where the original BEHR actuator is specified and where the above product codes are referenced. Common searches use the part numbers listed in the Technical Information section.
Replacement Procedure (Overview)
- Disconnect the negative battery terminal before starting to avoid short circuits and accidental blower activation.
- Access the actuator—usually located behind the glovebox or under the dashboard on the passenger side. Remove trim panels or glovebox as required to reach the HVAC housing.
- Unplug the electrical connector and remove the mounting screws or clips that secure the actuator to the HVAC unit.
- Carefully remove the actuator from the blend/distribution door shaft; note orientation and any alignment marks.
- Install the new actuator in the same position, secure fasteners, reconnect the electrical connector and reassemble panels.
- Reconnect the battery and run the HVAC through a full range of functions to verify correct movement. Allow the system to cycle so the new actuator can find end positions.
Installation Recommendations
- Follow safe working practices: disconnect battery and avoid forcing plastic gears or linkage.
- Inspect connectors and wiring for corrosion or damage—repair wiring faults before fitting the new actuator.
- Check the condition of the HVAC flaps and linkage; a new actuator will fail prematurely if the mechanical parts are jammed or heavily worn.
- Test the actuator operation before final reassembly to ensure correct calibration and that no unusual noise or binding occurs.
Why This Part Commonly Fails
Actuators typically fail due to mechanical wear of plastic gears, motor burnout from age or overheating, moisture ingress or contamination causing binding, and connector corrosion. Symptoms include incorrect temperature, inability to change airflow direction, clicking or grinding noises from the dash, and intermittent operation. Failure frequency depends on vehicle use, climate (moist environments accelerate corrosion) and mileage.
Ordering by part number (EAD515, P2861001U, 12 647947) speeds up finding the correct unit for these Citroën and Peugeot models. This BEHR heater servo motor is a practical replacement to restore reliable HVAC performance and cabin comfort.