Description
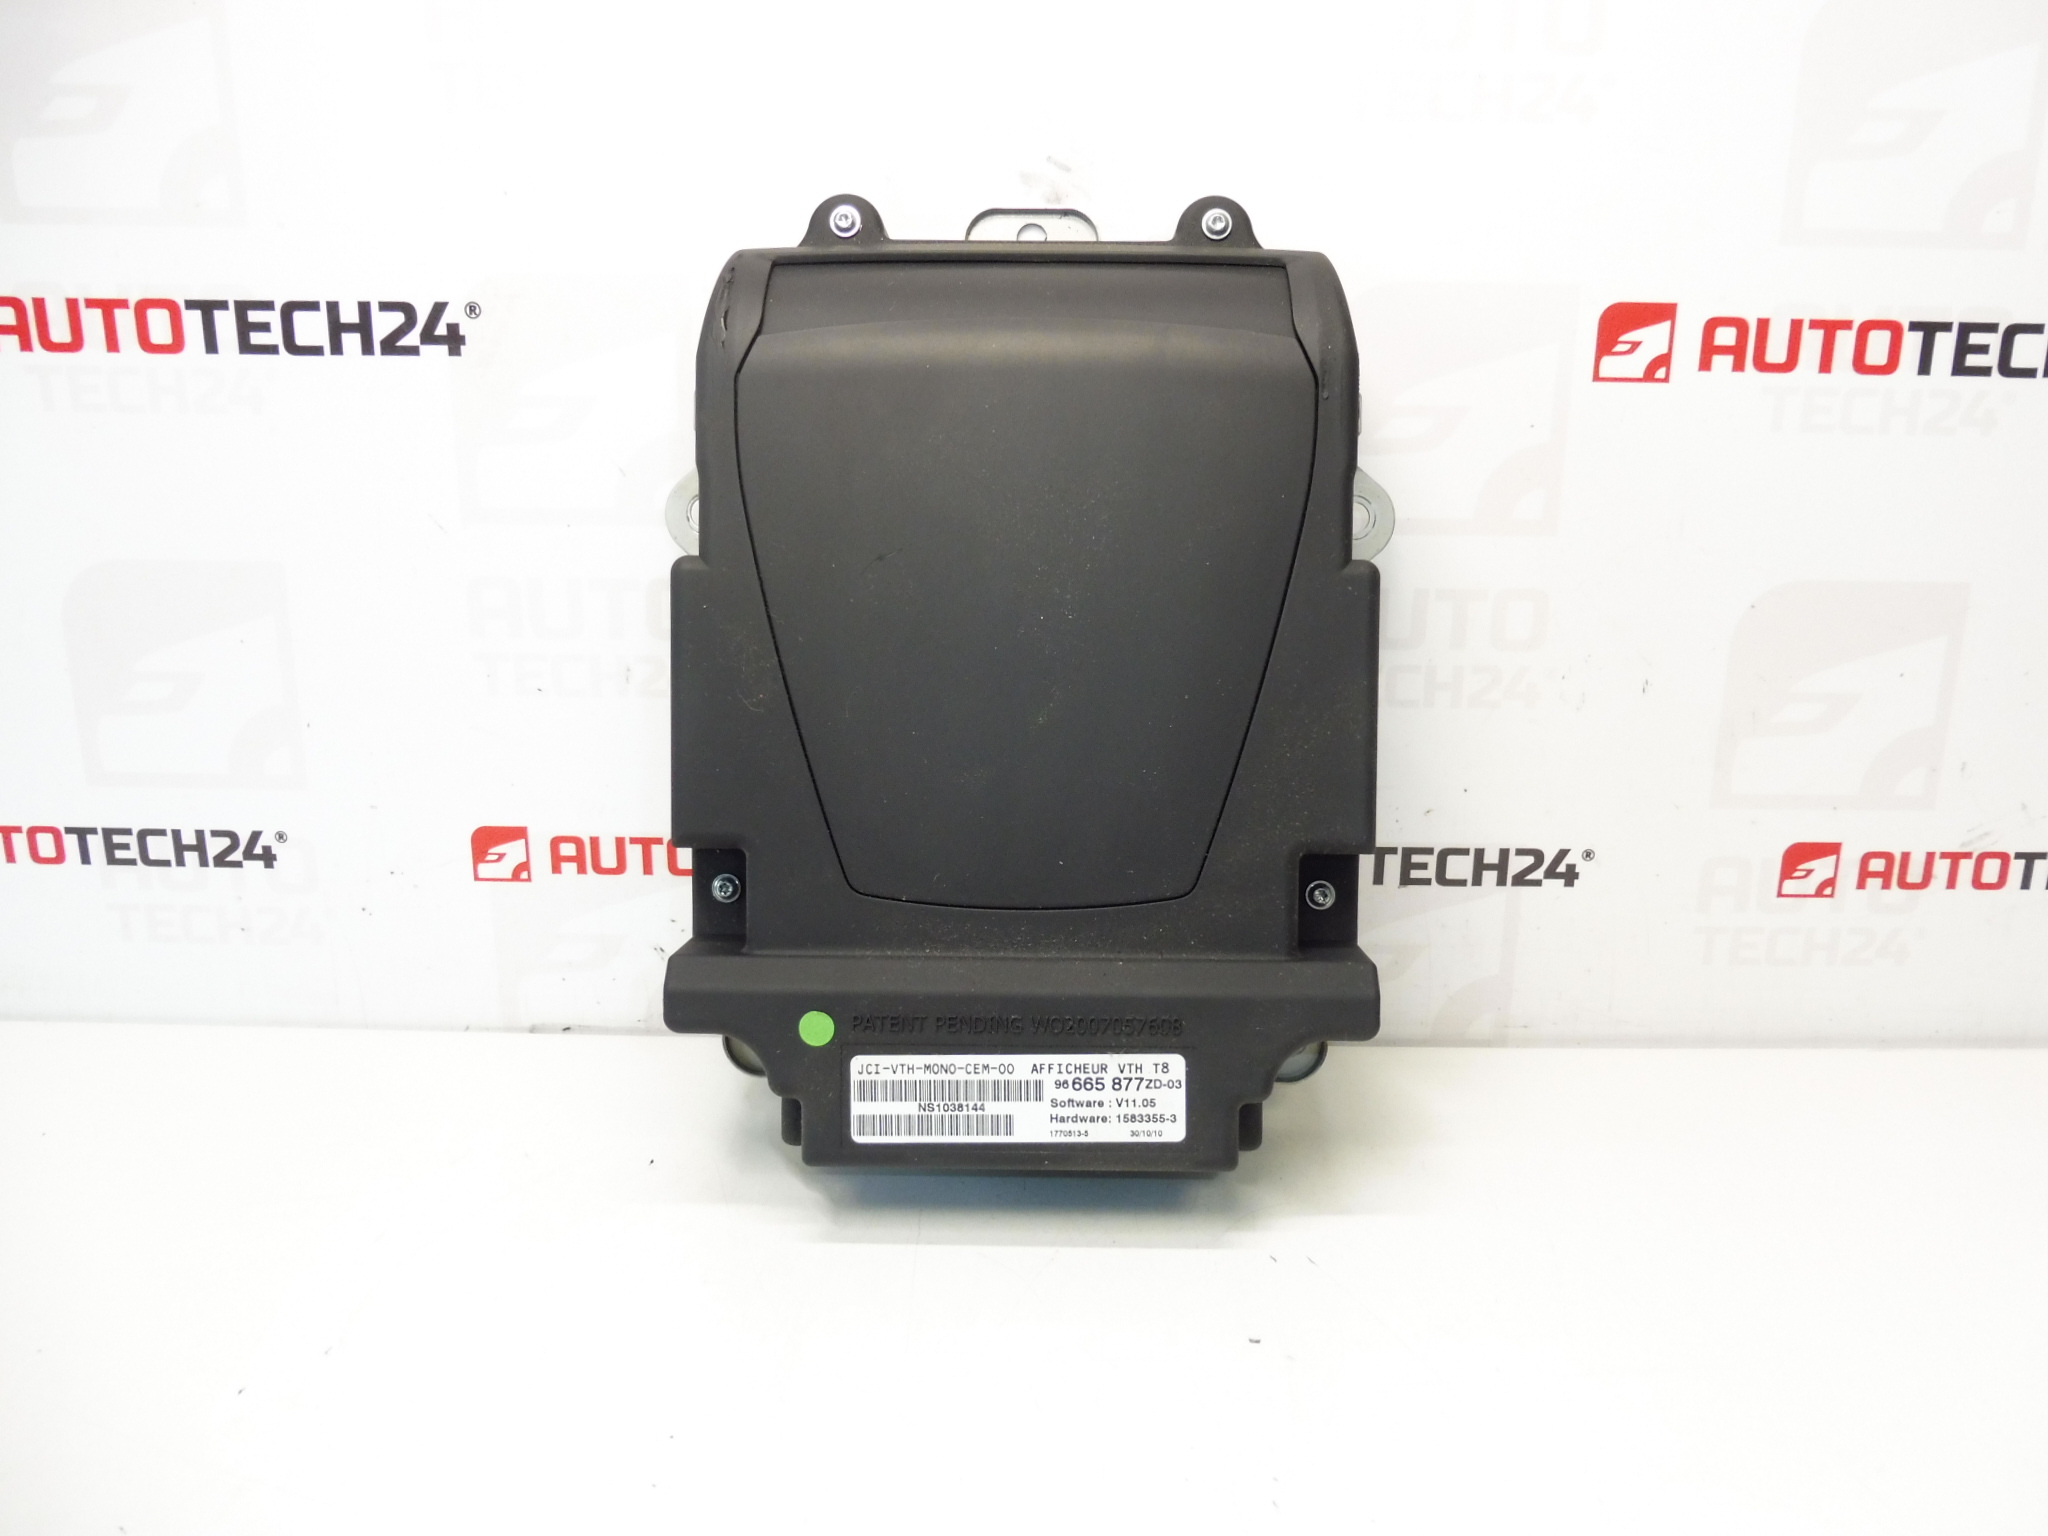
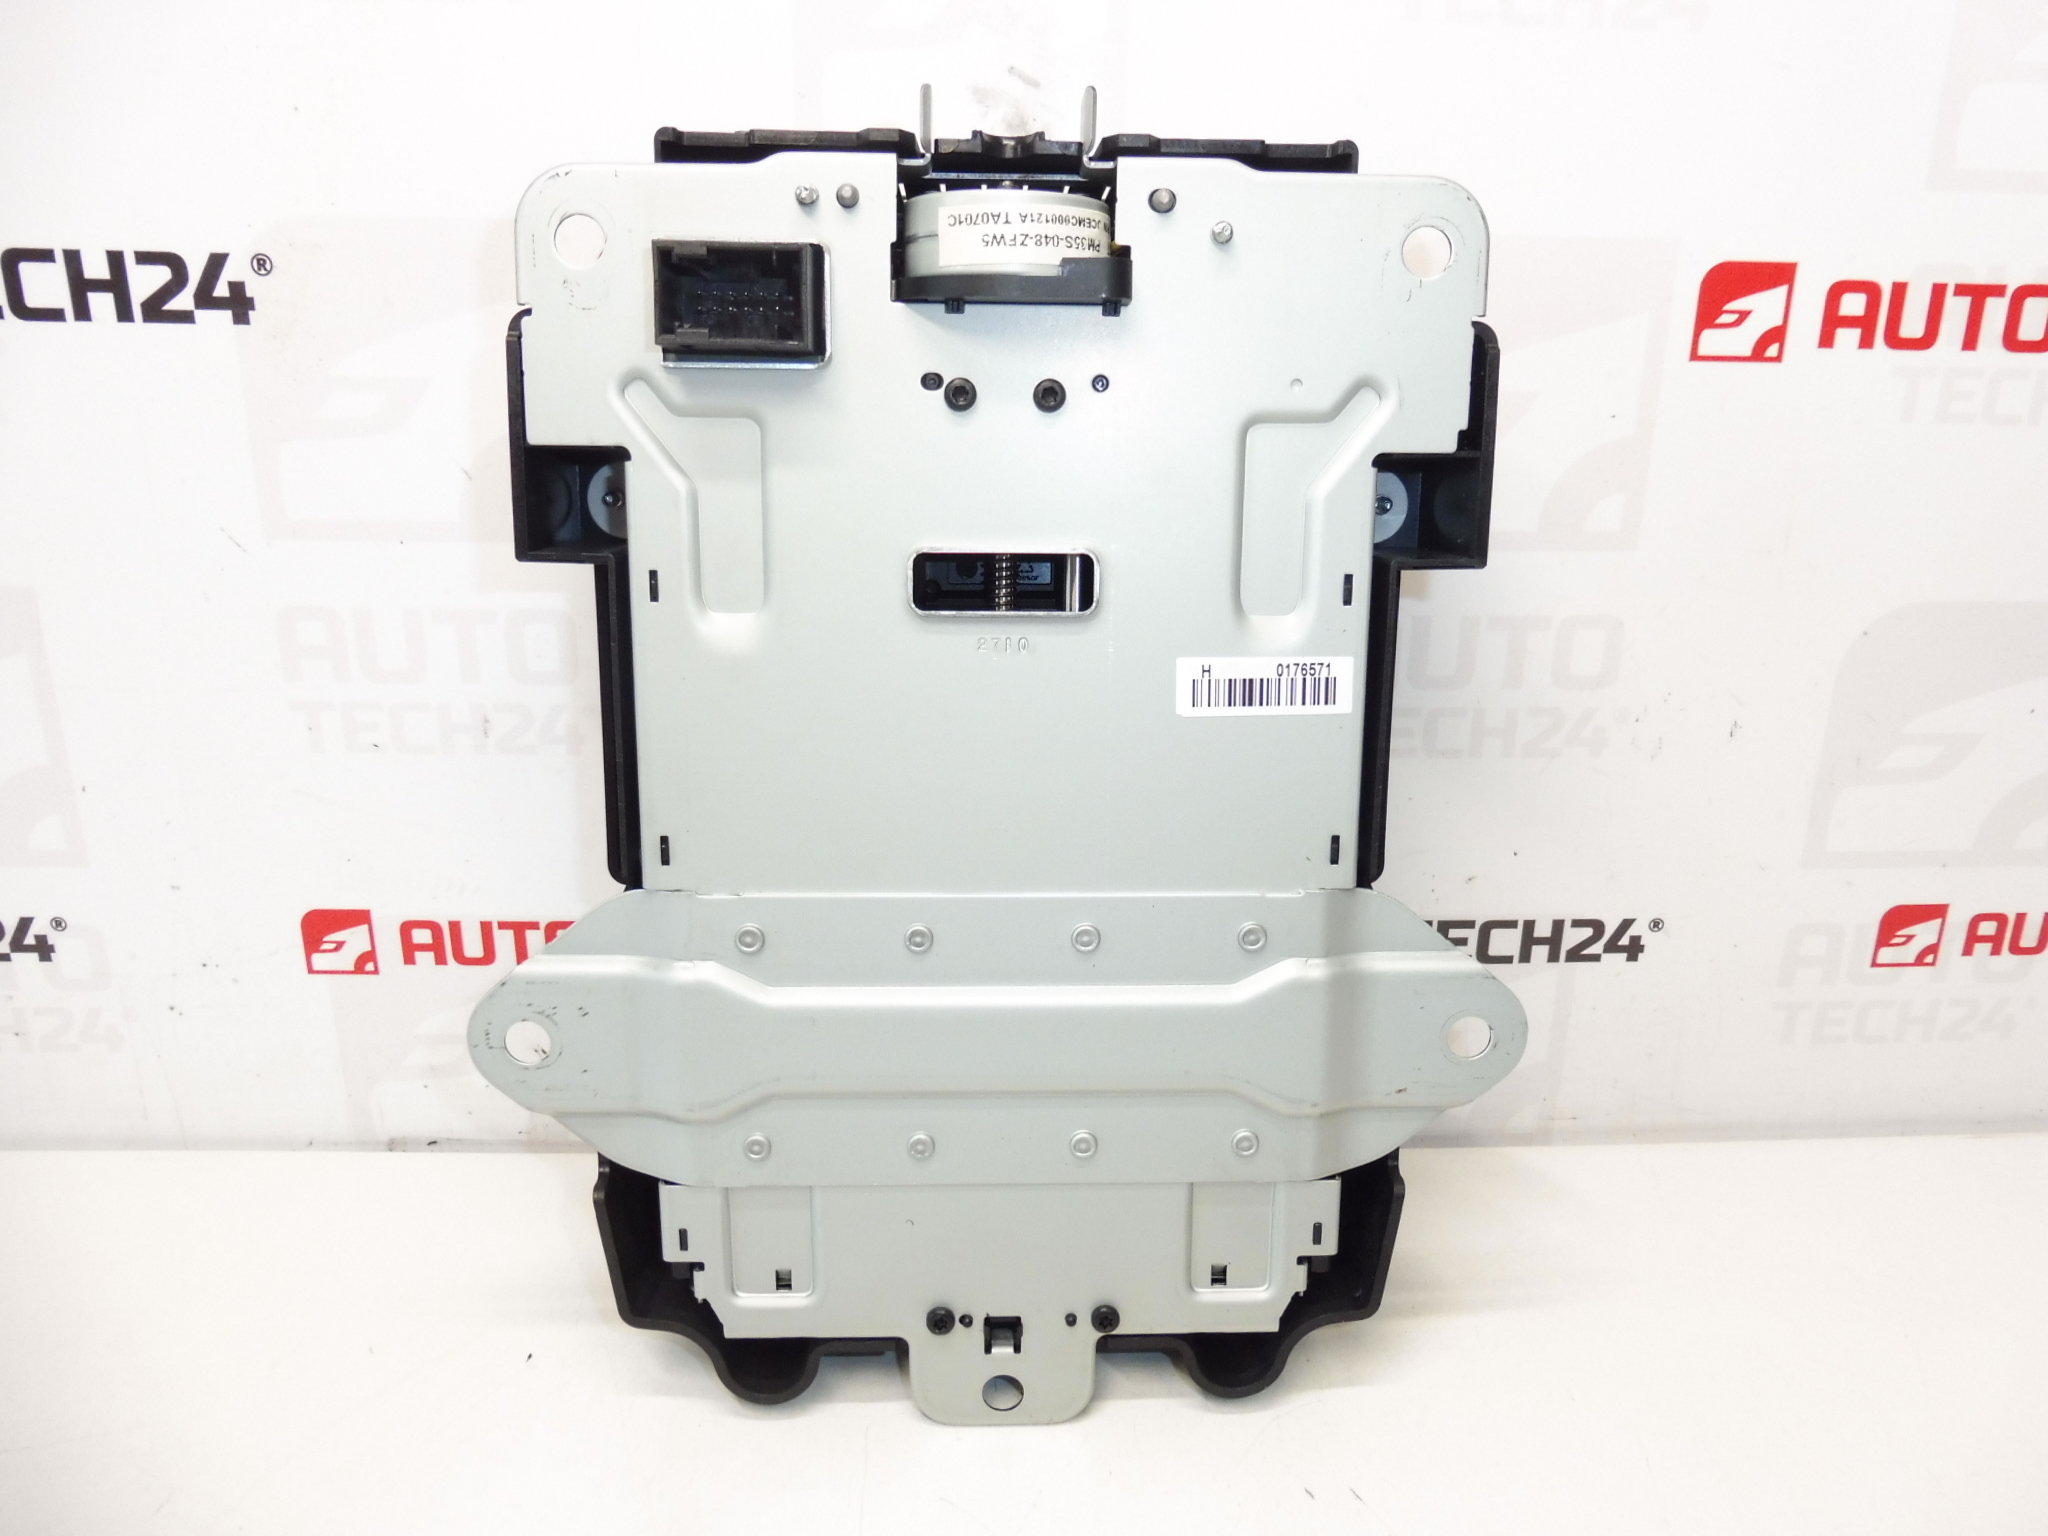
Head-Up Display from PEUGEOT 5008. Tested and free of faults.
The Head-Up Display (HUD) offered here is a direct-fit unit used on first-generation Peugeot 3008 / 5008 models. It projects key driving information onto the windshield, allowing the driver to keep their eyes on the road while monitoring speed, navigation prompts and warning indicators. This unit is frequently searched for by part numbers (e.g. 96665877ZD, 6593K2), so technicians and DIY enthusiasts will find fast identification and fitment guidance below.
Key Benefits
– Maintain safer driving posture by keeping information in the driver’s forward view.
– OEM fitment ensures correct mounting geometry and optical alignment.
– Replacement option for faded, dim or non-functioning HUD projectors or electronics.
– Compatible with original vehicle harnesses and connectors for straightforward swap.
Technical Information
- Manufacturer: Stellantis / PEUGEOT
- Model: Peugeot 3008 I, Peugeot 5008 I
- Product Codes: 96665877ZD, 96665877ZD-03, 6593K2, 6593K3
- Additional Numbers: 96665877D, 6593k2, 6593K3
Installation Recommendations
Intended for professional mechanics and competent DIYers. Typical replacement steps:
- Disconnect the negative battery terminal before starting to avoid short circuits and protect vehicle electronics.
- Carefully remove instrument panel trim and the top dashboard cover using plastic trim tools to avoid damaging clips and dash surfaces.
- Unscrew the HUD housing fasteners and gently lift the unit to access electrical connectors. Release connectors by the locking tabs—do not pull on wiring.
- Swap the unit, reconnect harnesses and reassemble trim. Verify secure seating of the HUD and that the projecting optics are clean and free of dust or fingerprints.
- After installation, power up the vehicle and check HUD operation across brightness settings and with lights on/off. Some settings (brightness, dimming, integration with parking / light sensors) may require checking vehicle menus or basic adaptation steps available in the vehicle’s settings.
Always follow the vehicle manufacturer’s removal and refit procedures and torque values where specified.
Why This Part Fails (Common Causes)
The most frequent failure modes for Head-Up Displays are:
- LED or projector lamp degradation leading to dim or uneven projection.
- Electronic board faults from water ingress or condensation, especially in vehicles that have had windshield leaks or long-term moisture exposure.
- Connector or ribbon-cable damage during prior repairs or from vibration and thermal cycles.
- Optical contamination (dust, fingerprints) on the projector lens or combiner affecting image clarity.
- Intermittent faults caused by worn contacts or solder joint failures on the control PCB.
Understanding these causes helps select the correct replacement and avoid repeat failures (e.g., address underlying water ingress or damaged wiring harnesses when replacing the HUD).
Notes For Workshop Use
Search by the listed product codes to quickly locate the correct item for a given repair. Test functions before final reassembly and confirm that vehicle menus respond correctly to HUD settings. If the vehicle exhibits related electrical anomalies, inspect fuses, wiring and grounding points in the dash area as part of a thorough diagnosis.