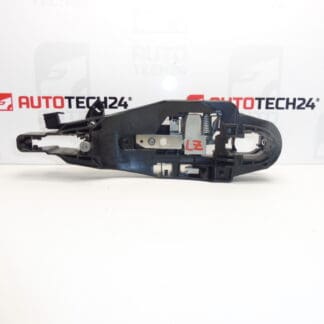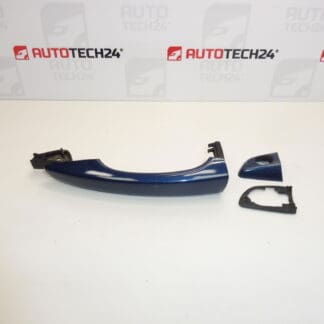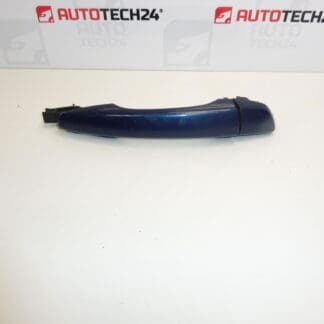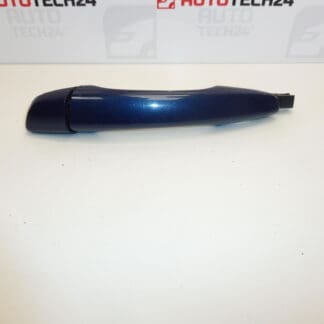
Description
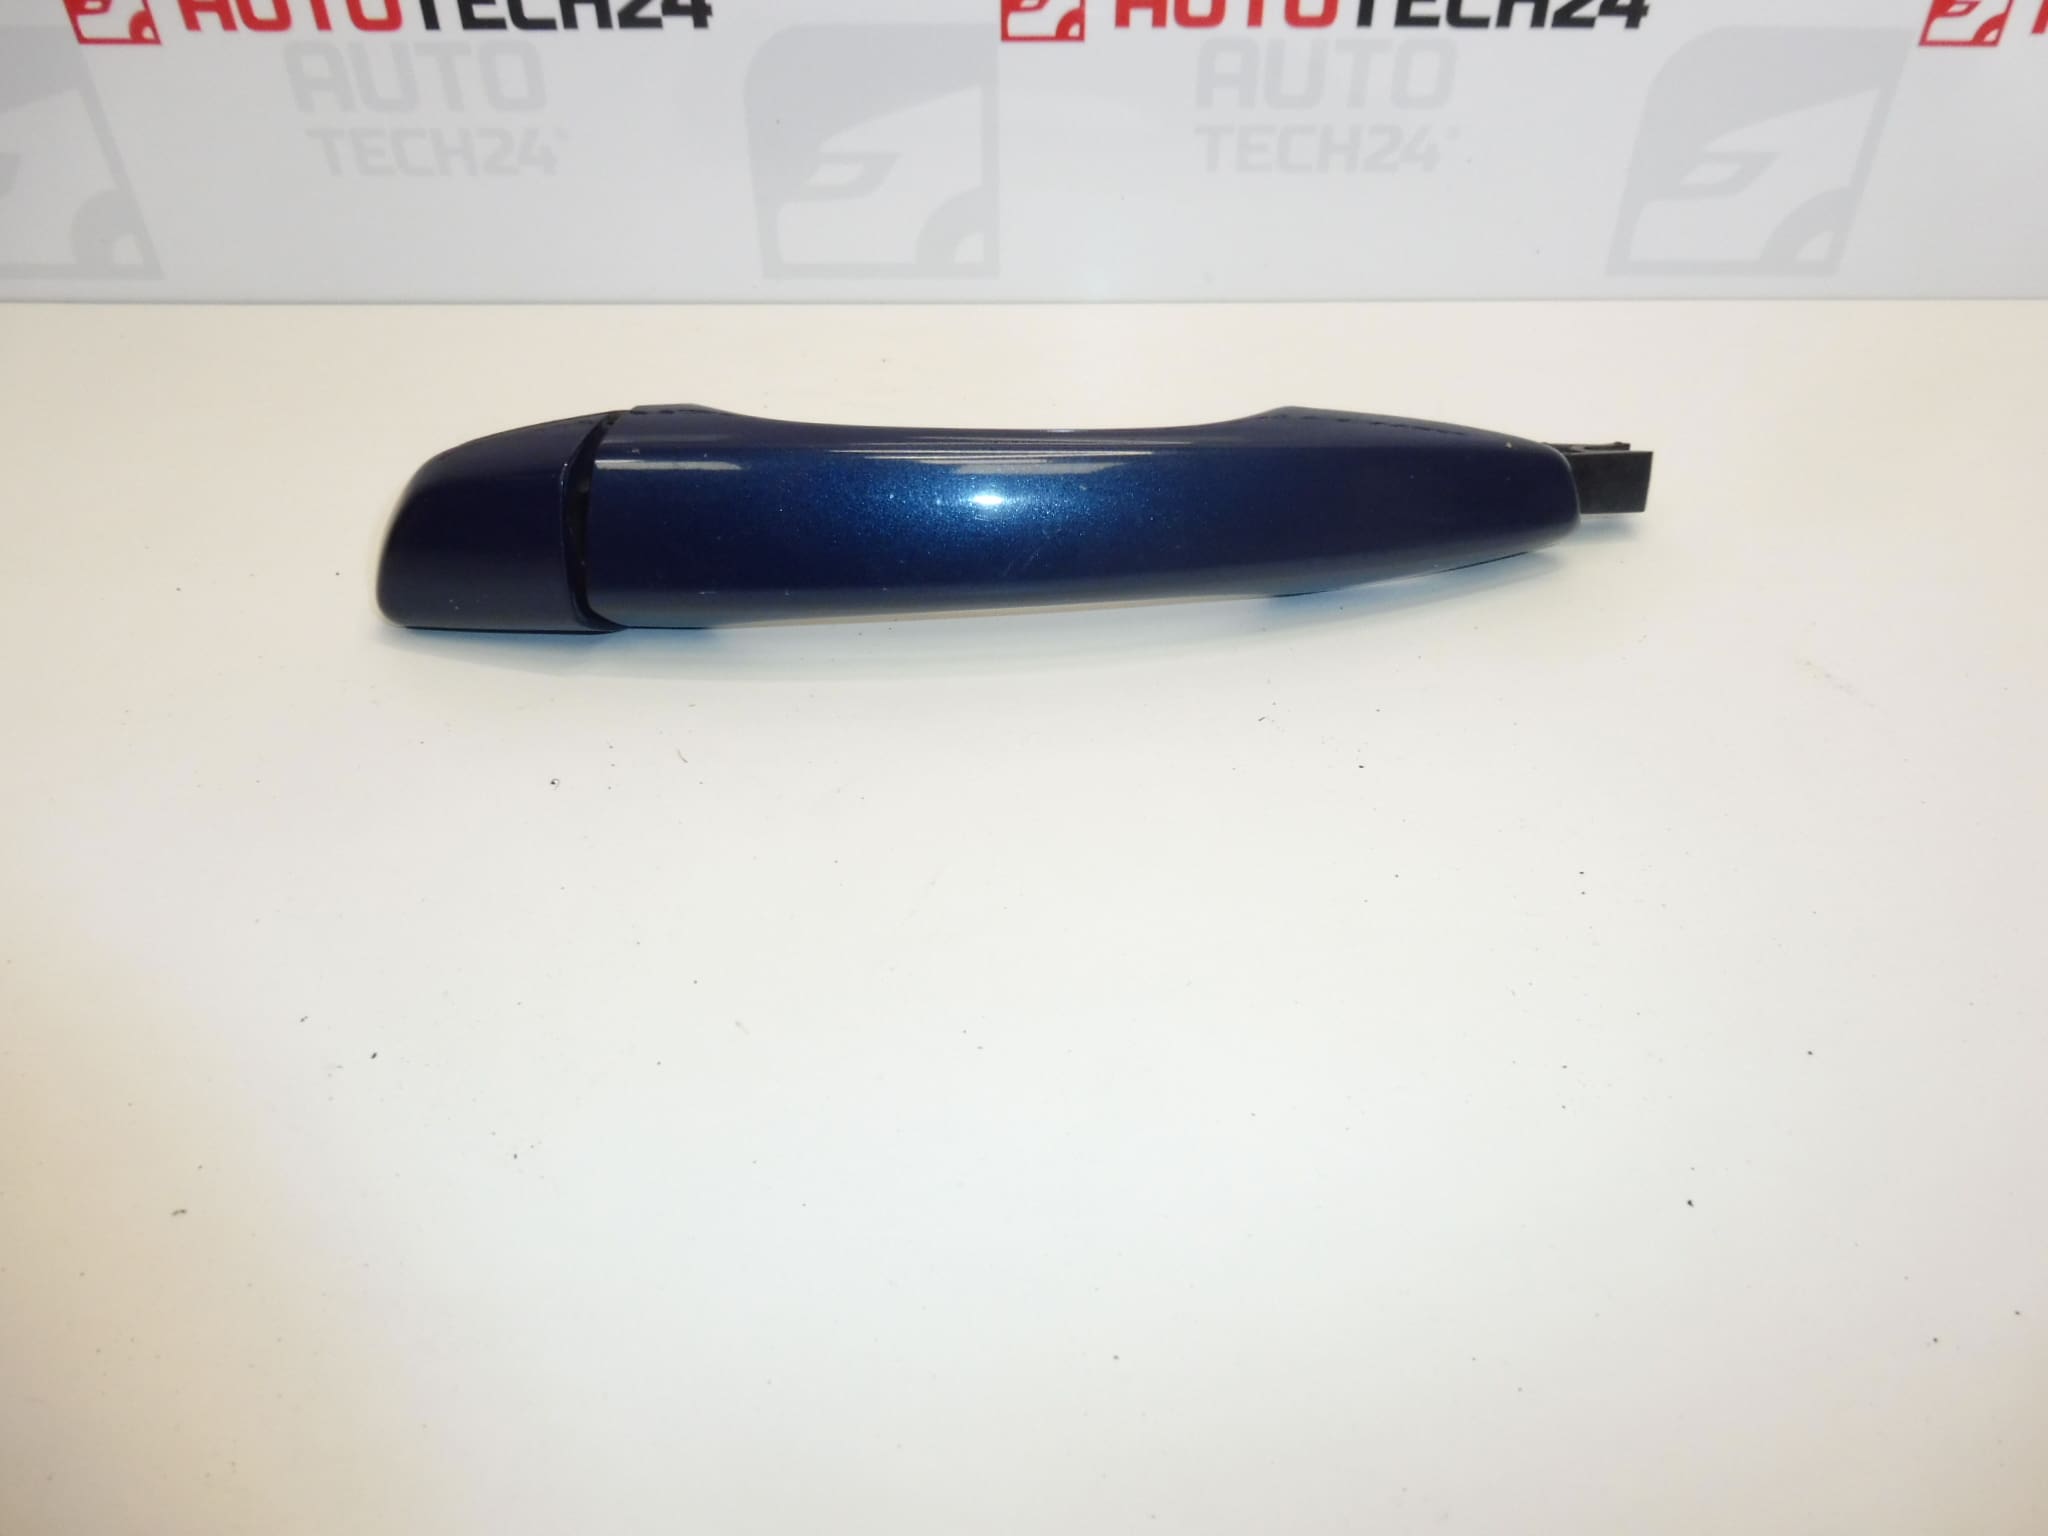
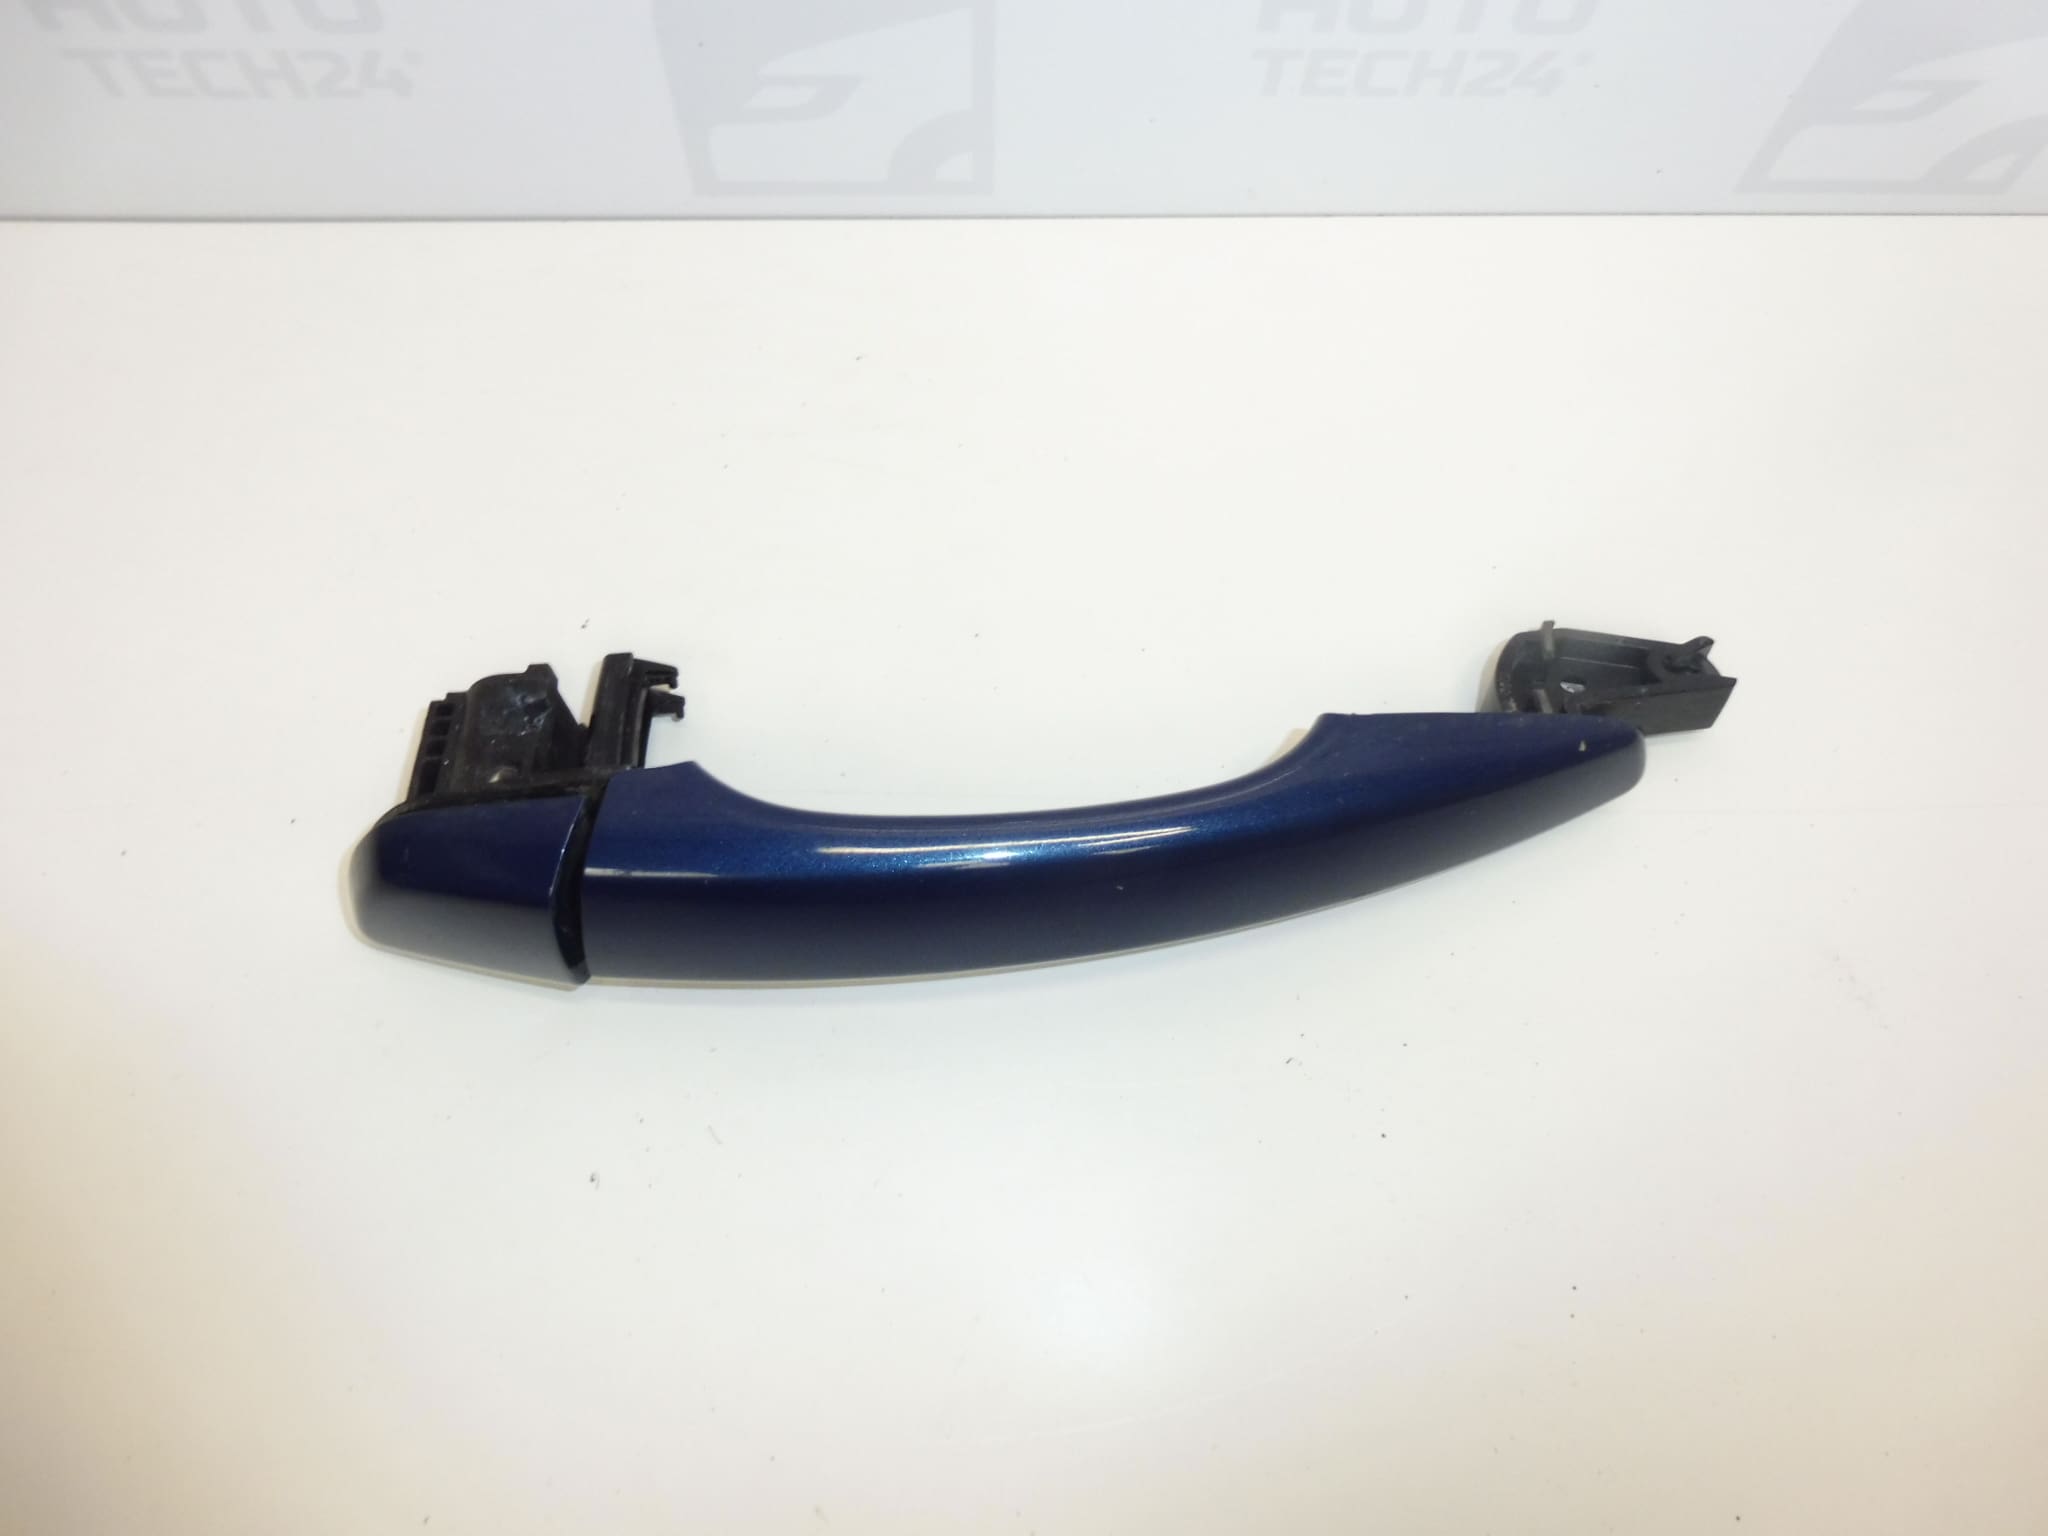
Handle for the right rear door behind the passenger for vehicles from the Stellantis group CITROEN PEUGEOT OPEL FIAT TOYOTA
Color EJG – NUIT BLUE PAINT
Part description
The used right rear door handle is a suitable solution when replacing a cracked, damaged, or non-functional handle. The identifiers 1609239680 and 980297821T are essential for finding the correct version. The EJG – Nuit blue finish makes it easier to select a part matching the vehicle’s paintwork; however, with a used painted part, a possible difference in shade due to age and wear should be expected.
The reference materials list the Citroën Berlingo K9, FIAT DOBLO III, OPEL COMBO E K9, PEUGEOT PARTNER III, PEUGEOT RIFTER, and Toyota ProAce City models. Before selecting a part, compare its part numbers, shape, mounting points, and mechanism connections with the original handle. The model name alone may not distinguish between all versions.
Technical information
- Manufacturer: not specified; identified as Stellantis CITROEN PEUGEOT in the reference materials.
- Model: Citroën Berlingo K9 | FIAT DOBLO III | OPEL COMBO E K9 | PEUGEOT PARTNER III | PEUGEOT RIFTER | Toyota ProAce City.
- Part type: door handle.
- Location: right rear door behind the passenger.
- Color: EJG – NUIT BLUE PAINT.
- Condition: used part.
- Additional numbers: not specified.
Product codes
- Product codes: 1609239680, 980297821T.
- Color code: EJG.
When looking for a replacement, compare the full designation, including the final letter in number 980297821T.
Installation recommendations
The following procedure generally applies to this type of part. The exact access to the handle mounting points and the method for disconnecting the operating mechanism depend on the specific model and door version. Follow the vehicle manufacturer’s service procedure.
1) Before installation
- Compare the product numbers, installation side, handle shape, mounting points, and connection to the lock.
- Inspect the used handle, especially the mounts, moving parts, and mechanism connection points. Check for cracks, deformation, or excessive wear.
- Also check the operation of the original lock and its controls. Sticking may not be caused by the handle itself.
- Compare the color and condition of the painted surface before installation.
2) Required tools and materials
A set of screwdrivers and bits suitable for the fasteners, plastic trim removal tools, a flashlight, protective tape for the paintwork, a soft cloth, and a container for small parts are typically used. The specific selection depends on the door design.
3) Step-by-step installation procedure
- Park the vehicle safely, switch off the ignition, and secure the door to prevent unintended movement.
- Check the service procedure for the specific door and prepare access to the handle mounting points. If electrical connections need to be handled, disconnect the power supply according to the manufacturer’s instructions.
- Protect the surrounding paintwork from scratches and clean the area around the handle.
- Depending on the design, carefully remove the necessary covers or trim. Do not pry them off with force, and protect the clips and any protective films.
- Before disconnecting anything, note the position of the fasteners and the routing of the control rod or cable, if used.
- Disconnect the handle from the lock controls and release the relevant retaining elements. Do not strain the plastic clips or the surrounding mechanism.
- Remove the original handle using the method specified for the particular door version.
- Clean the contact surfaces and check the condition of the mounting points and any seals. Address any damage to surrounding parts before installing the replacement handle.
- Fit the replacement handle without forcing it, connect the operating mechanism, and secure all connections. The rod or cable must not be twisted, pinched, or kept under constant tension.
- Tighten the fasteners according to the manufacturer’s service instructions and check that the handle is correctly seated against the door.
- Before refitting the trim, check that the handle moves freely and returns to its initial position. Then refit the covers, trim, and any protective films to their original positions.
4) Post-installation checks and function verification
First, with the door open, check that the handle moves smoothly and returns to its initial position. Close the door carefully for the first time, and only after verifying that the mechanism is connected correctly. Then test opening, closing, locking, and unlocking several times, as applicable to the vehicle’s equipment. The handle must not stick, have excessive play, or prevent the door from locking securely. A test drive does not replace checking the operation of the door while the vehicle is stationary.
5) Most common installation errors and how to avoid them
- Choosing the wrong version: before removal, compare the part numbers, side, mounts, and mechanism connections.
- Damage to the paintwork or clips: use surface protection and suitable plastic tools, not brute force.
- Incorrectly connected rod or cable: follow the original routing and check that it is secured and moves freely before refitting the trim.
- Overtightened fasteners: follow the service instructions to avoid damaging the mounts or distorting the fit.
- Overlooking a problem with the lock: if the mechanism encounters resistance, first address its cause. Do not overload the newly installed handle.
Reasons why the part becomes damaged
Door handles generally become damaged due to repeated mechanical stress, material aging, or excessive force when opening. The following causes are general and do not describe the history of this specific part.
- Wear of moving parts and mounts through long-term use.
- Pulling hard on the handle when the lock is stiff, the door is frozen shut, or the controls are sticking.
- Impact or snagging of the handle during use or when handling cargo.
- Dirt and moisture in the mechanism, which can impair its operation and increase the force required to operate it.
- Careless previous removal or incorrect fitting, leading to damage to the retaining elements and mounting points.