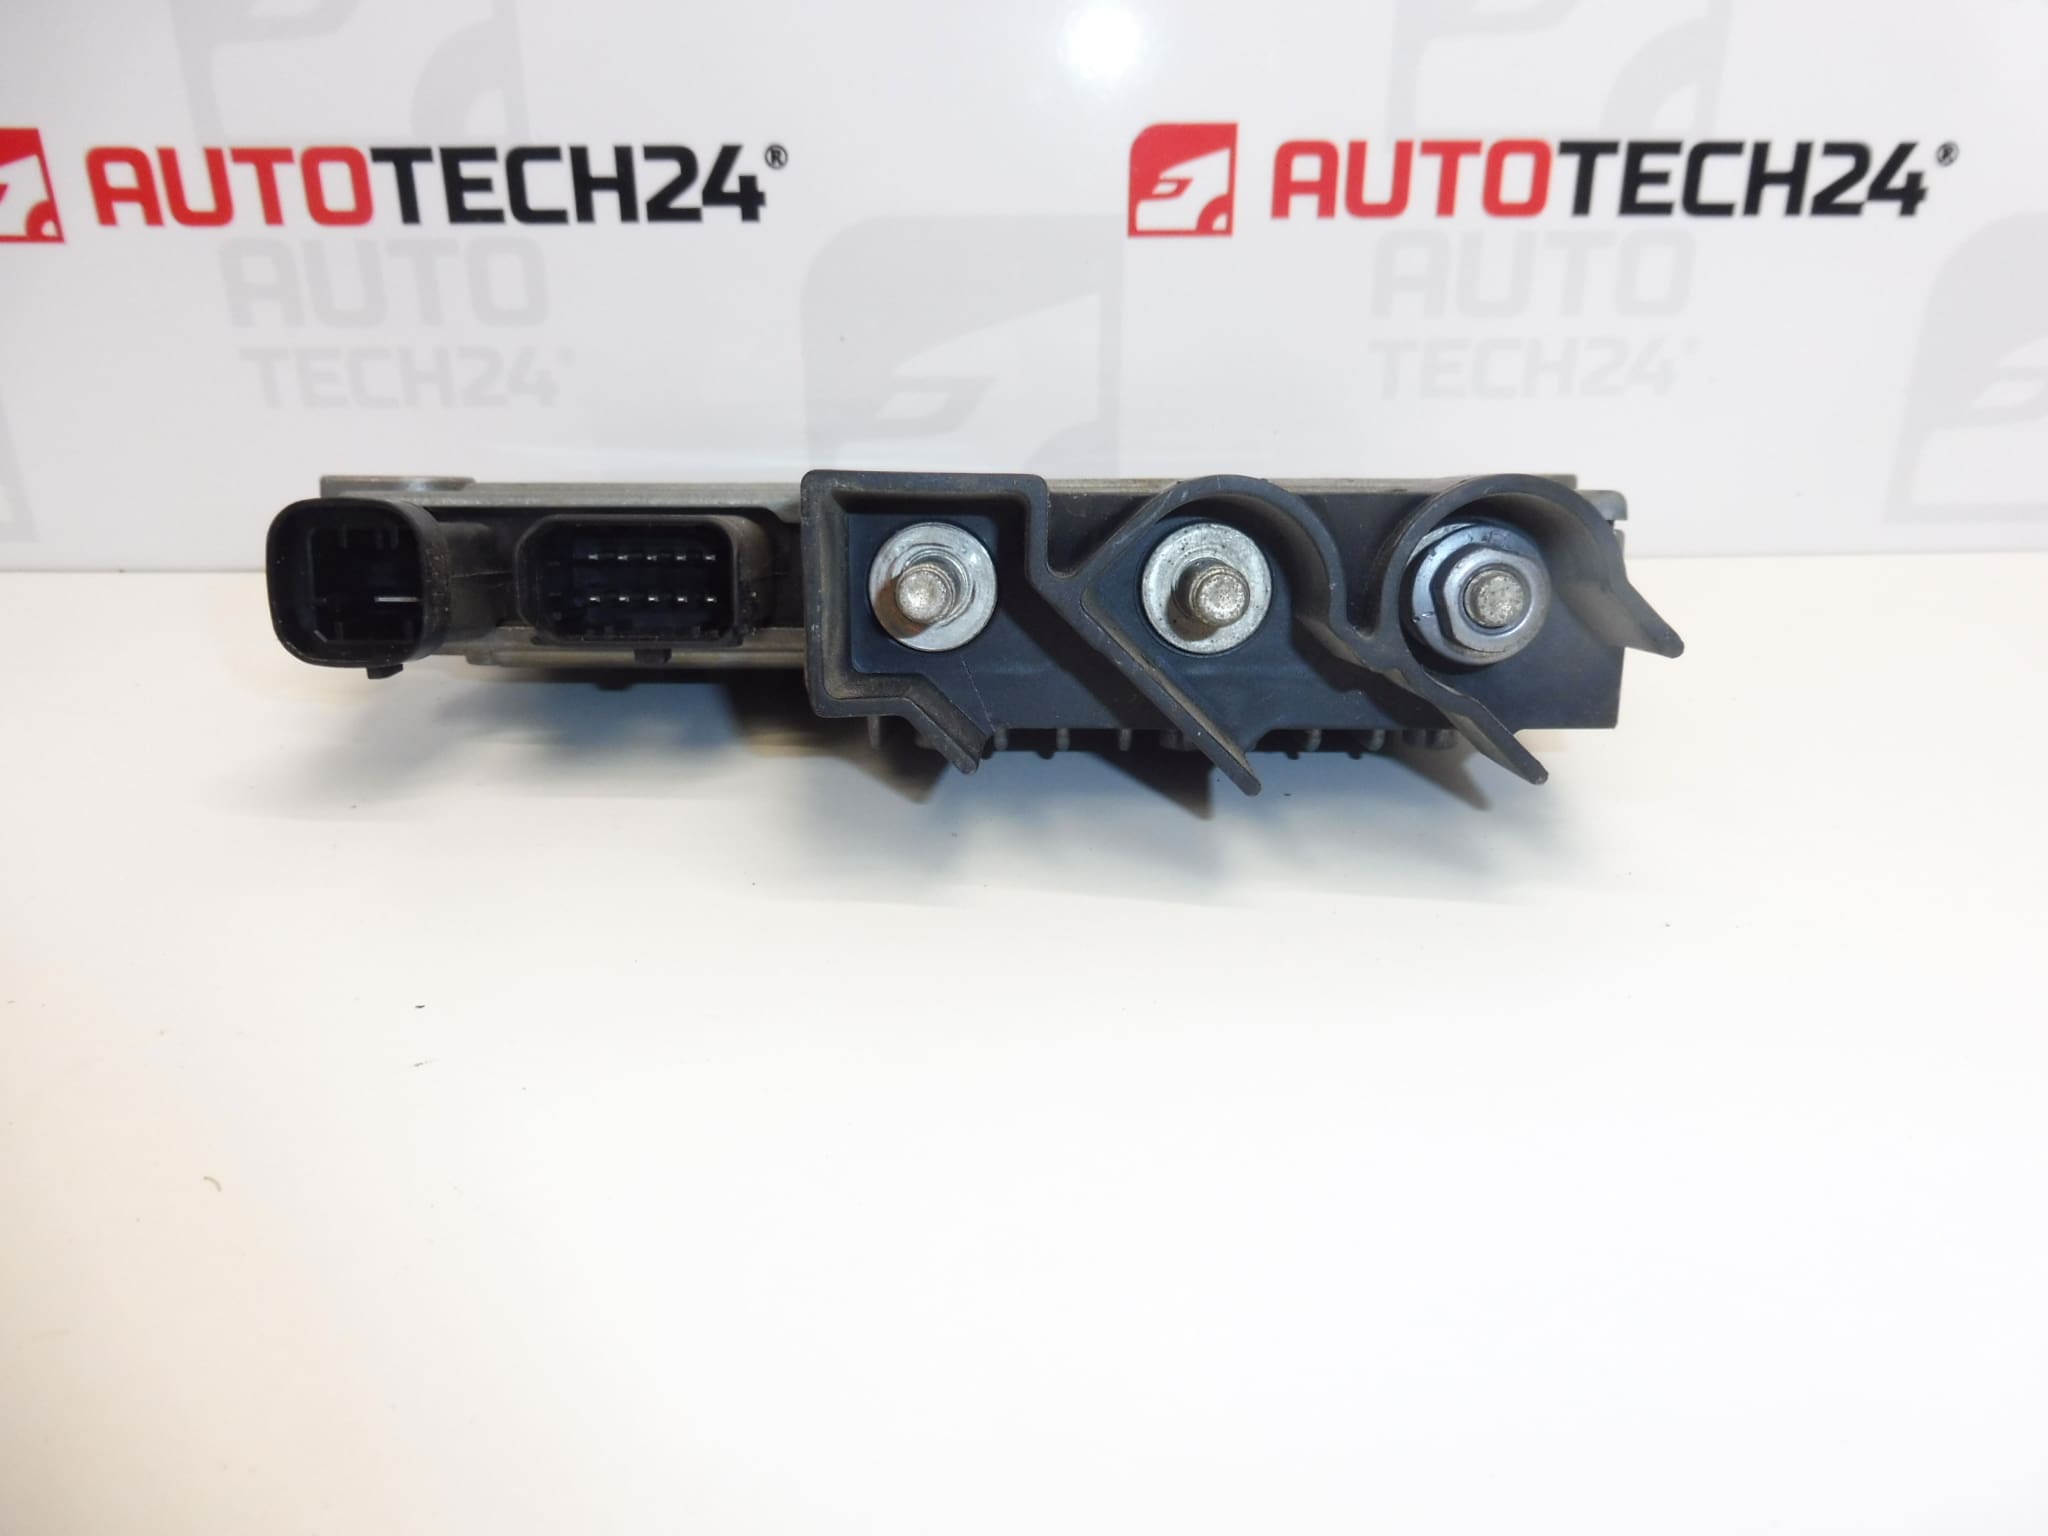
Description
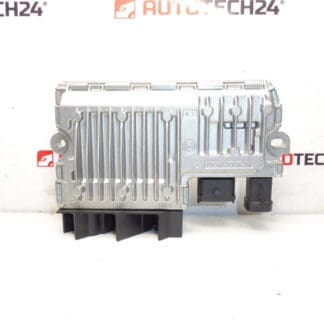
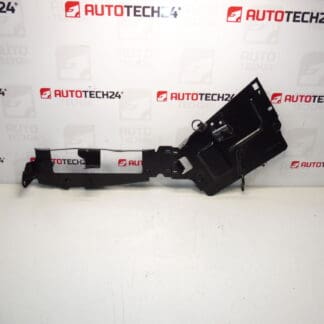
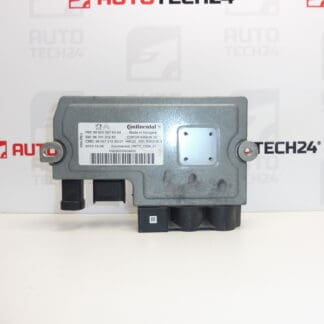
START-STOP system converter unit for Citroen, Peugeot, Toyota vehicles
Part description
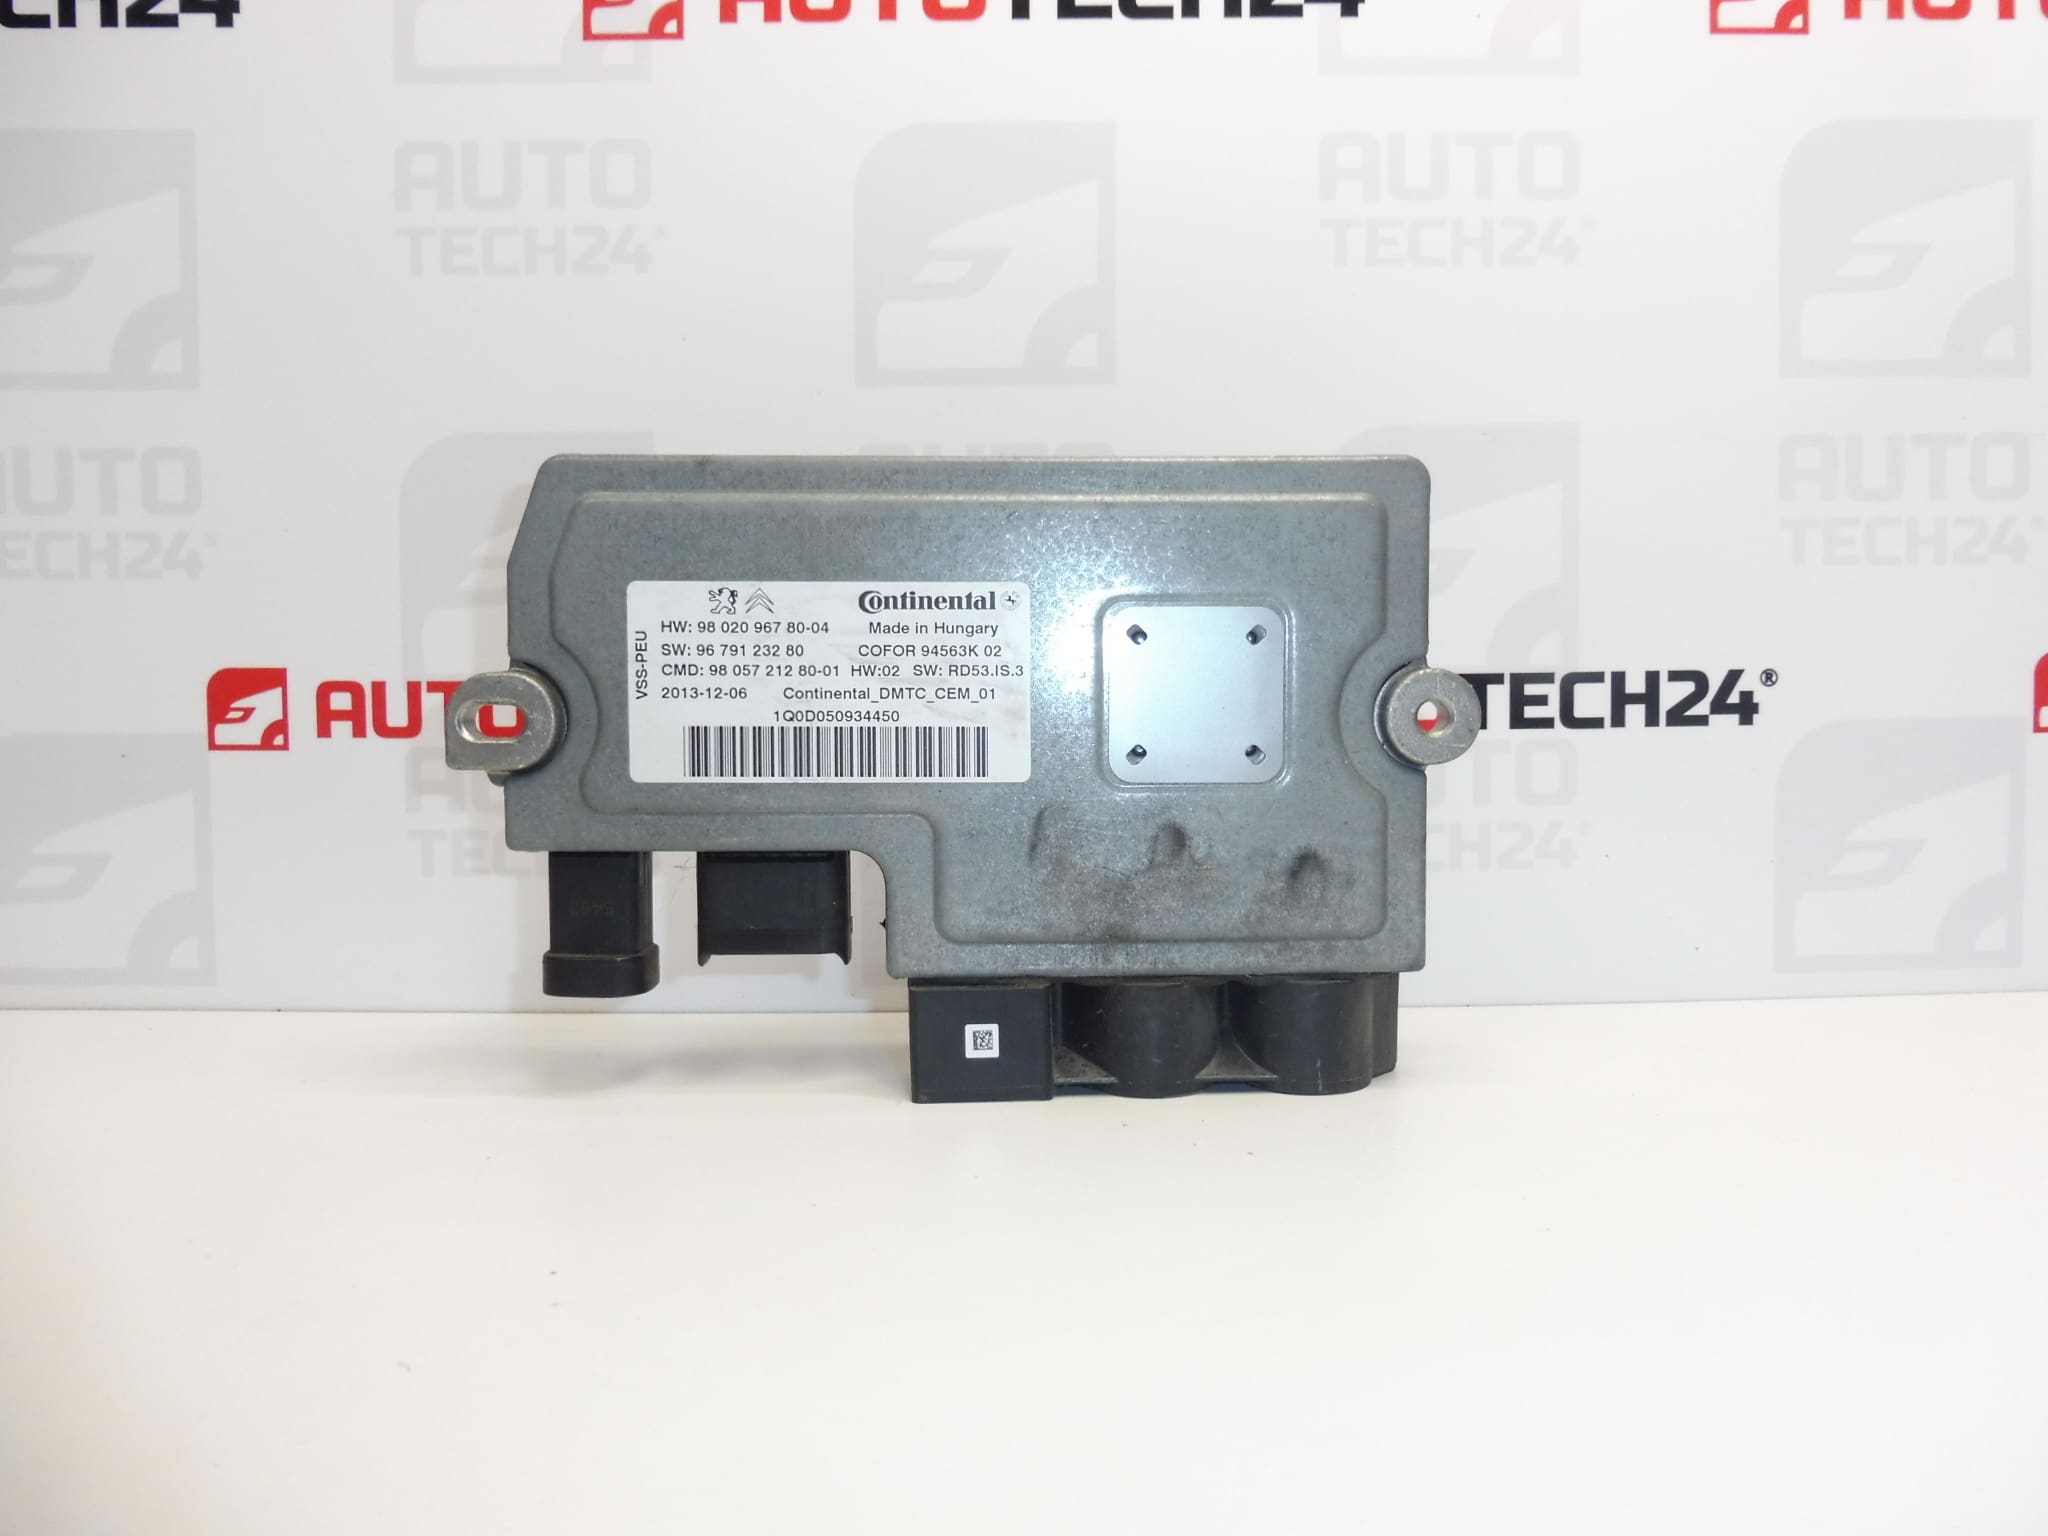
Used Continental converter unit for the START-STOP system is an electrical part intended to replace the corresponding unit in a vehicle. It is listed in the START STOP capacitor category. When searching for a replacement part, the key reference numbers are 9802096780, 9802096780-04 and 9679123280.
Replacing a faulty unit may help restore proper operation of the START-STOP system if diagnostics confirm that this specific part is defective. A used part offers a repair option without purchasing a new unit. Before choosing, compare the reference numbers, design and connections with the original part; the vehicle make alone is not sufficient to determine compatibility.
Technical information
- Manufacturer: Continental
- Model: not specified
- Vehicle makes listed in the source information: Citroen, Peugeot, Toyota
- Part type: START-STOP system converter unit
- Category: Electrical components / START STOP capacitor
- Condition: used part
- Other numbers: 9802096780-04, 9679123280
Product codes
- Product codes: 9802096780, 9802096780-04, 9679123280
The numbers are provided to make it easy to find the part and compare it with the markings on the original unit. The source information does not specify whether the different versions are interchangeable or which specific vehicle models they fit.
Installation recommendations
The following procedure is general for an electrical START-STOP system converter unit. The exact disconnection, removal and commissioning procedure depends on the specific vehicle model and configuration. Follow the manufacturer’s service procedure. A capacitor in the system may retain electrical energy even after the battery has been disconnected; therefore, disconnecting the battery alone does not necessarily make it safe to work on.
1) Before installation
- First use diagnostics to verify the cause of the fault. A non-functioning START-STOP system is not necessarily caused by the converter unit itself.
- Compare all available numbers and version markings, the shape of the housing, mounting points, connectors and their mechanical keying with the old part.
- Inspect the used part: the housing must not be cracked, the contacts must not be bent or significantly corroded, and the connectors must show no signs of overheating.
- Also inspect the vehicle wiring. A damaged supply wire, faulty contact or moisture can cause the fault to recur even after the unit is replaced.
2) Tools and materials required
- Standard hand tools suitable for the fasteners used, and tools for carefully releasing connector locks.
- Protective equipment, a clean cloth and, if needed, a product suitable for cleaning electrical connectors.
- Compatible diagnostic equipment and a measuring instrument suitable for the checks specified by the manufacturer.
- Service documentation for the specific vehicle, especially the procedure for safely disconnecting and securing the START-STOP system.
3) Step-by-step installation procedure
- Secure the vehicle to prevent it from moving, switch off the ignition and prevent unintended starting or activation of electrical systems.
- Following the service procedure, allow the electronics to enter a quiescent state and disconnect the battery as specified.
- Secure the system against residual energy as specified by the manufacturer. Never discharge the capacitor by shorting its contacts. If you do not know the safe procedure, leave the work to a professional.
- Access the unit according to the vehicle documentation. Before disconnecting anything, record the wiring layout and connector orientation, for example with a photograph.
- Release the connector locks and disconnect them by pulling on the connector housing, not the wires. Do not force a locked connector.
- Support the unit, release its fasteners and remove it without straining the surrounding wires and components.
- Check the mating surfaces, brackets and connections. Carefully remove any dirt and allow the cleaned areas to dry completely before reassembly.
- Fit the replacement unit without putting it under strain and secure it according to the manufacturer’s instructions. Connect the connectors until they are properly locked and return the wiring to its original clips.
- Reinstall any covers that were removed, check that the work is complete and restore power according to the service procedure. Perform any required commissioning using diagnostic equipment.
4) Post-installation checks and function verification
Check that the unit is securely mounted, the connectors are locked and the cables are routed away from areas where they could rub or become pinched. Use diagnostics to check the system status and any faults. Verify START-STOP operation under the conditions specified by the vehicle manufacturer for its activation, or during a safe test drive. START-STOP not activating immediately after installation does not, on its own, confirm that the unit is faulty.
5) Common installation mistakes and how to avoid them
- Replacing the unit without identifying the cause of the fault: check the power supply, connections and related electrical system beforehand.
- Confusing similar-looking units: compare the markings and construction, not just the appearance of the housing.
- Working with residual energy present: follow the manufacturer’s safety procedure and do not bypass the prescribed system safeguards.
- Connectors not fully latched or wires pinched: check every connection and the wiring layout before restoring power.
- Overlooking moisture or corrosion: also address the cause of water ingress, not just its effects.
Reasons why the part may be damaged
In general, the following factors can contribute to damage in electrical units of this type. This is not a description of defects found in the item offered for sale.
- Moisture and corrosion, which can damage contacts or internal electronics.
- Electrical overload or unstable power supply, for example due to a fault in related wiring or improper work on the electrical system.
- Thermal stress and ageing of electronic components during operation.
- Vibration and loose mounting, which can put strain on joints and connections.
- Mechanical damage during handling, especially a cracked housing, damaged connectors or pulled-out wires.