Description
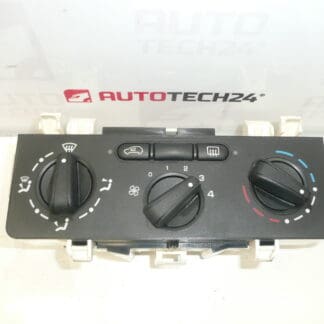
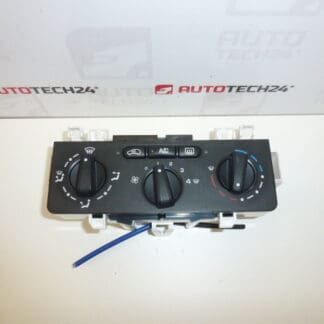
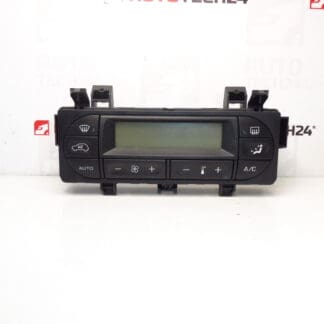
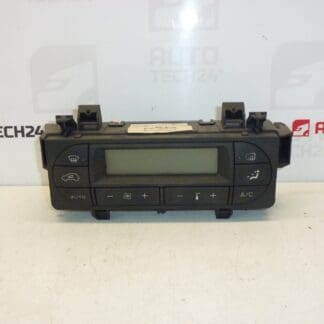
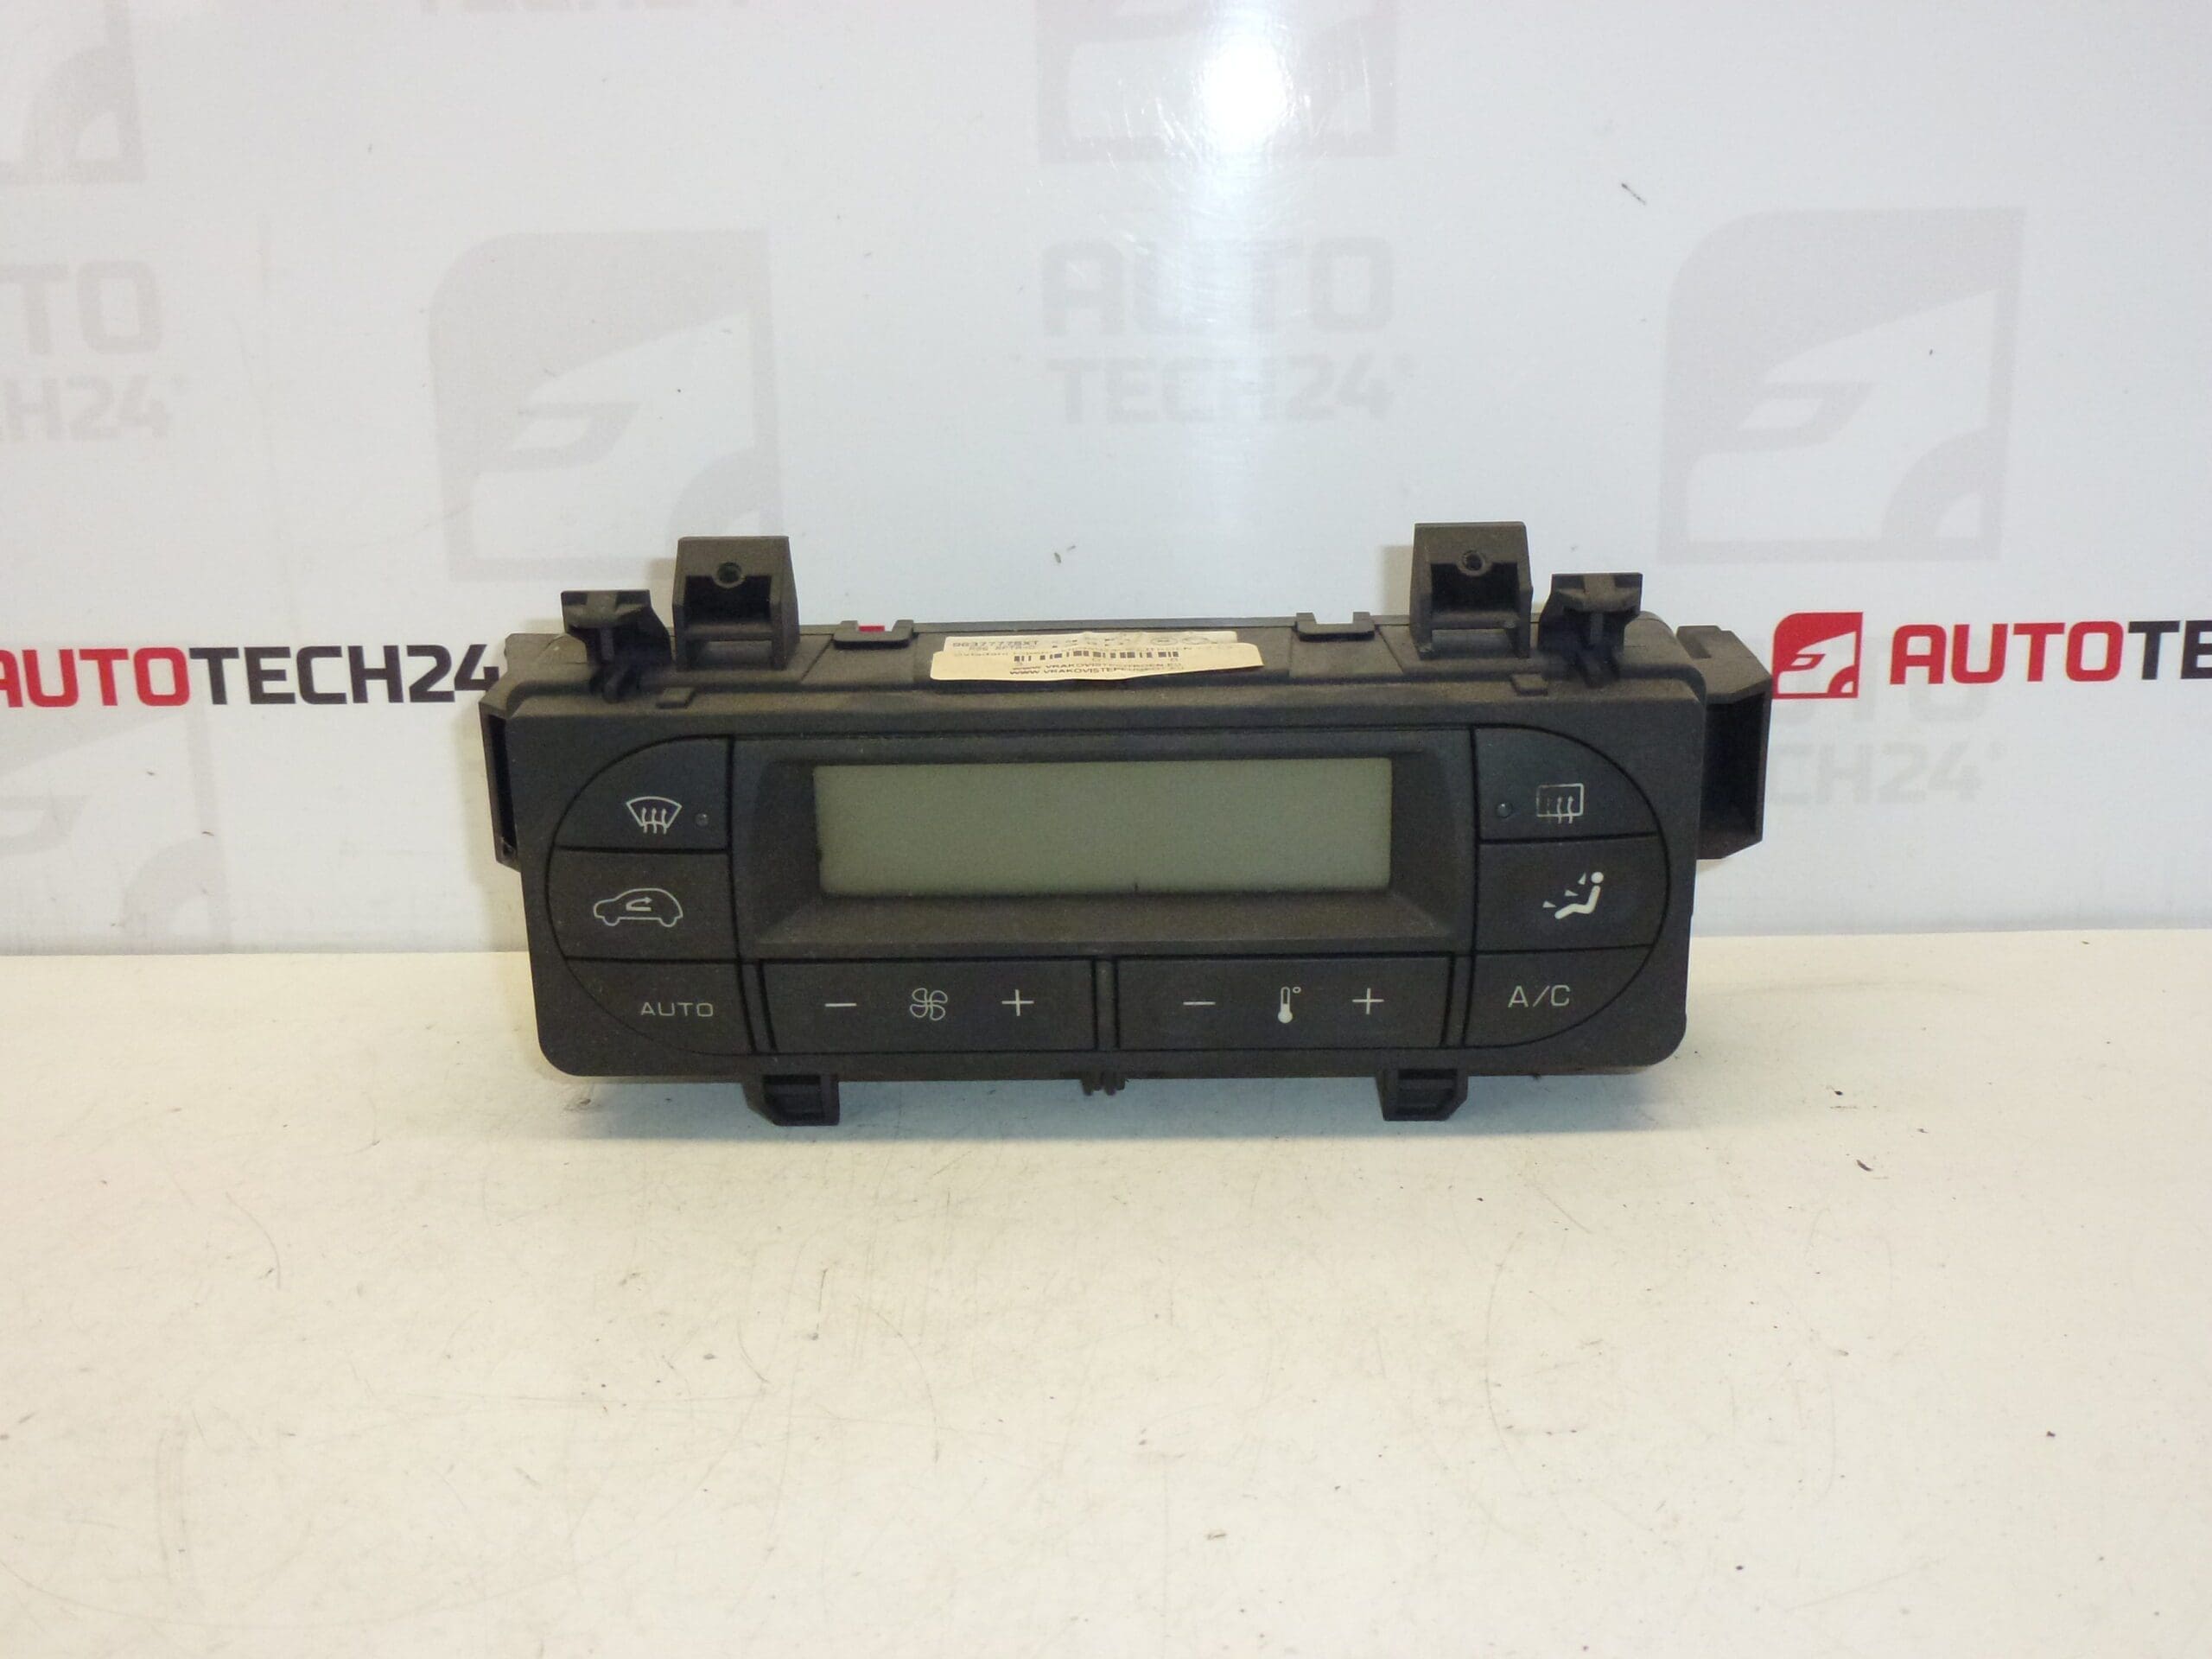
Heating and air conditioning control for Citroën C2, C3 Pluriel and Peugeot 1007.
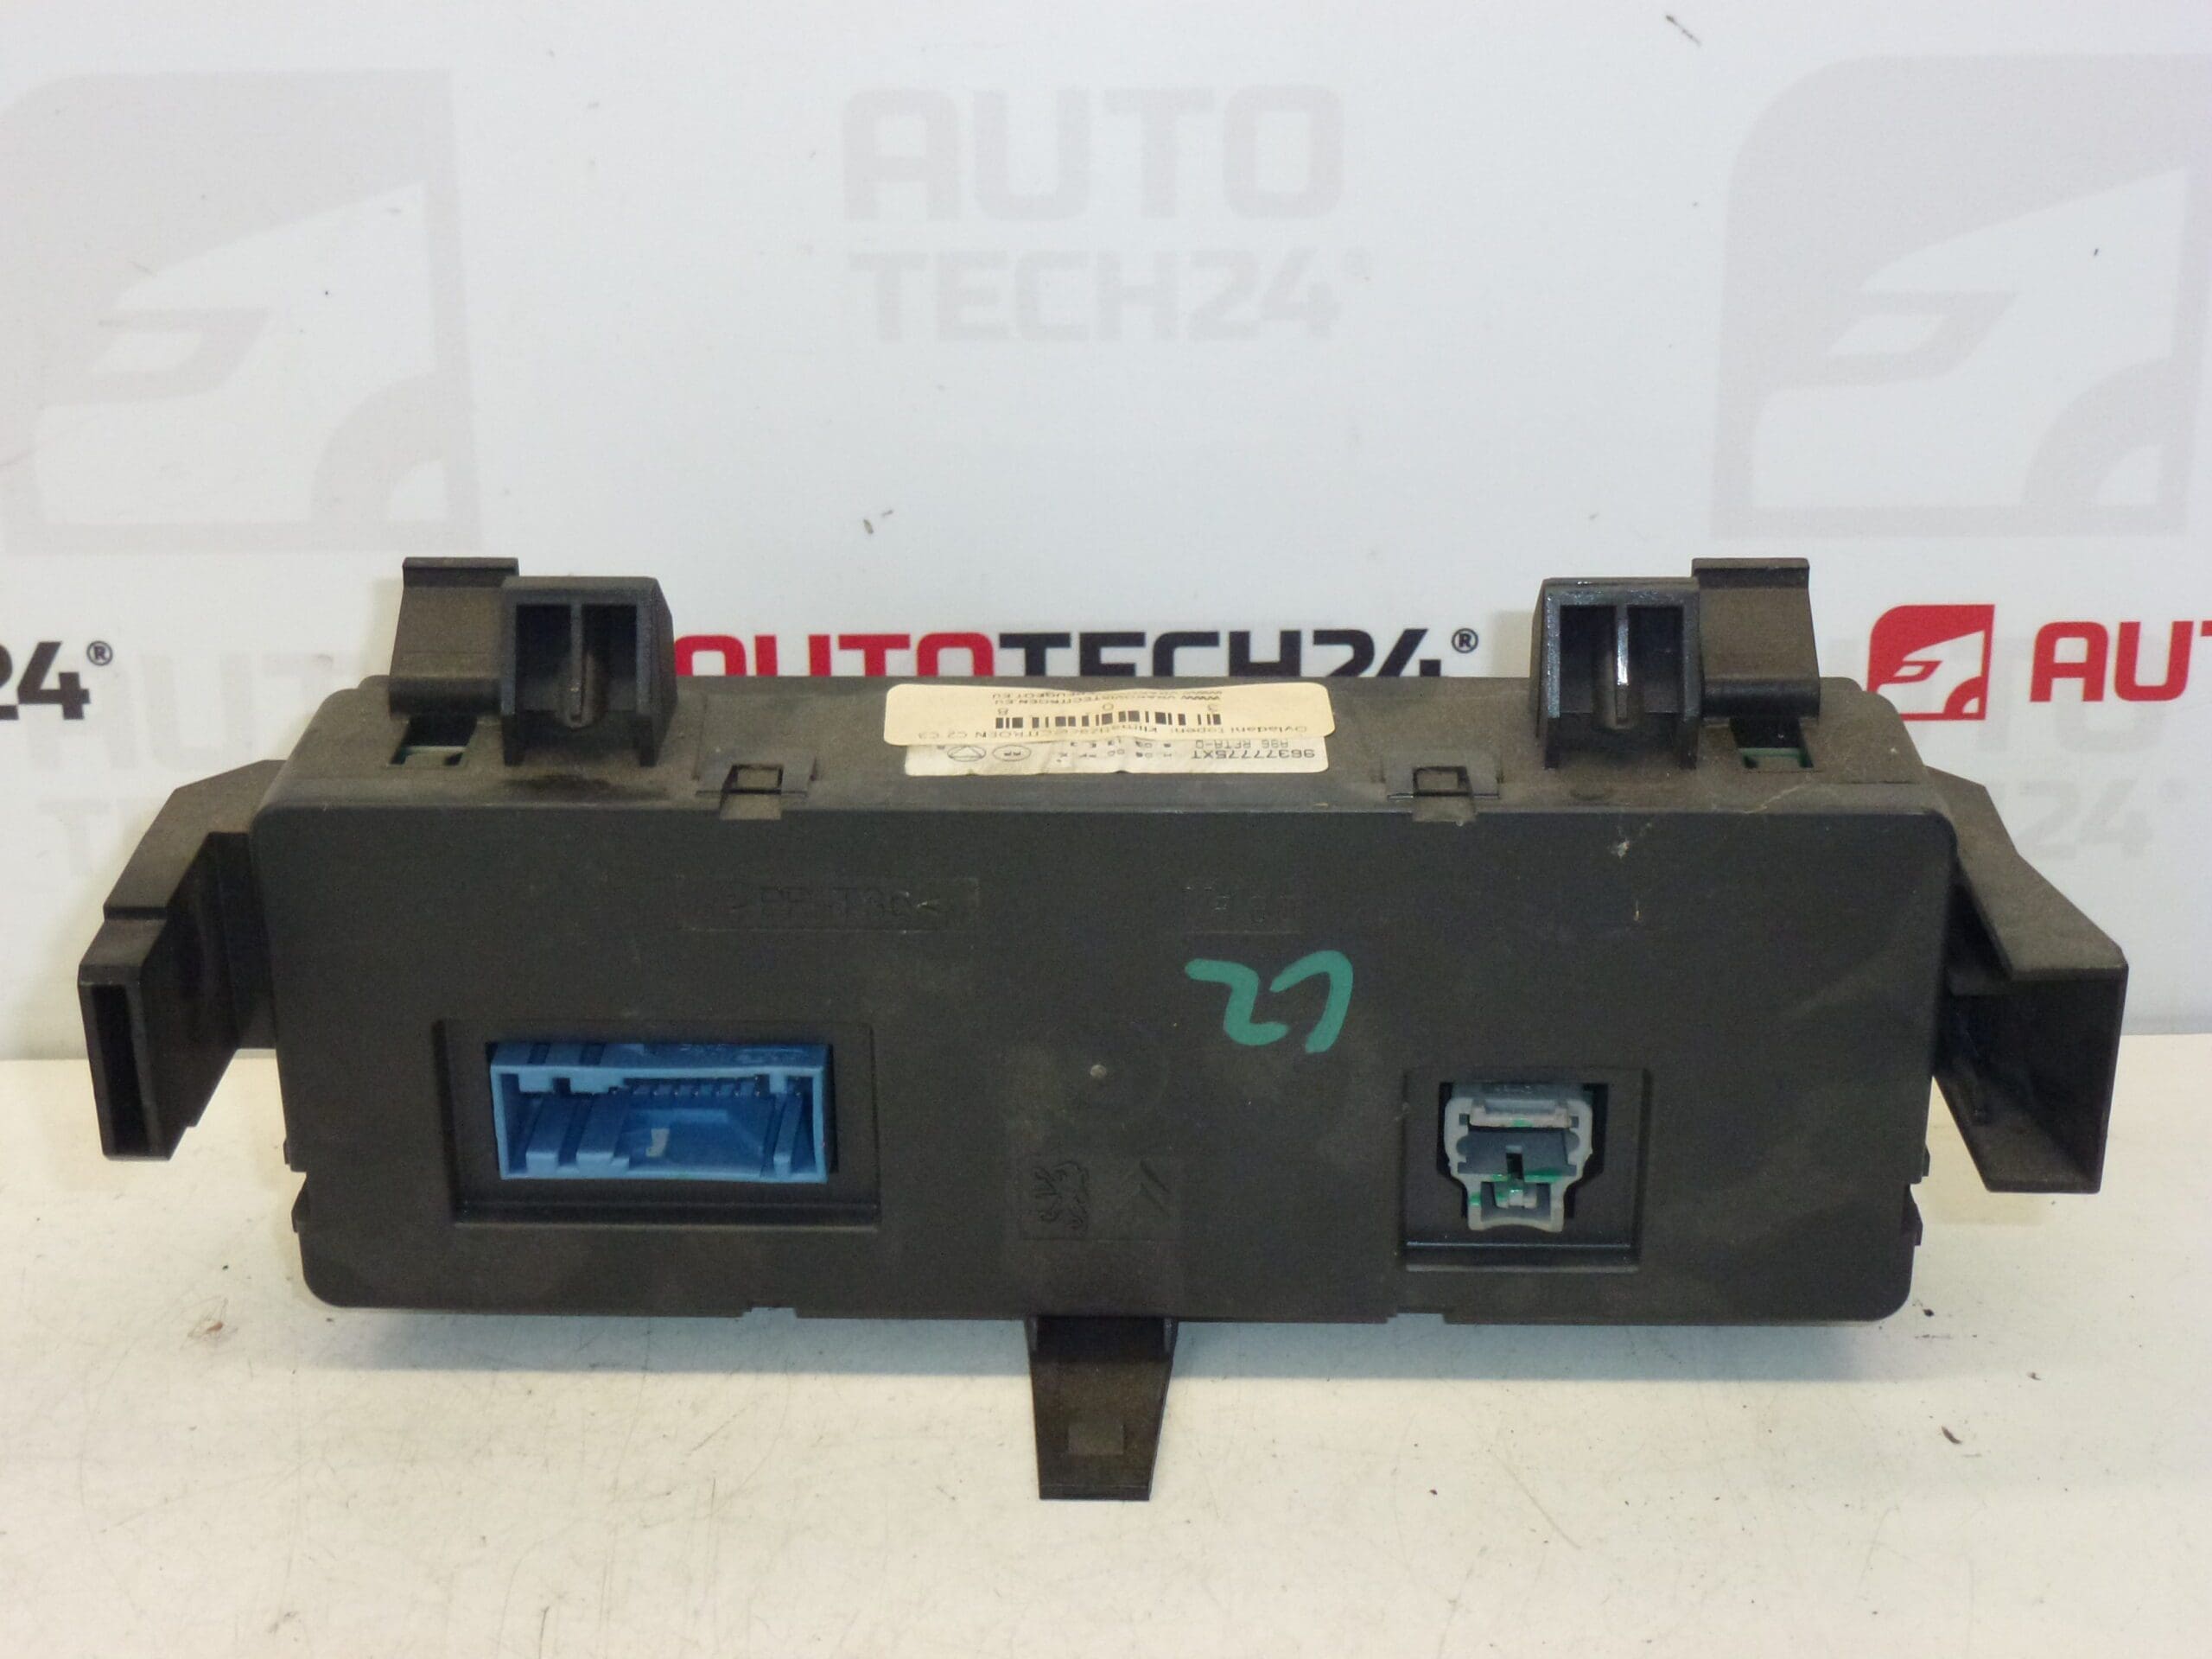
This HVAC control unit (often searched by part numbers 96377775XT and 6451RY) is the dashboard-mounted interface used to adjust heater and air conditioning functions on Citroën C2, C3 and C3 Pluriel models and on the Peugeot 1007. It provides control over fan speed, temperature setting and air distribution, and switches the air conditioning circuit on/off. Designed for use by professional mechanics and competent DIYers, this unit is a direct-fit replacement for worn or faulty controls, restoring precise manual control of the vehicle climate system.
Technical Information
- Manufacturer: Citroën / Peugeot (Stellantis)
- Model: Citroën C2; Citroën C3; Citroën C3 Pluriel; Peugeot 1007
- Product Codes: 96377775XT, 6451RY
- Additional Numbers: 6451RY | 96377775XT
Installation Recommendation
Replacement is straightforward for an experienced technician. Typical steps:
- Disconnect the negative battery terminal before starting to avoid short circuits and to protect vehicle electronics.
- Remove surrounding trim panels and the center fascia to access the control unit—retain all clips and screws for reassembly.
- Unscrew the control unit fasteners, carefully unplug the electrical connectors and any vacuum/air lines if present.
- Fit the new unit, connect the wiring harness, reassemble the trim and reconnect the battery.
- Verify full functionality: fan speeds, temperature response, air distribution positions and A/C engagement.
Expected job time: approximately 30–60 minutes, depending on vehicle equipment and access.
Reason For Failure
- Wear Of Mechanical Components: Rotary potentiometers and plastic gear teeth can wear out after many cycles, causing unreliable control or loss of certain fan speeds.
- Electrical Contact Degradation: Oxidation or intermittent contacts inside the unit lead to erratic behavior or total failure of switches.
- Physical Damage And Moisture Ingress: Spills or water penetration behind the dash can corrode electronics or short circuits.
- Thermal Stress And Ageing: Prolonged heat cycling in the dashboard environment accelerates material fatigue and connector issues.
Practical Tips Before Replacement
- Check Related Items First: Confirm blower motor, fuses and relays are operational to avoid replacing the control when the fault lies elsewhere.
- Inspect Connectors: Bent pins or loose terminals are common causes of intermittent faults and may be repairable without full unit replacement.
- Handle With Care: Avoid prying on plastic tabs and apply gentle pressure when unplugging connectors to prevent breakage.
Choosing the correct control unit by part number (96377775XT / 6451RY) ensures fitment and restores reliable manual operation of heating and air conditioning functions. Suitable for professional workshops and experienced DIY installers who want a direct and precise replacement component.