Description
Engine control unit BOSCH for the first generation of PEUGEOT 107 and CITROËN C1.
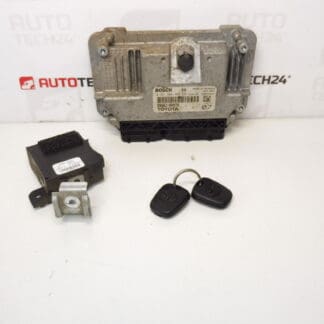
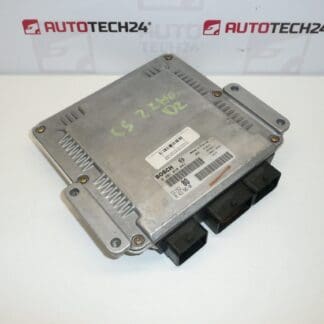
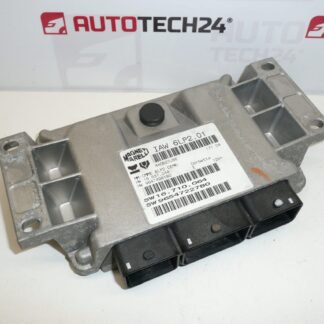
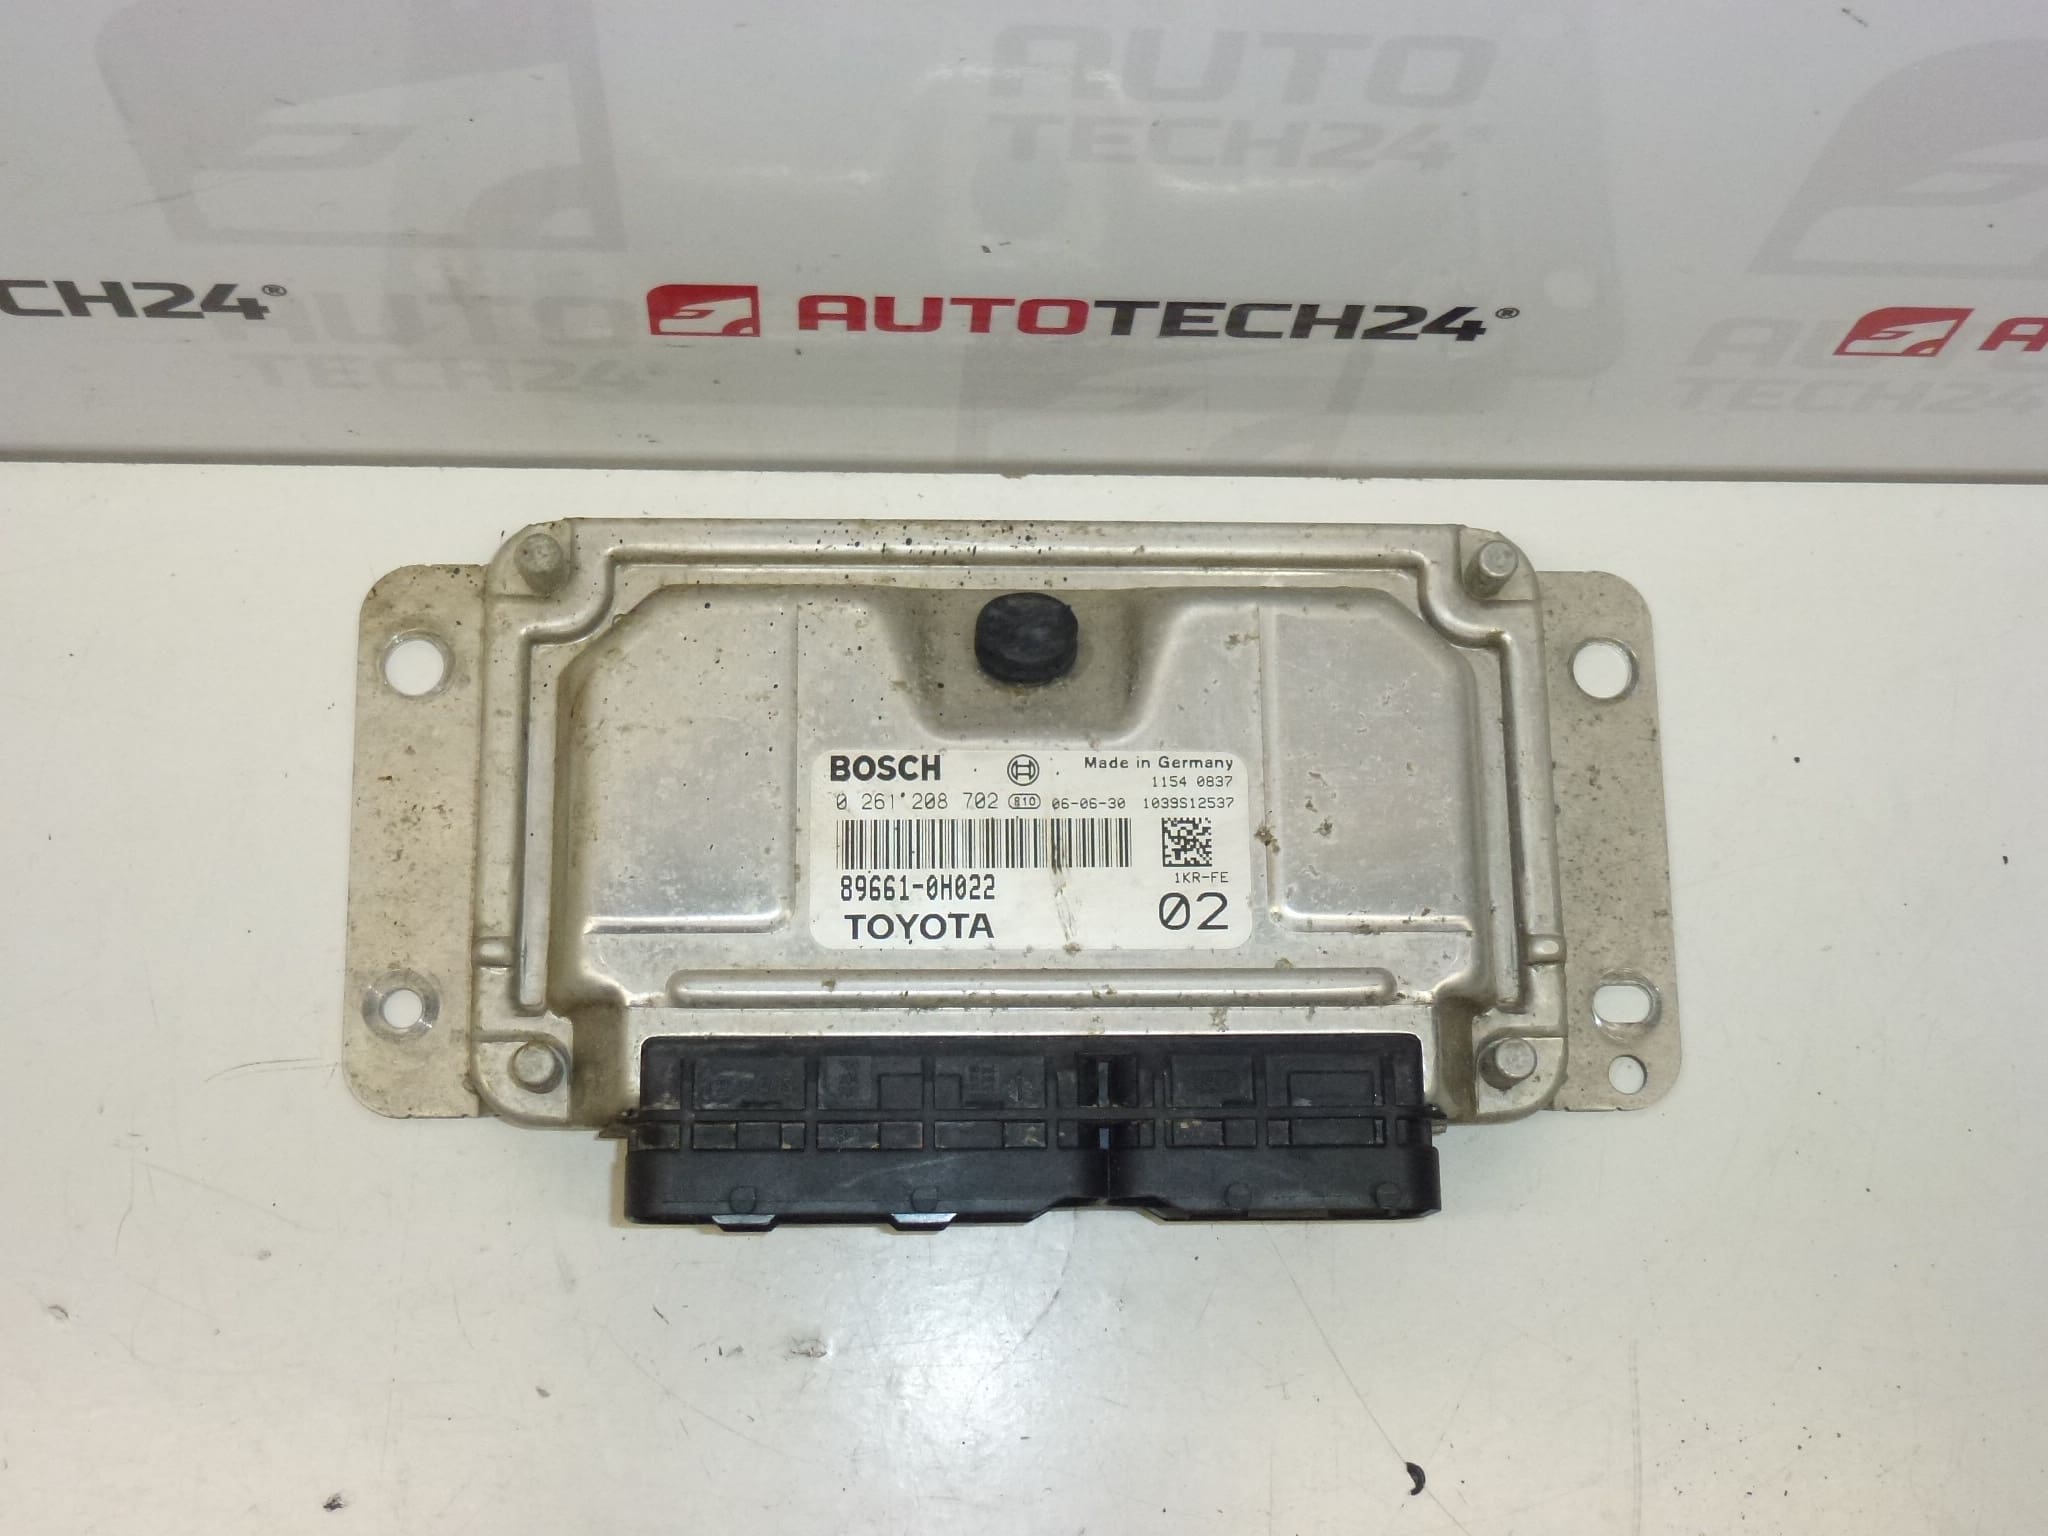
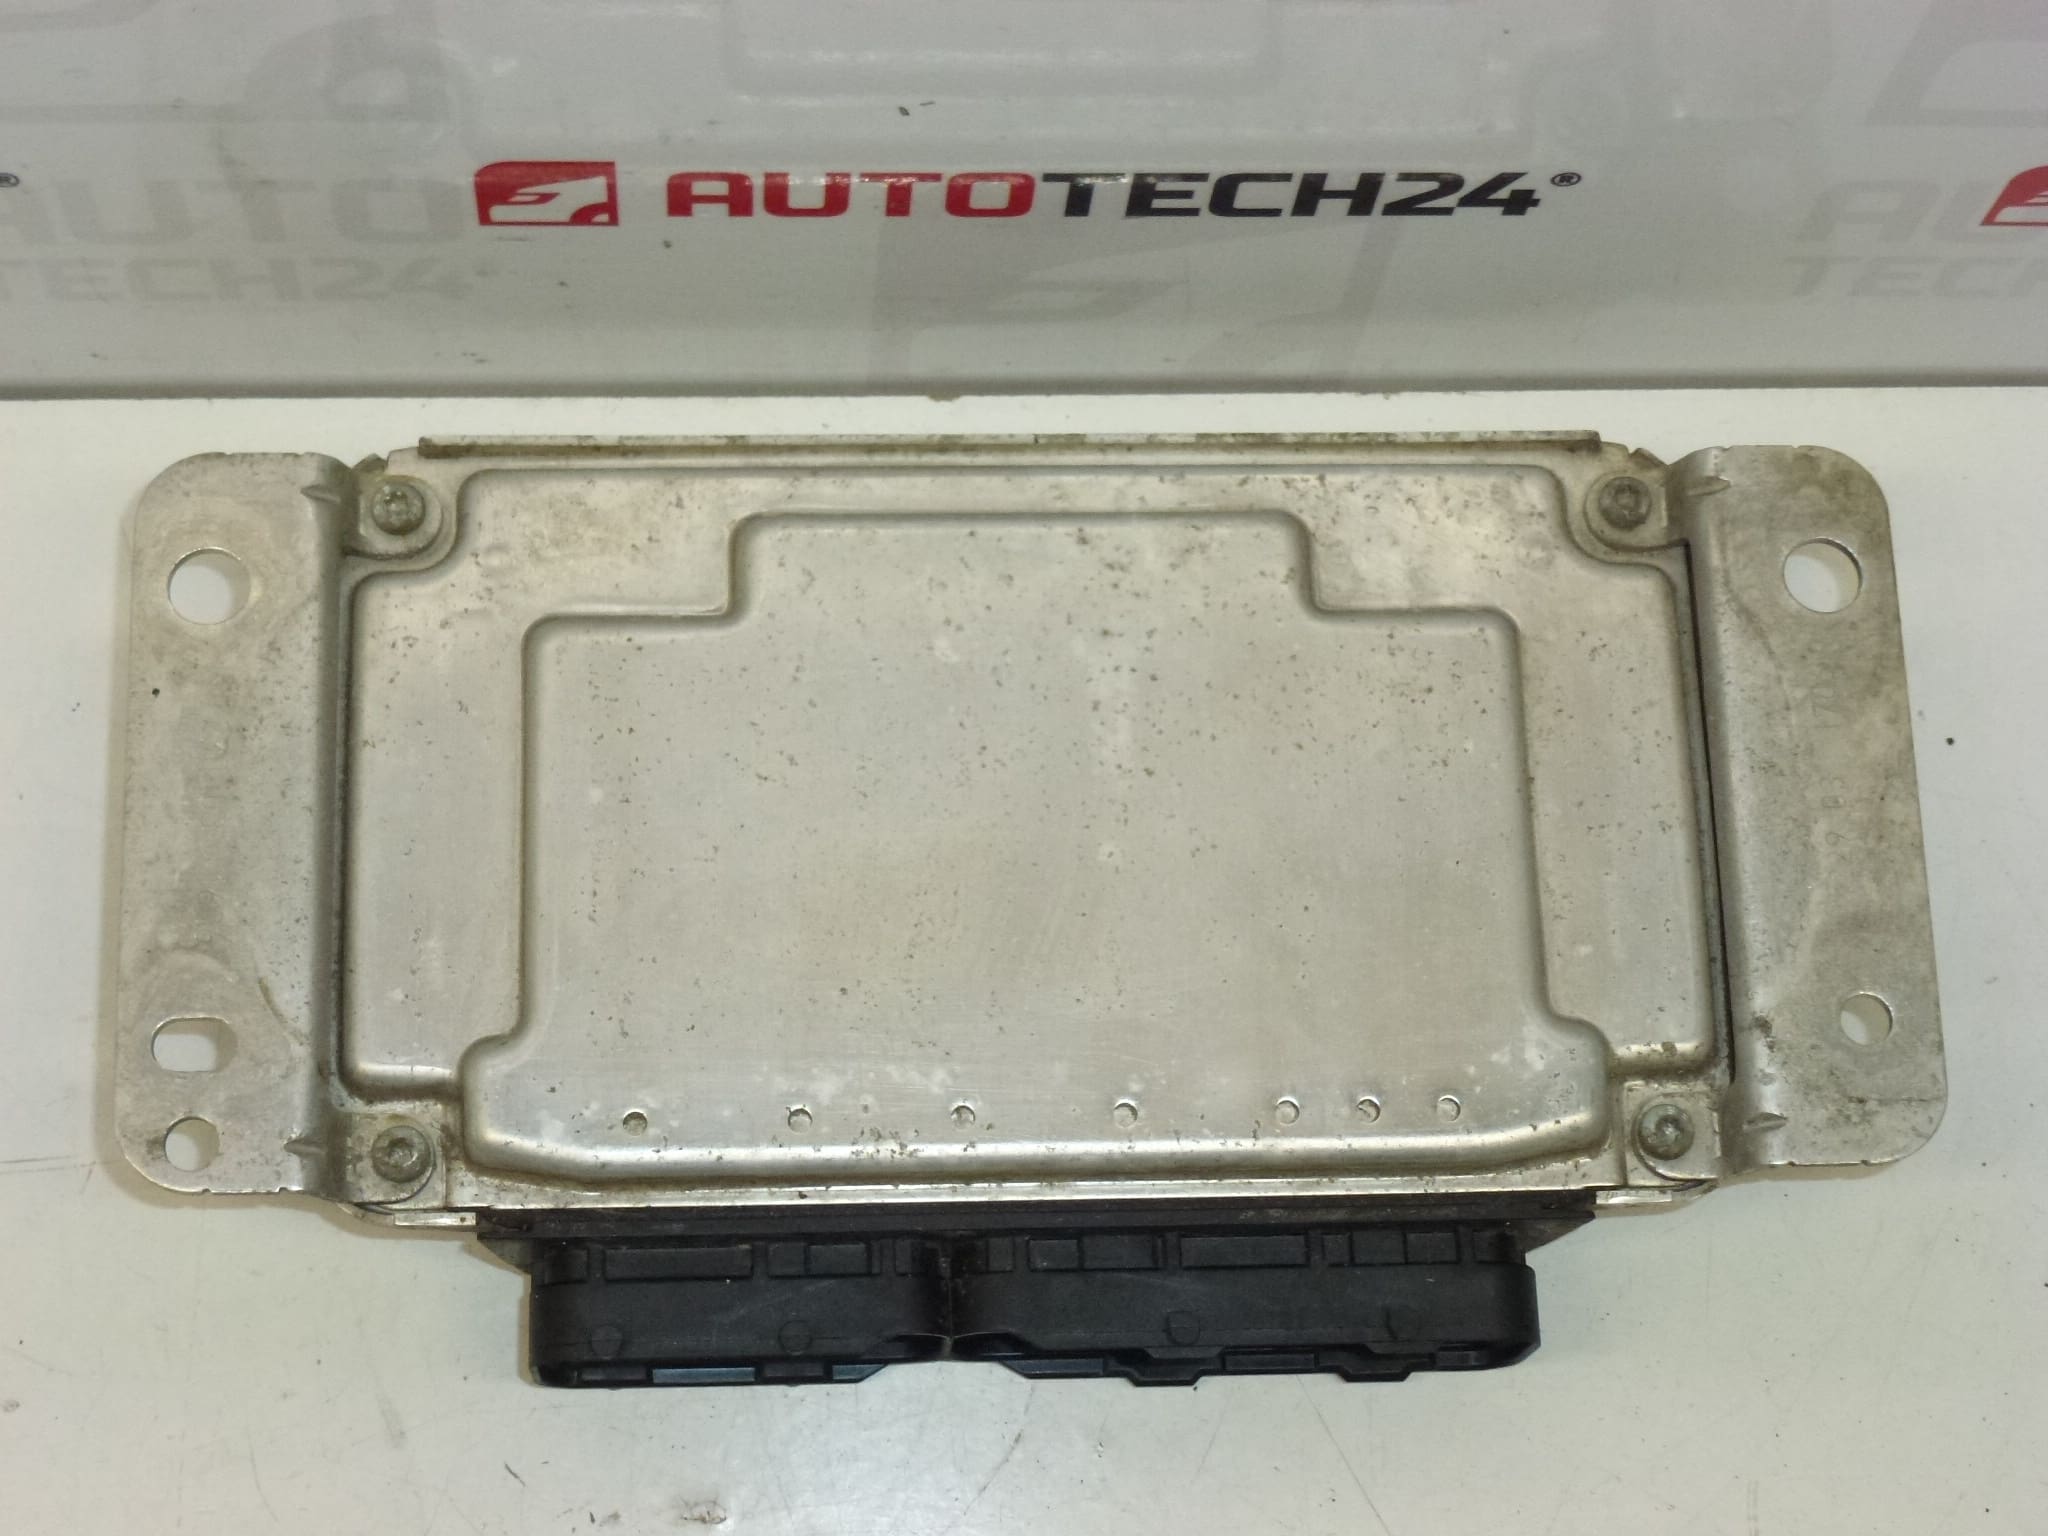
This Bosch ECU is intended for the 1.0i 1KR engines used in the first-generation Peugeot 107 and Citroën C1 (Stellantis). It carries the manufacturer and OEM references frequently searched by mechanics and DIY enthusiasts: 0261208702 and 89661-0H022, plus additional identifiers 1939PE, 194367 and 194002. The unit controls fuel injection, ignition timing, idle control and input/output management for sensors and actuators, ensuring proper engine performance, drivability and emissions compliance when matched to the correct vehicle setup.
Compatibility And Applications
Designed for first-generation small city cars of the PSA/Toyota joint project. Typical applications include:
- Peugeot 107 (first generation)
- Citroën C1 (first generation)
Searchable product codes: 0261208702, 89661-0H022. These numbers are commonly used by workshops when locating the correct ECU for replacement or repair.
Technical Information
- Manufacturer: Bosch
- Model: For PEUGEOT 107 / CITROËN C1 (First Generation)
- Product Codes: 0261208702, 89661-0H022
- Other Numbers: 1939PE, 194367, 194002
Installation And Coding – Important
- The unit is used and is “paired” with the original vehicle (VIN/PIN/keys).
- Options to make the unit operational:
- Cloning data from the old unit (EEPROM/Flash) – after cloning the unit is plug and play.
- Virginization and subsequent initialization/telecoding via DiagBox (or online) + key adaptation.
- Recommended to be performed by a specialist with PSA service equipment (DiagBox/Lexia/PP2000).
- Before disassembly/assembly always disconnect the battery and follow the manufacturer’s procedure to avoid damage to the unit.
Replacement Procedure – Practical Steps
- Prepare: Park on a level surface, engage handbrake and disconnect the negative battery terminal before starting.
- Access: Remove necessary trim or covers to reach the ECU mounting position. Location can vary by production date and specification; consult the vehicle repair manual if needed.
- Disconnect: Carefully unplug the multi-pin connectors and any grounding straps. Inspect connector pins and wiring for corrosion or damage.
- Remove/Install: Unbolt the ECU from its bracket, install the replacement and secure fasteners to the correct torque. Reconnect connectors firmly and route wiring to avoid chafing.
- Commissioning: Follow the installation and coding options above (cloning or virginization/telecoding) to restore full functionality and immobilizer alignment.
Why The Part Most Often Fails
- Water Ingress And Corrosion: Moisture or water leaks reaching the ECU or connectors causes corrosion and electrical faults.
- Voltage Spikes And Poor Battery Procedures: Jump-starting, battery disconnects without following correct procedures or faulty charging systems can damage internal electronics.
- Thermal Stress And Vibration: Long-term thermal cycling and vibration in the engine bay can lead to solder joint cracks or component degradation.
- Damaged Wiring Or Connectors: Short circuits, rodent damage or chafed harnesses often lead to ECU faults that manifest as drivability issues.
Maintenance And Practical Tips
- Always inspect connectors and wiring before and after ECU replacement; repairing harness faults prevents repeat failures.
- Use professional cloning or coding tools to avoid immobilizer and communication issues with engine components.
- Store and handle the unit in a clean, dry environment and avoid static discharge when working on the ECU.
This ECU is a direct way to restore correct engine control when replacing a failed unit, provided installation and coding are performed correctly. For workshops and experienced DIY mechanics, matching the part numbers (0261208702 / 89661-0H022) and following cloning or telecoding procedures will ensure the vehicle returns to reliable operation.